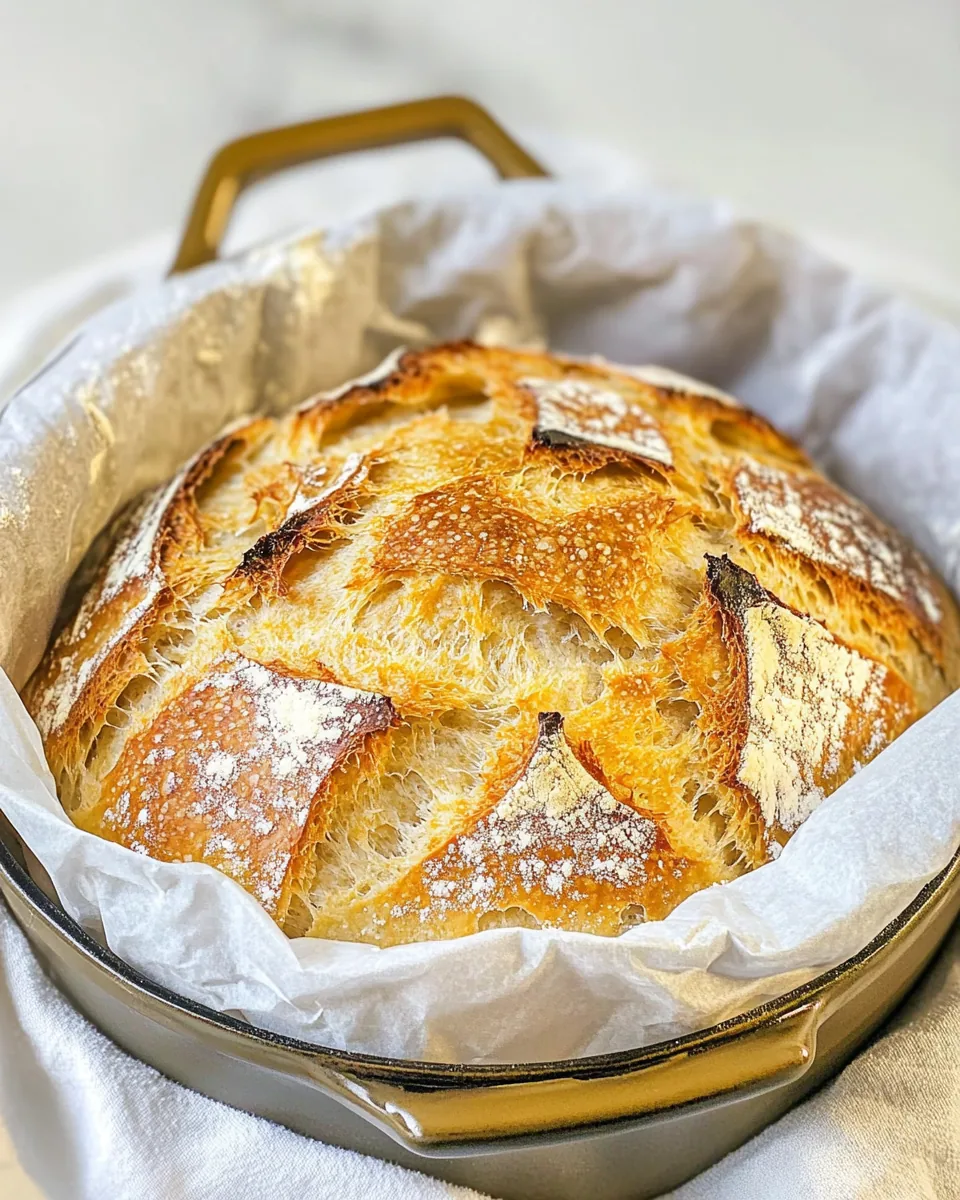
No Knead Bread
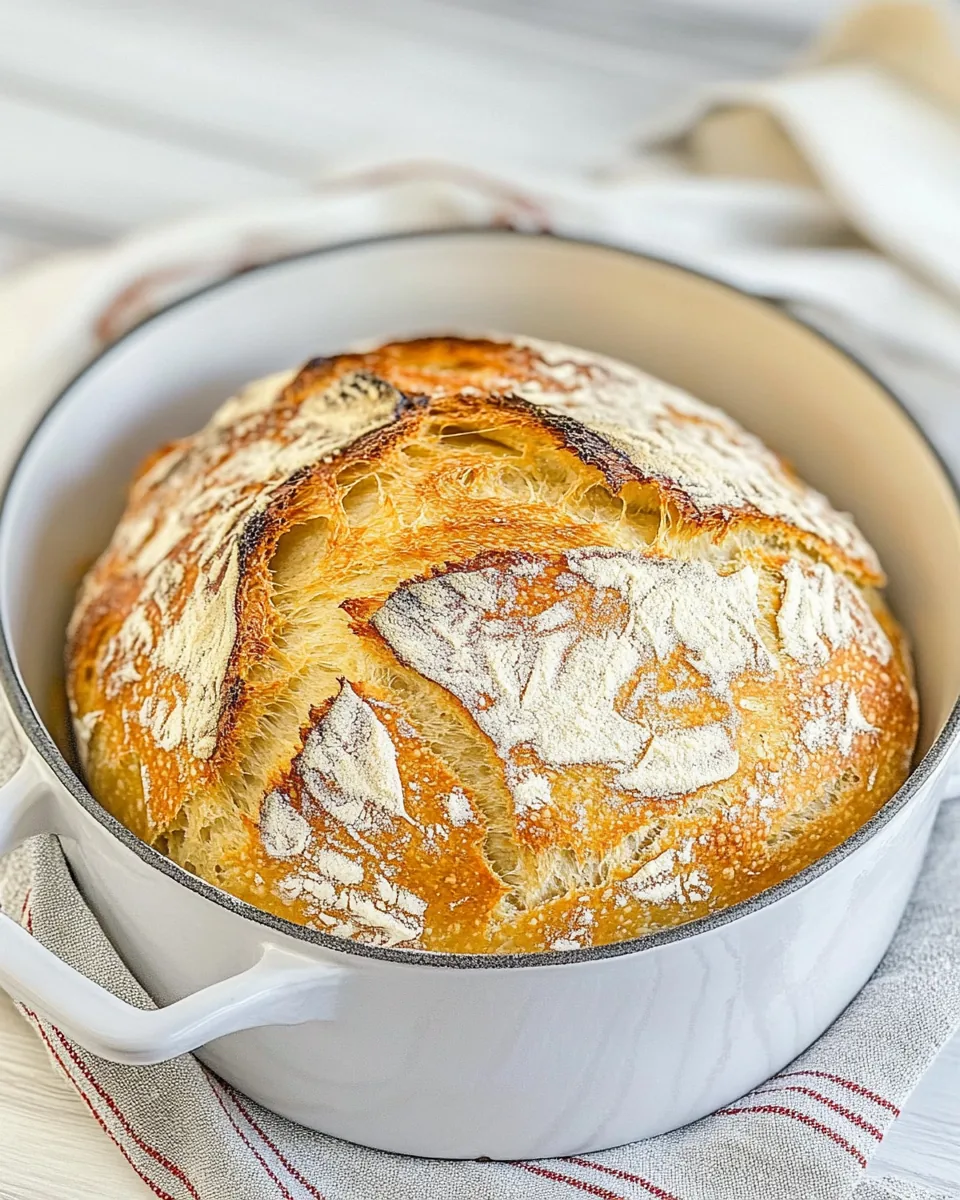
When I think of comfort food, one of the first recipes that comes to mind is No Knead Bread. There’s something magical about pulling a fresh loaf from the oven, the aroma wafting through the kitchen, inviting everyone to gather around. This bread is perfect for those cozy evenings when you just want to enjoy the simple pleasures of life. I remember the first time I made it; I was a bit skeptical about the whole no-knead concept, but let me tell you, it was a game changer! All it takes is a few ingredients and a bit of patience, and you’ll have a crusty, golden loaf that’s ready to be slathered with butter or used for sandwiches. It’s an experience that brings joy to my heart and warmth to my home.
Recipe Snapshot
50 mins
5 mins
45 mins
Medium
150 kcal
5 g
Paleo, Whole30, Vegan
1 g
6-quart Dutch Oven, Parchment paper, wooden spoon
Why This No Knead Bread Hits Different
Easy to Make
The beauty of No Knead Bread lies in its simplicity. You don’t need fancy equipment or a complex process to create something truly wonderful. Everything comes together in one bowl, allowing the ingredients to do the work while you relax or carry on with your day.
Great for Any Occasion
This bread is incredibly versatile. Whether you’re having a casual family dinner, hosting friends, or simply wanting a cozy night in, No Knead Bread fits the bill perfectly. Serve it alongside a hearty soup or enjoy it with your favorite spreads. It adapts to any meal!
Perfectly Crusty
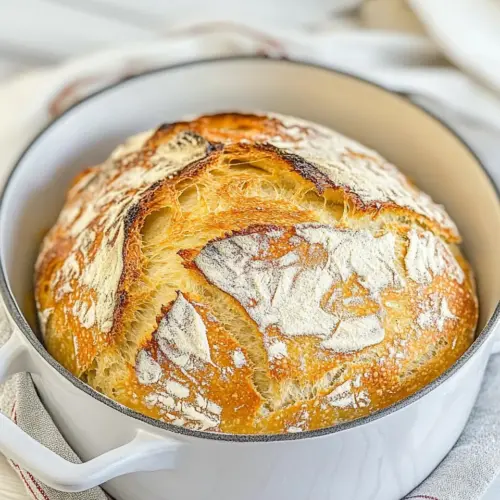
One of the standout features of this recipe is the crust. Baking the bread in a Dutch oven creates a steamy environment that results in a beautifully crusty exterior, while the inside remains soft and delightful. There’s nothing quite like the satisfying crunch of biting into a piece of freshly baked bread.
Long Rise Time for Maximum Flavor
Allowing the dough to rise for an extended period develops deep, rich flavors that you won’t find in bread that’s rushed. The longer fermentation time enhances the taste, giving you a loaf that’s not only delicious but also has a wonderful texture. You’ll notice the difference with every bite!
Healthier Choice
Making your own bread at home ensures that you know exactly what goes into it, allowing you to avoid preservatives and additives found in store-bought options. Plus, you can customize the ingredients to suit your dietary preferences, making No Knead Bread a healthier choice for you and your family.
A Fun Project
For those who love to bake or are looking to try something new, this recipe offers a fun and rewarding experience. The patience required for the long rise is well worth it, and the satisfaction of pulling out a freshly baked loaf is unparalleled. You’ll feel accomplished and proud of your creation!
Ingredients to Make No Knead Bread
When it comes to baking, the ingredients you choose make all the difference. Each component in this No Knead Bread recipe serves a purpose, working harmoniously together to create a loaf that is both delicious and satisfying. Let’s explore what makes these ingredients special:
- 3 cups (450 grams) all-purpose flour: The foundation of our bread, providing structure and a lovely chewy texture.
- 1 ½ teaspoons salt: Essential for flavor; it enhances the taste of the bread and helps to control the yeast activity.
- ¾ teaspoon instant yeast: This is what makes the bread rise, creating those lovely bubbles that give it a light, airy texture.
- 1 ½ cups (360 ml) warm water: Hydrates the flour and activates the yeast, creating a batter-like dough that will yield a beautiful loaf.
How to Assemble No Knead Bread
Assembling No Knead Bread is a delightful process that requires just a few steps. With each stage, you’ll feel the anticipation grow as the dough transforms into something magical. Let’s dive into the detailed instructions:
- In a large bowl, combine flour, salt, and instant yeast. Stir the dry ingredients together until they are well mixed. You want to ensure that the yeast is evenly distributed throughout the flour.
- Next, add the warm water to the dry ingredients. It’s important that the water is at the right temperature, around 105 to 115 degrees Fahrenheit. If it’s too hot, it can kill the yeast, and if it’s too cold, the dough won’t rise properly. Mix everything with a spatula or wooden spoon until it forms a sticky and shaggy dough.
- Cover the bowl with a clean towel. This helps keep the warmth in, allowing the dough to rise. Set it in a warm place and let it rise for about 8 hours. You can even leave it overnight for maximum flavor development.
- After 8 hours, uncover the dough. You’ll notice it has expanded and is bubbling. Flour your work surface lightly and turn the dough out onto it. Dust your hands with a bit of flour and gently shape the dough into a ball or loaf.
- Transfer the shaped dough onto a piece of parchment paper and cover it with a bowl or towel once more. Let it rise for an additional hour. During this time, preheat your oven to 430 degrees Fahrenheit, placing a Dutch oven inside without the lid.
- After the hour has passed and your oven is hot, carefully remove the Dutch oven. Lift the dough using the edges of the parchment paper and place it inside the Dutch oven. Cover with the lid and bake for 30 minutes.
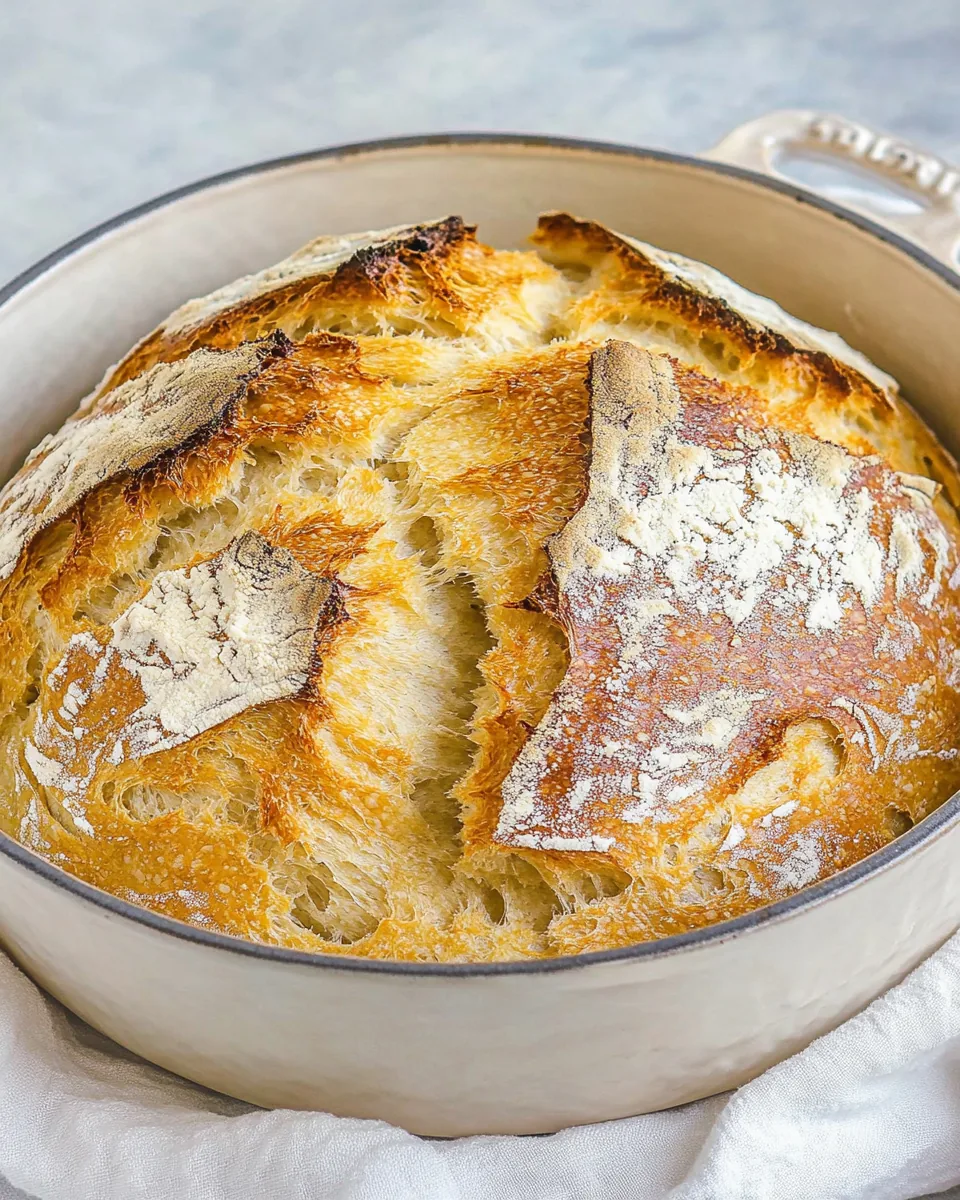
- Once the first 30 minutes are up, remove the lid of the Dutch oven. This allows the bread to brown beautifully. Bake for an additional 15 minutes uncovered, until the crust is a lovely golden-brown color.
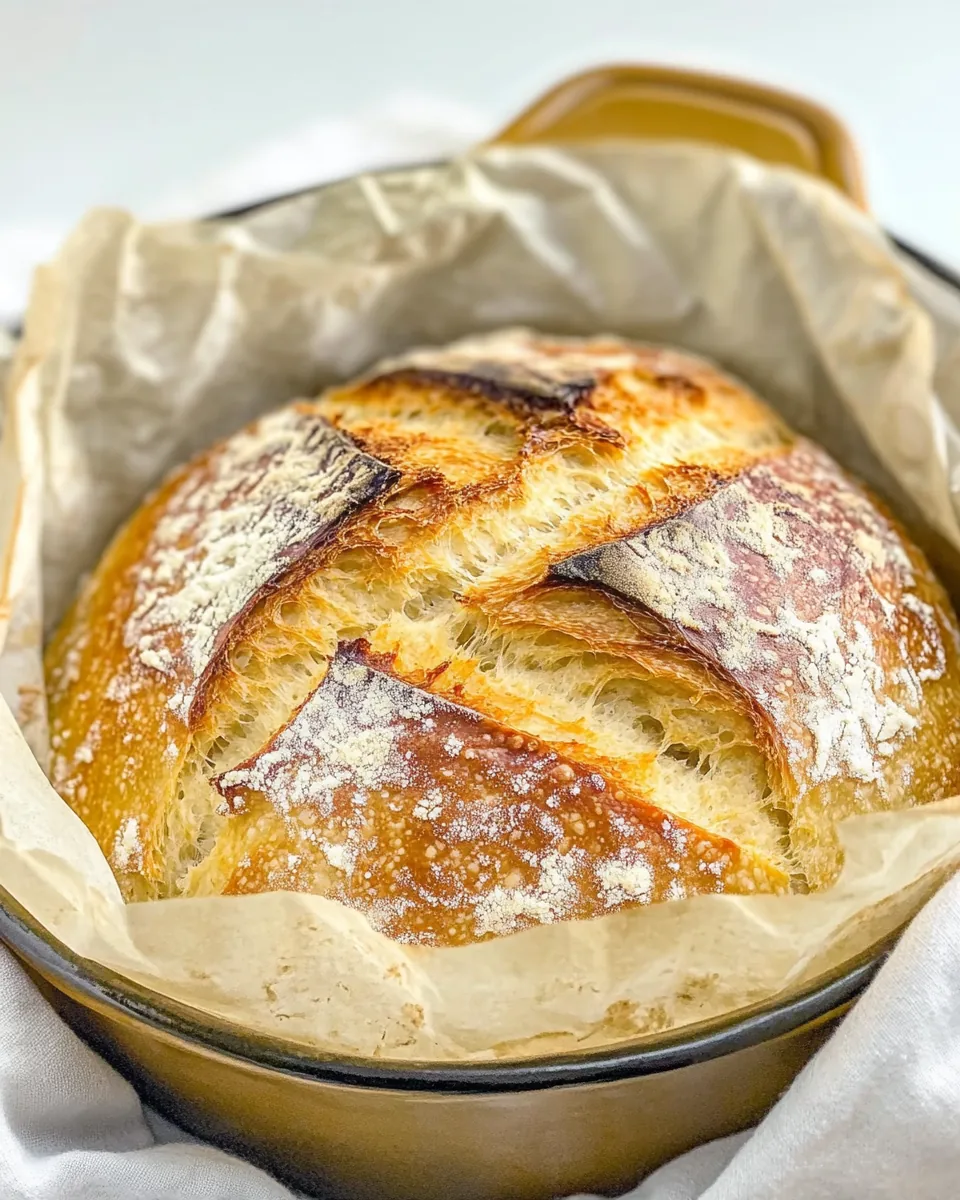
- When done, carefully remove the Dutch oven from the oven. Take the bread out using the parchment paper and let it cool on a wire rack. This is key – allowing it to cool completely before slicing will help maintain its structure and texture.
- After it has cooled, slice and enjoy your freshly baked No Knead Bread! I recommend serving it warm with a bit of butter or your favorite spread.
Things Worth Knowing
- Temperature Matters: Make sure the water is at the right temperature. If it’s too cold, the yeast won’t activate; too hot, and you risk killing it.
- Patience is Key: Letting the dough rise for an adequate amount of time develops the flavors and creates a better texture.
- Don’t Rush the Baking: The longer you allow the bread to bake, the crispier the crust will be.
- Use a Dutch Oven: It creates an ideal steaming environment, resulting in a crusty exterior and soft interior.
Change It Up
If you’re looking to add a personal touch to your No Knead Bread, here are some fun ideas to get you started:
- Herb Infusion: Incorporate dried herbs like rosemary or thyme for an aromatic twist.
- Seed Topping: Before baking, sprinkle sesame seeds, poppy seeds, or sunflower seeds on top for added texture and flavor.
- Cheese Variations: Add grated cheese into the dough for a delicious cheesy bread.
- Sweet Addition: Mix in a handful of dried fruits like cranberries or raisins for a sweet touch.
- Flavored Oils: Substitute some of the water with infused olive oil for an extra layer of flavor.
- Different Flours: Experiment with different types of flour such as whole wheat or rye for a unique taste and texture.
Serving This No Knead Bread
When it comes to serving No Knead Bread, the possibilities are endless. Let’s explore some delicious ideas:
- Perfect for Dipping: Serve alongside a warm bowl of soup or stew for a comforting meal.
- Toast it Up: Enjoy toasted slices with butter, jam, or honey for a delightful breakfast or snack.
- Accompany with Cheese: Create a charming cheese board with No Knead Bread as the star. Pair it with a variety of cheeses and fruits.
- Ideal for Sandwiches: Use it as the base for hearty sandwiches filled with your favorite ingredients.
- Bring to Gatherings: This bread is a hit at potlucks and gatherings! Everyone loves fresh bread.
- Storage Tips: Store any leftover bread in an airtight container for up to two days or freeze individual slices for longer storage.
FAQ
Conclusion
This No Knead Bread recipe is a true testament to the beauty of simplicity in baking. With just a handful of ingredients and minimal effort, you can create a delicious loaf that’s perfect for any occasion. I encourage you to give it a try; you’ll be so pleased with the results. Whether enjoyed alone or shared with loved ones, this bread will surely warm your heart. So, roll up your sleeves and start your baking adventure today!
No Knead Bread
Equipment
- 6-quart Dutch Oven
- Parchment Paper
- Wooden Spoon
Ingredients
- 3 cups all-purpose flour
- 1 ½ teaspoons salt
- ¾ teaspoon instant yeast
- 1 ½ cups warm water
Instructions
- In a large bowl, combine flour, salt, and instant yeast. Stir the dry ingredients together until they are well mixed. You want to ensure that the yeast is evenly distributed throughout the flour.
- Next, add the warm water to the dry ingredients. It’s important that the water is at the right temperature, around 105 to 115 degrees Fahrenheit. If it’s too hot, it can kill the yeast, and if it’s too cold, the dough won’t rise properly. Mix everything with a spatula or wooden spoon until it forms a sticky and shaggy dough.
- Cover the bowl with a clean towel. This helps keep the warmth in, allowing the dough to rise. Set it in a warm place and let it rise for about 8 hours. You can even leave it overnight for maximum flavor development.
- After 8 hours, uncover the dough. You’ll notice it has expanded and is bubbling. Flour your work surface lightly and turn the dough out onto it. Dust your hands with a bit of flour and gently shape the dough into a ball or loaf.
- Transfer the shaped dough onto a piece of parchment paper and cover it with a bowl or towel once more. Let it rise for an additional hour. During this time, preheat your oven to 430 degrees Fahrenheit, placing a Dutch oven inside without the lid.
- After the hour has passed and your oven is hot, carefully remove the Dutch oven. Lift the dough using the edges of the parchment paper and place it inside the Dutch oven. Cover with the lid and bake for 30 minutes.
- Once the first 30 minutes are up, remove the lid of the Dutch oven. This allows the bread to brown beautifully. Bake for an additional 15 minutes uncovered, until the crust is a lovely golden-brown color.
- When done, carefully remove the Dutch oven from the oven. Take the bread out using the parchment paper and let it cool on a wire rack. This is key – allowing it to cool completely before slicing will help maintain its structure and texture.
- After it has cooled, slice and enjoy your freshly baked No Knead Bread! I recommend serving it warm with a bit of butter or your favorite spread.
Notes
- Use active dry yeast instead: The recipe here is for instant yeast, but you can replace it with active dry yeast by just doubling the amount. So instead of ¾ teaspoon instant yeast, use 1 ½ teaspoons of active dry yeast.
- 1 hour rise variation: Don’t have 8 hours to wait for the dough to ferment? Make the recipe as directed, but add 1 teaspoon of honey or granulated sugar to the dough. Rather than 8 hours for the initial rise, you should only need 1 hour now!
- Baking bread in a Dutch oven: Creates a hot, steamy environment that creates the most wonderful crust!
- Make sure the water is at the correct temperature: I suggest that you use a kitchen thermometer to be sure. If the water is too cold, the yeast won’t activate, and if the water is too hot, you risk killing the yeast.
- To Store: Enjoy your homemade bread as soon as possible after baking. Store it unsliced in an airtight container for up to 2 days if needed. I suggest freezing individual slices of bread if you aren’t going to eat the loaf right away. They can go from the freezer directly to the toaster.