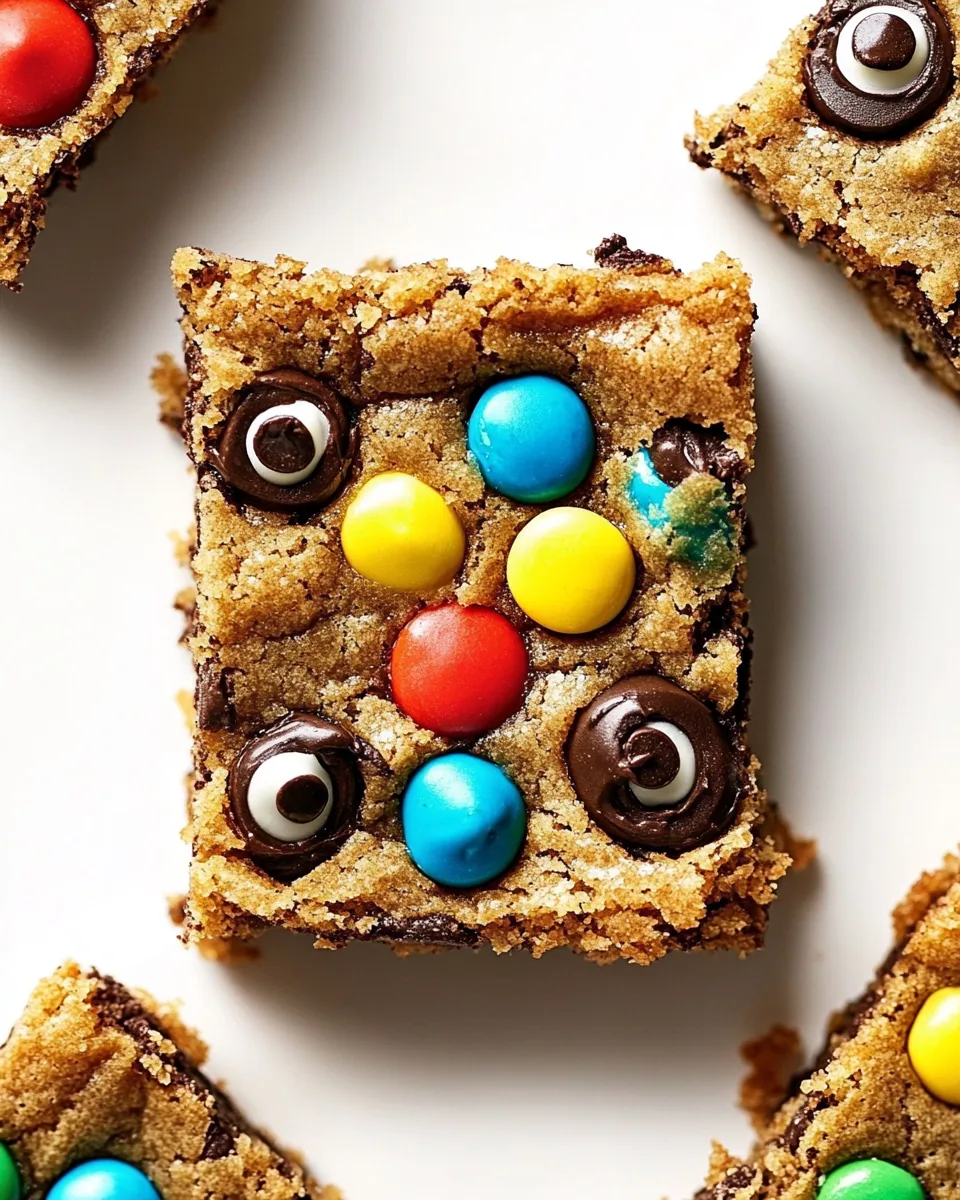
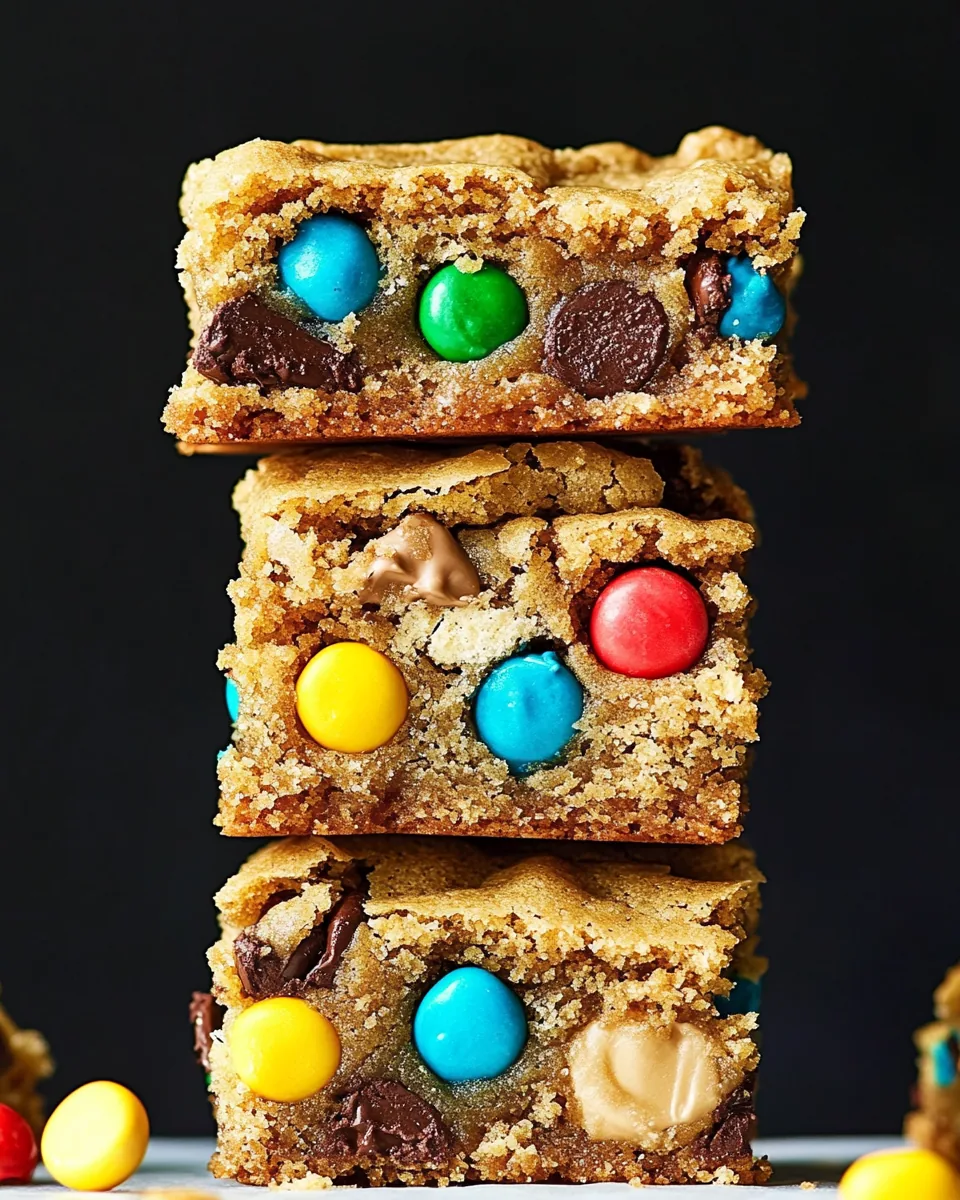
Monster Cookie Bars
The Monster Cookie Bars recipe is one that brings back cherished memories from my childhood. I still remember the aroma wafting through the kitchen as my mom baked these delightful bars, filling the house with an irresistible scent. These bars were always a hit during family gatherings, especially around Halloween, where we’d decorate them with candy eyeballs to give them a spooky flair. With their chewy texture and the perfect blend of sweet and salty from the peanut butter and chocolate chips, each bite is a nostalgic trip down memory lane. Making them is not just a culinary experience; it’s a way to relive those joyful moments with loved ones. Whenever I’m in the mood to bake something that feels like a warm hug, I whip up a batch of Monster Cookie Bars. It’s the perfect treat to share with friends, and I promise, they won’t last long!
Recipe Snapshot
35 mins
0 mins
35 mins
Medium
220 kcal
4 g
Gluten-Free, Low FODMAP
10 g
Wooden Spoon, Mixing Bowl, Frying Pan, Baking Sheet, Oven
Why This Monster Cookie Bars Is a Winner
Irresistible Flavor Combination
What sets Monster Cookie Bars apart is their unique flavor profile. The combination of creamy peanut butter, sweet chocolate chips, and a hint of honey creates a delightful balance that will leave your taste buds dancing with joy.
Perfect for Any Occasion
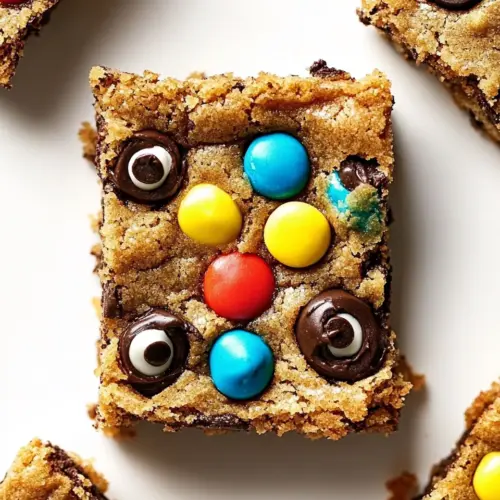
Whether it’s a casual afternoon snack or a festive gathering, these bars are versatile enough to fit any occasion. They’re especially loved around Halloween when you can get creative with toppings like candy eyeballs.
Easy to Make
If you’re looking for a fun baking project, this recipe is perfect! It’s straightforward and doesn’t require any complicated techniques, making it accessible for bakers of all levels.
Family-Friendly Fun
Baking Monster Cookie Bars can be a wonderful family activity. Kids love helping to mix the ingredients and, of course, taste-testing the delicious dough. It’s a great way to bond and create lasting memories in the kitchen.
Store and Share
These bars are a fantastic treat to make ahead of time. They store well in an airtight container and can even be frozen for future enjoyment. They’re perfect for sharing with friends, neighbors, or anyone who could use a little sweetness in their day.
Allergy-Friendly Options
With a few simple adjustments, you can modify the ingredients to accommodate various dietary needs, making these bars inclusive for everyone.
What Goes Into Monster Cookie Bars
Creating Monster Cookie Bars starts with a selection of wholesome ingredients that come together to form a deliciously chewy treat. Each component plays an important role, enhancing the overall taste and texture of the bars. The core ingredients work in harmony, providing a satisfying balance of sweetness and nuttiness.
- Unsalted Butter: ½ cup (113g, 1 stick) – Adds richness and moisture to the bars, resulting in a tender texture.
- Light Brown Sugar: 1 cup (210g) – Provides deep sweetness and moisture, giving the bars a chewy consistency.
- Creamy Peanut Butter: ½ cup (140g) – Infuses the bars with a nutty flavor and helps bind the ingredients together.
- Honey: 1 teaspoon – A natural sweetener that enhances the flavor and adds a touch of moisture.
- Vanilla Extract: 1 ½ teaspoons – Introduces a warm, sweet aroma that elevates the overall flavor.
- Large Egg: 1 – Acts as a binding agent and adds richness to the batter.
- Large Egg Yolk: 1 – Rich in fat, it contributes to a dense and chewy texture.
- All-Purpose Flour: 1 cup (125g) – Provides structure to the bars.
- Fine Sea Salt: ¼ teaspoon – Balances the sweetness and enhances the overall flavor.
- Baking Soda: ¼ teaspoon – A leavening agent that helps the bars rise slightly.
- Old Fashioned Rolled Oats: 1 ½ cups (150g) – Adds heartiness and a chewy texture.
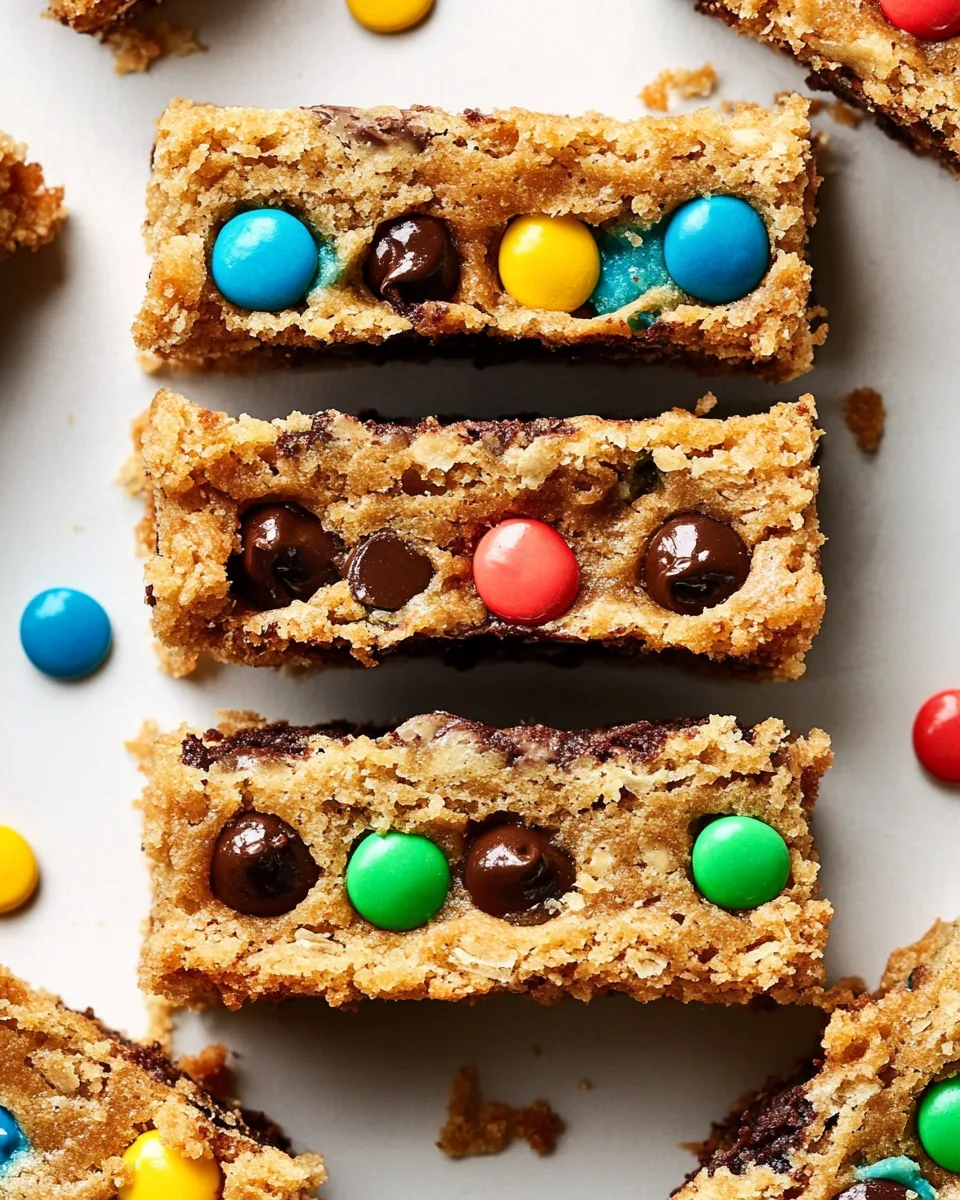
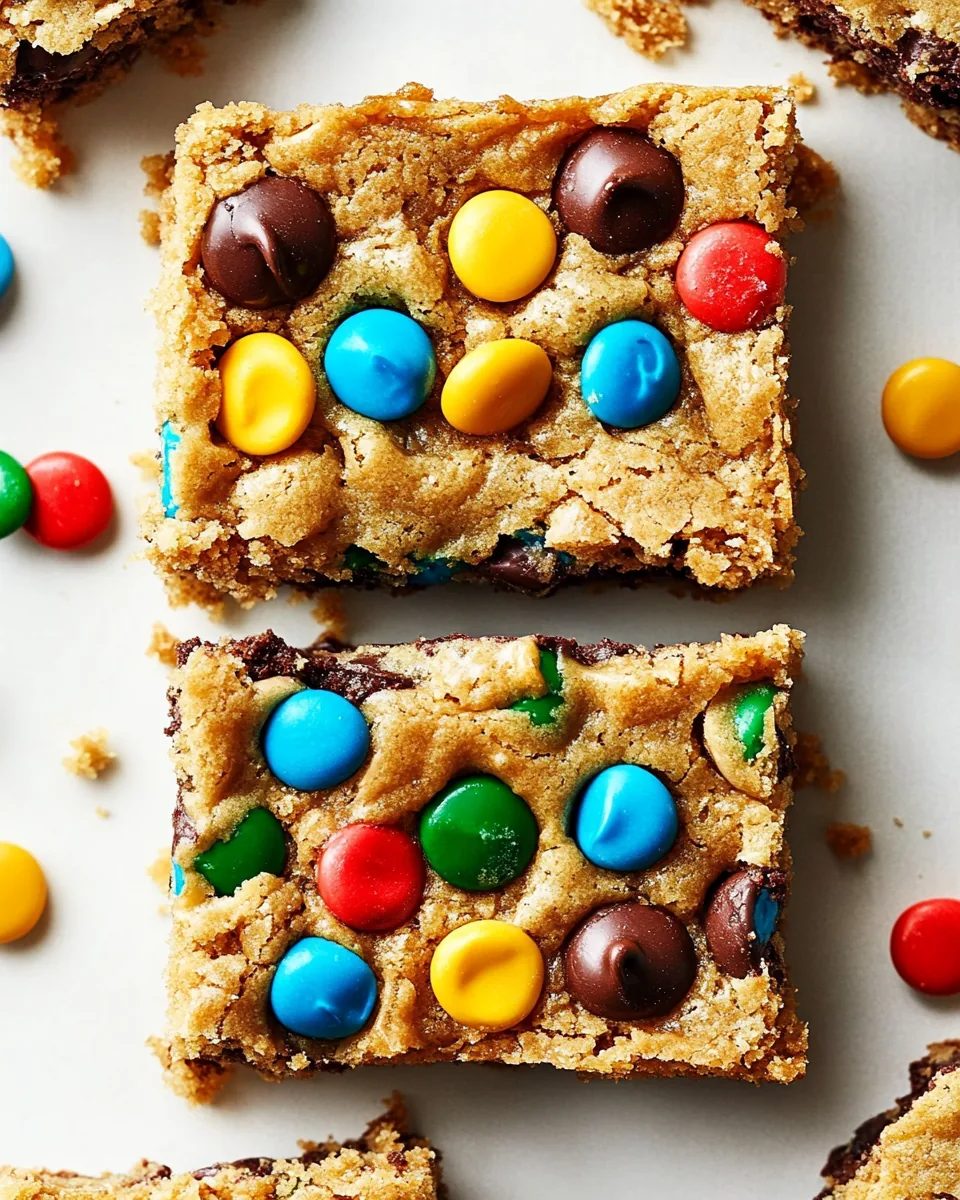
- M&Ms Candies: ½ cup (100g) – Adds pops of color and sweetness, making the bars visually appealing.
- Chocolate Chips: ½ cup (90g) – Provides rich chocolate flavor and melty goodness.
- Candy Eyeballs: optional for topping – A fun garnish that brings a festive touch!
Recipe Directions for Monster Cookie Bars
Making Monster Cookie Bars is a delightful adventure that begins with simple steps to create a treat that everyone will love. Follow these instructions, and you’ll soon have a batch of delicious bars to share!
- Start by lightly buttering the bottom and sides of an 8-by-8-inch baking pan. Line it with parchment paper; the butter will help keep the parchment in place.
- In a mixing bowl, or the bowl of a stand mixer fitted with the paddle attachment, combine the unsalted butter, light brown sugar, creamy peanut butter, honey, and vanilla extract. Beat until the mixture is fluffy and a shade or two lighter in color.
- Scrape down the sides of the bowl, then add the large egg and large egg yolk. Mix until fully incorporated, ensuring everything is well blended.
- Next, add the all-purpose flour, fine sea salt, and baking soda. Mix on low speed until almost incorporated.
- Add the old fashioned rolled oats and mix briefly just to uniformly distribute them throughout the batter.
- Now, fold in the M&Ms candies and chocolate chips using a rubber spatula. Be sure to scrape the sides of the bowl to incorporate any bits of dry flour that might have stuck.
- Dump the dough into the prepared baking pan, using the spatula to press it evenly all the way to the edges. This will ensure even cooking.
- Cover the pan with plastic wrap or a clean kitchen towel and chill the dough for at least 2 hours, or ideally overnight. This step allows the flavors to meld and the texture to improve.
- When you’re ready to bake, preheat your oven to 350 degrees F (175 degrees C). Let the chilled dough sit at room temperature while the oven preheats.
- Bake the bars for 33 to 37 minutes, or until the top is puffed and no longer raw looking, and the edges are just starting to brown. You’ll know they’re done when you see a slight golden color around the edges.
- Once done, remove from the oven and place the pan on a wire rack to cool. After a few minutes, use the parchment paper to lift the bars out of the pan and place them on the rack to cool completely before slicing into squares. Leftover bars will keep refrigerated in an airtight container for up to 5 days.
Things Worth Knowing
- Cooling Time: Allow the bars to cool completely in the pan before cutting to ensure clean edges and a perfect slice.
- Thickness Matters: The thickness of your dough will impact the bake time. Thicker bars may take a bit longer to bake.
- Oat Quality: Using old fashioned rolled oats provides a chewy texture. Instant oats can lead to a mushy result.
- Mix-Ins Variability: Feel free to customize with your favorite mix-ins like nuts or dried fruit, but ensure not to overload the batter.
Helpful Hints
Here are some tips to help you master the art of making Monster Cookie Bars. Whether you’re a seasoned baker or trying it for the first time, these suggestions will make your experience smoother.
- Storage: Keep leftover Monster Cookie Bars in an airtight container at room temperature for up to 5 days to maintain their softness.
- Freezing: To freeze, wrap individual bars tightly in plastic wrap and then place them in a freezer-safe bag. They can last up to three months!
- Pairing: These bars pair wonderfully with a glass of milk or a cup of coffee, making them a perfect snack any time of the day.
- Chilling Time: Don’t skip the chilling step! It’s crucial for developing the best texture and flavor.
- Variation: Experiment with different toppings or mix-ins, like crushed pretzels or butterscotch chips, for a unique twist.
- Serving Suggestions: Consider serving these bars with a scoop of vanilla ice cream on top for an indulgent dessert.
Side Dish Ideas for Monster Cookie Bars
When serving Monster Cookie Bars, you can elevate the experience with some delightful accompaniments. Here are some ideas to complement your treats:
- Milk: A classic pairing! Serve your bars with a cold glass of milk to balance the sweetness.
- Ice Cream: Top your bars with a scoop of vanilla ice cream for a delicious sundae-style dessert.
- Fruit Salad: A refreshing fruit salad can add a nice contrast to the sweetness of the bars, making for a balanced dessert table.
- Coffee or Tea: Pair your Monster Cookie Bars with a hot cup of coffee or tea for a comforting treat during afternoon breaks.
- Homemade Whipped Cream: A dollop of fresh whipped cream on top can add a light and airy texture to your dessert.
- Seasonal Decor: During seasonal celebrations like Halloween, consider decorating your bars with festive sprinkles or toppings fitting the theme.
FAQ
Conclusion
The Monster Cookie Bars are truly a delightful treat that combines nostalgia with delicious flavor. These bars are perfect for any occasion, whether you’re celebrating a holiday or simply craving something sweet. I encourage you to try making this recipe and share it with your family and friends. It’s a wonderful way to create new memories while enjoying a timeless treat!
Monster Cookie Bars
Equipment
- Wooden Spoon
- Mixing Bowl
- Frying Pan
- Baking Sheet
- Oven
Ingredients
- ½ cup Unsalted Butter at room temperature
- 1 cup Light Brown Sugar packed
- ½ cup Creamy Peanut Butter at room temperature
- 1 teaspoon Honey
- 1 ½ teaspoons Vanilla Extract
- 1 large Egg at room temperature
- 1 large Egg Yolk at room temperature
- 1 cup All-Purpose Flour
- ¼ teaspoon Fine Sea Salt
- ¼ teaspoon Baking Soda
- 1 ½ cups Old Fashioned Rolled Oats
- ½ cup M&Ms Candies
- ½ cup Chocolate Chips
- 1 serving Candy Eyeballs for topping (optional)
Instructions
- Lightly butter the bottom and sides of an 8-by-8-inch baking pan. Line with parchment paper; the butter will help the parchment not move around.
- In a mixing bowl or the bowl of a stand mixer fitted with the paddle attachment, beat butter, brown sugar, peanut butter, honey, and vanilla until mixture is fluffy and a shade or two lighter in color.
- Scrape down the sides of the bowl, then add egg and egg yolk, mixing until fully incorporated.
- Add flour, salt, and baking soda and mix on low speed until almost incorporated, then add oats and mix briefly just to uniformly distribute them.
- Add M&Ms and chocolate chips and stir in with a rubber spatula, scraping any bits of dry flour that might be left on the bottom or sides of the bowl.
- Dump dough into prepared baking pan, using spatula to press it evenly all the way to the edges.
- Cover and chill for at least 2 hours or overnight.
- Preheat oven to 350 degrees F. Let chilled dough sit at room temperature for a bit while the oven preheats.
- Bake for 33 to 37 minutes or until top is puffed and no longer raw looking, and edges are just starting to brown.
- Remove from oven and place pan on a wire rack to cool, then use parchment to lift the bars out of the pan to place on the rack to cool completely before slicing into squares.
Notes
- Tip 1: Keep leftover Monster Cookie Bars in an airtight container at room temperature for up to 5 days to maintain their softness.
- Tip 2: To freeze, wrap individual bars tightly in plastic wrap and then place them in a freezer-safe bag. They can last up to three months!
- Tip 3: These bars pair wonderfully with a glass of milk or a cup of coffee, making them a perfect snack any time of the day.
- Tip 4: Don’t skip the chilling step! It’s crucial for developing the best texture and flavor.
- Tip 5: Consider serving these bars with a scoop of vanilla ice cream on top for an indulgent dessert.