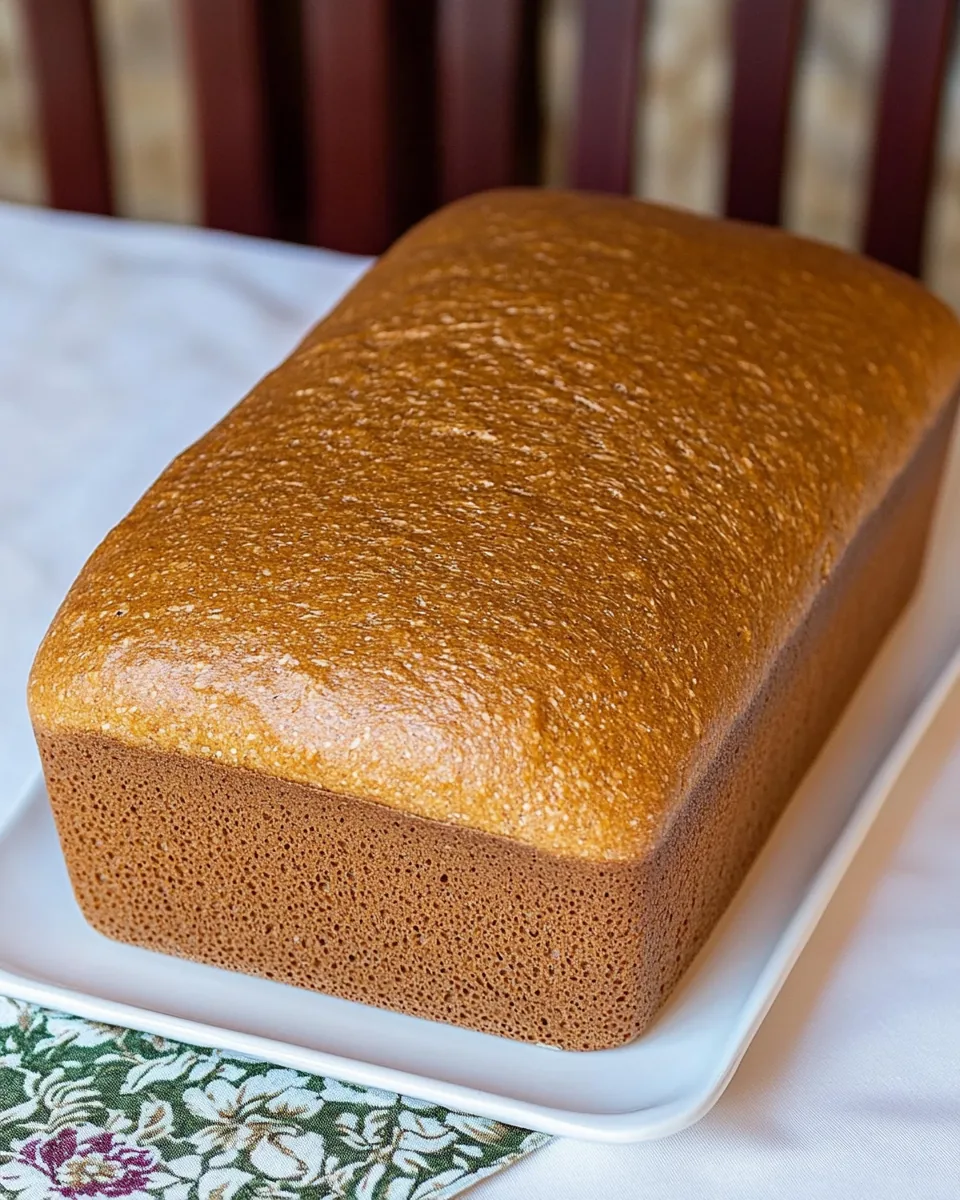
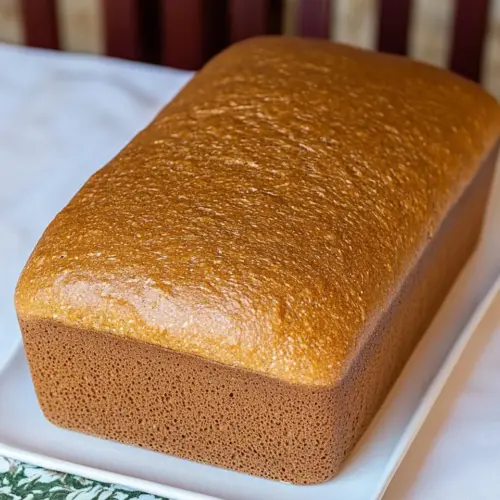
Moms Rye and Whole Wheat Bread
There’s something truly special about homemade bread, and my personal favorite is Moms Rye and Whole Wheat Bread. Growing up, the smell of freshly baked bread wafting through the house was the ultimate comfort. I remember my mom spending hours in the kitchen, her hands covered in flour, creating loaves that brought our family together. Each slice was a masterpiece, with a perfect balance of nuttiness from the rye and heartiness from the whole wheat. Making this bread is more than just a recipe; it’s a tradition that I cherish. Whether it’s for breakfast with a smear of butter or as the base for a hearty sandwich, this bread has always been a staple in my home.
Recipe Snapshot
7 hr 30 mins
395 mins
55 mins
Hard
180 kcal
6 g
Vegan
2 g
Wooden Spoon, Mixing Bowl, Frying Pan, Whisk, Blender, Baking Sheet, Oven
Why This Moms Rye and Whole Wheat Bread Is a Winner
Rich Flavor Profile
The combination of rye flour and whole wheat flour creates a complex flavor that you simply can’t find in store-bought bread. Each bite is nutty and slightly sweet, making it perfect for both sweet and savory toppings.
Health Benefits
This recipe is packed with nutrients. Rye flour is known for its health benefits, including higher fiber content than regular wheat, which can aid digestion. Whole wheat flour adds even more dietary fiber, vitamins, and minerals, making this bread a healthier choice.
Versatility
Moms Rye and Whole Wheat Bread is incredibly versatile. It can be enjoyed fresh out of the oven, toasted, or even used for sandwiches. Imagine a warm slice with some avocado and a sprinkle of salt or a classic peanut butter and jelly for the kids!
Homemade Joy
There’s a unique satisfaction that comes from baking bread at home. The process of mixing, kneading, and watching the dough rise is a joyful experience. Plus, the end result is a warm loaf that you can proudly share with family and friends.
Family Tradition
This recipe is steeped in tradition. My mom taught me how to make this bread, and now I pass it down to my children. Each time we make it, we share stories and memories, making it not just a recipe, but a cherished family ritual.
Simple Ingredients
With just a handful of ingredients, making Moms Rye and Whole Wheat Bread is approachable even for novice bakers. You might find yourself surprised by how easy and enjoyable it is!
Ingredients Overview for Moms Rye and Whole Wheat Bread
The ingredients for Moms Rye and Whole Wheat Bread are simple yet powerful. Each one plays a critical role in developing the flavor and texture of the bread. The blend of rye flour, whole wheat flour, and a combination of various other flours creates a complex taste that’s both satisfying and nutritious.
- 2 1/4 cups luke warm water: Essential for activating the yeast and creating a moist dough.
- 1/2 Tbsp salt: Enhances flavor and strengthens the dough structure.
- 1 1/2 Tbsp sugar: Feeds the yeast for a better rise and adds a hint of sweetness.
- 2 tsp active dry yeast: The magic ingredient that helps the bread rise.
- 3/4 cup whole wheat flour: Adds fiber and a nutty flavor.
- 3/4 cup rye flour: Provides a distinctive taste and improves texture.
- 3/4 cup better for bread flour: Gives structure and strength to the dough.
- 2 1/2 cups better for bread flour: Added in stages to achieve the right dough consistency.
- 2 Tbsp canola oil: Helps to keep the bread moist and adds a bit of richness.
Step by Step Instructions for Moms Rye and Whole Wheat Bread
Baking Moms Rye and Whole Wheat Bread is a delightful journey that brings together the joy of mixing, kneading, and waiting for the dough to rise. Follow these steps carefully, and you’ll soon have a warm loaf ready to enjoy!
- In a large kitchen aid mixer bowl, combine 2 1/4 cups warm water (about 100˚F), 1 1/2 Tbsp sugar, and 1/2 Tbsp salt; stir to dissolve. This step is crucial as it activates the yeast and prepares your dough base.
- Sift the 3/4 cup wheat flour, 3/4 cup rye flour, and 3/4 cup better for bread flour along with 2 tsp yeast into the salted water. Be sure not to discard anything left in the sifter; toss it into the batter. Whisk everything together until well blended. This creates a uniform mixture ready for rising.
- Let the mixture rise on the counter uncovered for 3 hours, stirring the batter about once every hour. You will notice it becoming bubbly, which is a good sign!
- Using the dough hook attachment, add 1/2 cup better for bread flour until well blended, scraping down the bowl as needed. This helps achieve the right consistency.
- Blend in the remaining 2 cups bread flour a heaping Tbsp at a time. Allow the dough to dissolve the flour in between each addition. This process will take about 20 minutes and should result in a smooth dough.
- After all the flour is incorporated, add 2 Tbsp canola oil. Let it mix for another 20 minutes on speed 2 or until the dough is no longer sticking to your bowl. Note that the dough may appear sticky at first but will come together nicely by the end.
- Remove the dough hook and let the dough rise in the bowl, uncovered, until double in volume, which should take about 45 minutes.
- Grease your bread pans, counter, and fingers lightly with canola oil. Punch down the dough and transfer it onto the oiled counter.
- Pinch the dough in the center to form two sections. Grease your pan lightly with oil and place the dough into each prepared bread pan, molding it to the base without gaps in the corners. Let it rise on the counter until it has increased in size by 2 1/2 to 3 times, which should take about 1 1/2 hours.
- Bake at 360˚F for 55 minutes. Once done, brush the tops with butter as soon as the bread comes out of the oven. This adds a lovely sheen and flavor.
- Remove the bread immediately from the pans and cool on a wire rack. If you leave the bread in the pans, it will get moist from the steam.
Things Worth Knowing
- Temperature Matters: Ensure that your water is warm but not hot. Too hot can kill the yeast, while too cold can slow down the rising process.
- Kneading Technique: Knead the dough well; it helps develop gluten, leading to a better texture in your bread.
- Rise Time: Allowing the dough to rise properly is key. The longer it rises, the better the flavor and texture.
- Baking Temperature: Keep an eye on your oven’s temperature; variations can affect the baking time and outcome.
- Cooling Time: Don’t rush to cut the bread. Letting it cool completely helps maintain its structure.
Variations to Try
If you’re feeling adventurous, there are many variations you can try with Moms Rye and Whole Wheat Bread. Here are some ideas to get you started!
- Add Seeds: Consider sprinkling sunflower seeds or pumpkin seeds on top for an extra crunch and nuttiness.
- Sweeten It Up: Incorporate honey or maple syrup into the dough for a hint of sweetness.
- Herb Infusion: Mix in herbs like rosemary or thyme to give the bread a fresh flavor.
- Nutty Touch: Add chopped nuts such as walnuts or pecans for added texture and taste.
- Use Different Flours: Experiment with other flours like spelt or oat flour for unique flavors.
- Cheese It Up: Incorporate some shredded cheese for a savory twist.
- Storage: Store leftover bread wrapped in plastic or in an airtight container to keep it fresh. You can also slice and freeze it for longer storage.
- Freezing: Yes, you can freeze this bread! Just make sure it’s fully cooled before wrapping it tightly in foil and placing it in a freezer bag.
- Pairing: This bread pairs wonderfully with soups or salads, making it a great addition to any meal!
What Complements This Moms Rye and Whole Wheat Bread
Serving Moms Rye and Whole Wheat Bread can elevate your meals and delight your guests. Here are some ideas to enhance your dining experience:
- Soups: Serve alongside warm bowls of soup such as tomato or chicken noodle for a comforting meal.
- Salads: This bread pairs excellently with a fresh salad, adding a hearty element to your greens.
- Sandwiches: Make delicious sandwiches with turkey, cheese, and your favorite veggies for lunch.
- Breakfast: Top slices with butter and jam for a delightful breakfast treat.
- Storage: You can store leftover bread in a cool, dry place. Keep it wrapped to maintain freshness for up to a week.
- Seasonal Pairings: During the fall, enjoy with pumpkin soup; in the spring, serve with fresh greens and herbs.
FAQ
Conclusion
Moms Rye and Whole Wheat Bread is more than just a recipe; it’s a culinary tradition that brings warmth and joy to any table. The rich flavors and delightful texture make it perfect for various meals, from breakfast to dinner. I encourage you to try this recipe and experience the satisfaction of baking your own bread. It might just become a cherished part of your family’s traditions as well!
Moms Rye and Whole Wheat Bread
Equipment
- Wooden Spoon
- Mixing Bowl
- Frying Pan
- Whisk
- Blender
- Baking Sheet
- Oven
Ingredients
- 2 1/4 cups luke warm water
- 1/2 Tbsp salt
- 1 1/2 Tbsp sugar
- 2 tsp active dry yeast
- 3/4 cup whole wheat flour
- 3/4 cup rye flour
- 3/4 cup better for bread flour
- 2 1/2 cups better for bread flour
- 2 Tbsp canola oil
Instructions
- In a large kitchen aid mixer bowl, combine 2 1/4 cups warm water (about 100˚F), 1 1/2 Tbsp sugar and 1/2 Tbsp salt; stir to dissolve.
- Sift the 3/4 cup wheat flour, 3/4 cup rye flour, and 3/4 cup better for bread flour with 2 tsp yeast into the salted water. Do not discard anything left in the sifter; toss it into the batter. Whisk together until well blended.
- Let it rise on the counter uncovered for 3 hours, stirring the batter about once every hour. It will be bubbly.
- Using the dough hook attachment add 1/2 cup better for bread flour until well blended, scraping down the bowl if needed.
- Blend in the rest of your bread flour (2 cups) a heaping Tbsp at a time, letting the dough dissolve the flour in between each spoon (this takes about 20 min).
- Once all the flour is incorporated, add 2 Tbsp canola oil. Let mix for an additional 20 more minutes with the dough hook on speed 2 or until dough is no longer sticking to your bowl.
- Remove dough hook and let it rise in the bowl, uncovered, until double in volume (45 min).
- Grease your bread pans, counter and fingers a little with the canola oil. Punch down the dough and transfer it onto the oiled counter.
- Pinch the dough in the center to form two sections with your hands. Grease your pan lightly with oil. Place dough into each prepared bread pan and mold the dough to the base of the pan (no gaps in the corners).
- Let it rise on the counter until 2 1/2 to 3 times in volume (about 1 1/2 hours).
- Bake at 360˚F for 55 minutes. When done, brush the tops with butter as soon as the bread comes out of the oven.
- Remove bread immediately from the pans and cool on a wire rack.
Notes
- Storage: Store leftover bread wrapped in plastic or in an airtight container to keep it fresh.
- Freezing: Yes, you can freeze this bread! Just make sure it’s fully cooled before wrapping it tightly in foil and placing it in a freezer bag.
- Pairing: This bread pairs wonderfully with soups or salads, making it a great addition to any meal!