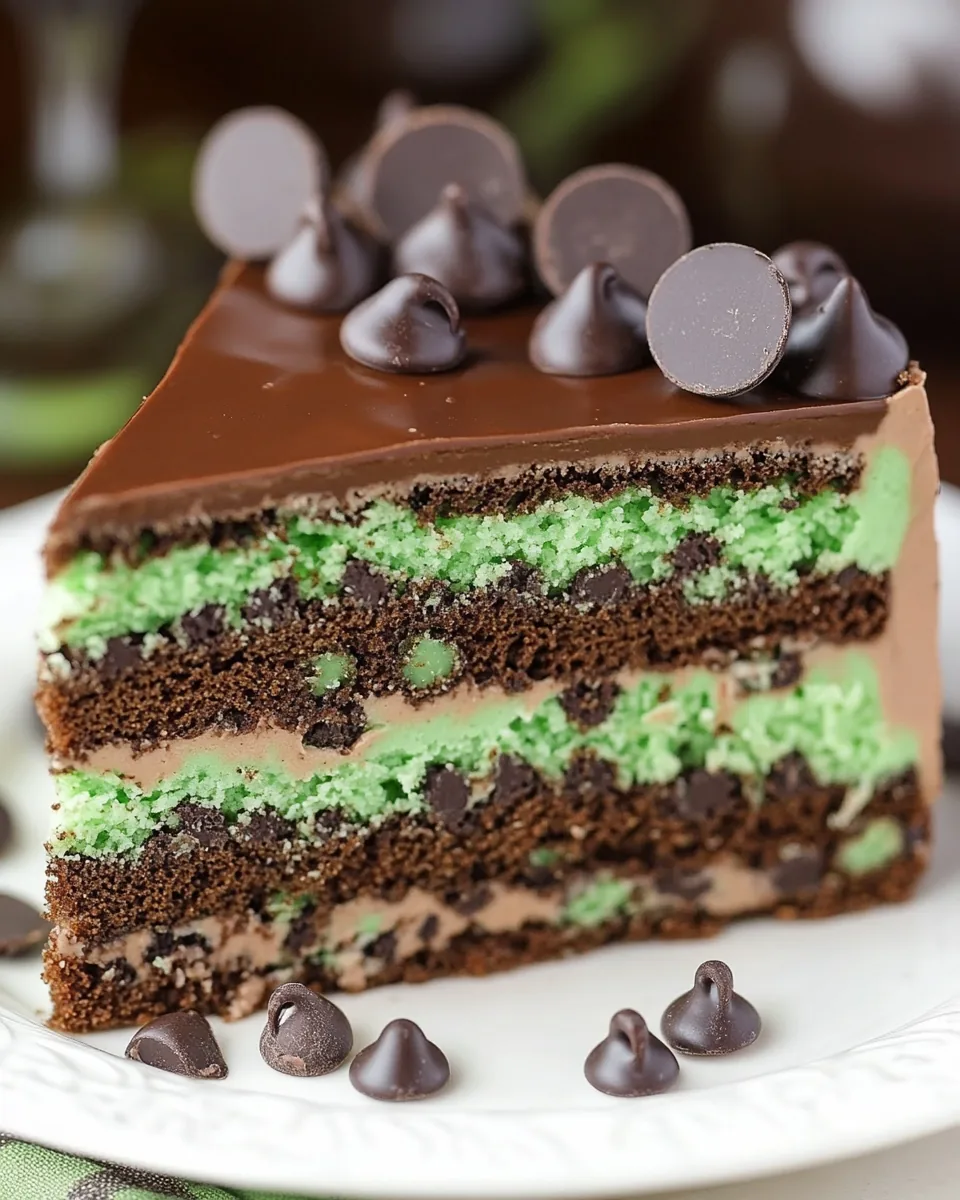
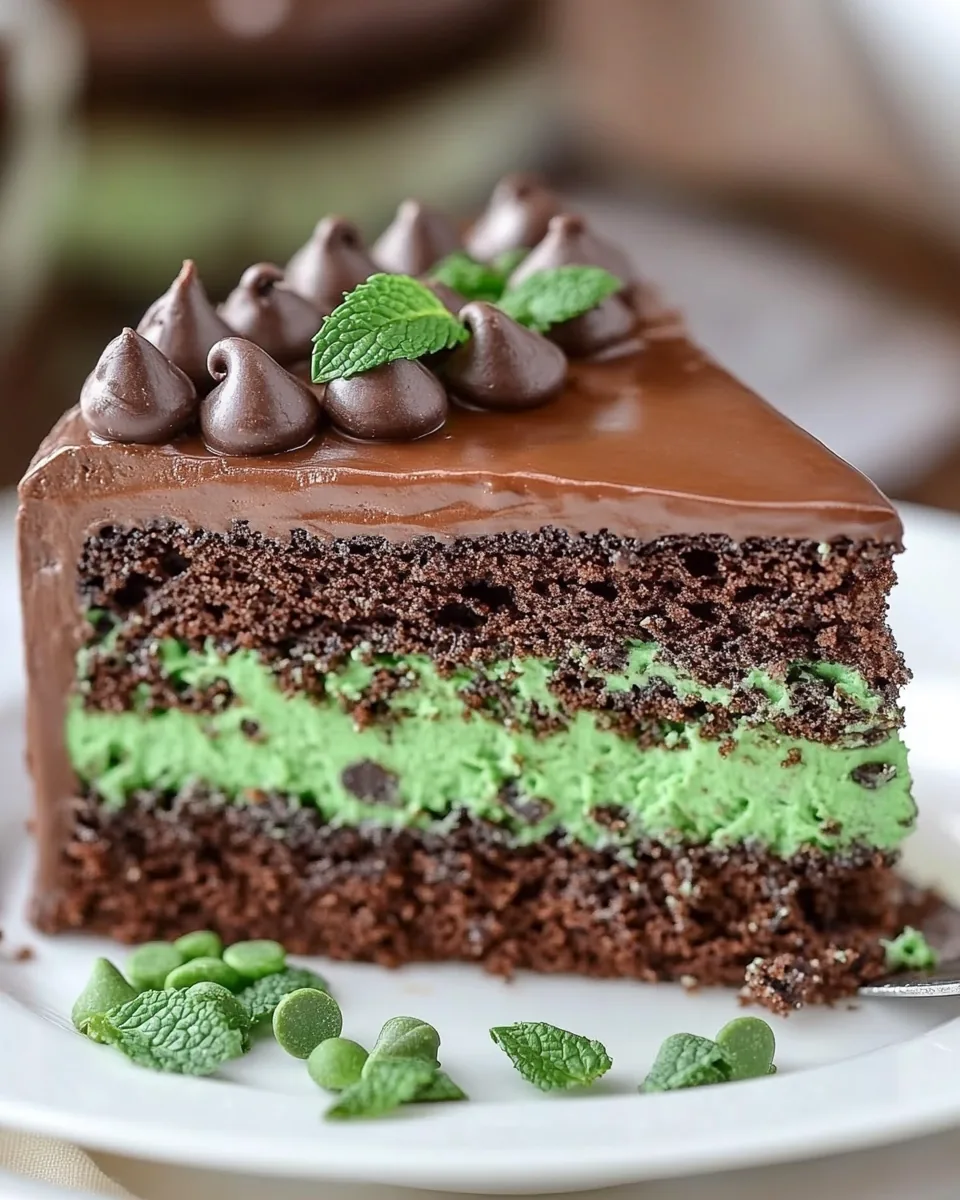
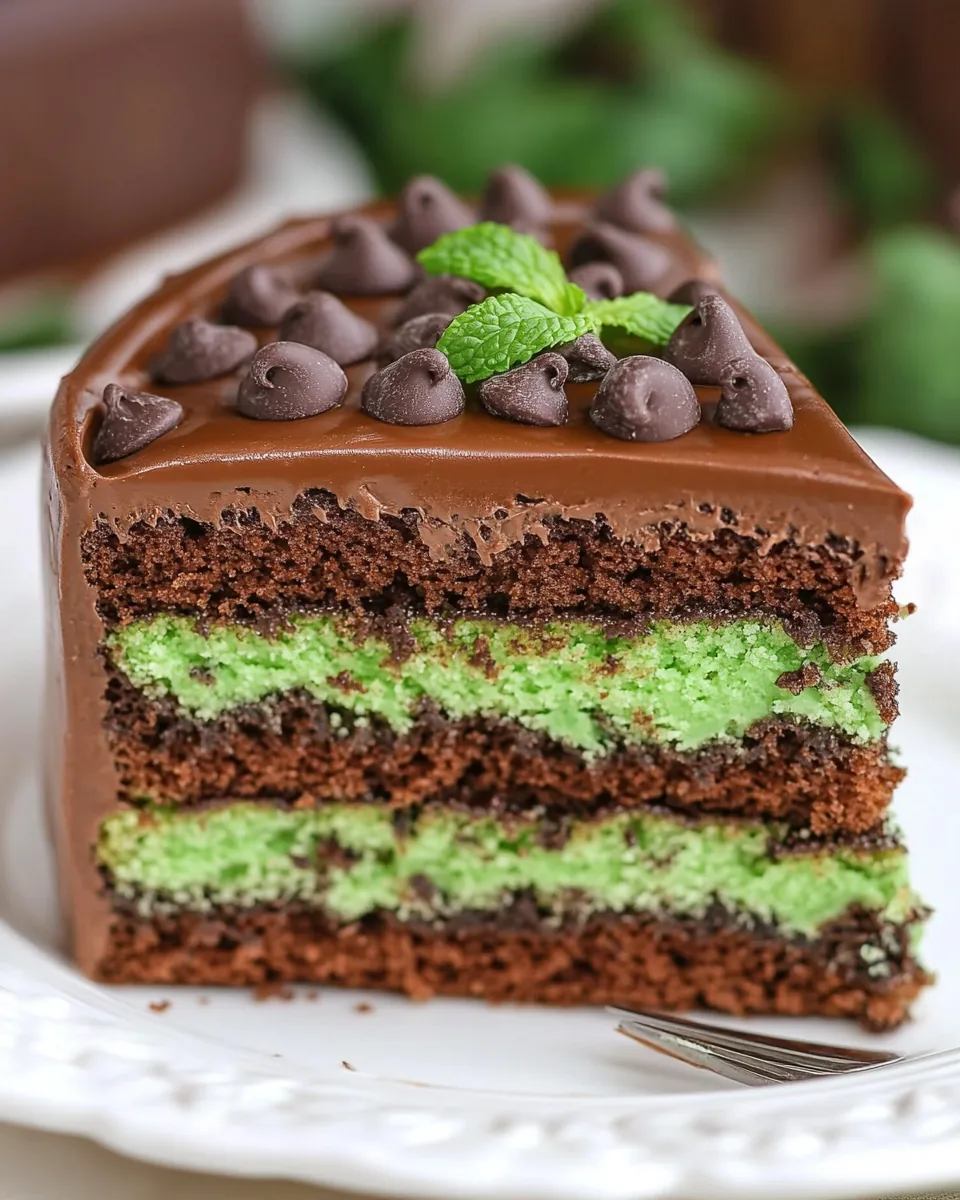
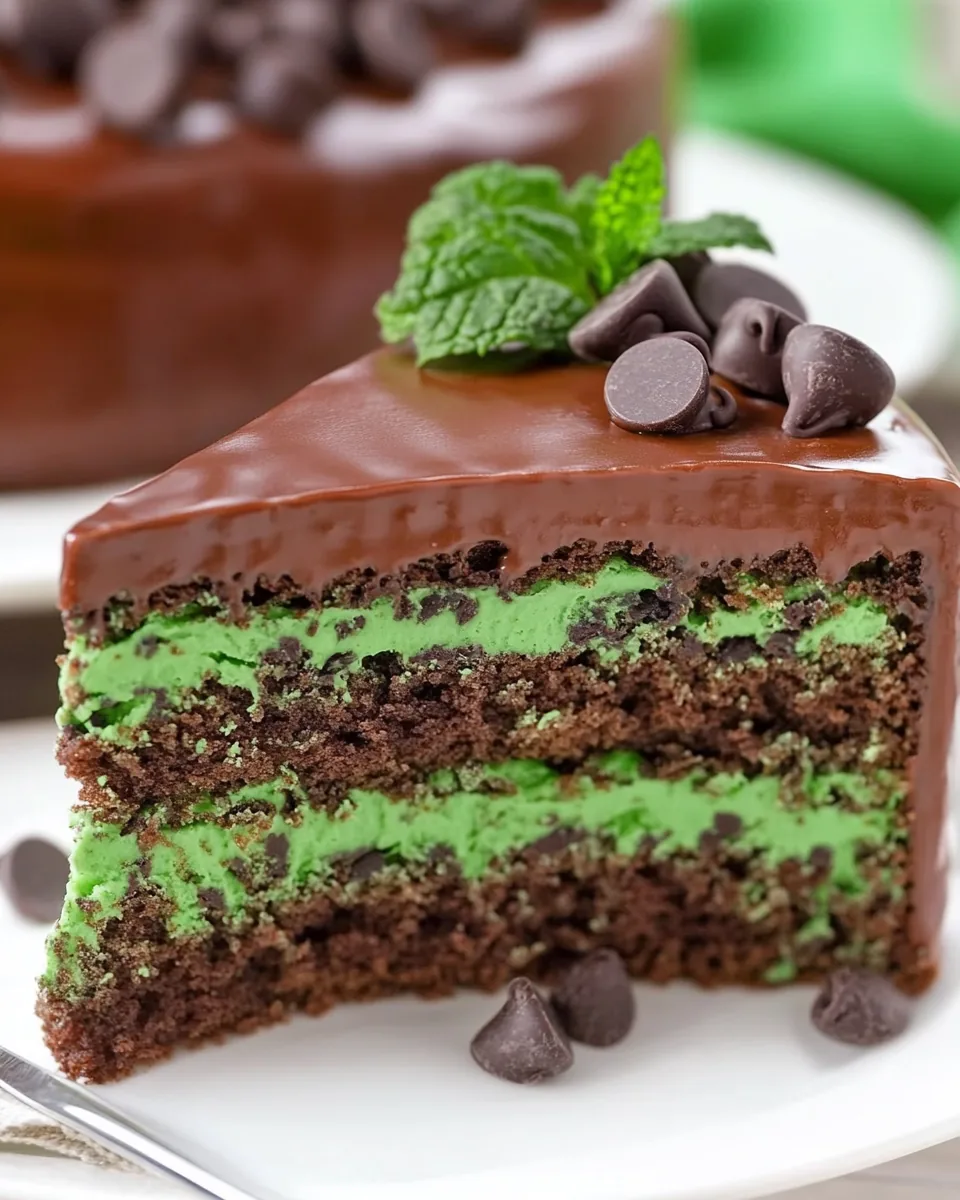
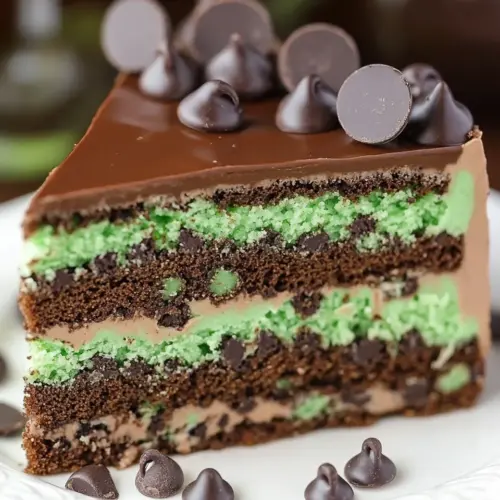
Mint Chocolate Chip Cake
There’s something utterly delightful about a cake that combines the freshness of mint with the rich sweetness of chocolate. That’s why I’ve fallen in love with this Mint Chocolate Chip Cake. Every time I bake it, I can’t help but recall those warm summer evenings when my family gathered around the table, savoring each slice. The burst of mint paired with mini chocolate chips creates a symphony of flavors that brings back the best memories. Whether it’s for a birthday celebration or just a sweet treat to brighten up a Tuesday, this cake never fails to impress. It’s moist, full of flavor, and the frosting takes it to the next level!
Recipe Snapshot
1 hr 30 mins
60 mins
30 mins
Hard
450 kcal
6 g
Whole30, Vegan, Gluten-Free
20 g
Wooden Spoon, Mixing Bowl, Frying Pan, Chef’s Knife, Whisk, Baking Sheet, Food Processor, Oven
Why You’ll Love This Mint Chocolate Chip Cake
1. Flavor Explosion
What truly sets this Mint Chocolate Chip Cake apart is the flavor profile. The refreshing hint of mint works harmoniously with the chocolate, making each bite a delightful experience. It’s not just cake; it’s a celebration!
2. Perfect for Any Occasion
This cake is versatile enough to be a showstopper at birthday parties or simply a delightful dessert for a family dinner. You can serve it at celebrations or enjoy it on a quiet afternoon with a cup of tea.
3. Beautiful Presentation
The vibrant green from the mint and the rich brown of the chocolate create a visually stunning cake. When topped with whipped cream and chocolate garnishes, it’s sure to impress your guests.
4. Easy to Make
Despite its impressive appearance, the Mint Chocolate Chip Cake is surprisingly easy to prepare. With straightforward steps and simple ingredients, you’ll find it a joy to bake!
What You Need for Mint Chocolate Chip Cake
The ingredients for this Mint Chocolate Chip Cake are not only essential but also work beautifully together to create a moist, flavorful cake. Each ingredient plays a vital role in the texture and taste, from the all-purpose flour providing structure to the mint extract giving that refreshing burst. Let’s explore the key players!
- Baking Spray: Used to coat the pans for easy release of the cake layers.
- All-Purpose Flour: The backbone of the cake, providing structure and stability.
- Sugar: Sweetens the cake and balances the flavors, making it appealing.
- Baking Soda and Baking Powder: These leavening agents help the cake rise, giving it a light and airy texture.
- Salt: Enhances the overall flavor, bringing all the ingredients together.
- Large Eggs: Provides moisture and helps bind the ingredients for a cohesive batter.
- Vegetable Oil: Keeps the cake moist and tender.
- Buttermilk: Adds a slight tang and contributes to the cake’s moisture.
- White Distilled Vinegar: Works with the baking soda for leavening and enhances flavor.
- Mint Extract: The star of the show, giving that refreshing minty flavor.
- Mint Green Gel Food Coloring: Provides a vibrant color to the cake, making it visually appealing.
- Mini Chocolate Chips: Adds pockets of chocolate throughout the cake, enhancing every bite.
- Semi-Sweet Chocolate: Used in the frosting, it brings a rich chocolate flavor.
- Unsalted Butter: The base for the frosting, contributing to its creamy texture.
- Confectioners Sugar: Sweetens the frosting and gives it a smooth texture.
- Unsweetened Cocoa Powder: Adds depth of flavor to the frosting.
- Whipping Cream: Adds lightness and fluffiness to the frosting and ganache.
Recipe Steps for Mint Chocolate Chip Cake
Making this Mint Chocolate Chip Cake is quite straightforward, and trust me, the end result is worth every moment spent in the kitchen! Let’s dive into the delicious steps below:
- Preheat your oven to 350 degrees F. This is crucial to ensure even baking right from the start.
- Prepare 2 or 3 8-inch cake pans by spraying them with baking spray. For a seamless release, cover the bottom with parchment paper and spray again. If you prefer thicker layers, use 2 pans; for thinner ones, use 3.
- In a medium bowl, combine the dry ingredients: flour, sugar, baking powder, baking soda, and salt. Whisk them together to ensure they are well blended. This mixture will help the cake rise beautifully.
- In a large bowl, mix the wet ingredients: eggs, vegetable oil, buttermilk, vinegar, mint extract, and gel food coloring. Using a hand mixer, whisk on medium speed until completely combined. The color should be a lovely minty green.
- Reduce the mixer speed to low and slowly add in the dry ingredient mixture. Make sure to scrape the sides and bottom of the bowl occasionally. Mix just until everything is fully combined.
- Gently fold in mini chocolate chips with a spatula. This adds delightful pockets of chocolate throughout the cake.
- Divide the batter evenly into the prepared pans. This ensures that each layer bakes evenly.
- Bake in the preheated oven, rotating the pans halfway through. Check for doneness by inserting a toothpick into the center; it should come out clean. For 2 layers, it will take about 30 minutes; for 3 layers, around 20 minutes.
- Once done, remove the cakes from the oven and run a knife around the edges to loosen them. Let them cool in the pans for 20 to 30 minutes before inverting them onto a cooling rack. Allow them to cool completely before frosting.
- For the frosting, melt the chopped semi-sweet chocolate in a microwave-safe bowl in 30-second increments, stirring after each. Let it cool to room temperature.
- In a stand mixer, beat butter and half of the confectioners sugar until creamy. Gradually add the cooled chocolate and mint extract; mix until combined.
- In a separate bowl, mix the remaining confectioners sugar and cocoa powder. Slowly add this to the frosting mixture, mixing on low until incorporated. Then increase the speed and beat for 1 to 2 minutes.
- If your frosting is too thick, add a tablespoon of milk at a time until you reach the desired consistency. If it’s too runny, add more confectioners sugar.
- Use a serrated knife to flatten the tops of the cooled cake layers, if needed. Place a small amount of frosting on the bottom of your cake stand to help secure the first layer.
- Place the first layer on the stand, spreading about 1 cup of frosting on top. Use an offset spatula for a smooth finish.
- Repeat with the next layer, adding frosting and stacking carefully. For a third layer, follow the same steps and cover the entire cake with the remaining frosting.
- Decorate the sides and top of the cake with the remaining mini chocolate chips.
- Refrigerate the decorated cake for at least 2 to 3 hours to set the frosting before serving.
- For the ganache, heat whipping cream in the microwave until hot, about 40 to 60 seconds. Pour it over the chopped chocolate and let it sit for two minutes before stirring until smooth.
- Allow the ganache to come to room temperature, then drizzle it over the chilled cake, starting from the center and letting it drip down the sides.
- Refrigerate again for at least 30 minutes to let the ganache set.
- To make whipped cream, combine cold heavy whipping cream with sugar, cocoa powder, and vanilla in a cold bowl. Whisk until stiff peaks form.
- Transfer the whipped cream into a piping bag and frost the top of the cake. Chill before serving for the best texture.
Things Worth Knowing
- Cooling Time: Be patient while cooling your cakes. Allowing them to cool completely before frosting prevents melting and sliding.
- Frosting Consistency: Adjust the frosting thickness to your liking. It should be spreadable but hold its shape.
- Layering Tips: When stacking layers, ensure they are level for a stunning presentation. Use a cake leveler if necessary.
- Decoration Ideas: Feel free to get creative with toppings! Mint leaves or chocolate shavings can elevate the look.
Tips and Variations
Here are some additional tips and variations to make your Mint Chocolate Chip Cake even more special!
- Storage: Store any leftover cake in an airtight container in the refrigerator for up to 4 days.
- Freezing: You can freeze the cake layers wrapped in plastic wrap for up to 3 months. Thaw in the refrigerator before frosting.
- Garnishing: Top with fresh mint leaves or chocolate shavings for an elegant touch.
- Flavor Variations: Try adding a swirl of raspberry jam between the layers for a fruity twist!
- Serving: Pair with vanilla ice cream for a delicious contrast.
- Allergy Considerations: Make sure to check for any allergies related to the ingredients, especially if serving to guests.
Serving Ideas for Mint Chocolate Chip Cake
Deciding how to serve your Mint Chocolate Chip Cake can be just as fun as making it! Here are some ideas:
- Birthday Parties: This cake is perfect for birthday celebrations, bringing joy and sweetness to the event.
- Family Gatherings: Serve it as a delightful dessert after dinner; everyone will rave about it!
- Seasonal Treats: Ideal for summer picnics or holiday gatherings, it adds a festive feel to any occasion.
- Accompaniments: Pair slices with a scoop of vanilla or mint ice cream for a heavenly dessert.
- Coffee Pairing: This cake goes wonderfully with a cup of coffee or tea, making it a great choice for afternoon gatherings.
- Storage Tips: If you have leftovers, cover them well to keep them fresh. A cake dome or plastic wrap works wonders.
FAQ
Conclusion
The Mint Chocolate Chip Cake is a delightful treat that combines refreshing mint with rich chocolate flavors, making it a standout dessert. I encourage you to try this recipe, whether for a special occasion or just because you deserve something sweet. Trust me, once you take that first bite, you’ll want to share it with everyone you know!
Mint Chocolate Chip Cake
Equipment
- Wooden Spoon
- Mixing Bowl
- Frying Pan
- Chef's Knife
- Whisk
- Baking Sheet
- Food Processor
- Oven
Ingredients
- Baking Spray Baking Spray for the pans
- 2 1/2 cups All-Purpose Flour
- 1 1/2 cups Sugar
- 1 teaspoon Baking Soda
- 1 teaspoon Baking Powder
- 1/2 teaspoon Salt
- 2 large Eggs at room temperature
- 1 1/2 cups Vegetable Oil
- 1 cup Buttermilk room temperature
- 1 teaspoon White Distilled Vinegar
- 1 teaspoon Mint Extract
- A few drops Mint Green Gel Food Coloring
- 1 1/2 cups Mini Chocolate Chips
- 12 oz Semi-Sweet Chocolate chopped
- 3 sticks Unsalted Butter room temperature
- 8 cups Confectioners Sugar
- 1/2 cup Unsweetened Cocoa Powder sifted
- 1 teaspoon Mint Extract
- 1 cup Mini Chocolate Chips
- 1/2 cup Whipping Cream hot
- 6 oz Semi-Sweet Chocolate chopped
- 1 1/2 cups Heavy Whipping Cream cold
- 3 tablespoons Sugar
- 3 tablespoons Cocoa Powder
- 1 teaspoon Vanilla Extract
Instructions
- Preheat your oven to 350 degrees F. This is crucial to ensure even baking right from the start.
- Prepare 2 or 3 8-inch cake pans by spraying them with baking spray. For a seamless release, cover the bottom with parchment paper and spray again. If you prefer thicker layers, use 2 pans; for thinner ones, use 3.
- In a medium bowl, combine the dry ingredients: flour, sugar, baking powder, baking soda, and salt. Whisk them together to ensure they are well blended. This mixture will help the cake rise beautifully.
- In a large bowl, mix the wet ingredients: eggs, vegetable oil, buttermilk, vinegar, mint extract, and gel food coloring. Using a hand mixer, whisk on medium speed until completely combined. The color should be a lovely minty green.
- Reduce the mixer speed to low and slowly add in the dry ingredient mixture. Make sure to scrape the sides and bottom of the bowl occasionally. Mix just until everything is fully combined.
- Gently fold in mini chocolate chips with a spatula. This adds delightful pockets of chocolate throughout the cake.
- Divide the batter evenly into the prepared pans. This ensures that each layer bakes evenly.
- Bake in the preheated oven, rotating the pans halfway through. Check for doneness by inserting a toothpick into the center; it should come out clean. For 2 layers, it will take about 30 minutes; for 3 layers, around 20 minutes.
- Once done, remove the cakes from the oven and run a knife around the edges to loosen them. Let them cool in the pans for 20 to 30 minutes before inverting them onto a cooling rack. Allow them to cool completely before frosting.
- For the frosting, melt the chopped semi-sweet chocolate in a microwave-safe bowl in 30-second increments, stirring after each. Let it cool to room temperature.
- In a stand mixer, beat butter and half of the confectioners sugar until creamy. Gradually add the cooled chocolate and mint extract; mix until combined.
- In a separate bowl, mix the remaining confectioners sugar and cocoa powder. Slowly add this to the frosting mixture, mixing on low until incorporated. Then increase the speed and beat for 1 to 2 minutes.
- If your frosting is too thick, add a tablespoon of milk at a time until you reach the desired consistency. If it’s too runny, add more confectioners sugar.
- Use a serrated knife to flatten the tops of the cooled cake layers, if needed. Place a small amount of frosting on the bottom of your cake stand to help secure the first layer.
- Place the first layer on the stand, spreading about 1 cup of frosting on top. Use an offset spatula for a smooth finish.
- Repeat with the next layer, adding frosting and stacking carefully. For a third layer, follow the same steps and cover the entire cake with the remaining frosting.
- Decorate the sides and top of the cake with the remaining mini chocolate chips.
- Refrigerate the decorated cake for at least 2 to 3 hours to set the frosting before serving.
- For the ganache, heat whipping cream in the microwave until hot, about 40 to 60 seconds. Pour it over the chopped chocolate and let it sit for two minutes before stirring until smooth.
- Allow the ganache to come to room temperature, then drizzle it over the chilled cake, starting from the center and letting it drip down the sides.
- Refrigerate again for at least 30 minutes to let the ganache set.
- To make whipped cream, combine cold heavy whipping cream with sugar, cocoa powder, and vanilla in a cold bowl. Whisk until stiff peaks form.
- Transfer the whipped cream into a piping bag and frost the top of the cake. Chill before serving for the best texture.
Notes
- Storage: Store any leftover cake in an airtight container in the refrigerator for up to 4 days.
- Freezing: You can freeze the cake layers wrapped in plastic wrap for up to 3 months. Thaw in the refrigerator before frosting.
- Garnishing: Top with fresh mint leaves or chocolate shavings for an elegant touch.
- Flavor Variations: Try adding a swirl of raspberry jam between the layers for a fruity twist!
- Serving: Pair slices with a scoop of vanilla ice cream for a heavenly dessert.
- Allergy Considerations: Make sure to check for any allergies related to the ingredients, especially if serving to guests.