Mini Quiche Recipe
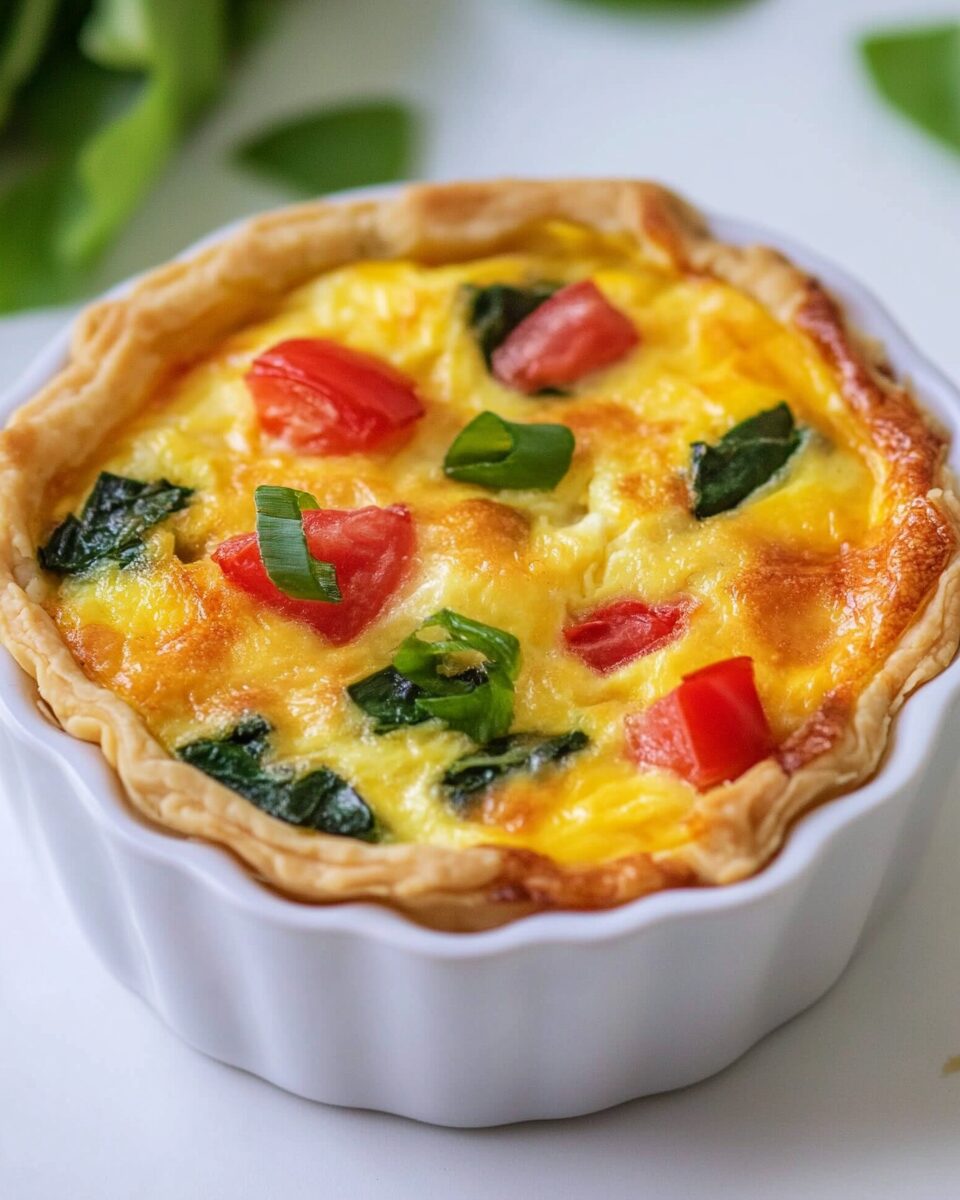
Mini quiches are the epitome of versatility and flavor, making them a perfect choice for any occasion. Whether you are hosting a brunch, a casual get-together, or simply looking for a fun snack, these bite-sized delights will surely impress your guests and satisfy your cravings. Their flaky crust, combined with a creamy filling and a variety of fillings, allows for endless creativity in the kitchen. Each mini quiche is a delightful package of flavors, and the best part is that they can be made ahead of time and served warm or at room temperature. Plus, they are easy to make, requiring only a handful of ingredients that you likely already have on hand. With their charming appearance and delicious taste, mini quiches are bound to become a staple in your recipe repertoire.
Why You’ll Love This Recipe?
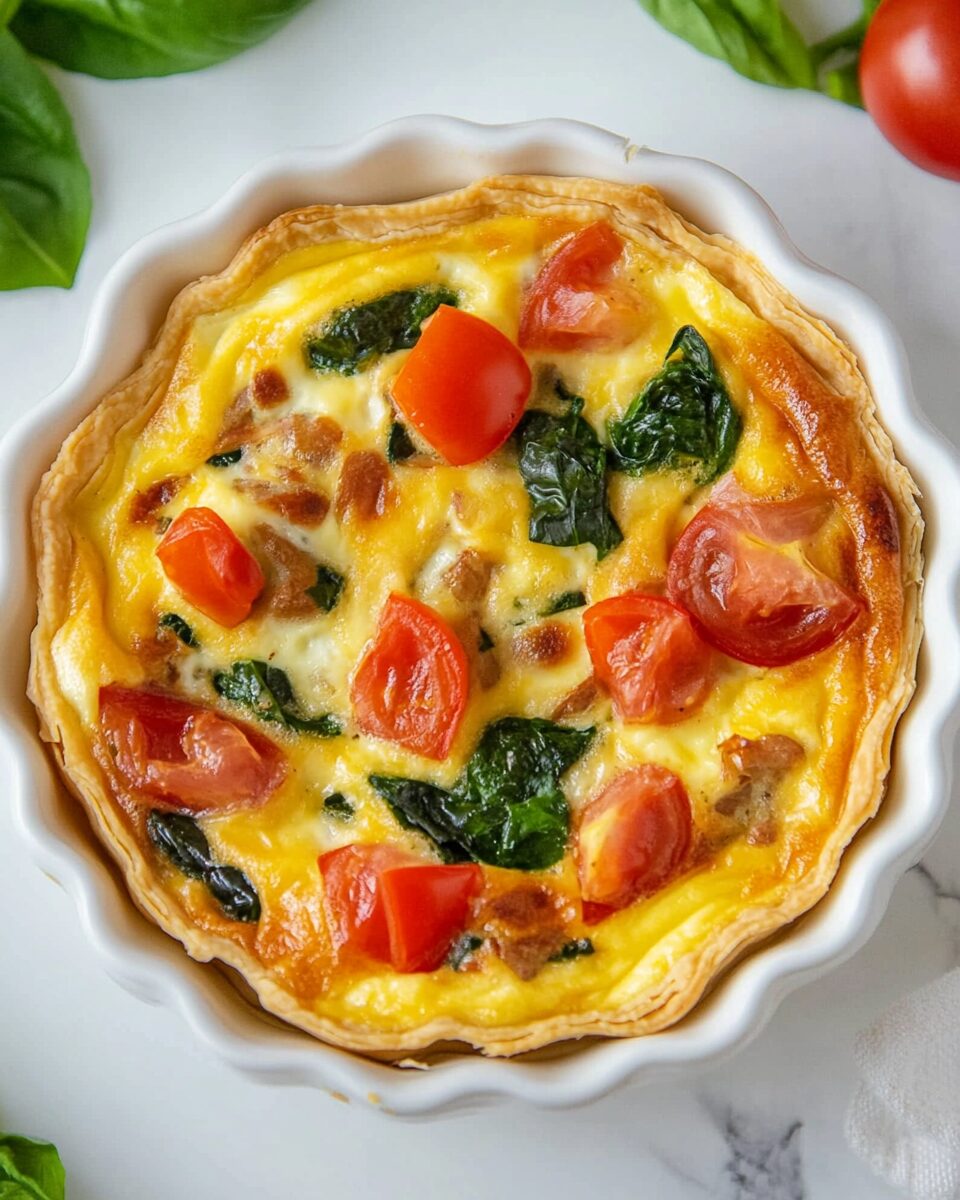
There are so many reasons to fall in love with this mini quiche recipe. First and foremost, the taste is simply irresistible. The combination of eggs, cheese, and your choice of fillings creates a rich and satisfying flavor profile that will leave you wanting more. You can customize the fillings to suit your palate or the preferences of your guests, ranging from classic ingredients like spinach and cheese to more adventurous combinations such as sun-dried tomatoes and feta.
Another reason to adore this recipe is its ease of preparation. The steps involved are straightforward, making it accessible even for novice cooks. You can whip up a batch in no time, and since they bake in a muffin tin, portion control is a breeze.
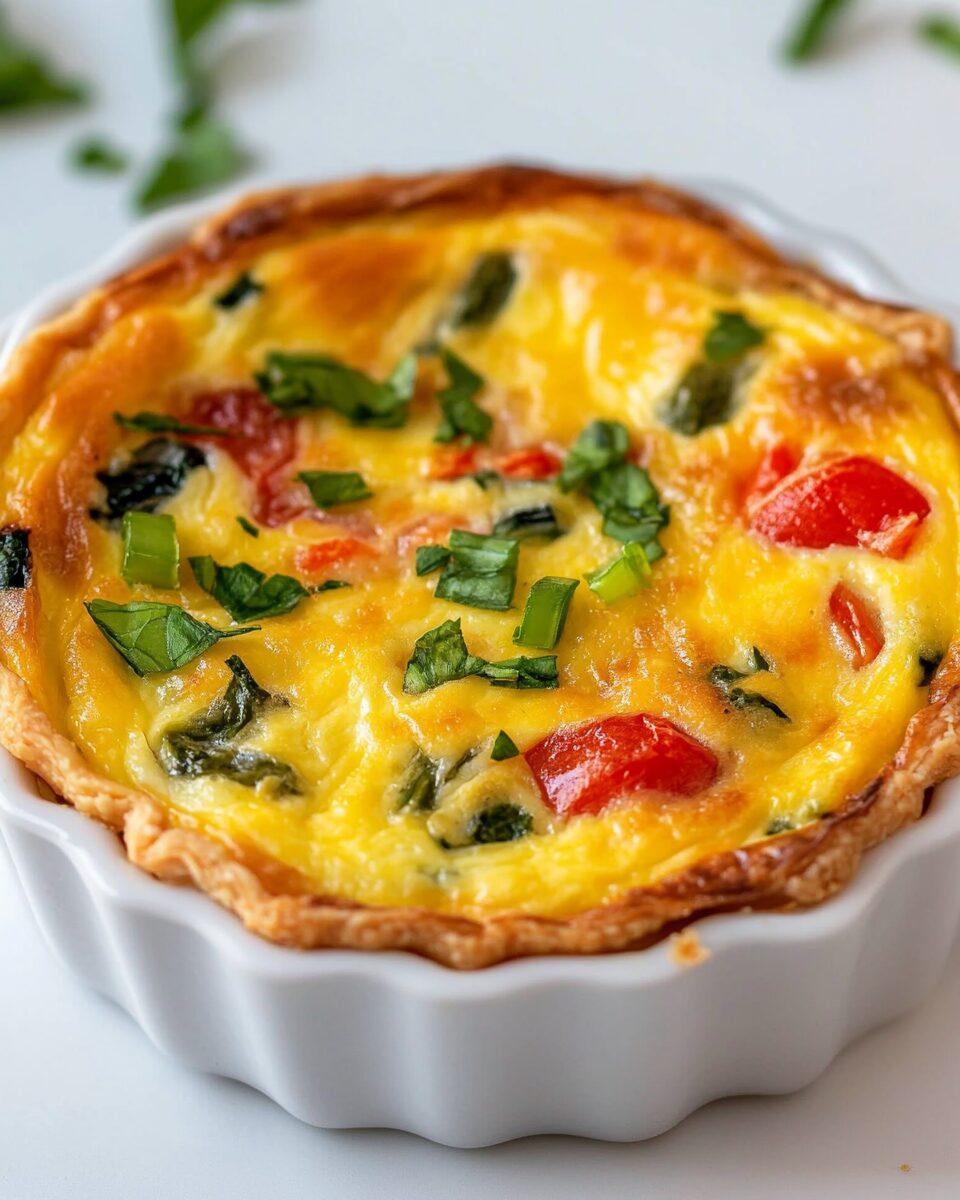
Finally, the presentation of mini quiches is undeniably appealing. Their petite size and golden-brown crust make them an attractive addition to any table spread. They can be served warm or at room temperature, making them a flexible option for entertaining. These quiches are not only delicious but also visually stunning, making them perfect for impressing guests at your next gathering.
Ingredients:
To make the perfect mini quiches, you will need a selection of fresh ingredients. Here’s what you’ll need for this delightful recipe:
- 1 package of pre-made pie crusts (approximately 14 oz) – You can find these in the refrigerated section of your grocery store. They save time and ensure a flaky texture.
- 4 large eggs – The star of the quiche, eggs provide the base for the filling and contribute to the overall richness of flavor.
- 1 cup of milk – Whole milk is recommended for a creamier texture, but you can use 2% if preferred.
- 1 cup of shredded cheese – Cheddar is a classic choice, but feel free to experiment with mozzarella, gouda, or a cheese blend for variety.
- 1 cup of diced vegetables – Choose your favorites! Bell peppers, spinach, mushrooms, and zucchini are all great options.
- ½ cup of cooked protein (optional) – You can add diced cooked chicken, turkey, or your choice of vegetables for added flavor and nutrition.
- Salt and pepper to taste – Essential for seasoning, ensure you adjust according to your preference.
- Fresh herbs (optional) – Chopped parsley, chives, or thyme can elevate the flavor profile, providing a fresh touch.
Feel free to adjust the quantities based on your preferences or the number of servings you need. This recipe typically yields about 12 mini quiches, which makes it perfect for sharing.
How To Make Mini Quiche Recipe?

Making mini quiches is a straightforward process that anyone can master. Follow these step-by-step instructions to create your own delicious mini quiches:
- Preheat your oven to 375°F (190°C). This ensures that your mini quiches bake evenly and achieve that golden-brown crust.
- Prepare your muffin tin by greasing it lightly with cooking spray or butter. This will help prevent the quiches from sticking and make for easier removal later.
- Roll out the pre-made pie crust on a floured surface if needed. Using a round cookie cutter or a glass, cut out circles that are slightly larger than the cups of your muffin tin.
- Gently press each pie crust circle into the muffin tin cups, ensuring it covers the bottom and sides. Trim any excess dough if necessary.
- In a mixing bowl, whisk together the eggs and milk until fully combined. Season with salt and pepper according to your taste.
- Add in your shredded cheese and diced vegetables (and cooked protein, if using) to the egg mixture. Stir until everything is well combined.
- Carefully pour the egg mixture into each pie crust, filling them about three-quarters full. Be cautious not to overfill, as the quiches will puff up while baking.
- Place the muffin tin in the preheated oven and bake for 20-25 minutes or until the quiches are set and lightly golden on top. You can check for doneness by inserting a toothpick; it should come out clean.
- Once baked, remove the muffin tin from the oven and let the mini quiches cool for a few minutes. Use a butter knife to carefully loosen the edges before gently lifting them out of the tin.
- Serve warm or at room temperature, and enjoy your delicious mini quiches!
Tips For Variations:
One of the best things about mini quiches is their versatility. Here are some unique ideas for variations to suit your taste or budget:
- Cheese Choices: While cheddar is a classic, experiment with different cheese combinations. Try goat cheese for a tangy twist or Swiss cheese for a nutty flavor.
- Vegetable Medley: Incorporate seasonal vegetables for a fresh taste. Asparagus, kale, or roasted red peppers can add a new layer of flavor.
- Protein Options: For a heartier quiche, consider adding shredded rotisserie chicken, cooked lentils, or even crumbled feta cheese for a Mediterranean flair.
- Herb Infusion: Fresh herbs can elevate the flavor significantly. Consider adding dill, basil, or oregano to enhance the taste of your quiches.
- Spice It Up: Add a pinch of red pepper flakes or a dash of hot sauce to the egg mixture for those who enjoy a little heat.
- Mini Quiche Cups: For a fun twist, use phyllo dough instead of pie crusts. Simply layer the phyllo in the muffin tins for a crispy texture.
- Budget-Friendly Options: Use leftover vegetables or scraps from previous meals to minimize waste while adding flavor. You can also buy frozen vegetables to save on costs.
Feel free to mix and match these ideas to create your perfect mini quiche that suits your taste and occasion!
Serving Suggestions:
Mini quiches are incredibly versatile when it comes to serving. Here are some creative ideas to elevate your presentation and make them the star of your gathering:
- Brunch Buffet: Arrange the mini quiches on a large platter as part of a brunch spread alongside fresh fruit, pastries, and coffee. Their bite-sized nature allows guests to sample a variety of flavors.
- Individual Servings: Serve each mini quiche on a small plate with a side of mixed greens dressed in a light vinaigrette. This adds a refreshing contrast to the rich quiches.
- Pair with Dips: Consider offering a selection of dips such as salsa, guacamole, or a creamy herb dip. This adds an interactive element to the serving and complements the quiches.
- Garnish for Appeal: Top each mini quiche with a sprinkle of fresh herbs or a dollop of sour cream for an inviting appearance. You can also use edible flowers for an elegant touch.
- Picnic Perfect: Pack mini quiches in a picnic basket along with a selection of cheeses, crackers, and fruits. They are easy to transport and make for a delightful outdoor meal.
Regardless of how you choose to serve them, mini quiches will surely be a hit at any gathering!
FAQ:
Can I make mini quiches ahead of time?
Yes, you can prepare mini quiches ahead of time. They can be assembled and stored in the refrigerator for up to a day before baking. Alternatively, you can bake them and store them in an airtight container for up to three days.
How do I store leftover mini quiches?
To store leftovers, let the mini quiches cool completely, then place them in an airtight container in the refrigerator. They can be reheated in the microwave or oven before serving.
Can I freeze mini quiches?
Absolutely! Mini quiches freeze well. After baking, let them cool and place them in a single layer on a baking sheet to freeze. Once frozen, transfer them to an airtight container or freezer bag for up to three months.
What are some good fillings for mini quiches?
There are countless options for fillings! Some popular choices include sautéed mushrooms, spinach, bell peppers, onions, cooked chicken, and various cheeses. Feel free to experiment with your favorite ingredients!
How can I make mini quiches gluten-free?
To make gluten-free mini quiches, use gluten-free pie crusts available in stores or make your own using gluten-free flour blends. Ensure that all your fillings, including cheese and vegetables, are gluten-free as well.

Mini Quiches
Equipment
- Muffin Tin
- Mixing Bowl
Ingredients
Pie Crust
- 1 package Pre-made pie crusts Approximately 14 oz, found in the refrigerated section.
Egg Mixture
- 4 large Eggs The base for the filling.
- 1 cup Milk Whole milk recommended for creaminess.
- 1 cup Shredded cheese Cheddar is classic; feel free to experiment.
- 1 cup Diced vegetables Choose favorites like bell peppers, spinach, mushrooms, or zucchini.
- ½ cup Cooked protein Optional; add diced chicken or turkey.
- to taste Salt Essential for seasoning.
- to taste Pepper Essential for seasoning.
- to taste Fresh herbs Optional; chopped parsley, chives, or thyme.
Instructions
- Preheat your oven to 375°F (190°C).
- Grease your muffin tin lightly with cooking spray or butter.
- Roll out the pre-made pie crust and cut out circles larger than the muffin tin cups.
- Press each pie crust circle into the muffin tin cups.
- In a mixing bowl, whisk together the eggs and milk. Season with salt and pepper.
- Add shredded cheese and diced vegetables (and cooked protein, if using) to the egg mixture.
- Pour the egg mixture into each pie crust, filling them about three-quarters full.
- Bake for 20-25 minutes or until set and lightly golden.
- Let cool for a few minutes before removing from the tin.
- Serve warm or at room temperature.