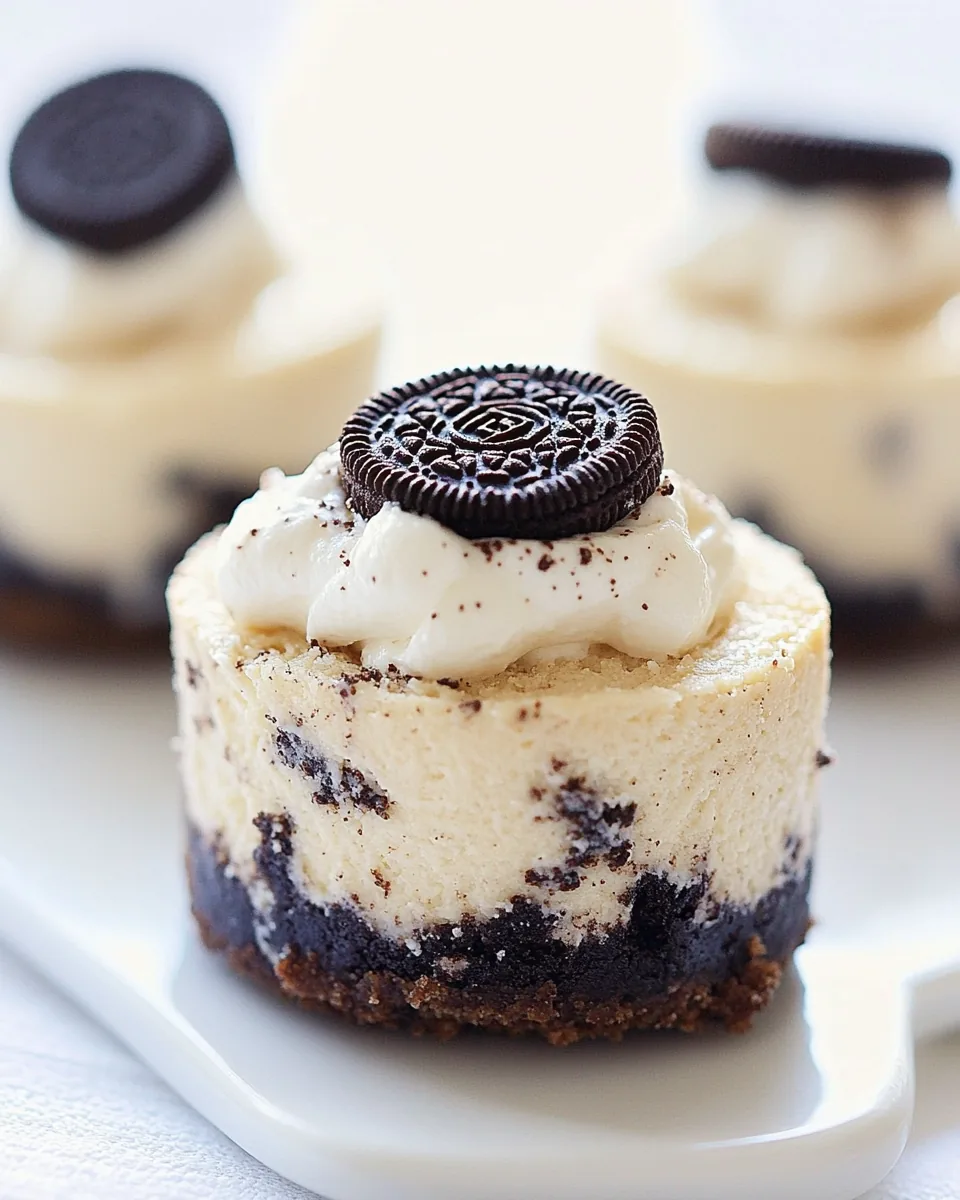
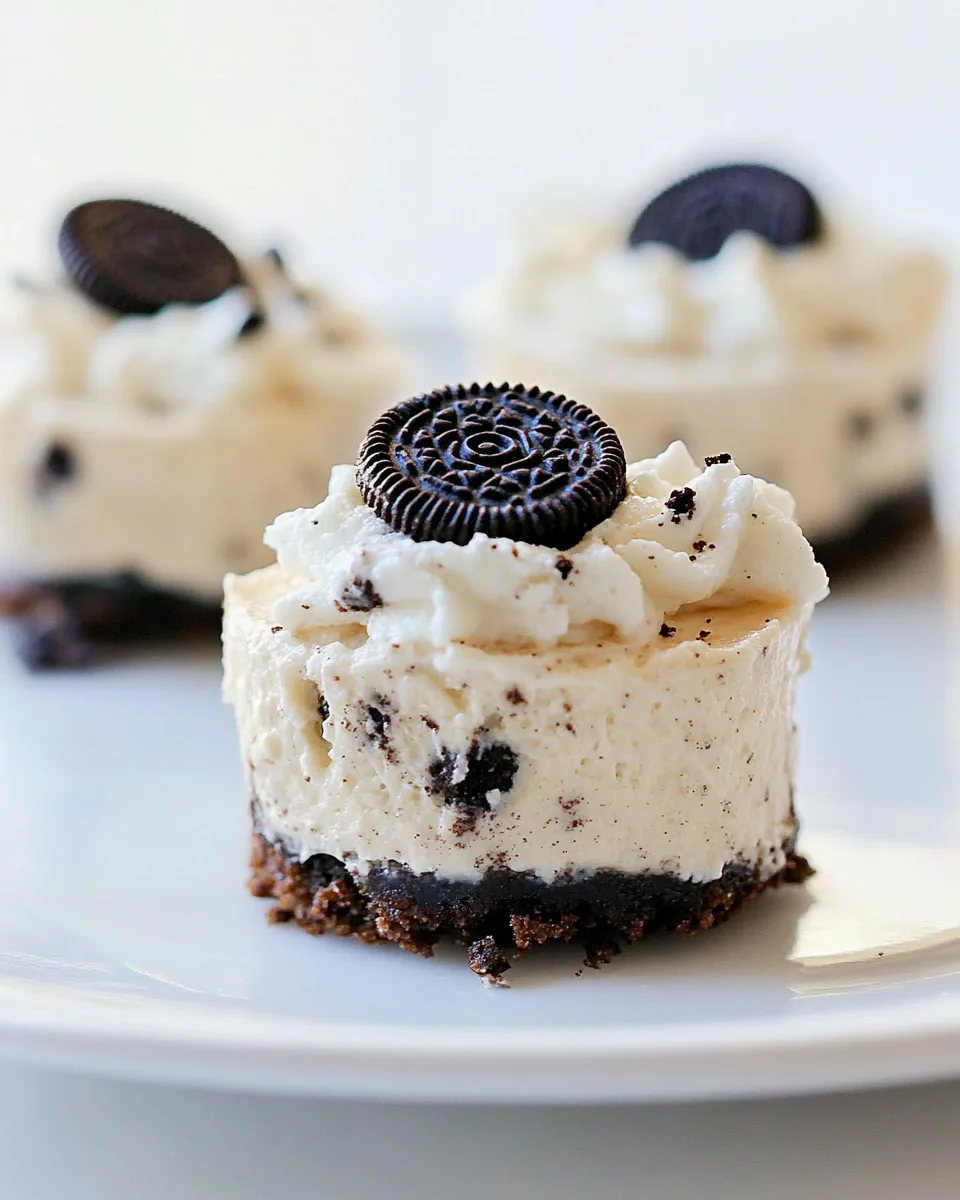
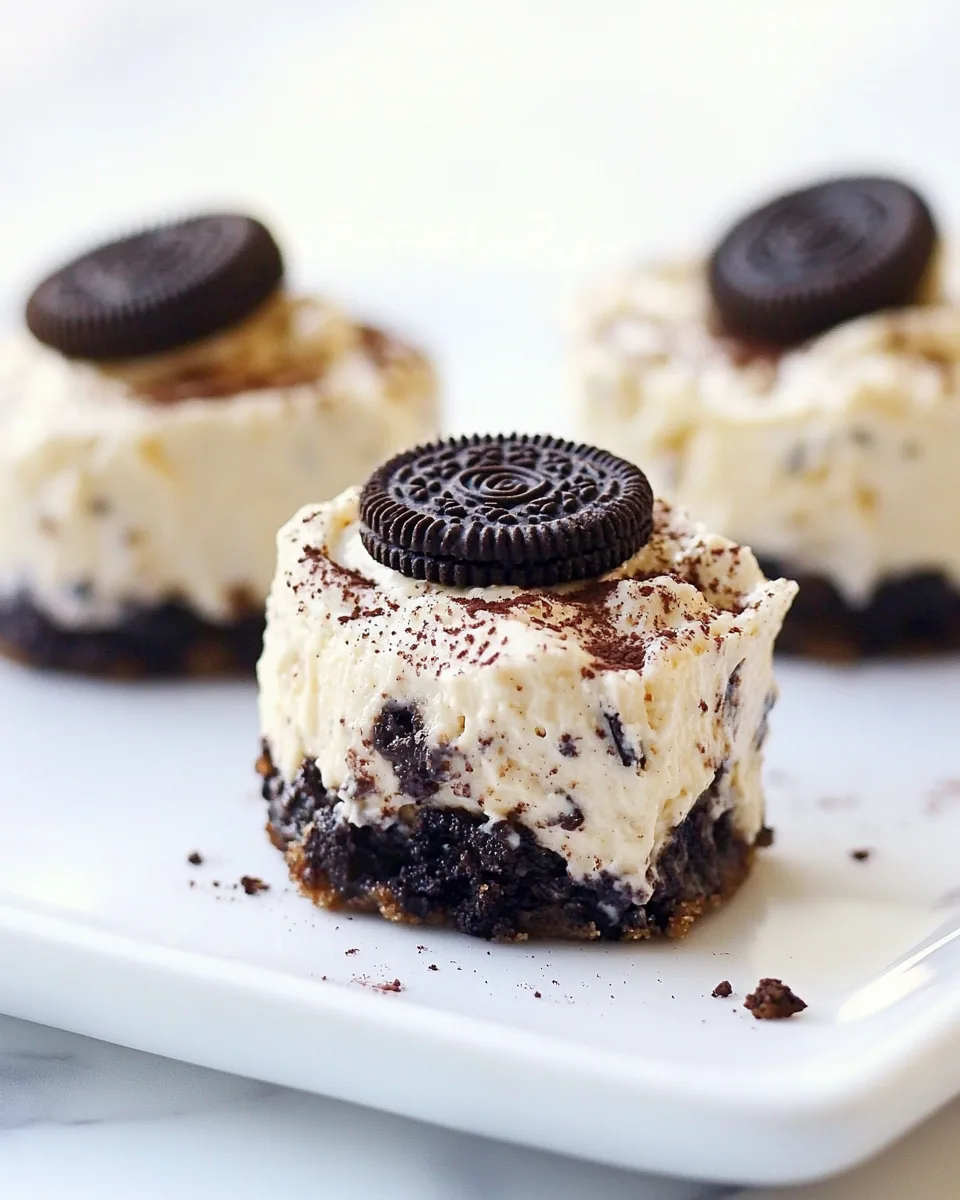
Mini Oreo Cheesecakes
There’s something incredibly satisfying about indulging in a Mini Oreo Cheesecakes after a long day. I remember the first time I made these little treats; it was a rainy afternoon, and I was craving something sweet yet simple. With just a handful of ingredients, I found myself diving into the world of cheesecakes, but in a mini form! The creaminess of the cheesecake filling complemented by the crunch of the Oreos made it an instant hit among my family and friends. It became a go-to recipe for gatherings and celebrations, often disappearing in a flash!
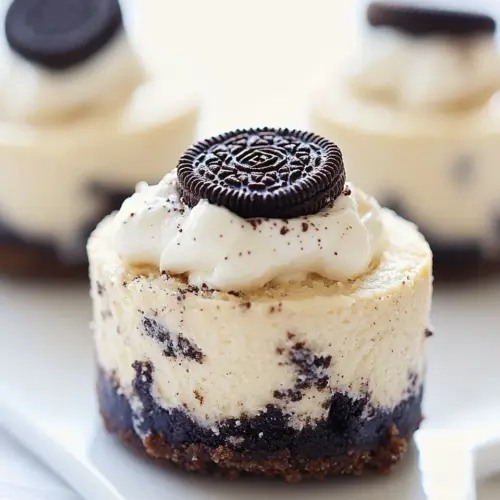
These Mini Oreo Cheesecakes are a delightful combination of flavors and textures. Imagine every bite bursting with the rich taste of cream cheese mingling with the iconic chocolatey goodness of an Oreo. The best part? You can whip these up in no time, making them perfect for spontaneous dessert cravings. Whether it’s a birthday party, a cozy movie night, or just a sweet treat for yourself, these cheesecakes are sure to impress. Trust me, once you try them, you’ll want to keep this recipe close for every occasion!
Recipe Snapshot
20 mins
0 mins
20 mins
Medium
210 kcal
3 g
Keto, Gluten-Free, Low FODMAP
14 g
Wooden Spoon, Peeler, Frying Pan, Chef’s Knife, Blender, Baking Sheet, Food Processor, Oven
Why This Mini Oreo Cheesecakes Shines
Irresistible Flavor
One of the standout features of these Mini Oreo Cheesecakes is their incredible flavor profile. The creamy filling perfectly balances sweetness with a hint of tanginess from the cream cheese. Paired with crushed Oreos, each bite is a dance of flavors that leaves you wanting more.
Simple Ingredients
The beauty of this recipe lies in its simplicity. You only need a few key ingredients to create something truly delicious. From cream cheese to Oreos, you probably have most of them in your pantry already. This makes it an ideal recipe for those last-minute cravings!
Customizable Options
Another reason I adore this recipe is its versatility. You can easily make it gluten-free by using gluten-free Oreos or switch up the sweetener to accommodate different dietary needs. Whether you want to experiment with a coconut butter base or stick with the classic cream cheese, the choices are endless!
Perfect for Any Occasion
These Mini Oreo Cheesecakes are perfect for any gathering. They’re always a hit at parties and can easily be made ahead of time. Just pop them in the fridge, and they’ll be ready to impress your guests!
Easy to Prepare
For those who might feel intimidated by baking, fear not! These cheesecakes are incredibly easy to make. There’s no complicated technique involved, and they require minimal baking, making them accessible for all skill levels.
Portion Control
Let’s be real; mini desserts are simply more fun! With these Mini Oreo Cheesecakes, you get the satisfaction of indulging without overdoing it. Each mini cheesecake is just the right size for a sweet treat!
What to Buy for Mini Oreo Cheesecakes
When it comes to crafting the perfect Mini Oreo Cheesecakes, the ingredients are key. Each component plays a vital role in creating a deliciously creamy and satisfying dessert. From the rich cream cheese to the crunchy Oreos, these ingredients work harmoniously to deliver a delightful experience. Let’s dive into what you’ll need!
- 12 oz cream cheese or coconut butter: The base of the cheesecake, providing that rich and creamy texture that makes cheesecakes so indulgent.
- 1 cup yogurt: Adds a touch of tanginess and creaminess; vegan yogurt can be used for a dairy-free option.
- 6 tbsp sweetener of choice: The sweetness needed to balance the tangy cream cheese; you can use sugar, honey, or a sugar substitute.
- 1 tsp pure vanilla extract: Enhances the overall flavor, giving that lovely aromatic hint that’s essential in desserts.
- 2 tsp cornstarch or arrowroot: Helps to stabilize the cheesecake mixture, ensuring the right texture when it sets.
- 6 Oreo cookies or homemade vegan Oreos: The star ingredient that adds a classic flavor and texture to these cheesecakes.
- 6 additional cookies for the crust: These are essential for creating a crunchy base that complements the creamy filling perfectly.
Making This Mini Oreo Cheesecakes

Getting started on these Mini Oreo Cheesecakes is a breeze! Follow along with these simple steps to create your own delicious batch. Trust me, you’ll be amazed at how easy it is to make something so delightful!
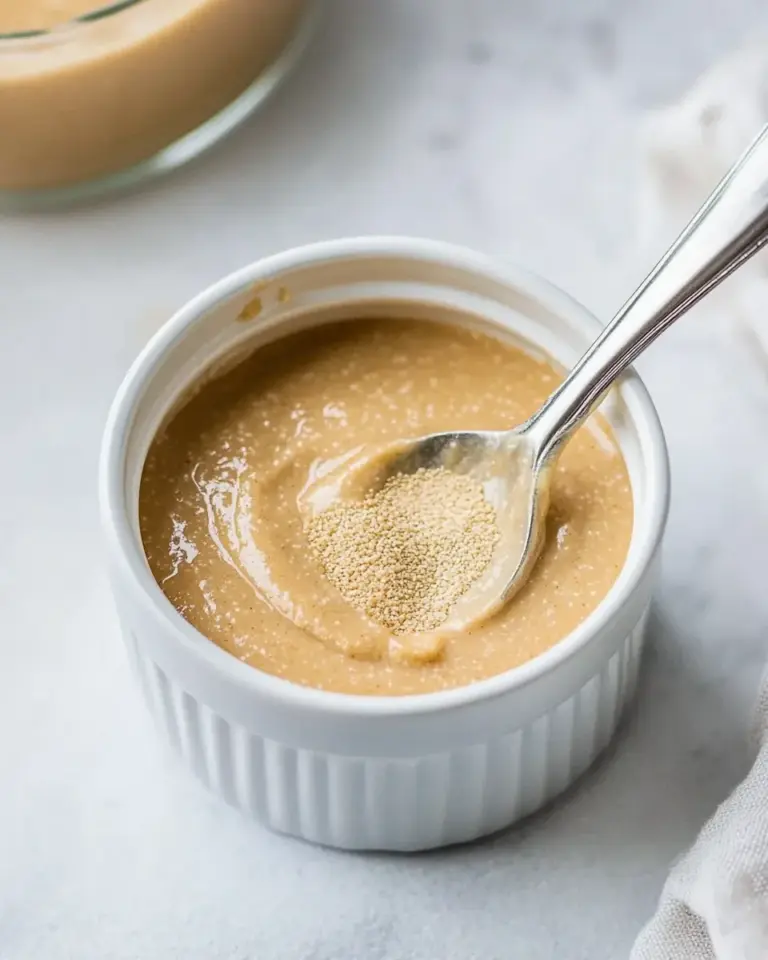
Start with preparing your ingredients. For the coconut butter version, there’s no baking required. Simply portion the batter into cups and refrigerate until set. If you prefer a crust, place a crushed Oreo cookie in each liner before adding the cheesecake batter.
If you’re going for a keto version, use a sandwich cookie recipe that works best for you. Make sure to bring the cream cheese to room temperature or gently warm the coconut butter to make it easier to blend.
-
Crush 6 whole Oreos into fine crumbs. You can use a food processor or a plastic bag with a rolling pin if you don’t have one. Line a cupcake tin with liners and distribute the crumbs into the bottom of 10 to 12 liners, pressing down firmly to create a base.
If you’re using the cream cheese version, preheat your oven to 350°F (175°C). Adding a pan filled halfway with water to the bottom rack can help keep the oven moist, which prevents cracking.
In a blender, food processor, or with a hand mixer, combine all remaining ingredients except for the sandwich cookies. Blend until smooth and creamy, ensuring there are no lumps.
-
Coarsely chop 4 to 6 Oreos and gently fold them into the cheesecake mixture, giving it a delightful texture.
Carefully portion the mixture into the prepared liners, smoothing the tops with a spoon or spatula.
Bake in the preheated oven for 20 minutes on the center rack. Do not open the oven door during baking, as this can cause the cheesecakes to crack.
-
Once the time is up, turn off the oven and let the cheesecakes sit in there for an additional 5 minutes. This gradual cooling helps prevent cracking.
After 5 minutes, carefully remove the cheesecakes from the oven and allow them to cool at room temperature for about an hour before transferring them to the refrigerator to set overnight.
The next day, once fully chilled, the wrappers should peel off easily. Enjoy your delightful Mini Oreo Cheesecakes!
Things Worth Knowing
- Ingredient temperature matters: Ensure your cream cheese is at room temperature for a smooth mixture. It prevents lumps and ensures even blending.
- Don’t skip the chilling: Allowing the cheesecakes to set overnight is crucial for achieving the perfect texture.
- Moisture control: Adding a pan of water to the oven can help create a humid environment, preventing the cheesecakes from cracking.
- Substituting sweeteners: If you opt for a sugar substitute, be sure to check the conversion ratio, as some are sweeter than sugar.
Helpful Notes about Mini Oreo Cheesecakes
Here are some essential tips to ensure your Mini Oreo Cheesecakes turn out perfectly each time you make them!
- Storage: Store leftover cheesecakes in an airtight container in the refrigerator for up to 5 days.
- Freezing: You can freeze these cheesecakes for up to a month. Just make sure to wrap them tightly before placing them in the freezer.
- Pairing: These cheesecakes pair wonderfully with fresh berries or a drizzle of chocolate sauce for added flavor.
- Variation: Feel free to mix in different flavors, such as peanut butter or mint, to customize the cheesecake to your taste.
- Presentation: Top with whipped cream and an additional Oreo for a beautiful presentation when serving.
Serve This Mini Oreo Cheesecakes With
- Fresh Fruit: Serve alongside strawberries or raspberries to add a refreshing touch that complements the rich cheesecake.
- Chocolate Sauce: Drizzle some chocolate sauce over the top for a decadent finish that chocolate lovers will adore.
- Coffee: These cheesecakes pair excellently with a cup of coffee, balancing the sweetness with a bitter note.
- Ice Cream: For an extra indulgent dessert, serve with a scoop of vanilla or chocolate ice cream on the side.
- Special Occasions: Perfect for birthdays, holiday gatherings, or any celebration where you want to impress guests with a delightful treat.
FAQ
Conclusion
These Mini Oreo Cheesecakes are truly special, combining rich flavors with a delightful texture that makes them irresistible. Whether you’re enjoying them yourself or sharing them with friends, they are sure to impress. I encourage you to give this recipe a try and indulge in these little bites of heaven!
Mini Oreo Cheesecakes
Equipment
- Wooden Spoon
- Peeler
- Frying Pan
- Chef's Knife
- Blender
- Baking Sheet
- Food Processor
- Oven
Ingredients
- 12 oz cream cheese
- 1 cup yogurt vegan if desired
- 6 tbsp sweetener of choice
- 1 tsp pure vanilla extract
- 2 tsp cornstarch or arrowroot (omit if using coconut butter)
- 6 Oreo cookies or homemade Vegan Oreos
- 6 additional cookies for the crust
Instructions
- For the coconut butter version, there’s no need to bake! Just portion the batter into the cups and refrigerate to set. You can skip the crust if you wish. Or simply place a cookie in each liner instead of crust, then top with cheesecake batter.
- For the keto version, use the sandwich cookie recipe linked earlier in the post. Either bring cream cheese to room temperature or gently warm coconut butter to soften.
- Crush 6 full sandwich cookies (I used the linked recipe, but feel free to use your favorite) until fine crumbles form. Line a cupcake tin with liners, and portion the fine crumbs into the bottom of 10-12 liners. Press down, then set aside.
- For the cream-cheese version, preheat oven to 350 F. (I also like to add a baking pan filled 1/2 way with water to the bottom oven rack to add moisture to the oven and prevent cracking, but this is not required.)
- In a blender, food processor, or with a hand blender, combine all remaining ingredients except the sandwich cookies. Coarsely chop 4-6 cookies, and stir into the batter.
- Portion into liners, smooth down, and bake 20 minutes on the center rack – then do not open the door but turn off the oven and let sit 5 minutes.
- Remove the under-baked cheesecakes and let sit 1 hour to cool gradually. Then refrigerate overnight to set. The wrappers will peel off easily the next day.
Notes
- Tip 1: Store leftover cheesecakes in an airtight container in the refrigerator for up to 5 days.
- Tip 2: You can freeze these cheesecakes for up to a month. Just make sure to wrap them tightly before placing them in the freezer.
- Tip 3: These cheesecakes pair wonderfully with fresh berries or a drizzle of chocolate sauce for added flavor.
- Tip 4: Feel free to mix in different flavors, such as peanut butter or mint, to customize the cheesecake to your taste.
- Tip 5: Top with whipped cream and an additional Oreo for a beautiful presentation when serving.