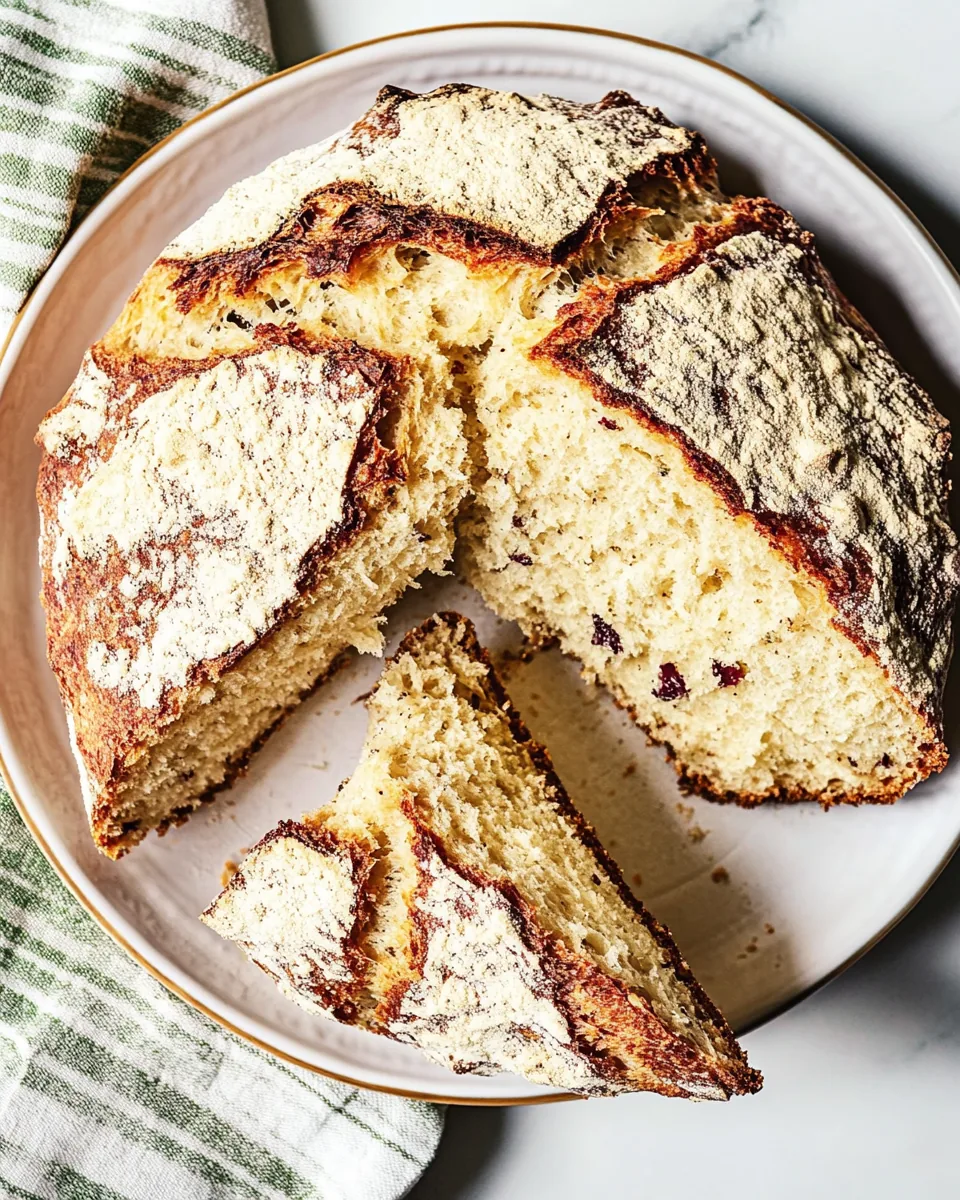
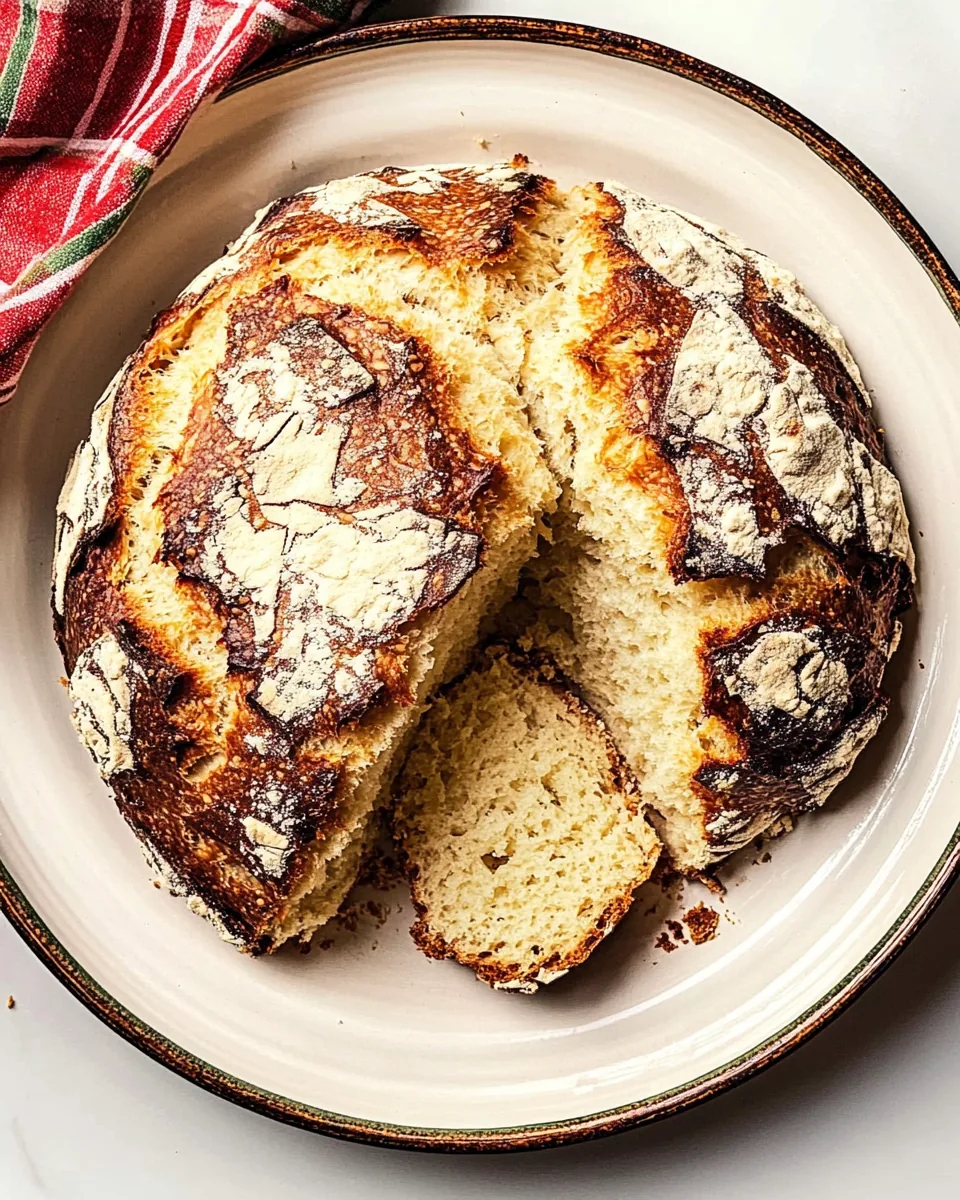
Irish Soda Bread
There’s something incredibly comforting about making a loaf of Irish Soda Bread from scratch. I still remember the first time I tried this recipe; the aroma wafting through the kitchen was simply irresistible. It was a chilly evening, and I decided to surprise my family with something warm and fresh out of the oven. The excitement was palpable, and as the bread baked, we gathered around the table, sharing stories and laughter. This simple yet hearty bread is perfect for any occasion, whether you’re serving it alongside a warm bowl of soup or enjoying it toasted with a spread of butter and jam. With just a handful of ingredients, you’ll be amazed at how easy it is to create your own delicious Irish Soda Bread.
Recipe Snapshot
1 hr 5 mins
20 mins
45 mins
Medium
180 kcal
4 g
Gluten-Free, Low FODMAP
7 g
Wooden Spoon, Mixing Bowl, Frying Pan, Skillet, Chef’s Knife, Whisk, Baking Sheet, Oven
The Beauty of This Irish Soda Bread
Quick to Make
One of the reasons I absolutely adore Irish Soda Bread is how quickly it comes together. Unlike traditional yeast breads that require time for rising, this soda bread uses baking soda as a leavening agent, making it a great option for those last-minute cravings.
Versatile Flavor
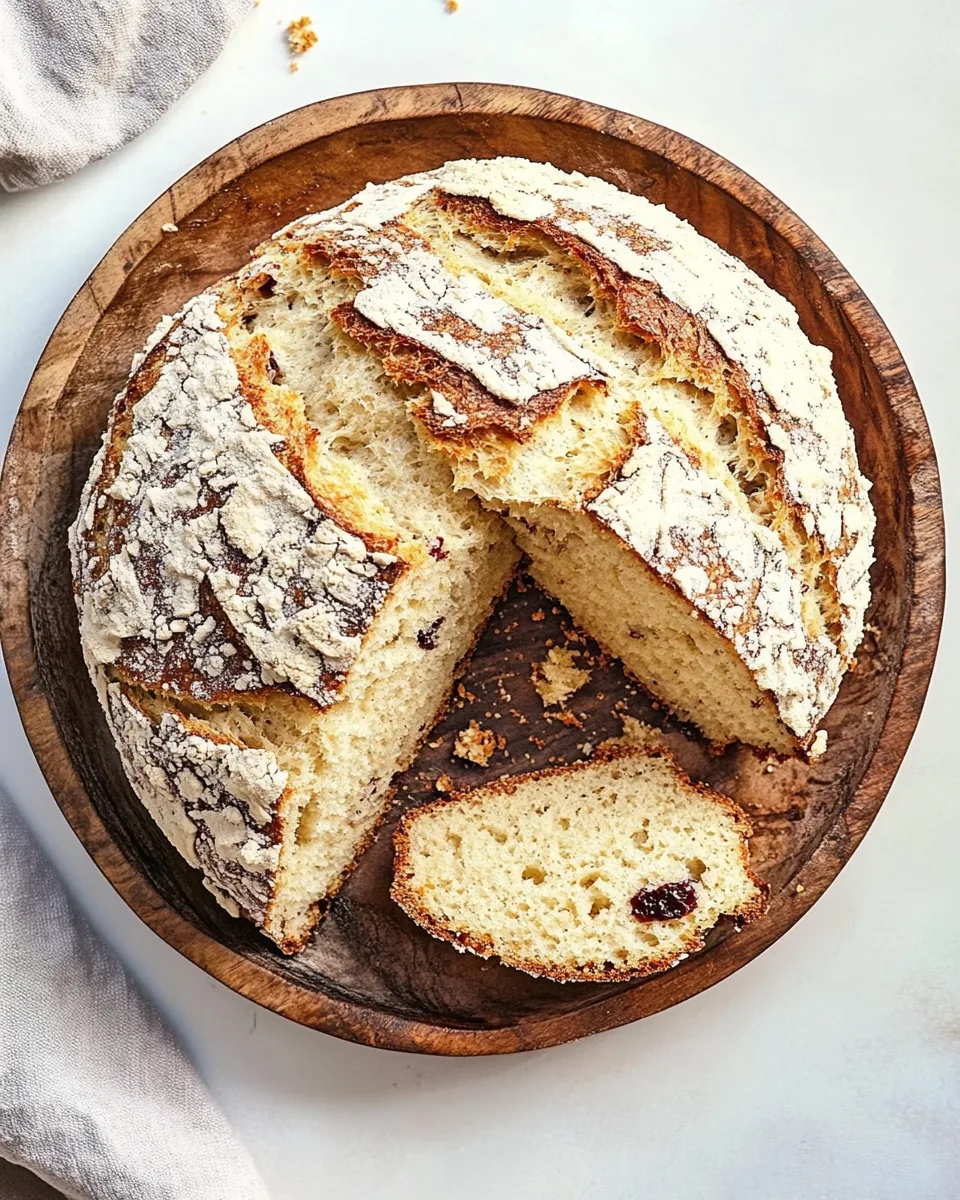
This recipe allows for creativity in terms of flavors. You can easily adapt it by adding ingredients like dried cranberries or raisins, which not only give it a pleasant sweetness but also a pop of color. The optional coarse sugar topping adds a delightful crunch that takes it to another level.
Minimal Ingredients Needed
All you need are a few pantry staples like flour, sugar, baking soda, salt, buttermilk, and butter. It’s reassuring to know that I can whip up this bread without needing to run to the store. You probably have everything on hand already!
Perfect Texture
What sets Irish Soda Bread apart is its incredible texture. The crust gets beautifully crisp in the oven, while the inside remains tender and moist. It’s a bread that’s rustic yet inviting, and I love how each slice yields a satisfying crumb.
Great for Sharing
Soda bread is perfect for gatherings. It’s a side that complements so many dishes. Whether you’re having it with a hearty stew or simply slathered with butter, it brings everyone together. I often bake a few loaves to share with friends and family during special occasions.
Endless Pairing Options
You can enjoy Irish Soda Bread in countless ways! It’s delightful with soups, stews, or alongside a cheese platter. It also works beautifully for breakfast with a smear of your favorite jam or honey. The possibilities are truly endless!
What’s In This Irish Soda Bread
The ingredients for Irish Soda Bread are simple yet effective. Each component plays a vital role in ensuring the bread rises and develops its signature flavor. The combination of all-purpose flour, baking soda, and buttermilk creates a unique chemical reaction that makes this bread so distinctive.
- All-Purpose Flour: This is the backbone of our bread. It provides structure and a lovely chewy texture. Weighing or measuring accurately is key for the best results.
- Granulated Sugar: Just a touch of sweetness to enhance the overall flavor profile of the bread.
- Baking Soda: This is our leavening agent, providing that delightful rise without the need for yeast.
- Salt: A crucial ingredient that helps balance the sweetness and enhances all the flavors.
- Buttermilk: This gives the bread its tender crumb and a slight tanginess that pairs beautifully with the other ingredients.
- Egg (optional): While not necessary, adding an egg can enrich the bread’s texture.
- Unsalted Butter: Adding butter lends a rich flavor and helps keep the bread moist.
- Dried Cranberries or Raisins (optional): For a sweet twist, these additions are fantastic.
- Coarse Sugar Crystals (optional): A sprinkle on top provides a lovely crunch and sweetness.
The Method for Irish Soda Bread
Getting started with Irish Soda Bread is straightforward and quick. You’ll be surprised at how easily you can create a beautiful loaf. Follow these steps and watch your bread come to life!
- Prep Oven and Butter: Preheat your oven to 400 degrees F (200 degrees C). While the oven heats up, cube the butter into small pieces and place them in the freezer. This will help keep the butter cold, which is essential for creating that flaky texture.
- Pick Your Pan: You can make soda bread in virtually any oven-proof pan that’s large enough. A seasoned cast iron skillet works wonderfully, or you can line a baking sheet with parchment paper for easy clean-up.
- Dry Ingredients: In a large bowl, whisk together the flour, sugar, baking soda, and salt. Ensure everything is evenly combined; this helps the bread to rise uniformly.
- Buttermilk: In a liquid measuring cup, whisk the buttermilk and optional egg together. Refrigerate this mixture until you’re ready to use it.
- Cut in Butter: Using a pastry cutter or your fingers, cut the cold butter into the flour mixture until it resembles pea-sized crumbs. If you’re adding raisins, stir them in now. Work quickly to keep the butter chilled, as this helps the dough remain less sticky.
- Add Buttermilk: Create a well in the center of your dry ingredients, then pour in the chilled buttermilk and egg mixture. Using a stiff spatula or wooden spoon, fold the mixture together until it becomes too difficult to stir.
- Form into a Ball: On a lightly floured surface, transfer the dough and shape it into a shaggy ball. Don’t worry if it’s sticky; this is normal. Just sprinkle it lightly with flour to make it manageable. Avoid adding too much flour or over-kneading, as this will result in a tough loaf.
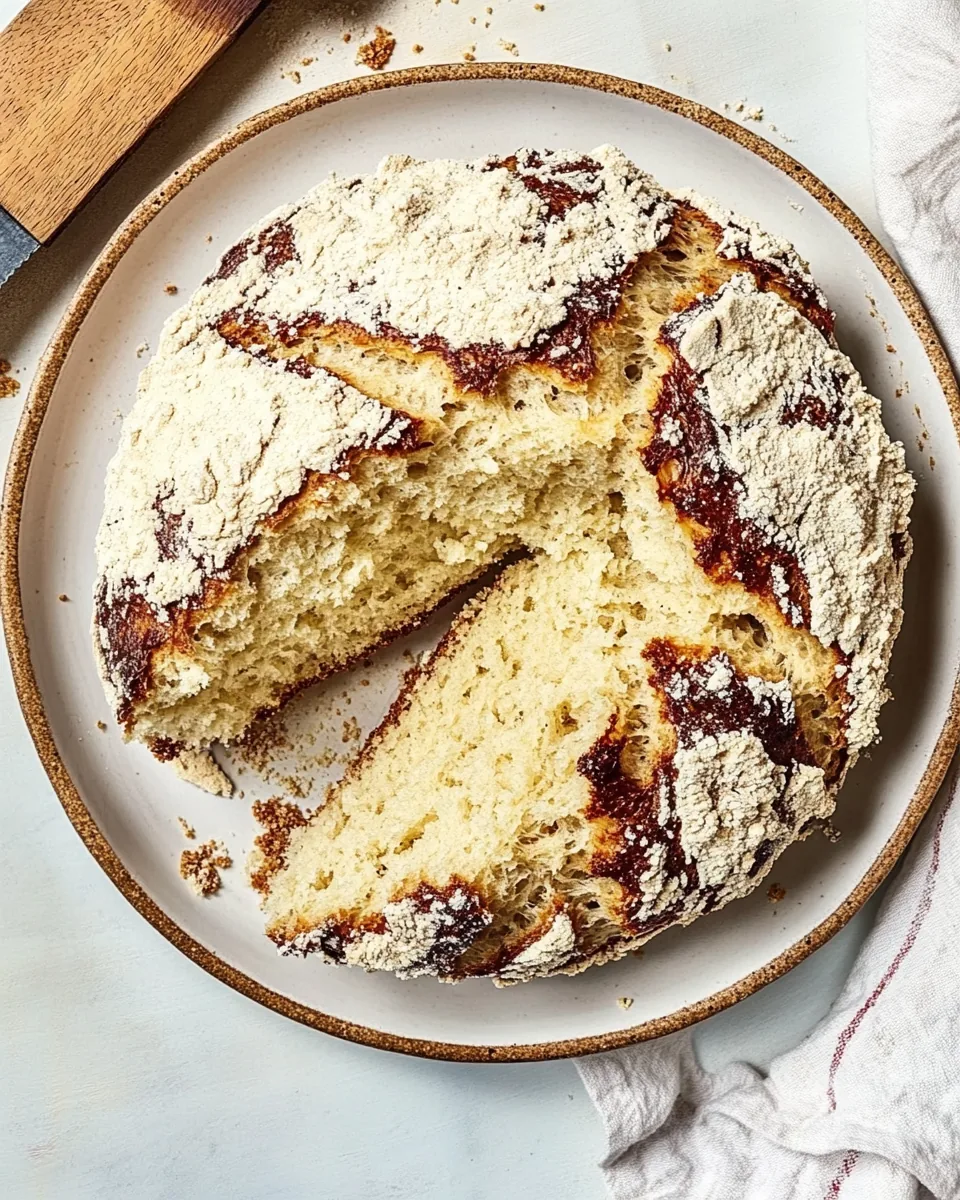
- Make an X: Transfer the dough to your prepared pan. If desired, sprinkle with coarse sugar. Using a knife, score the top with a deep “X” to allow for even baking and to give the bread character.
- Bake: Bake in the center of your preheated oven for 45 to 55 minutes. You’ll know it’s ready when the internal temperature reaches 190 degrees F (88 degrees C) on an instant-read thermometer. This ensures the bread is thoroughly baked.
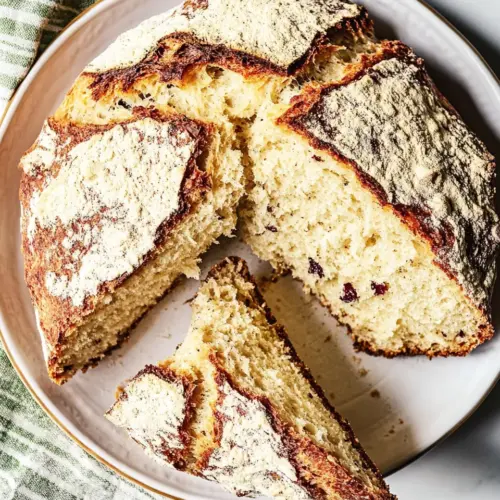
- Cool: Once baked, carefully transfer the bread to a wire rack using oven mitts. Allow it to cool for at least 15 minutes before slicing. The rustic texture of the bread makes for delightful, albeit imperfect, slices!
Things Worth Knowing
- Measure Flour Accurately: The best method to measure flour is using a food scale. If you don’t have one, fluff the flour before spooning it into your measuring cup. Avoid scooping directly from the bag to prevent compaction.
- Storage: Store your soda bread in an airtight container at room temperature for 2 to 3 days. You can also refrigerate it for up to a week, or freeze it for up to 3 months.
- Reheating: For leftover slices, try toasting them or wrapping them in a damp paper towel and microwaving for 8 to 10 seconds to restore moisture.
- Versatility: Feel free to experiment with different add-ins like seeds, nuts, or even herbs to customize the flavor of your Irish Soda Bread.
- Don’t Overwork the Dough: Over-kneading can lead to tough bread. Handle the dough as gently as possible to maintain its lightness.
Substitutions and Tips
There are plenty of ways to adapt this recipe for various preferences and needs. Here are some helpful tips to ensure your Irish Soda Bread turns out perfect every time!
- Storage: You can store any leftover soda bread in an airtight container at room temperature for two to three days, or refrigerate it for up to one week.
- Freezing: If you wish to freeze your soda bread, wrap it tightly in plastic wrap or aluminum foil. It can last in the freezer for up to three months.
- Pairing: This bread pairs exceptionally well with hearty soups, stews, or a light salad. It can also be enjoyed for breakfast with butter and jam.
- Variations: Feel free to mix in your favorite dried fruits, like cranberries or raisins, or even nuts for added texture and flavor.
- Serving: Serve warm, toasted, or at room temperature. Enjoy it plain or with a topping of your choice to enhance the flavor.
What to Pair With Irish Soda Bread
When it comes to serving your delicious Irish Soda Bread, there are countless options to consider. Here are a few thoughts to inspire your serving style:
- With Hearty Soups: Pair your Irish Soda Bread with a warm bowl of creamy potato leek soup or a traditional Irish stew for a filling meal.
- Breakfast Delight: Enjoy toasted slices for breakfast, topped with butter and fruit preserves for a delightful start to your day.
- On the Table for Guests: For gatherings, cut the bread into thick slices and serve it on a platter alongside a selection of cheeses and spreads.
- Seasonal Celebrations: This bread can be a great addition to your holiday table, especially during St. Patrick’s Day or any family gathering.
- Storage Suggestions: If you have leftovers, store them properly to maintain freshness. You can toast slices for a quick snack or serve them with meals throughout the week.
FAQ
Conclusion
In conclusion, Irish Soda Bread is a delightful treat that brings warmth and comfort into your home. Its simplicity and deliciousness make it a must-try for any bread lover. I encourage you to give this recipe a shot and experience the joy of freshly baked bread!
Irish Soda Bread
Equipment
- Wooden Spoon
- Mixing Bowl
- Frying Pan
- Skillet
- Chef's Knife
- Whisk
- Baking Sheet
- Oven
Ingredients
- 4 1/4 cups All-Purpose Flour Weigh or MEASURE ACCURATELY – spoon and level
- 1/4 cup Granulated Sugar
- 1 teaspoon Baking Soda
- 1 teaspoon Table Salt
- 1 and ¾ cups Buttermilk
- 1 egg Egg optional, see note
- 6 Tablespoons Cold Unsalted Butter
- 1 cup Dried Cranberries or Raisins optional
- 1 cup Coarse Sugar Crystals for topping, optional
Instructions
- Preheat your oven to 400 degrees F (200 degrees C). While the oven heats up, cube the butter into small pieces and place them in the freezer. This will help keep the butter cold, which is essential for creating that flaky texture.
- You can make soda bread in virtually any oven-proof pan that’s large enough. A seasoned cast iron skillet works wonderfully, or you can line a baking sheet with parchment paper for easy clean-up.
- In a large bowl, whisk together the flour, sugar, baking soda, and salt. Ensure everything is evenly combined; this helps the bread to rise uniformly.
- In a liquid measuring cup, whisk the buttermilk and optional egg together. Refrigerate this mixture until you’re ready to use it.
- Using a pastry cutter or your fingers, cut the cold butter into the flour mixture until it resembles pea-sized crumbs. If you’re adding raisins, stir them in now. Work quickly to keep the butter chilled, as this helps the dough remain less sticky.
- Create a well in the center of your dry ingredients, then pour in the chilled buttermilk and egg mixture. Using a stiff spatula or wooden spoon, fold the mixture together until it becomes too difficult to stir.
- On a lightly floured surface, transfer the dough and shape it into a shaggy ball. Don’t worry if it’s sticky; this is normal. Just sprinkle it lightly with flour to make it manageable. Avoid adding too much flour or over-kneading, as this will result in a tough loaf.
- Transfer the dough to your prepared pan. If desired, sprinkle with coarse sugar. Using a knife, score the top with a deep “X” to allow for even baking and to give the bread character.
- Bake in the center of your preheated oven for 45 to 55 minutes. You’ll know it’s ready when the internal temperature reaches 190 degrees F (88 degrees C) on an instant-read thermometer. This ensures the bread is thoroughly baked.
- Once baked, carefully transfer the bread to a wire rack using oven mitts. Allow it to cool for at least 15 minutes before slicing. The rustic texture of the bread makes for delightful, albeit imperfect, slices!
Notes
- Tip 1: The best method to measure flour is using a food scale. If you don’t have one, fluff the flour before spooning it into your measuring cup. Avoid scooping directly from the bag to prevent compaction.
- Tip 2: Store any leftover soda bread in an airtight container at room temperature for two to three days, or refrigerate it for up to one week.
- Tip 3: If you wish to freeze your soda bread, wrap it tightly in plastic wrap or aluminum foil. It can last in the freezer for up to three months.
- Tip 4: For leftover slices, try toasting them or wrapping them in a damp paper towel and microwaving for 8 to 10 seconds to restore moisture.
- Tip 5: Feel free to experiment with different add-ins like seeds, nuts, or even herbs to customize the flavor of your Irish Soda Bread.