Instant Pot Yogurt
Making Instant Pot Yogurt is a game-changer in my kitchen. I remember the first time I decided to give it a try. I was always intimidated by the idea of making yogurt at home, thinking it would be a complicated process that required special equipment and expertise. But the moment I discovered the magic of my Instant Pot, everything changed. Now, I can whip up creamy, delicious yogurt in just a fraction of the time it used to take. I actually started making my own yogurt out of necessity. With my family’s growing appetite for this healthy snack, store-bought options just weren’t cutting it anymore. Plus, making it at home allows me to control the ingredients and avoid any unnecessary additives. The result? A rich, creamy yogurt that we enjoy with fresh fruits, granola, or even a drizzle of honey.
As I mastered the process, I found myself experimenting with different flavors and styles, but the classic Instant Pot Yogurt remains my favorite. It’s versatile and can easily be transformed into Greek yogurt simply by straining it a bit longer. I love how this process not only saves money but also gives me the peace of mind knowing exactly what’s in each batch. Every time I take a spoonful, I’m reminded of the joy of creating something from scratch, and it feels rewarding to share it with my family. So, let’s dive into how you can make your own Instant Pot Yogurt!
Recipe Snapshot
10 mins
5 mins
5 mins
Medium
150 kcal
8 g
Keto, Gluten-Free, AIP
8 g
Instant Pot, Whisk
Why This Instant Pot Yogurt Hits Different
It’s Easy and Convenient
One of the best things about making Instant Pot Yogurt is how easy it is. You don’t need to babysit it as you would with traditional methods. Just set it and forget it! The Instant Pot takes care of the temperature control, which is critical for yogurt-making, freeing you to focus on other tasks.
Cost-Effective
Homemade yogurt is so much cheaper than buying organic or specialty yogurts at the store. With just a few simple ingredients, you can make a large batch for a fraction of the cost. Plus, you can customize it to your liking!
Health Benefits
Making your own yogurt allows you to control the quality of the ingredients. You can use high-quality milk and a starter that fits your dietary needs. Plus, homemade yogurt is packed with probiotics, which are great for digestion!
Flavor Versatility
When you make your own yogurt, you have endless possibilities for flavors and toppings. From fresh fruits to nuts or homemade jams, you can turn your yogurt into a delightful treat tailored to your taste buds.
Reduce Food Waste
Making yogurt at home helps minimize waste. You can use leftover milk before it expires, ensuring that nothing goes to waste. And the leftover whey is perfect for smoothies or baking!
Family Fun
Making yogurt can turn into a family activity. Kids will love helping out, whether it’s whisking the starter with the milk or choosing their favorite fruit toppings. It makes for a fun bonding experience!
What Goes Into Instant Pot Yogurt

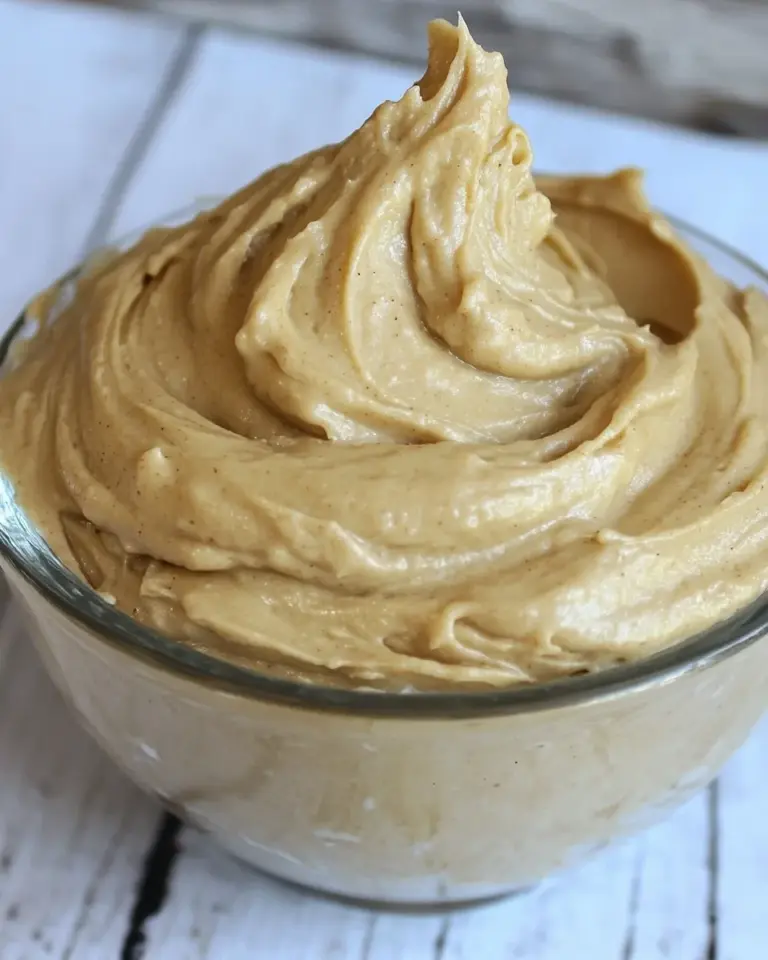
The ingredients for Instant Pot Yogurt are simple yet essential for crafting that creamy texture we all love. I believe the best recipes come from using quality ingredients, and yogurt is no exception. You’ll need a good quality milk and a yogurt starter, typically a few tablespoons of plain yogurt with live cultures. Together, these components work harmoniously to ferment and thicken into delicious yogurt.
- Whole milk – 4 cups: The star of the show! Whole milk provides a rich, creamy base for your yogurt. The fat content is crucial for that luscious texture that homemade yogurt boasts.
- Yogurt Starter – 1 packet (or 1 tablespoon of prepared yogurt with live cultures): This is what kicks off the fermentation process. It’s the magic ingredient that transforms your milk into yogurt.
Directions for Instant Pot Yogurt
Making Instant Pot Yogurt is a straightforward process that yields delicious results! Once you get everything set up, it’s smooth sailing. Here’s how to make it:
- First, in your Instant Pot, remove the seal from the lid and clean both the lid and the inner pot with hot soapy water. Alternatively, you can place them in the dishwasher. Once cleaned, dry them thoroughly and set aside.
- Next, heat your milk in a medium pot over medium heat. You want to bring it to about 180ºF, watching for steam and bubbles forming around the edges. I often use my thermometer to check the temperature accurately.
- Once the milk reaches 180ºF, transfer it to the inner liner of the Instant Pot. Let it cool down until it reaches between 105ºF and 110ºF. This typically takes around 40 minutes, but you can expedite it by placing the pot in an ice bath if you’re in a hurry.
- In a small bowl, take your yogurt starter (or plain yogurt) and mix it with about ¼ cup of the cooled milk. Whisk until well combined, then pour this mixture back into the inner pot, blending it gently with the remaining milk.
- Now, press the Yogurt function on your Instant Pot and set the timer for anywhere between 8 to 16 hours. The longer you ferment, the tangier your yogurt will be. Close the lid (don’t worry about the sealing function for this step).
- After the cycle is complete, open the lid and take a moment to smell your yogurt. It should have a pleasantly tangy aroma. This is a sign that the fermentation worked!
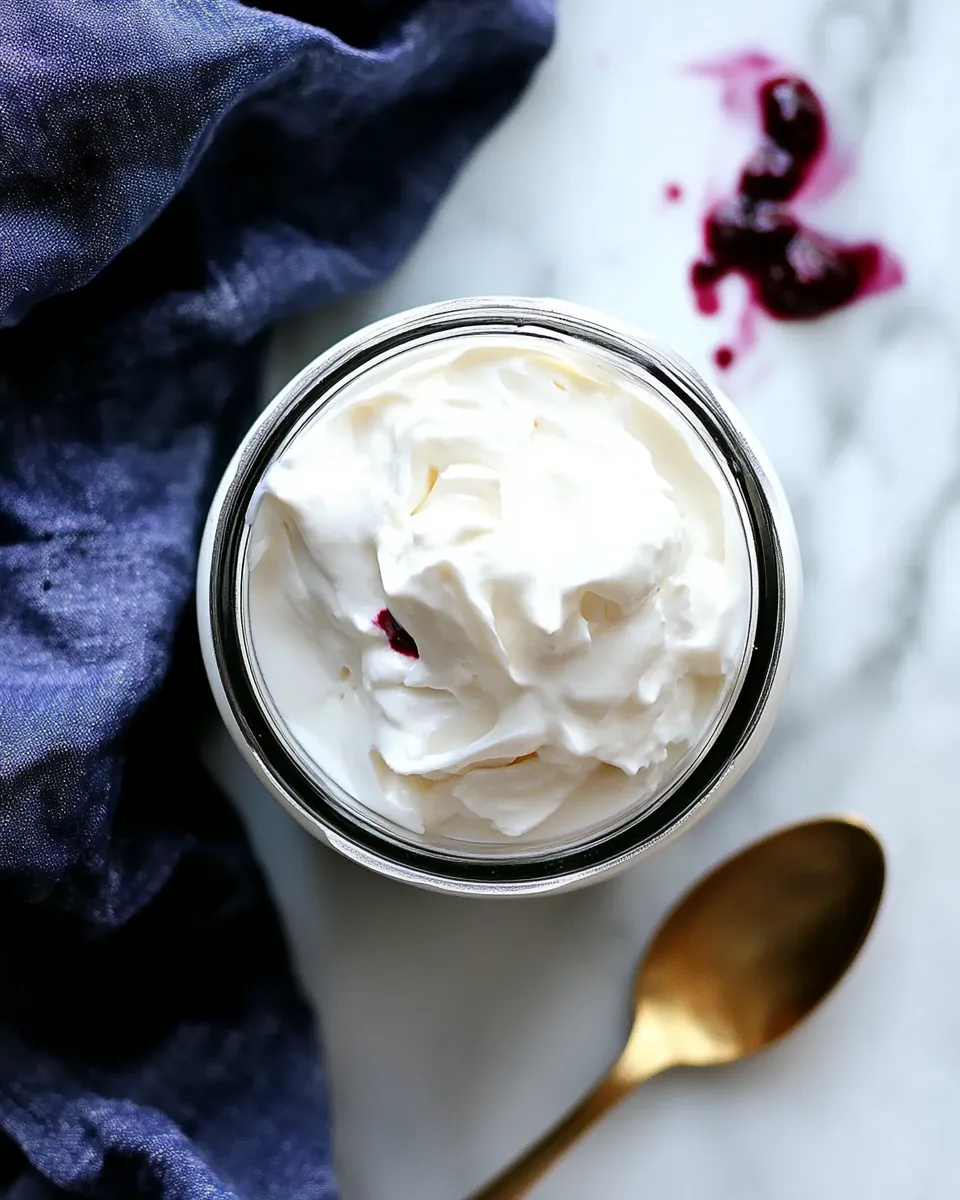
- If you want to make Greek yogurt, line a fine mesh strainer with a clean kitchen towel or coffee filter. Gently pour your finished yogurt into the strainer and let it drain for 2 to 6 hours, depending on the thickness you desire.
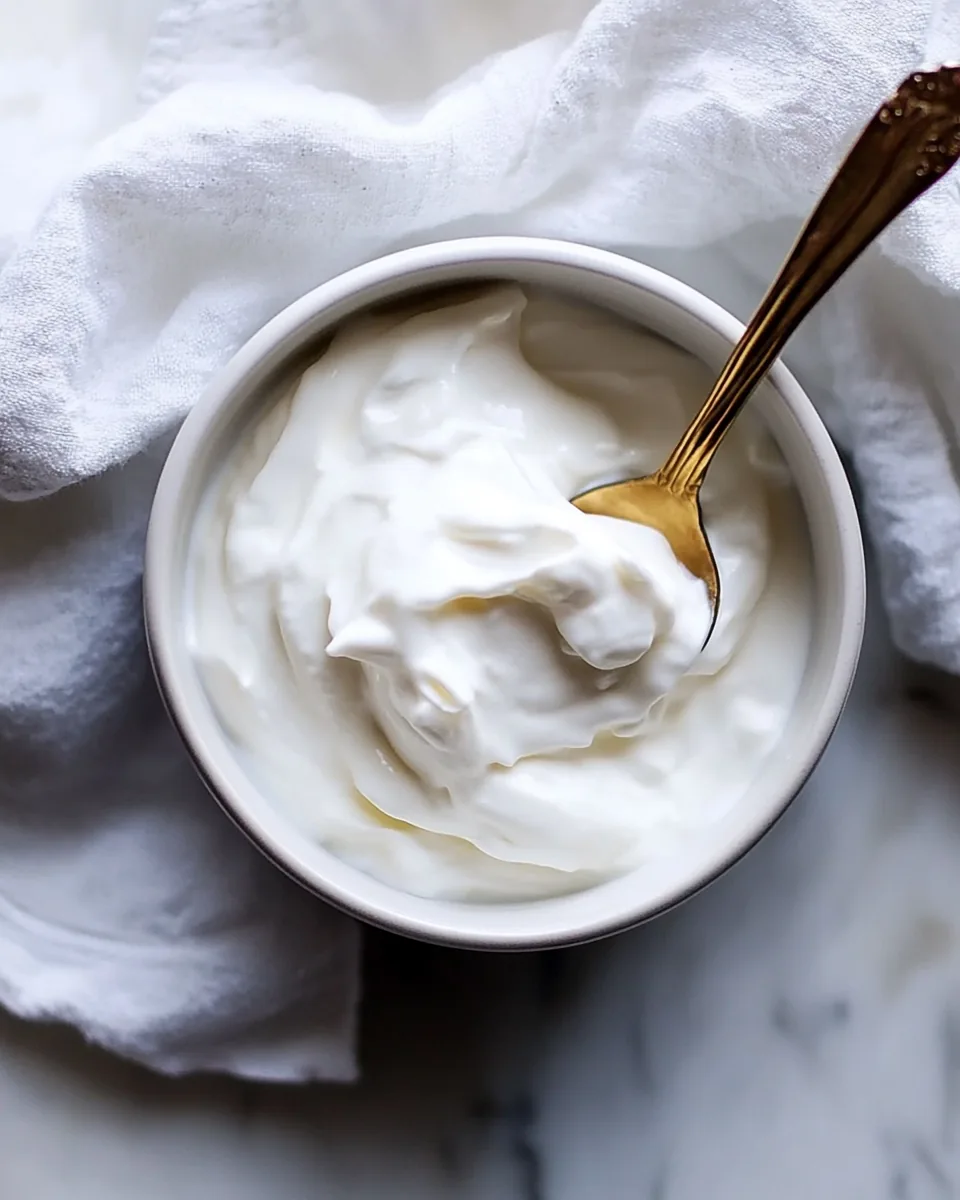
- Once done, transfer your yogurt to containers and store them in the refrigerator. Homemade yogurt can typically last for about 5 to 7 days.
- Finally, don’t forget to save some of the whey! It’s loaded with protein and can be used in smoothies or cooking.
Things Worth Knowing
Things Worth Knowing
- Cleaning your Instant Pot is essential before starting. This prevents any bad bacteria from affecting the fermentation process.
- Heating the milk is crucial for killing off unwanted bacteria and transforming its protein structure, which helps thicken the yogurt.
- If using the Instant Pot function for heating, ensure you monitor the temperature carefully to avoid curdling.
- The length of fermentation impacts flavor. Experiment to find your preference for tanginess.
Helpful Hints
Making yogurt at home can be quite rewarding! Here are some tips to ensure success with your Instant Pot Yogurt:
- Storage: Store your homemade yogurt in airtight containers in the fridge to maintain freshness.
- Freezing: You can freeze yogurt, but the texture may change once thawed. Use it in smoothies or baking.
- Variations: Feel free to experiment with different flavors by adding fruits or sweeteners after the yogurt is made.
- Whey Use: Utilize the leftover whey in recipes as it’s nutritious and flavorful.
- Consistency Tips: If your yogurt is too runny, strain it longer to achieve the desired thickness.
Perfect Matches for Instant Pot Yogurt
When it comes to serving Instant Pot Yogurt, the possibilities are endless! Here are some ideas:
- Breakfast: Enjoy it with granola and fresh fruits for a wholesome breakfast option that’s quick and satisfying.
- Snacks: A perfect after-school snack for kids. Pair it with honey or maple syrup for sweetness.
- Desserts: Use it as a base for parfaits or mix it with your favorite flavorings for a unique dessert experience.
- Lunch: Mix it into a savory dip with herbs and spices for a refreshing addition to your lunch spread.
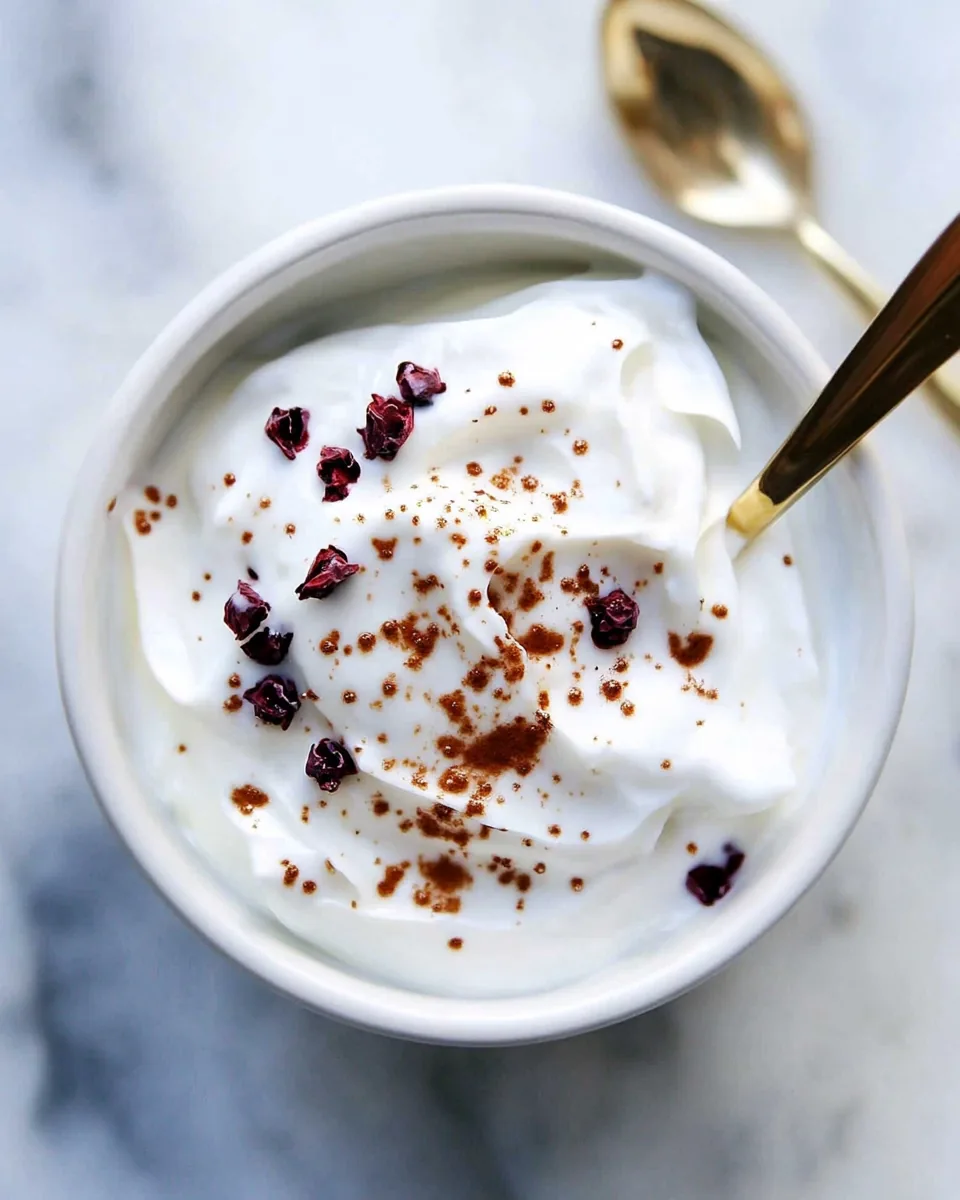
- Seasonal Offerings: In summer, serve it with berries; in winter, think about adding spices like cinnamon or nutmeg.
- Meal Prep: Perfect for meal prepping. Make several batches and portion them out for easy access throughout the week.
FAQ
Conclusion
The beauty of making Instant Pot Yogurt lies in its simplicity and the satisfaction of creating something delicious at home. With just a few ingredients and a little patience, you can have creamy yogurt that’s free from preservatives and packed with flavor. I encourage you to give it a try—you might find that it becomes a regular staple in your kitchen. Enjoy the process and the countless ways you can savor your homemade yogurt!
Instant Pot Yogurt
Equipment
- Instant Pot
- Whisk
Ingredients
- 4 cups Whole milk
- 1 packet Yogurt Starter or 1 tablespoon prepared yogurt with live cultures
Instructions
- First, in your Instant Pot, remove the seal from the lid and clean both the lid and the inner pot with hot soapy water. Alternatively, you can place them in the dishwasher. Once cleaned, dry them thoroughly and set aside.
- Next, heat your milk in a medium pot over medium heat. You want to bring it to about 180ºF, watching for steam and bubbles forming around the edges. I often use my thermometer to check the temperature accurately.
- Once the milk reaches 180ºF, transfer it to the inner liner of the Instant Pot. Let it cool down until it reaches between 105ºF and 110ºF. This typically takes around 40 minutes, but you can expedite it by placing the pot in an ice bath if you're in a hurry.
- In a small bowl, take your yogurt starter (or plain yogurt) and mix it with about ¼ cup of the cooled milk. Whisk until well combined, then pour this mixture back into the inner pot, blending it gently with the remaining milk.
- Now, press the Yogurt function on your Instant Pot and set the timer for anywhere between 8 to 16 hours. The longer you ferment, the tangier your yogurt will be. Close the lid (don’t worry about the sealing function for this step).
- After the cycle is complete, open the lid and take a moment to smell your yogurt. It should have a pleasantly tangy aroma. This is a sign that the fermentation worked!
- If you want to make Greek yogurt, line a fine mesh strainer with a clean kitchen towel or coffee filter. Gently pour your finished yogurt into the strainer and let it drain for 2 to 6 hours, depending on the thickness you desire.
- Once done, transfer your yogurt to containers and store them in the refrigerator. Homemade yogurt can typically last for about 5 to 7 days.
- Finally, don’t forget to save some of the whey! It’s loaded with protein and can be used in smoothies or cooking.