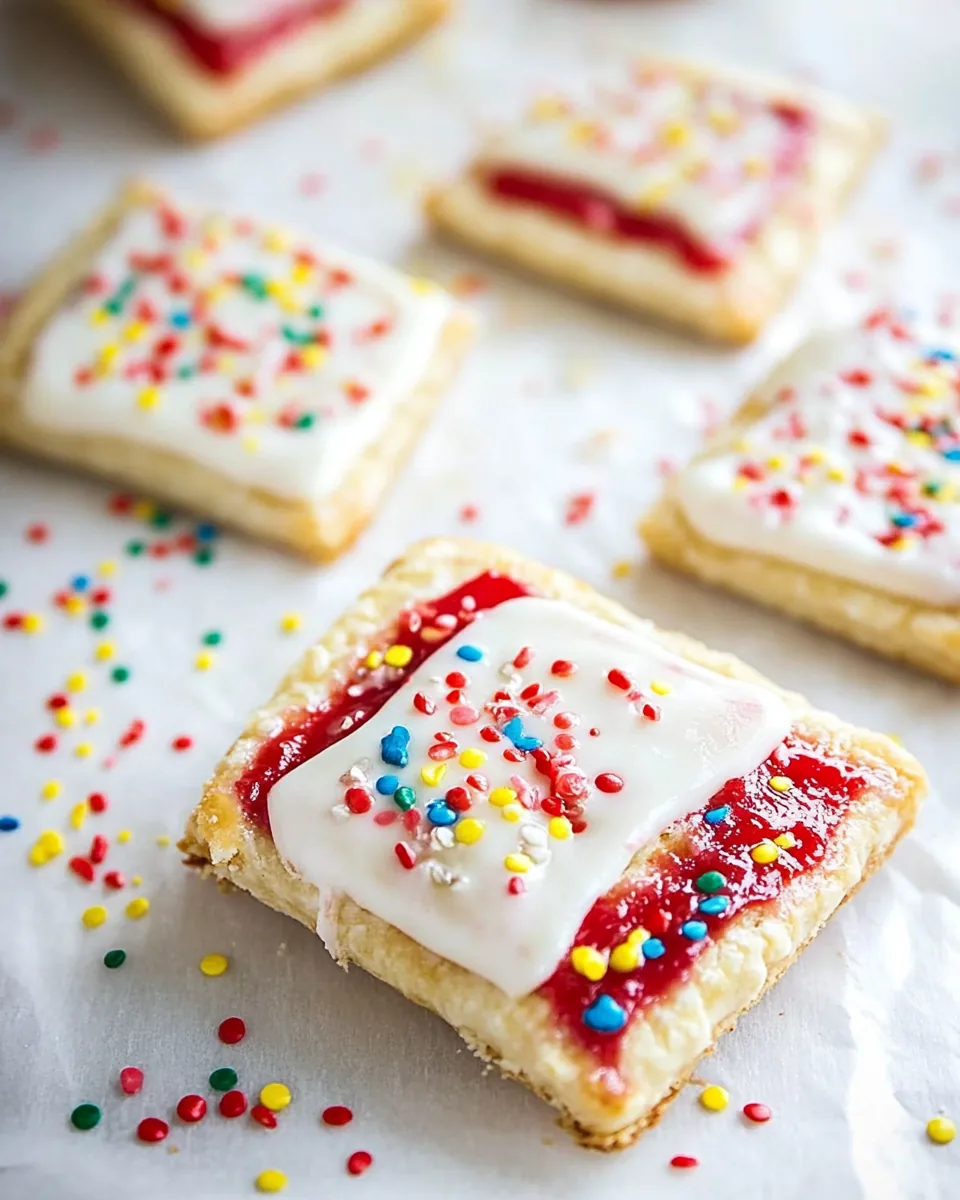
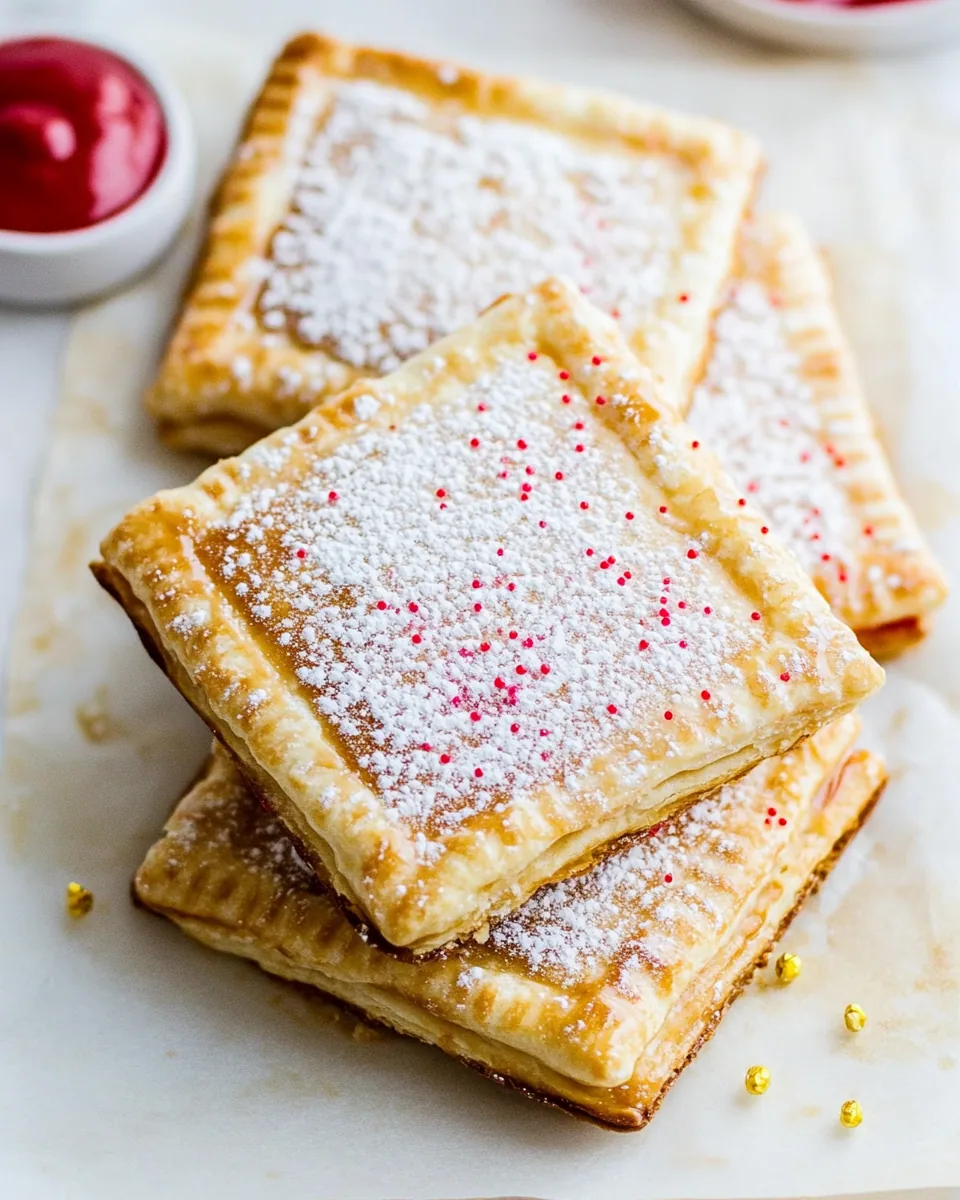
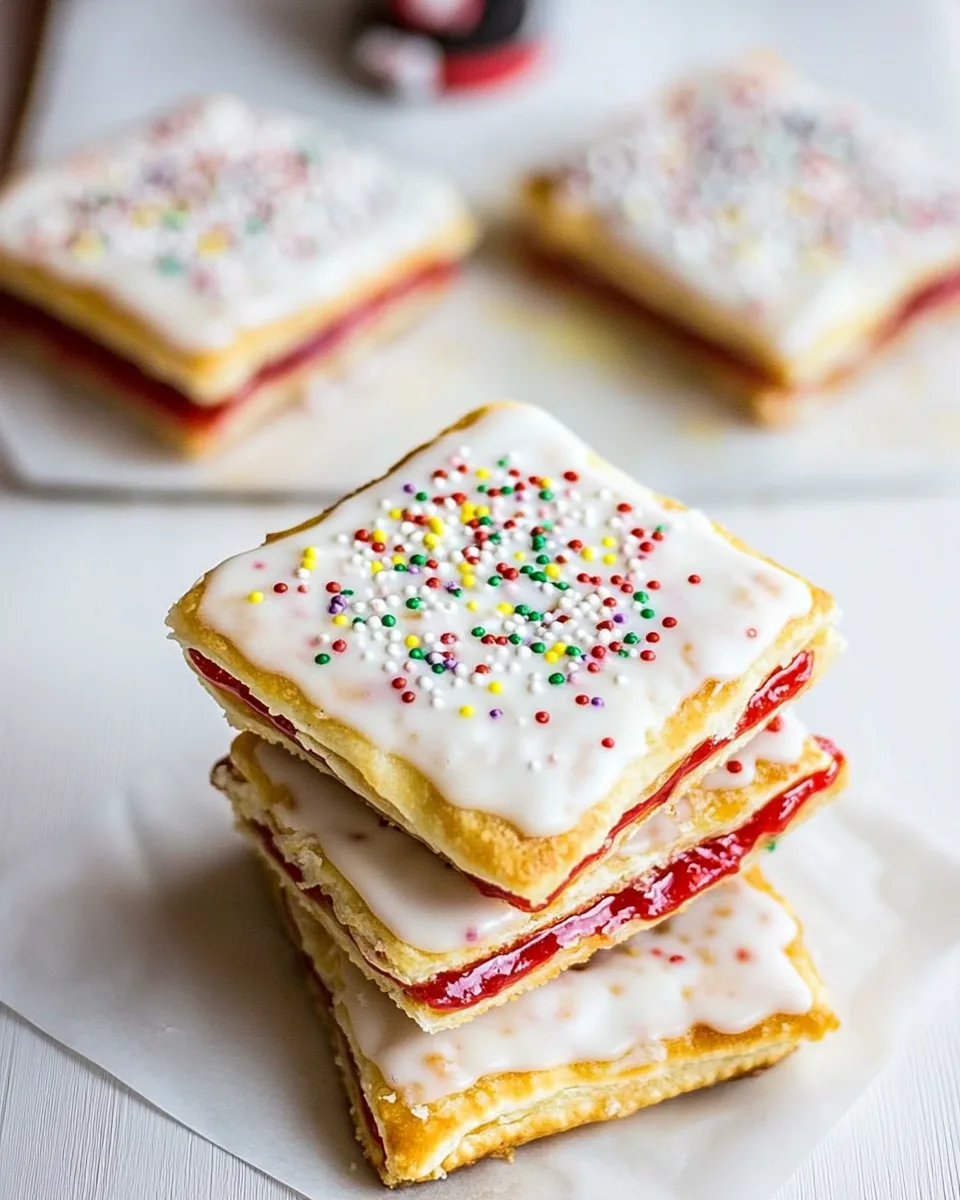
Homemade Pop Tarts
There’s something so nostalgic about Homemade Pop Tarts. I remember being a kid, waking up on a Saturday morning, the scent of baked goods wafting through the house. My mom would whip up these little pastries filled with delicious fruit preserves, and I’d wait impatiently for them to cool down. Today, I want to share my own take on these delightful treats—perfect for breakfast or a sweet snack any time of the day. The best part? You can customize the filling and icing to suit your taste! So, gather your ingredients and let’s dive into making Homemade Pop Tarts that are sure to impress everyone.
Recipe Snapshot
1 hr 5 mins
40 mins
25 mins
Hard
300 kcal
2 g
Gluten-Free, Low FODMAP
15 g
Peeler, Mixing Bowl, Whisk, Cutting Board, Baking Sheet, Food Processor, Oven
Why Try This Homemade Pop Tarts
1. They’re Totally Customizable
One of the things I love most about Homemade Pop Tarts is the endless flavor possibilities. You can use any preserves you like—think raspberry, blueberry, or even chocolate hazelnut! The icing can also be easily adapted with different colors and toppings to match any occasion or just your mood.
2. A Fun Activity with the Family
Making Homemade Pop Tarts is a fantastic way to bond with family. Kids love to get involved, whether it’s rolling out the dough or filling them with their favorite jam. It’s a great opportunity to create memories while baking, and they’ll take pride in their delicious creations!
3. Perfect for Meal Prep
You can make a large batch of these tasty pastries ahead of time. They freeze beautifully, so you can enjoy them fresh out of the oven any time you crave something sweet. Just pop them in the toaster, and you’re ready to go!
4. Ideal for Any Occasion
Whether you’re hosting brunch or simply enjoying a quiet afternoon with coffee, Homemade Pop Tarts fit right in. They can be a fancy treat for special occasions or a casual snack during movie night.
5. Satisfy Your Sweet Tooth
Craving something sweet? These pastries are the perfect solution. With their flaky crust and sweet filling, they’ll satisfy your dessert cravings without being overly complicated to make.
What You Need for Homemade Pop Tarts
To create Homemade Pop Tarts, you need quality ingredients that complement each other beautifully. The buttery crust, sweet preserves, and icing work together to provide a delightful balance of flavors and textures. Each component plays a key role in making these pastries a standout treat.
- 2 cups + 2 Tbsp all-purpose flour: The base for the crust, providing structure and flakiness.
- 1 tsp salt: Enhances the flavor of the dough and balances the sweetness.
- 1 tsp granulated sugar: Adds a hint of sweetness to the crust.
- 1 cup unsalted butter: Cold and diced into cubes, this is crucial for a flaky texture.
- 4 – 5 Tbsp ice water: Helps bind the dough together without warming it up.
- 3/4 cup strawberry preserves: The sweet filling that brings the pop tarts to life; feel free to use other flavors.
- 1 cup powdered sugar: Used for making the icing that tops the pastries.
- 2 Tbsp half and half: Adds creaminess to the icing.
- 1/4 tsp vanilla extract: A wonderful flavor enhancer in the icing.
Making This Homemade Pop Tarts
Making Homemade Pop Tarts is a rewarding experience. The steps might seem detailed, but each one is crucial for achieving that perfect flaky crust and delicious filling. Grab your ingredients and let’s get started!
- In a food processor, pulse together flour, salt, and granulated sugar until well combined. This will help incorporate the dry ingredients evenly. The mixture should look a bit sandy.
- Add in the butter and pulse the mixture until it resembles coarse meal. You’re aiming for pea-sized pieces of butter throughout the mixture, which is key for a flaky texture.
- Pour in ice water, starting with 4 tablespoons, and pulse several times. If the dough hasn’t started to clump together, add the remaining tablespoon. You want it to just come together, so don’t over-process.
- Drop the mixture onto a clean surface. Gather the dough into a ball and divide it into two portions. Shape each portion into a disk about 5 inches wide.
- Wrap each disk in plastic wrap and refrigerate for at least an hour. Chilling the dough makes it easier to roll out and helps the butter firm up again.
- Preheat your oven to 375 degrees. Line two large, rimmed baking sheets with parchment paper.
- On a floured surface, roll out one disk of dough into a 13 by 11-inch rectangle. If the edges crack, gently pinch them back together and keep rolling until you have a smooth rectangle.
- Trim the edges to create a neat 12 by 10-inch rectangle, then cut the dough into eight 5 by 3-inch rectangles. This is where the fun begins!
- Place four of the rectangles on one baking sheet, spaced evenly apart. Now comes the filling!
- Take 1.5 tablespoons of strawberry preserves and spread it evenly down the center of each rectangle. Be sure to leave about a 3/4-inch rim on all sides uncoated.
- Top each filled rectangle with another rectangle. Seal the edges carefully using your fingertips, then use a fork to crimp the edges and ensure they are well sealed.
- Poke the top of each tart about four times with a toothpick to allow steam to escape while baking. This will prevent any bursting during the cooking process.
- Cover the tarts and place them in the freezer to chill for at least two hours. This step is important for maintaining their shape while baking.
- After chilling, position one oven rack near the top third and another near the bottom third of the oven. Bake the frozen tarts until golden, about 25 to 30 minutes. Rotate the sheets halfway through baking for even cooking.
- Once baked, allow the tarts to cool on the baking sheets for several minutes, then transfer them to a wire rack to cool completely.
- In a mixing bowl, combine the powdered sugar, half and half, and vanilla extract to make the icing. Whisk until smooth, adjusting the consistency with more half and half if necessary.
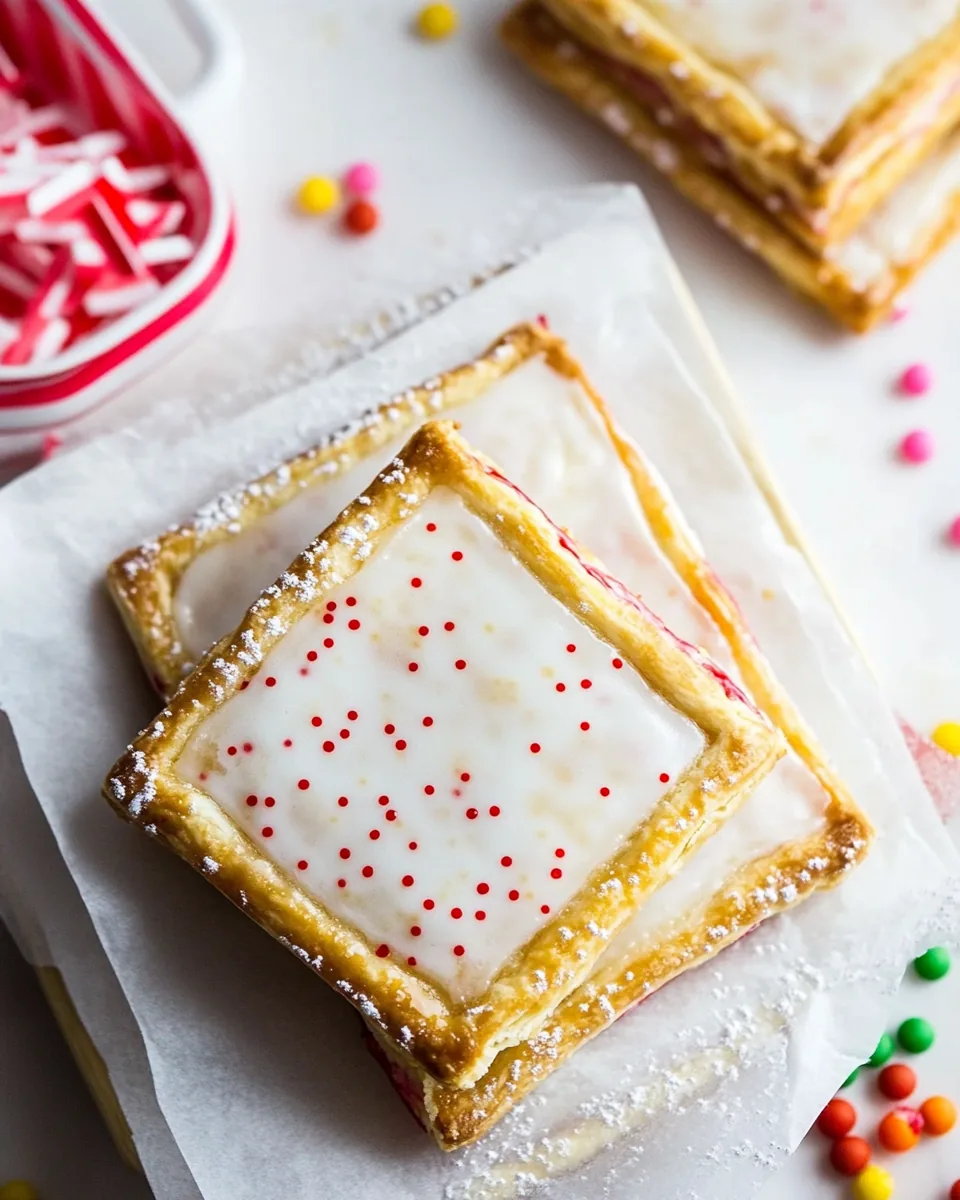
- Spread the icing over the tops of the cooled tarts, leaving a small rim uncoated around the edges. If you want to get fancy, sprinkle some decorations on top!
- Let the icing set at room temperature before serving. Store any leftovers in an airtight container.
Things Worth Knowing
- Chilling is Key: Make sure to chill the dough thoroughly. This helps the butter firm up, which is essential for a flaky crust.
- Sealing Properly: Always seal the edges well to prevent the filling from leaking out during baking.
- Watch the Baking Time: Ovens vary, so keep an eye on the tarts as they bake. Look for a golden color.
- Experiment with Fillings: Don’t be afraid to try different jams, chocolate, or even savory fillings for a twist on classic pop tarts!
Substitutions and Tips
Whether you’re looking to make adjustments or want some handy tips, here’s a collection that will help you make the most of your Homemade Pop Tarts.
- Storage: Store any leftover tarts in an airtight container at room temperature for up to three days.
- Freezing: You can freeze uncooked tarts for up to a week. Just bake them straight from the freezer, adding a few extra minutes to the baking time.
- Pairing: These tarts are delicious on their own but pair well with a cup of coffee or tea for a lovely afternoon snack.
- Variations: Feel free to experiment with the dough by adding spices like cinnamon or nutmeg for some extra flavor.
- Gluten-Free Option: Substitute all-purpose flour with a gluten-free blend if needed; just make sure it’s a one-to-one blend for best results.
What Complements This Homemade Pop Tarts
- Breakfast Treat: Enjoy these pop tarts as a fun breakfast option paired with a glass of orange juice or a smoothie.
- Brunch Delight: Serve them up at brunch gatherings alongside fresh fruit and coffee.
- Snack Time: Perfect for an afternoon pick-me-up, they can also be packed in lunch boxes for a sweet surprise.
- Seasonal Flavors: Experiment with seasonal fruit preserves to match the time of year—think pumpkin spice preserves in the fall!
- Gift Idea: Wrap them up nicely and give them as gifts during the holidays—everyone loves a homemade treat!
FAQ
Conclusion
In conclusion, Homemade Pop Tarts offer a delightful blend of nostalgia and creativity. They’re not just a treat; they’re a way to make lasting memories in the kitchen. I encourage you to try making these at home and customize them to your liking. You won’t just satisfy a sweet tooth; you’ll also enjoy the process of creating something special.

Homemade Pop Tarts
Equipment
- Peeler
- Mixing Bowl
- Whisk
- Cutting Board
- Baking Sheet
- Food Processor
- Oven
Ingredients
- 2 cup All-purpose flour
- 2 Tbsp All-purpose flour more for rolling
- 1 tsp Salt
- 1 tsp Granulated sugar
- 1 cup Unsalted butter cold and diced into 1/2-inch cubes
- 4 - 5 Tbsp Ice water
- 3/4 cup Strawberry preserves divided
- 1 cup Powdered sugar
- 2 Tbsp Half and half plus more as needed
- 1/4 tsp Vanilla extract
Instructions
- In a food processor, pulse together flour, salt, and granulated sugar until well combined.
- Add in the butter and pulse the mixture until it resembles coarse meal.
- Pour in ice water, starting with 4 tablespoons, and pulse several times.
- Drop the mixture onto a clean surface. Gather the dough into a ball and divide it into two portions.
- Wrap each disk in plastic wrap and refrigerate for at least an hour.
- Preheat your oven to 375 degrees. Line two large, rimmed baking sheets with parchment paper.
- On a floured surface, roll out one disk of dough into a 13 by 11-inch rectangle.
- Trim the edges to create a neat 12 by 10-inch rectangle, then cut the dough into eight 5 by 3-inch rectangles.
- Place four of the rectangles on one baking sheet, spaced evenly apart.
- Take 1.5 tablespoons of strawberry preserves and spread it evenly down the center of each rectangle.
- Top each filled rectangle with another rectangle and seal the edges carefully.
- Poke the top of each tart about four times with a toothpick.
- Cover the tarts and place them in the freezer to chill for at least two hours.
- Once baked, allow the tarts to cool on the baking sheets for several minutes.
- In a mixing bowl, combine the powdered sugar, half and half, and vanilla extract to make the icing.
- Spread the icing over the tops of the cooled tarts.
Notes
- Sealing Properly: Always seal the edges well to prevent the filling from leaking out during baking.