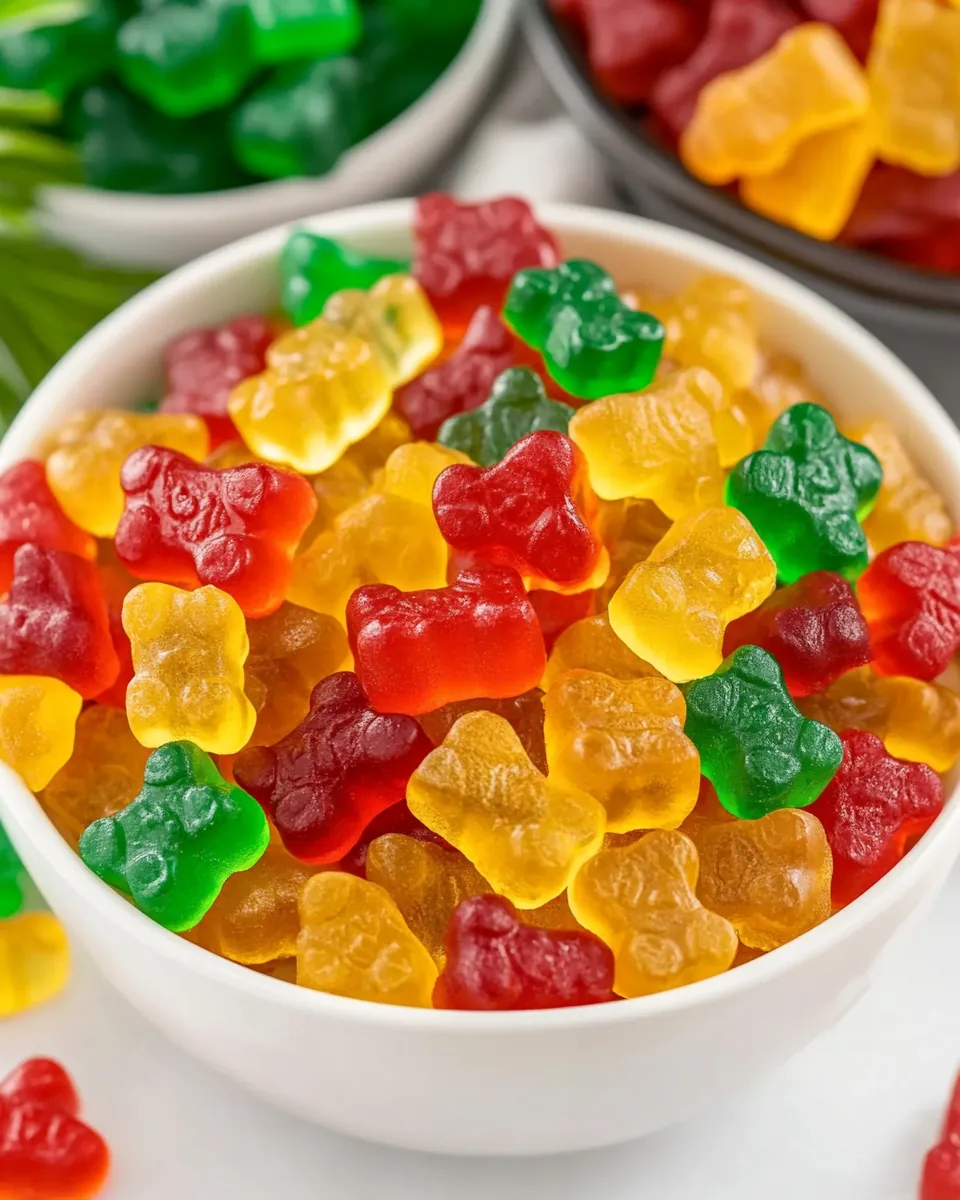
Homemade Keto Gummies
Making Homemade Keto Gummies has become one of my favorite activities in the kitchen. Not only do these delightful treats satisfy my sweet tooth, but they also perfectly align with my keto lifestyle. I remember the first time I experimented with different flavors; the joy of watching them set in the fridge was almost as thrilling as tasting them for the first time. With just a few simple ingredients, these gummies can be customized to suit your cravings. Whether it’s a fruity burst of raspberry or a zesty hint of lime, the possibilities are endless. I often find myself whipping up a batch to share with friends or enjoying them as a guilt-free snack after a long day. They’re not just delicious; they’re fun to make too!
Recipe Snapshot
10 mins
5 mins
5 mins
Easy
60 kcal
0 g
Keto, Paleo, Whole30
0 g
Large Pot, Food Processor, Mixing Bowl, Whisk
Why This Homemade Keto Gummies Is a Winner
There’s a lot to love about Homemade Keto Gummies. Here are just a few reasons why you’ll want to try making them yourself:
Customizable Flavors
One of the best things about these gummies is that you can tailor them to your taste. Whether you prefer classic fruit flavors or something a bit more adventurous, the choice is yours. You can mix and match flavors for a fun twist, and no two batches need to be the same!
Healthy Snacking
Unlike store-bought gummies, which are packed with sugar and artificial ingredients, these homemade versions offer a healthier alternative. They fit perfectly into a keto diet, allowing you to enjoy a sweet treat without the guilt.
Fun Activity for All Ages
Making Homemade Keto Gummies can be a fun activity for kids and adults alike. It’s a great way to spend time with family while teaching children about cooking—plus, they’ll love the hands-on experience of filling the gummy molds!
Easy to Make
You don’t need to be a professional chef to whip up a batch of these gummies. With just a few ingredients and simple steps, you’ll have delicious treats ready in no time. It’s a quick and straightforward recipe that even beginners can handle.
Perfect for Meal Prep
If you’re someone who likes to plan ahead, these gummies are an excellent option. They store well in the fridge, making them an easy grab-and-go snack. You can prepare a number of flavors at once and enjoy them throughout the week.
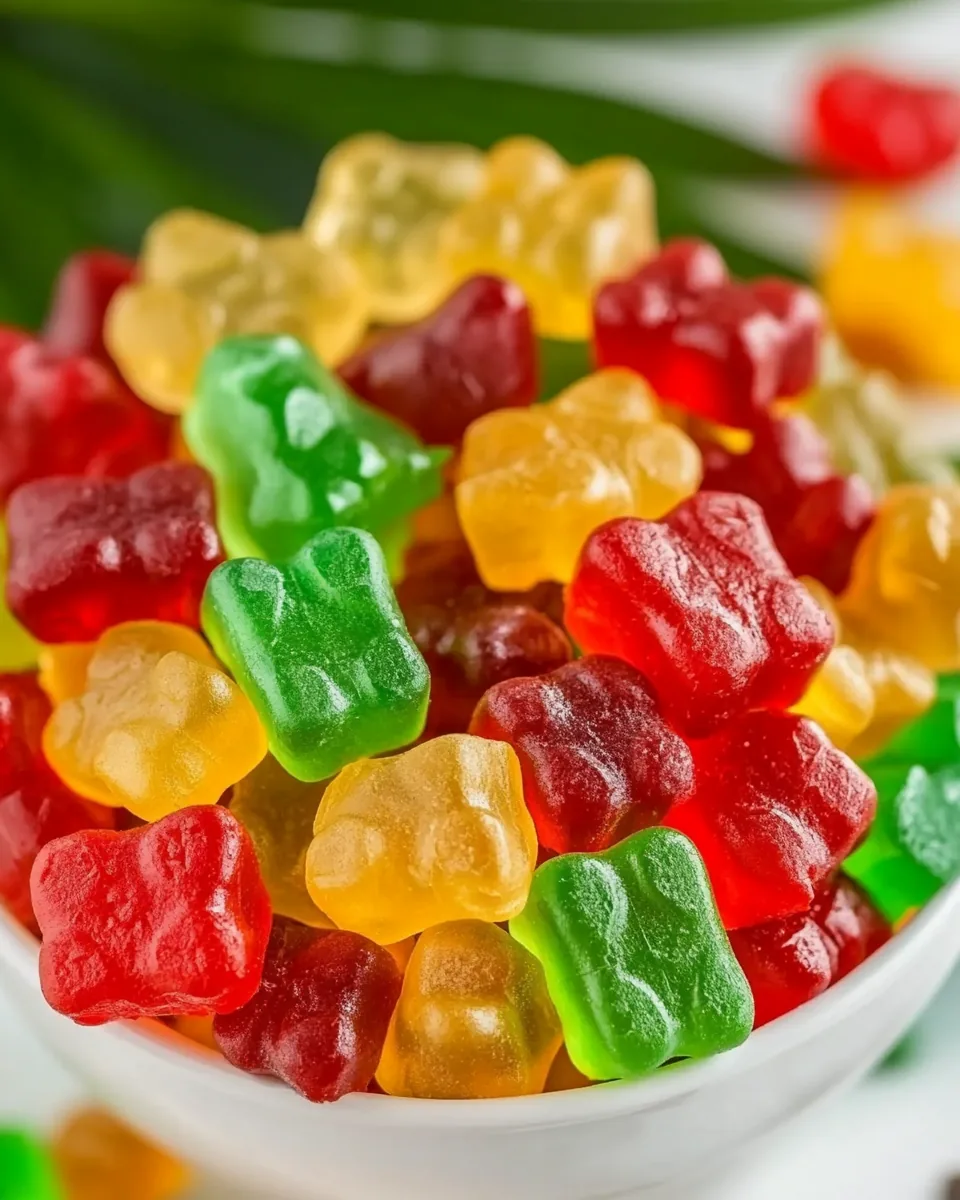
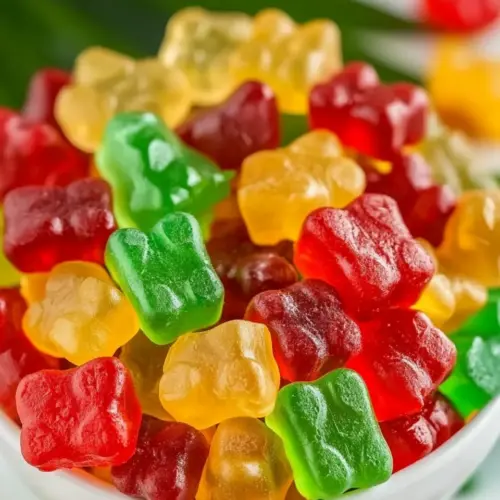
Visually Appealing
Not only do these gummies taste great, but they also look delightful! Their vibrant colors make them an attractive treat for parties or gatherings, impressing your guests with your culinary skills.
Main Ingredients for Homemade Keto Gummies
The ingredients in Homemade Keto Gummies are simple yet effective, creating a delightful treat that satisfies your sweet cravings without compromising your diet. Each ingredient plays a crucial role in achieving the perfect gummy texture and flavor.
- Sugar Free Jello Mix: This is the star of the show, providing vibrant colors and fruity flavors without the sugar. You can experiment with various flavors to keep things exciting.
- Gelatin: The key ingredient that gives gummies their chewy texture. It’s important to use the right amount for the best consistency.
- Boiling Water: Helps dissolve the jello mix and gelatin smoothly, ensuring a well-blended mixture before setting in molds.
How to Assemble Homemade Keto Gummies
Making these gummies is a fun and straightforward process, and I can’t wait to share the steps with you. Follow along, and you’ll be enjoying your very own Homemade Keto Gummies in no time!
Start by gathering four large mixing bowls. In each bowl, add one box of sugar free jello mix. I love using different flavors, so you can experiment with raspberry, lime, orange, or pineapple—whatever you fancy! This is where the fun begins!
-
Next, add two envelopes of gelatin to each bowl. Mix everything thoroughly until combined. It’s crucial to ensure there are no clumps, so whisk it well.
Now, it’s time to add the magic. Pour in 1/3 cup of boiling water to each bowl. Watch as the heat helps dissolve the jello and gelatin mixture. Stir well until completely blended; this is what will give your gummies that perfect chewy texture.
Once everything is well mixed, it’s time to get creative! Place your gummy bear molds onto a large baking sheet. Using a liquid dropper (or a small spoon), carefully transfer the gummy mixture into each mold. Don’t worry if it gets a little messy; just enjoy the process!
-
Repeat this process for each flavor. It’s always exciting to see how the different colors come together in the molds. Once filled, place the baking sheet in the refrigerator.
Let the gummies set for about 30 to 40 minutes. You’ll know they’re ready when they are firm to the touch. I often sneak a peek to see the beautiful colors that have developed!
Once set, remove the molds from the refrigerator. This is the best part—pop out the gummies with care. They should come out easily, and you’ll be left with perfectly shaped little treats.
-
Store your Homemade Keto Gummies in an airtight container. I recommend keeping them in the fridge to maintain freshness. They make for a fantastic snack anytime!
Things Worth Knowing
- Gelatin Quality: Always use high-quality gelatin to ensure the best texture. Poor-quality gelatin can lead to a gummy that’s too soft or crumbly.
- Mixing Techniques: When mixing the jello and gelatin, make sure to whisk vigorously to eliminate any lumps. This will result in a smoother final product.
- Flavor Combinations: Don’t hesitate to mix flavors! Try combining raspberry with lime for a refreshing twist.
- Storage Tips: Keep your gummies in an airtight container in the fridge. This keeps them fresh for a few weeks.
Substitutions and Tips
Here are some helpful tips for making the best Homemade Keto Gummies:
- Storage: These gummies should be stored in an airtight container in the fridge, where they can last for up to two weeks.
- Freezing: You can freeze the gummies for up to six months. Just place them in a shallow container or ziplock bag.
- Pairing: These gummies are a fantastic treat on their own but also pair well with a low-carb yogurt for a satisfying snack.
- Flavor Variations: Feel free to experiment with different flavor combinations or even add in some coconut oil for an added health boost!
- Texture Tips: If you find your gummies are too soft, simply add a bit more gelatin to your mixture next time.
- Presentation: For special occasions, consider using themed molds to make your gummies even more festive!
Serving Ideas for Homemade Keto Gummies
When it comes to serving Homemade Keto Gummies, the options are endless. Here are some great ideas:
- Snack Time: Enjoy these gummies as a quick snack between meals. They’re perfect for satisfying sweet cravings without derailing your diet.
- Party Treats: Offer them at gatherings as a festive treat. Their vibrant colors will surely be a hit among guests, and they make for a fun conversation starter.
- Lunchbox Surprise: Add a few gummies to your child’s lunchbox for a surprise treat. It’s a great way to keep them excited about their meals!
- Post-Workout Snack: These gummies provide a quick source of energy after a workout, thanks to the natural sugars from the jello.
- Seasonal Themes: Make seasonal flavors for holidays—think pumpkin spice for fall or berry blends for summer.
- Gift Ideas: Package these gummies in a cute jar and gift them to friends and family. They’ll appreciate the homemade touch and healthy ingredients.
FAQ
Conclusion
In conclusion, Homemade Keto Gummies offer a delicious and guilt-free way to satisfy your sweet cravings. They’re easy to make and can be customized to fit your personal taste. I encourage you to give this recipe a try; you’ll love the fun of making them as much as you enjoy eating them. So why not whip up a batch today and experience the joy of these delightful treats?
Homemade Keto Gummies
Equipment
- Large Pot
- Food Processor
- Mixing Bowl
- Whisk
Ingredients
- 4.3 oz Sugar Free Jello Mix 4 different flavors
- 8 envelopes Gelatin approximately 56 grams
- 1.33 cups Boiling Water
Instructions
- In four large mixing bowls, add one box of sugar free jello mix into each one and two envelopes of gelatin. Mix well until combined.
- Add 1/3 cup of boiling water to each one and whisk very well, until the jello and gelatin has completely dissolved.
- Place four gummy bear molds onto a large baking sheet. Using a liquid dropper, transfer the gummy bear mixtures into a gummy bear mold. Repeat this process for each flavor.
- Refrigerate the gummy bears for 30-40 minutes. Once set, remove from the refrigerator and pop out the gummies.
Notes
- Flavor Variety: Use any flavors you like, such as raspberry, pineapple, lime, or orange.
- One Flavor: To make a single flavor, use 1 packet of jello mix, 2 envelopes of gelatin, and 1/3 cup boiling water.
- Storage: Keep these gummy bears in an airtight container in the fridge for a few weeks.
- Freezing: Store gummies in a shallow container or ziplock bag in the freezer for up to 6 months.