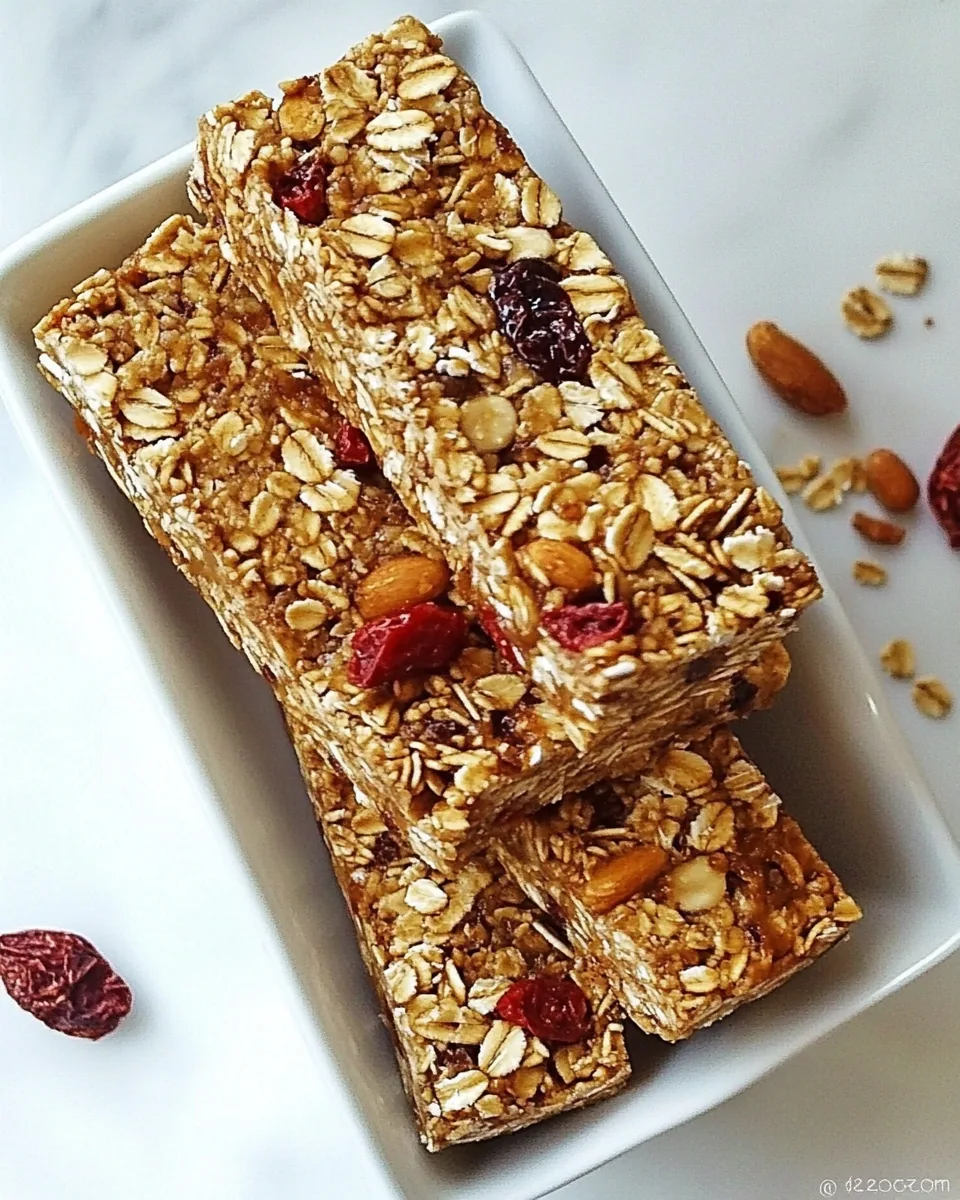
Homemade Granola Bars
There’s something incredibly satisfying about making your own snacks at home, especially when it comes to Homemade Granola Bars. Picture this: you’re coming home from work, the sun is setting, and you feel that familiar rumble in your stomach. You want something wholesome to munch on, but you’re tired of store-bought snacks that are loaded with sugars and preservatives. That’s when I decided to whip up a batch of these delicious bars. They’re not only easy to make, but they also allow you to customize the ingredients to suit your taste. Plus, the smell of them baking fills the house with a warm, inviting aroma that’s simply irresistible. Each bite is a perfect blend of chewy, crunchy, and sweet, making them an ideal pick-me-up for busy days.
Recipe Snapshot
37 mins
12 mins
25 mins
Medium
150 kcal
3g g
Paleo, Vegan, Gluten-Free
5g g
Wooden Spoon, Mixing Bowl, Frying Pan, Chef’s Knife, Baking Sheet, Food Processor, Oven
Why This Homemade Granola Bars Works
Convenience at Your Fingertips
One of the reasons I love Homemade Granola Bars is their convenience. You can make a large batch and enjoy them throughout the week. They’re perfect for breakfast on the go or a quick snack when you’re feeling peckish.
Healthy Ingredients
When you make your own granola bars, you have total control over what goes in them. You can choose high-quality ingredients like old-fashioned oats, nuts, and dried fruits, ensuring that every bite is packed with nutrients.
Customizable to Your Taste
These bars are incredibly versatile. Whether you prefer walnuts, pecans, or even sunflower seeds, you can mix and match ingredients to create a combination that tantalizes your taste buds. You can even alter the sweetness by adjusting the amount of maple syrup or molasses used.
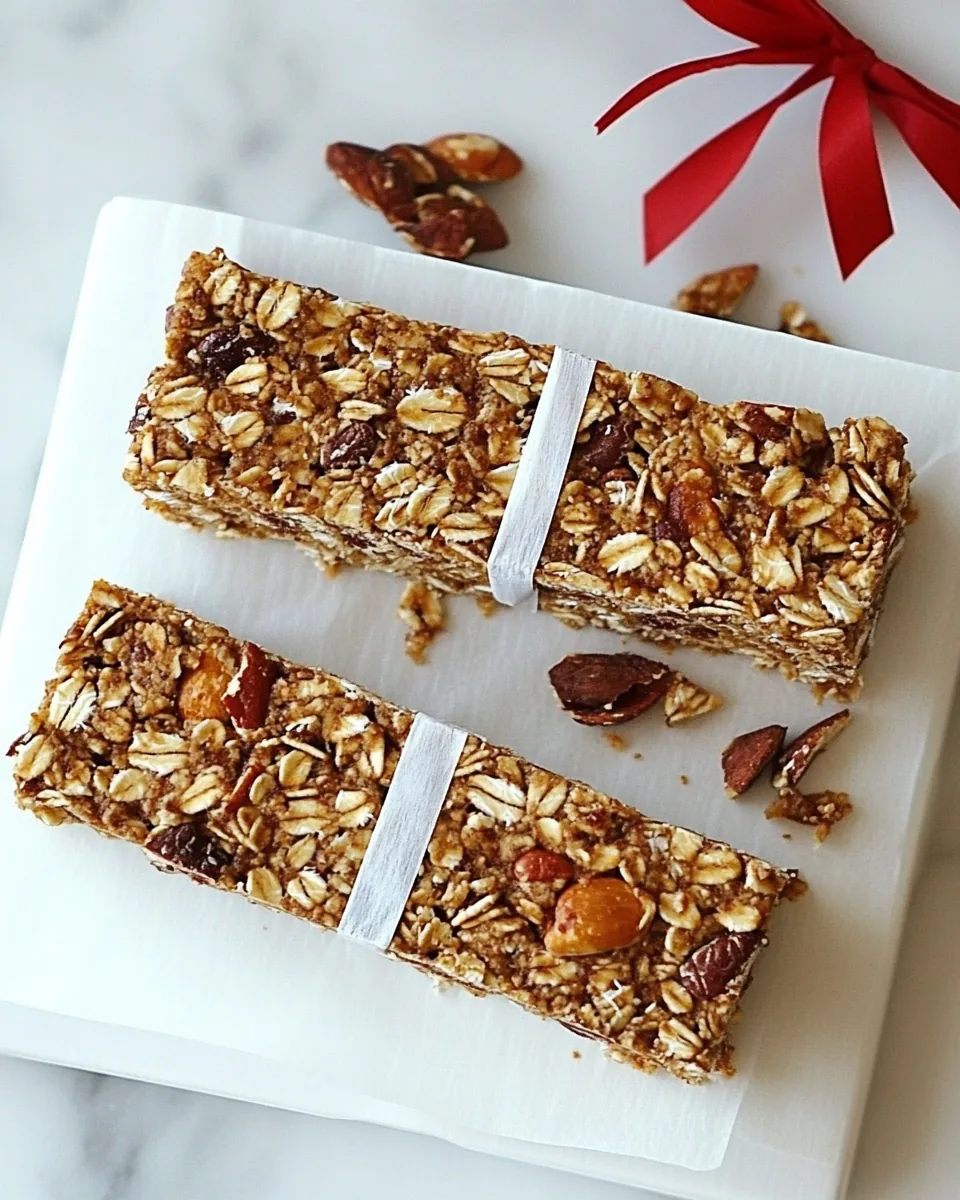
Perfect for Meal Prepping
Meal prep aficionados will appreciate how easy these bars are to store and pack. Simply cut them into squares or rectangles, and they fit perfectly in lunchboxes or snack bags. Just grab one and you’re ready to go!
A Family Favorite
My family can’t get enough of these bars! They’re an excellent alternative to sugary cereals or unhealthy snacks, and my kids love helping out in the kitchen. Making these together is a fun activity, and it teaches them how to enjoy healthy foods.
Great for Any Occasion
Whether you’re hosting a gathering, heading out for a long hike, or just need a quick energy boost, these Homemade Granola Bars are the ideal solution. They’re wholesome, satisfying, and always a hit!
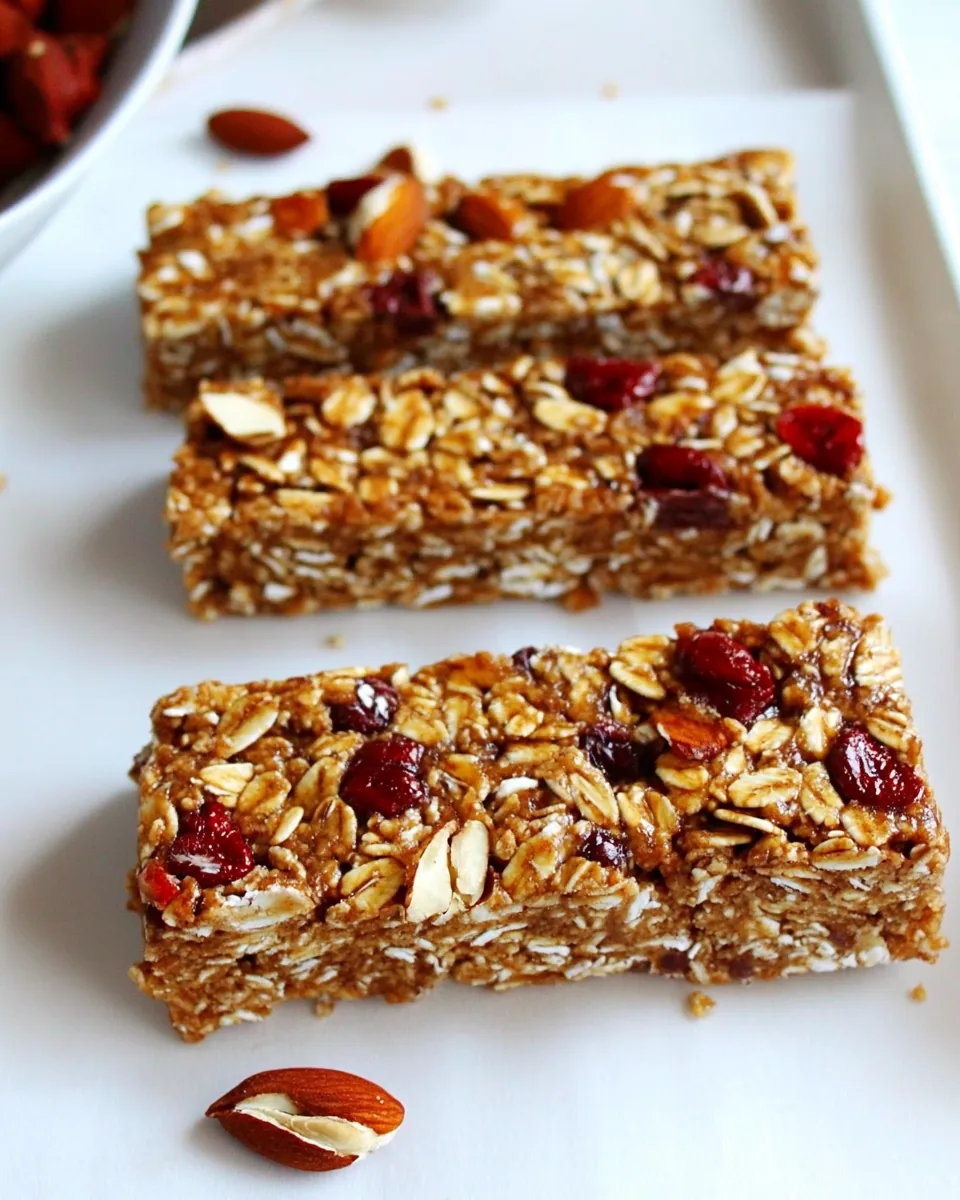
Ingredients to Make Homemade Granola Bars
Creating your own granola bars involves carefully selecting ingredients that not only taste great but also work well together. The combination of oats, nuts, and dried fruits creates a delicious balance of flavors and textures. Each ingredient plays a vital role in achieving that perfect chewy bar that you’ll crave over and over.
- 1 cup pitted prunes – These add natural sweetness and a chewy texture.
- 1/3 cup maple syrup – A natural sweetener that binds everything together.
- 1 tablespoon molasses – Brings a hint of richness and depth to the flavor.
- 1 teaspoon ground cinnamon – Adds a warm spice that complements the sweetness.
- 1 teaspoon vanilla extract – Enhances the overall flavor profile.
- pinch of sea salt – Balances the sweetness and elevates flavors.
- 2 1/2 cups old fashioned oats, divided – The main ingredient, providing structure and heartiness.
- 1/2 cup finely chopped dried apricots – For a fruity tartness that pairs well with other flavors.
- 2/3 cup chopped walnuts, pecans, or almonds (or a combination) – Adds crunch and healthy fats.
- 1/3 cup raw sunflower seeds – Provides a delightful crunch and nutritious value.
Step by Step Guide for Homemade Granola Bars
Making Homemade Granola Bars is a straightforward process that’s highly rewarding. As you follow these steps, you’ll see how simple it is to create a delightful snack that’s both nutritious and delicious. Let’s get started!
- Preheat your oven to 325 degrees F. You want it nice and warm for that perfect bake.
- Line an 8×8-inch or 9×9-inch baking dish with parchment paper, leaving a 2-inch overhang on two sides. This will make it easier to lift the bars out later.
- Spray the parchment-lined dish with nonstick spray. This gives an extra layer of protection against sticking.
- In a heat-safe bowl, cover the prunes with hot water and soak them for 10 minutes. This makes them easier to blend.
- Drain the prunes and place them in a food processor fitted with a steel blade. Add the maple syrup, molasses, cinnamon, vanilla, and salt.
- Process all ingredients to form a thick paste, about 20 seconds. Stop to scrape down the sides of the bowl once or twice with a rubber spatula to ensure everything is well combined.
- Add 2 cups of the oats to the mixture and pulse 8 to 10 times, just until the oats are coarsely chopped.
- Transfer the mixture to a large mixing bowl. Stir in the remaining 1/2 cup of oats, apricots, nuts, and sunflower seeds. Make sure everything is evenly distributed.
- Using slightly dampened hands, press the mixture firmly and evenly into the prepared pan. You want a compact mixture to hold together well.
- Bake for 25 to 30 minutes until the edges are golden brown. Keep an eye on it to prevent burning.
- Once baked, cool the dish for 15 minutes at room temperature. Then transfer to the freezer and chill until completely cooled, about 30 minutes. This helps the bars set.
- Cut into 10 or 12 bars and store them in an airtight container at room temperature. Enjoy your homemade treats!
Things Worth Knowing
- Use Fresh Ingredients: Always opt for fresh nuts and dried fruits to enhance the flavor of your bars.
- Thickness Matters: If you’d like thicker bars, use a smaller baking dish to increase the height of the mixture.
- Cooling Time: Don’t skip the cooling step; it’s crucial for the bars to firm up properly.
- Storage: Make sure to store your bars in an airtight container to keep them fresh longer.
Change It Up
Making Homemade Granola Bars allows for plenty of creativity, so feel free to experiment! Here are some ideas to mix things up:
- Try Different Nuts: Substitute walnuts with almonds or pecans for a different flavor profile.
- Add Chocolate: For a sweet twist, incorporate dark chocolate chips or cacao nibs.
- Mix in Seeds: Boost the nutritional value by adding chia or flaxseeds to the mix.
- Vary the Sweeteners: Experiment with honey or agave syrup in place of maple syrup.
- Include Spices: Add nutmeg or even a pinch of ginger for a spiced flavor.
- Fruit Variations: Swap out dried apricots for dried cranberries or raisins for a different fruity touch.
What Complements This Homemade Granola Bars
When it comes to serving Homemade Granola Bars, the possibilities are endless! Here are some ideas:
- Breakfast on the Go: Pair these bars with a smoothie for a quick breakfast.
- Post-Workout Snack: They make the perfect energy booster after a workout session.
- Lunchbox Treats: Pack them in your child’s lunchbox for a nutritious surprise.
- Afternoon Pick-Me-Up: Enjoy these bars with a cup of tea or coffee during your afternoon break.
- Outdoor Adventures: They’re a fantastic snack for hiking or picnics, providing sustained energy.
- Seasonal Variations: Mix in seasonal fruits or nuts to reflect the changing seasons.
FAQ
Conclusion
Making Homemade Granola Bars is not just about satisfying your hunger; it’s about creating something delicious and nourishing from scratch. These bars are a fantastic way to incorporate healthy ingredients into your diet while enjoying a treat that feels indulgent. I encourage you to give this recipe a try, and I promise you won’t be disappointed. Once you taste the freshness and flavor of your homemade bars, you’ll never go back to the store-bought varieties!
Homemade Granola Bars
Equipment
- Wooden Spoon
- Mixing Bowl
- Frying Pan
- Chef's Knife
- Baking Sheet
- Food Processor
- Oven
Ingredients
- 1 cup pitted prunes
- 1/3 cup maple syrup
- 1 tablespoon molasses
- 1 teaspoon ground cinnamon
- 1 teaspoon vanilla extract
- pinch sea salt
- 2 1/2 cups old fashioned oats divided
- 1/2 cup dried apricots finely chopped
- 2/3 cup chopped walnuts, pecans or almonds (or a combination)
- 1/3 cup raw sunflower seeds
Instructions
- Preheat your oven to 325 degrees F. You want it nice and warm for that perfect bake.
- Line an 8x8-inch or 9x9-inch baking dish with parchment paper, leaving a 2-inch overhang on two sides. This will make it easier to lift the bars out later.
- Spray the parchment-lined dish with nonstick spray. This gives an extra layer of protection against sticking.
- In a heat-safe bowl, cover the prunes with hot water and soak them for 10 minutes. This makes them easier to blend.
- Drain the prunes and place them in a food processor fitted with a steel blade. Add the maple syrup, molasses, cinnamon, vanilla, and salt.
- Process all ingredients to form a thick paste, about 20 seconds. Stop to scrape down the sides of the bowl once or twice with a rubber spatula to ensure everything is well combined.
- Add 2 cups of the oats to the mixture and pulse 8 to 10 times, just until the oats are coarsely chopped.
- Transfer the mixture to a large mixing bowl. Stir in the remaining 1/2 cup of oats, apricots, nuts, and sunflower seeds. Make sure everything is evenly distributed.
- Using slightly dampened hands, press the mixture firmly and evenly into the prepared pan. You want a compact mixture to hold together well.
- Bake for 25 to 30 minutes until the edges are golden brown. Keep an eye on it to prevent burning.
- Once baked, cool the dish for 15 minutes at room temperature. Then transfer to the freezer and chill until completely cooled, about 30 minutes. This helps the bars set.
- Cut into 10 or 12 bars and store them in an airtight container at room temperature. Enjoy your homemade treats!
Notes
- Fresh Ingredients: Always opt for fresh nuts and dried fruits to enhance the flavor of your bars.
- Thickness Matters: If you'd like thicker bars, use a smaller baking dish to increase the height of the mixture.
- Cooling Time: Don’t skip the cooling step; it’s crucial for the bars to firm up properly.
- Storage: Make sure to store your bars in an airtight container to keep them fresh longer.