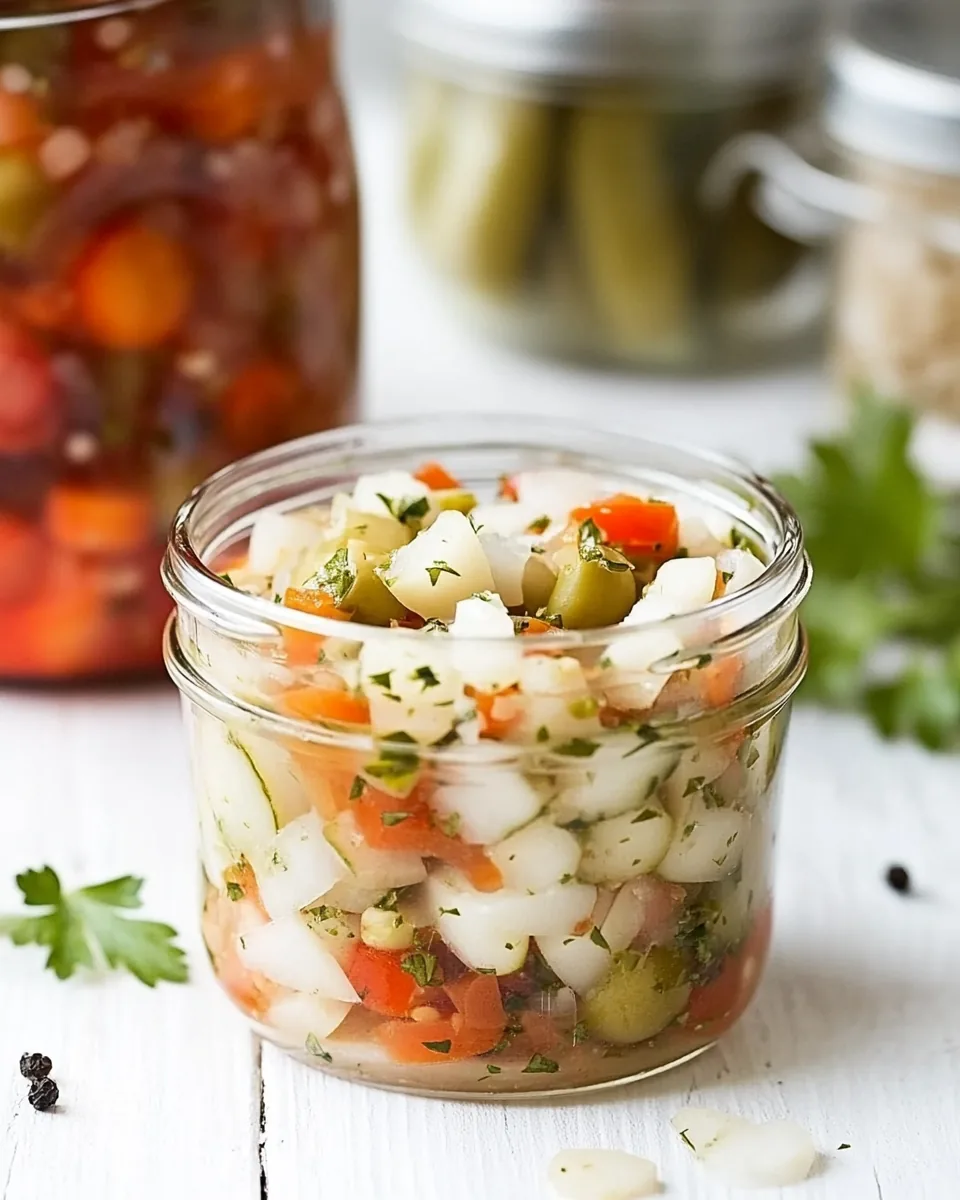
Homemade Giardiniera Recipe
Making Homemade Giardiniera Recipe is a journey filled with vibrant flavors and a touch of nostalgia. I can still remember my first taste of this zesty Italian condiment, an explosion of pickled vegetables that added a delightful crunch to any dish. Growing up, my family often enjoyed it during gatherings, making it a staple at our dinner table. The rich history behind giardiniera, with its origins in Italy, makes each bite a little trip back to my roots. It’s more than just a recipe; it’s a connection to my past, a way to savor moments spent with loved ones while enjoying delicious food. As I started experimenting in my kitchen, I realized how simple yet rewarding it was to make my own Homemade Giardiniera Recipe. You can customize it to your liking, adjusting the spices and veggies to create a unique blend that tantalizes your taste buds. Let me take you on this flavorful adventure.
Recipe Snapshot
40 mins
40 mins
0 mins
Medium
60 kcal
1 g
Keto, Paleo, Whole30
4 g
Peeler, Mixing Bowl, Chef’s Knife, Cutting Board, Food Processor
Why You Need This Homemade Giardiniera Recipe
Preserving Tradition
One of the things I love most about Homemade Giardiniera Recipe is its connection to tradition. This recipe has been passed down through generations, allowing me to honor my ancestors and their culinary skills. When I prepare this dish, I feel like I’m preserving a piece of history, and it brings me immense joy to share it with friends and family.
Customization at Its Best
Another reason why I adore this recipe is the flexibility it offers. You can mix and match vegetables based on what you have on hand or what’s in season. Want to add more heat? Toss in some extra jalapeños! Prefer a sweeter taste? Add some bell peppers. This customization makes every batch unique and tailored to my loved ones’ preferences.
Perfect for Meal Prep
Homemade Giardiniera Recipe is a fantastic addition to my meal prep routine. It keeps well in the fridge, and its flavors only become more pronounced with time. I love being able to whip up a batch and have it on hand to elevate simple meals throughout the week. It’s a great way to add flavor and nutrition to my daily meals.
Health Benefits
This recipe is not only delicious; it’s packed with nutrients! The mix of fresh veggies means you’re getting a healthy dose of vitamins and minerals in every bite. Plus, the fermentation process enhances gut health, making it a smart choice for my well-being.
Community and Sharing
Finally, the experience of making Homemade Giardiniera Recipe is a great way to bring people together. I often invite friends over to join me in the kitchen, turning the task into a social event. We catch up, laugh, and create something delicious together, reinforcing bonds while enjoying good food.
Ingredients Required for Homemade Giardiniera Recipe
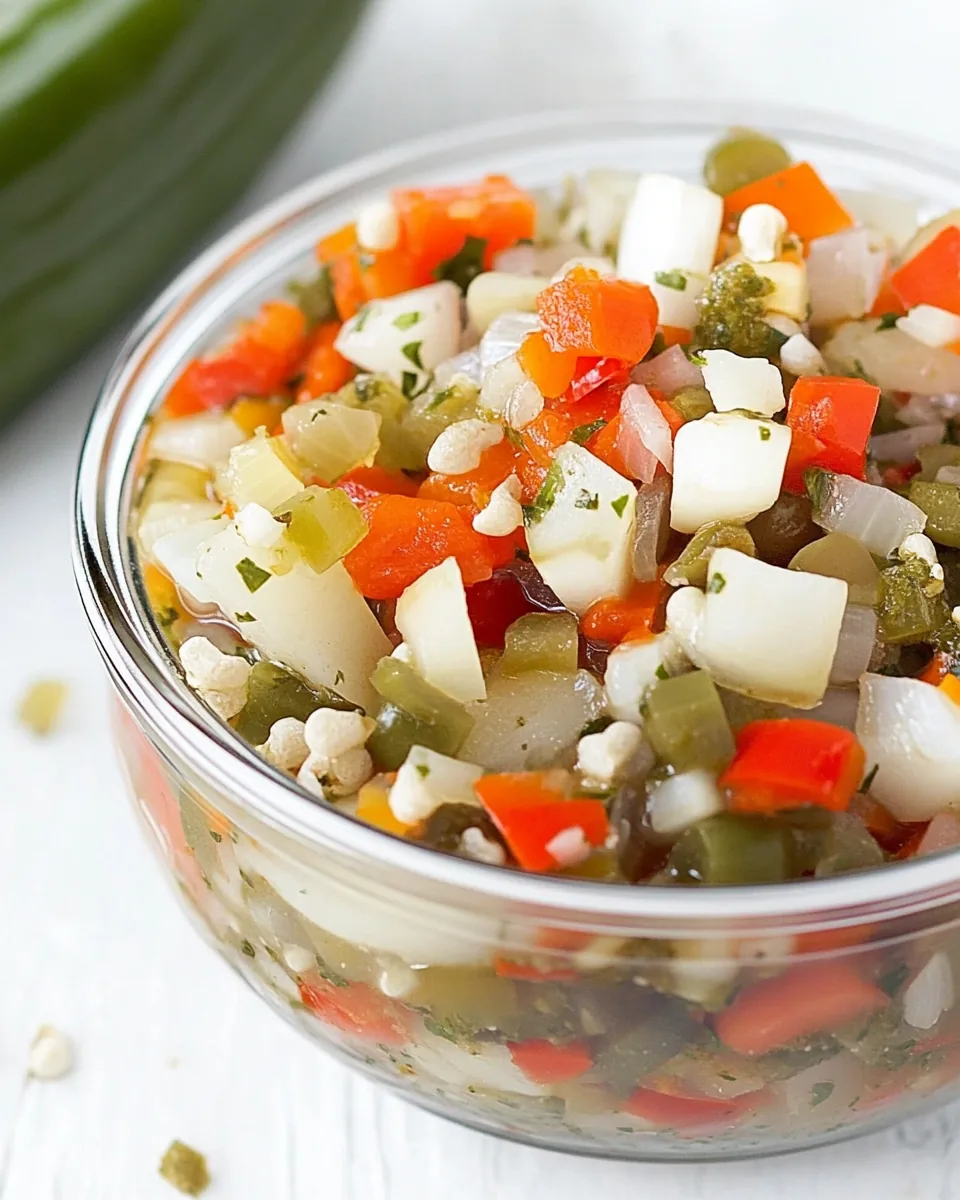
When it comes to the ingredients for Homemade Giardiniera Recipe, each one plays a crucial role in creating the perfect balance of flavor and texture. The vegetables are the stars of the show, each offering their unique taste while complementing the others. The combination of crunch from the fresh veggies and the tanginess from the vinegar makes this dish irresistible. Let’s take a closer look at the key players in this recipe.
- 1 small head of cauliflower, trimmed into small florets
- 3 small-diced ribs of celery
- 4 peeled and small diced carrots
- 1 seeded and small diced red bell pepper
- 1 seeded and small diced green bell pepper
- 1 seeded and small diced jalapeño
- 1 seeded and small diced serrano pepper
- 4 finely minced garlic cloves
- 15 ounce can green olives, reserve the olive juice brine which should be 1 cup
- 1 cup white vinegar
- 1 cup olive oil
- 1 cup avocado or neutral-flavored oil
- 1 tablespoon dry oregano
- 2 teaspoons celery seed
- 1/3 cup coarse salt
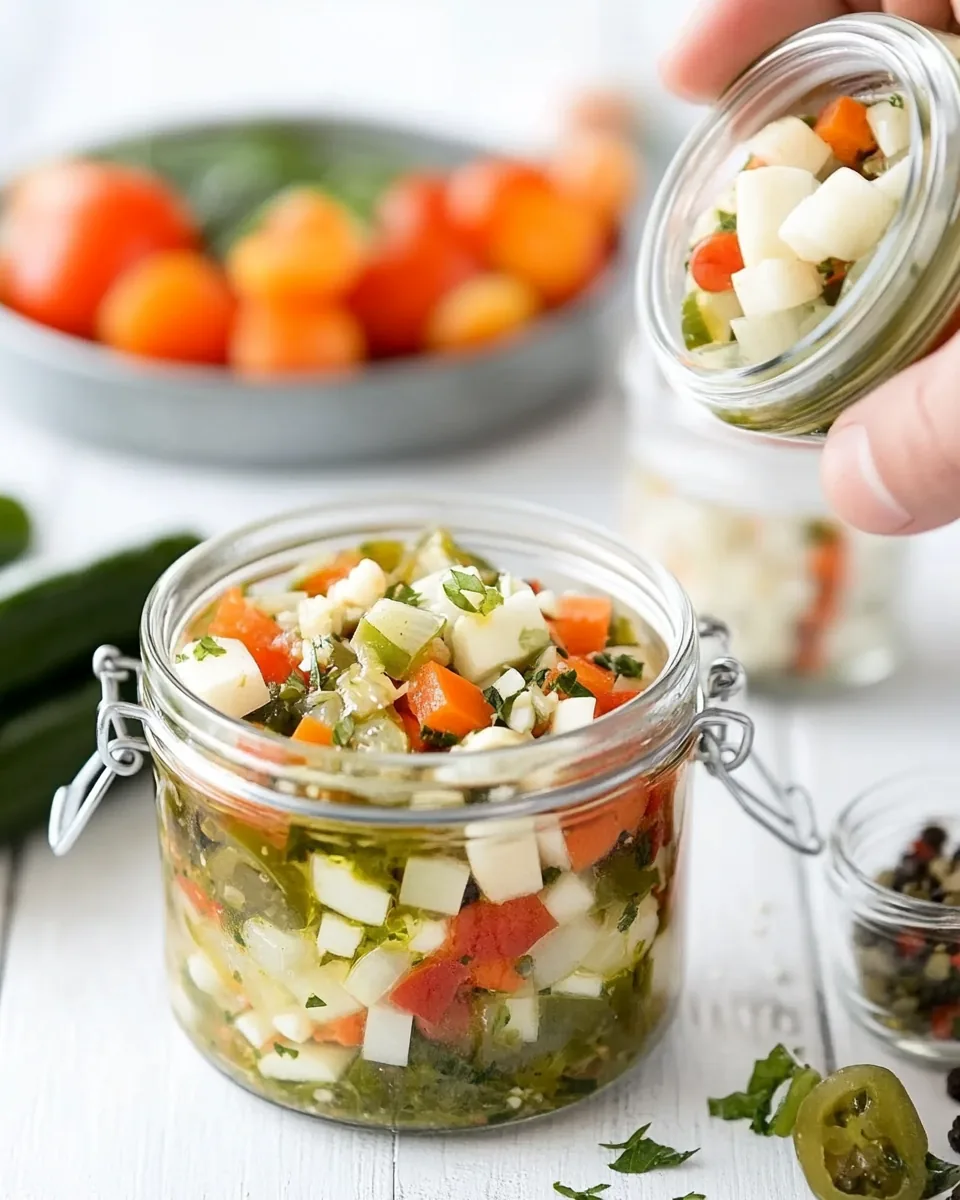
Cooking Instructions for Homemade Giardiniera Recipe
Cooking Homemade Giardiniera Recipe is a straightforward process that allows the fresh vegetables to shine. I love how simple it is to bring this dish together, and the anticipation of letting it sit overnight only adds to the excitement. Let’s dive into the step-by-step instructions and get creative in the kitchen!
- First, prepare all the vegetables into small to medium diced size pieces. The way the vegetables are chopped affects the final presentation, so aim for uniformity.
- Next, add them to a large bowl along with the salt and mix thoroughly until combined. This step is crucial for seasoning the vegetables.
- Cover the bowl with plastic wrap and place it in the refrigerator overnight or for at least six hours. This process will season as well as brine the vegetables, enhancing their flavors.
- The next day, drain the vegetables and give them a quick rinse under cold water to remove excess salt.
- Slice or small to medium size dice the olives. This will help them blend nicely with the other ingredients.
- Place the rinsed vegetables in a large bowl with the olives, garlic, oregano, and celery seed. Stir gently to combine everything.
- Next, add in the olive brine, vinegar, and oil. This mixture will create the tangy dressing that makes giardiniera so special.
- Carefully mix the ingredients together until well combined. You want every piece to be coated well with the flavorful dressing.
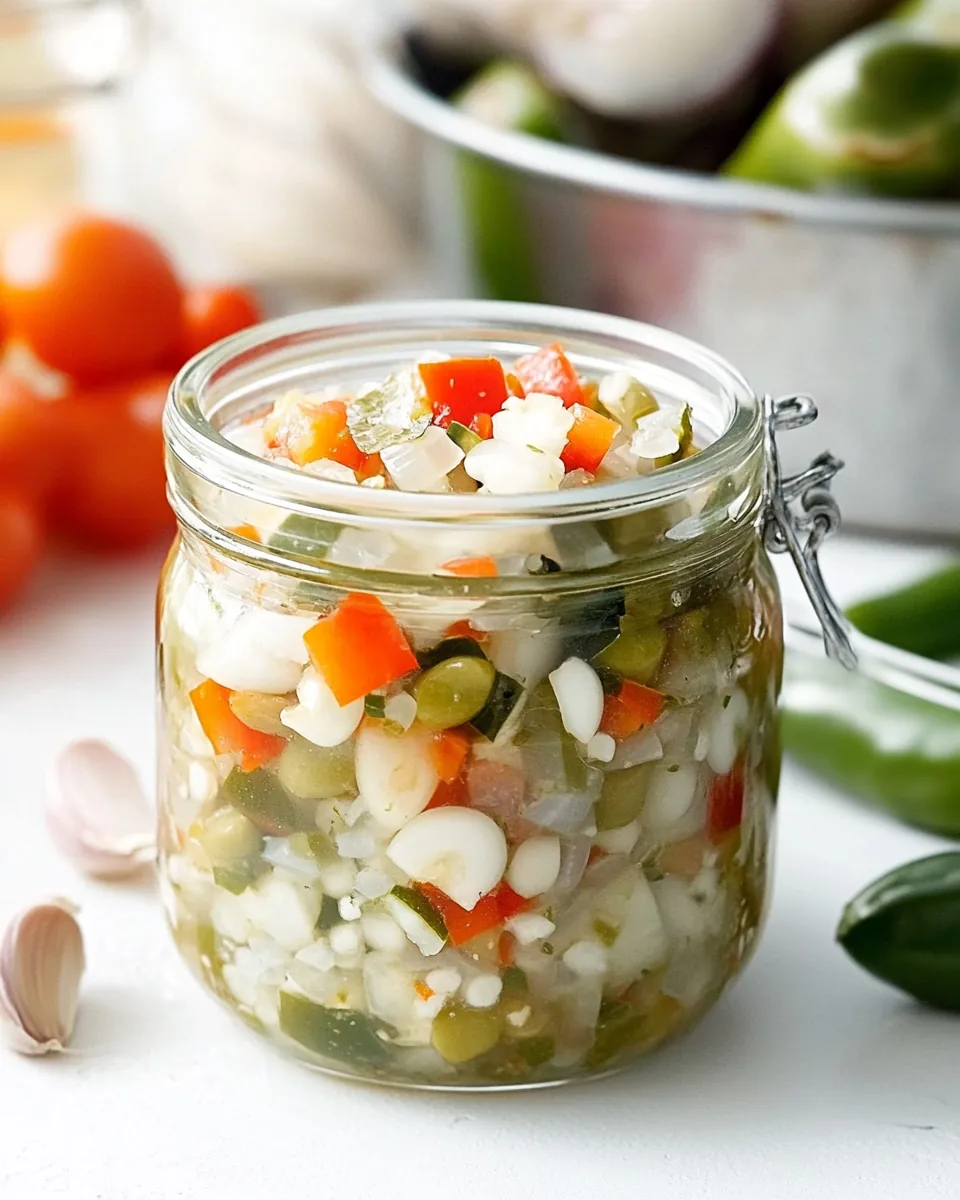
- Finally, place them in jars and store them in the refrigerator for 24 hours before consuming to allow the flavors to develop fully. Trust me, waiting is worth it!
Things Worth Knowing
- Make sure to chop the vegetables evenly for a consistent texture.
- Brining the vegetables overnight enhances their flavor and crunch.
- Using fresh ingredients will yield the best results.
- You can adjust the spice level by adding more or fewer hot peppers according to your preference.
Variations to Try
If you’re looking to switch things up with your Homemade Giardiniera Recipe, there are plenty of variations you can try. I love experimenting with different combinations to keep things interesting. Here are some ideas to inspire your next batch.
- Add different vegetables: Feel free to incorporate other veggies like radishes, green beans, or even zucchini for a unique twist.
- Spice it up: If you like heat, consider adding some crushed red pepper flakes or a dash of hot sauce to the mix.
- Herb enhancements: Experiment with herbs like thyme or basil for an added layer of flavor.
- Sweet and sour: For a sweeter taste, add a bit of sugar or honey to balance the tartness from the vinegar.
- Fermentation: Try fermenting the vegetables for a few days instead of using vinegar for a different flavor profile.
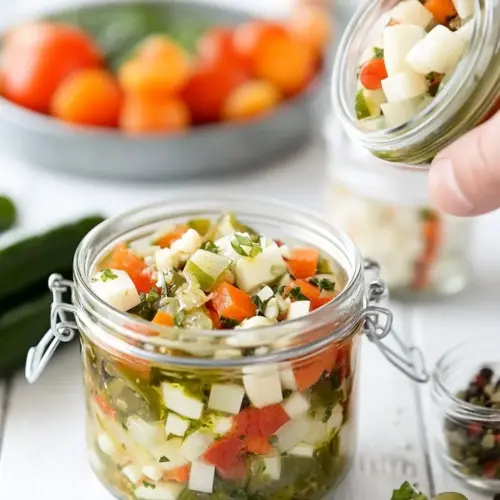
- Creative jars: Use various types of jars for a quirky presentation. Mason jars can be a fun way to serve and store your giardiniera.
Serving Suggestions
When it comes to serving Homemade Giardiniera Recipe, the options are endless! I love how versatile this dish is, making it perfect for various occasions. Here are some ideas for how to enjoy it:
- As a condiment: Giardiniera makes a great topping for sandwiches, burgers, or hot dogs, adding a refreshing crunch and tangy flavor.
- On a charcuterie board: Serve it alongside cheeses, cured meats, and crackers for a delightful appetizer.
- With antipasto: Pair it with olives, marinated vegetables, and cheeses for an authentic Italian antipasto platter.
- In salads: Incorporate giardiniera into salads for an extra kick and vibrant color.
- With grilled meats: It complements grilled meats beautifully, adding a zesty contrast to smoky flavors.
- As a side dish: Serve it chilled as a refreshing side dish at picnics or BBQs.
FAQ
Conclusion
The Homemade Giardiniera Recipe is truly a delightful addition to any meal, bringing vibrant flavors and a satisfying crunch. I encourage you to give it a try; the process is simple, and the results are incredibly rewarding. Whether you enjoy it on a sandwich or as part of a charcuterie board, your taste buds will thank you. So, gather your ingredients, and let’s celebrate the joy of homemade goodness!
Homemade Giardiniera Recipe
Equipment
- Peeler
- Mixing Bowl
- Chef's Knife
- Cutting Board
- Food Processor
Ingredients
- 1 cauliflower small head, trimmed into small florets
- 3 celery small-diced ribs
- 4 carrots peeled and small diced
- 1 red bell pepper seeded and small diced
- 1 green bell pepper seeded and small diced
- 1 jalapeño seeded and small diced
- 1 serrano pepper seeded and small diced
- 4 garlic finely minced cloves
- 15 ounce green olives reserve the olive juice brine which should be 1 cup
- 1 cup white vinegar
- 1 cup olive oil
- 1 cup avocado oil or neutral-flavored oil
- 1 tablespoon dry oregano
- 2 teaspoons celery seed
- 1/3 cup coarse salt
Instructions
- Prepare all the vegetables into small to medium diced size pieces.
- Add them to a large bowl along with the salt and mix thoroughly until combined.
- Cover it with plastic wrap and place it in the refrigerator overnight or for at least 6 hours. This process will season as well as brine the vegetables.
- The next day, drain the vegetables and give them a quick rinse under cold water.
- Slice or small to medium size dice the olives.
- Place the rinsed vegetables in a large bowl with the olives, garlic, oregano, and celery seed.
- Next, add in the olive brine, vinegar, and oil.
- Mix the ingredients together.
- Place them in jars and store them in the refrigerator for 24 hours before consuming to allow the flavors to develop.
Notes
- Make-Ahead: Whether storing in the refrigerator or canning, you can make this up to several days ahead.
- How to Store: If making refrigerator giardiniera, it can last up to 3 weeks covered in the refrigerator. When canning, it can last sealed and stored in a cool, dark place for up to 6 months.
- Flavor Development: This will get more intense in flavor with time as the flavors will begin to come out and marry.
- Processing Tips: You can also make this recipe by processing them in sterilized jars and submerging them in water for 20 minutes.
- Vegetable Measurements: There does not need to be an exact measurement of the vegetables, so their size does not matter and will not alter the flavor.
- Ingredient Love: If you happen to like a certain ingredient that’s used, then I encourage you to use more of it.