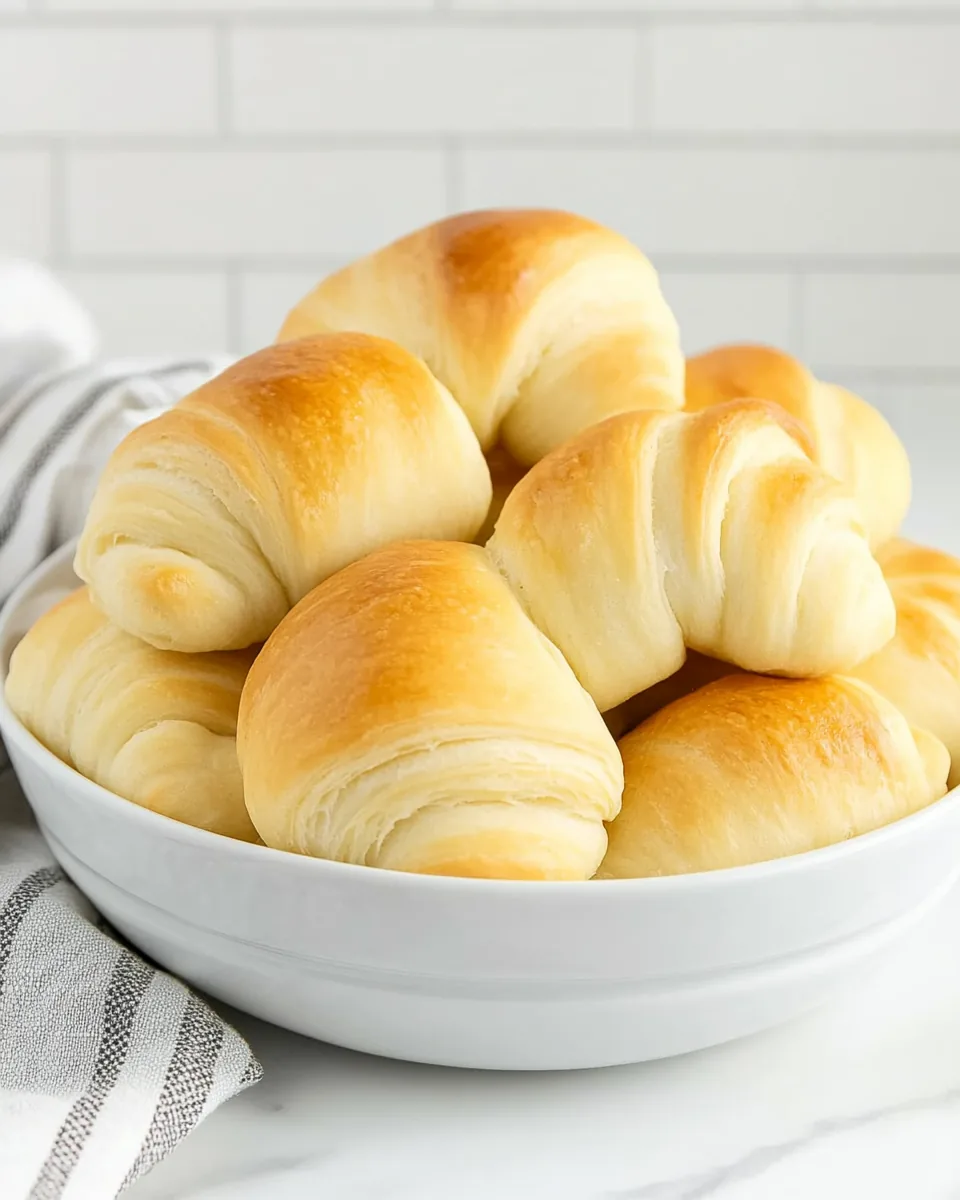
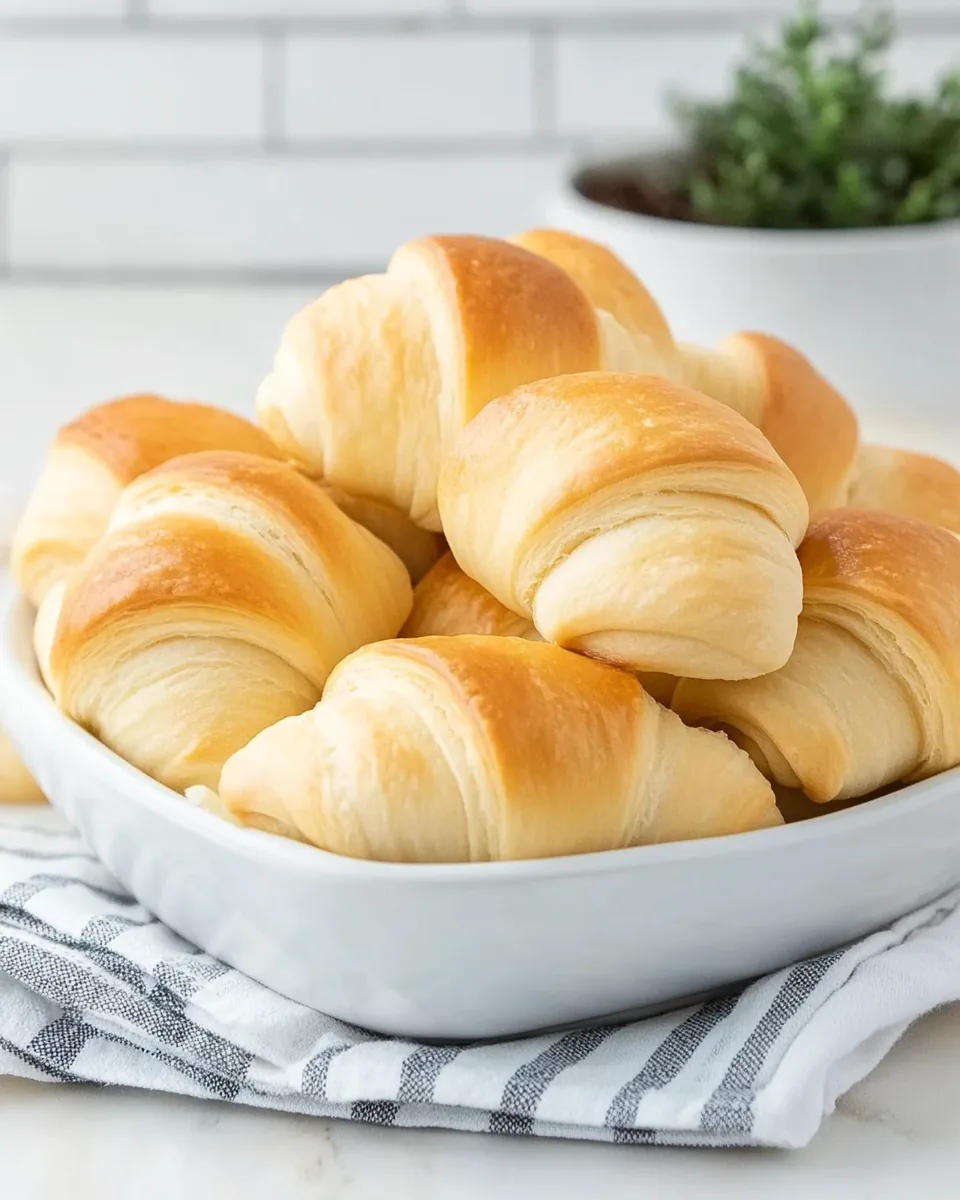
Homemade Crescent Rolls
When I think of comforting baked goods, Homemade Crescent Rolls immediately comes to mind. There’s something magical about the aroma of warm bread wafting through the house, filling every corner with the promise of a delightful treat. Growing up, these rolls were a staple at our family gatherings, often served fresh from the oven, with their golden crust and soft, pillowy interiors. I remember standing with my siblings, waiting impatiently as the scent of baking dough danced through the air, eagerly anticipating that first warm bite. Making Homemade Crescent Rolls has become one of my favorite rituals, one that I love to share with friends and family. The joy of rolling the dough and the satisfaction of watching them rise transforms baking into an experience of love and tradition.
Recipe Snapshot
32 mins
20 mins
12 mins
Medium
150 kcal
3 g
Gluten-Free, Low FODMAP
7 g
Baking Sheet, Oven, Mixing Bowl
What Sets This Homemade Crescent Rolls Apart
They’re Perfect for Any Occasion
One of the reasons I adore Homemade Crescent Rolls is their versatility. Whether it’s a holiday feast, a casual family dinner, or a potluck, these rolls fit seamlessly into any meal. They can be served alongside savory dishes or enjoyed with a touch of jam for breakfast.
Soft and Fluffy Texture
The soft texture of these rolls is simply irresistible. When you take a bite, the warmth and fluffiness melt in your mouth, creating a truly comforting experience. It’s the perfect balance of chewy and tender, making each roll a little piece of heaven.
Customizable to Your Taste
Another thing I love about Homemade Crescent Rolls is that they’re easily customizable. You can add herbs, spices, or even cheese to the dough for a savory twist. Want to get creative? Try filling them with your favorite ingredients before rolling them up!
Easy to Make
Don’t let the idea of making rolls intimidate you. The process is quite simple and rewarding! With just a handful of ingredients and a little patience, you can create something truly special. Plus, once you’ve made them a few times, you’ll find the rhythm of the process becomes second nature.
Warmth of Home-Baked Goodness
There’s just something about the act of baking that fills the home with warmth and love. Making Homemade Crescent Rolls is not only about the end product but the experience of creating something delicious from scratch. It brings family and friends together, igniting conversations and laughter.
Recipe Ingredients for Homemade Crescent Rolls
The magic of Homemade Crescent Rolls lies in its simple yet effective ingredients. Each component plays an essential role in creating that irresistible flavor and texture. The key players include active dry yeast, which helps the dough rise and provides the fluffy texture we all crave, and butter, which adds richness and depth to the rolls. The combination of warm liquids and a touch of sugar supports the yeast, while the all-purpose flour brings it all together, creating a soft and pliable dough.
- 1 tablespoon active dry yeast: This is the leavening agent that makes the rolls rise, creating that soft texture.
- 1 teaspoon sugar: A small amount to feed the yeast and enhance the flavor.
- ½ cup warm water: Activates the yeast, helping it to bloom.
- ½ cup butter, softened: Adds richness and flavor, making the rolls tender.
- ½ cup warm milk: Contributes moisture and helps create a soft dough.
- 1 large egg: Provides structure and richness to the dough.
- ⅓ cup sugar: Enhances the sweetness of the rolls.
- ¾ teaspoon salt: Balances the flavors and strengthens the dough.
- 4 cups all-purpose flour: The foundation of the rolls, creating a chewy texture.
- 2 tablespoons butter, melted: Brushed on top for a beautiful finish and added flavor.
Instructions for Homemade Crescent Rolls

Making Homemade Crescent Rolls is a delightful experience that brings warmth to your kitchen. Let’s dive into the straightforward process of creating these delicious rolls. As you follow each step, you’ll begin to see how simple ingredients can come together to create a beautiful dish.
- In a large bowl or the bowl of a stand mixer, dissolve the yeast and 1 teaspoon of sugar in the warm water. Let it sit for about 5 to 10 minutes until it becomes bubbly and foamy. This indicates that the yeast is active and ready to work its magic.
- Add the softened butter, warm milk, egg, remaining ⅓ cup sugar, and salt to the yeast mixture. Stir gently to combine all the ingredients, creating a deliciously fragrant base for your rolls.
- Gradually add 2 cups of flour into the mixture. Mix until it’s well combined. The dough will start to come together, so don’t worry if it looks a bit messy at first.
- Continue to mix in additional flour, about ¼ cup at a time, until the dough pulls away from the sides of the bowl. This indicates that it’s forming a soft dough. You want it to be tacky but not sticky.
- Once you reach the right consistency, turn the dough out onto a floured surface. Knead it for about 6 to 8 minutes until it becomes smooth and elastic. You’ll know it’s ready when it springs back after being poked.
- Shape the kneaded dough into a ball and place it in a greased bowl. Cover it with a clean kitchen towel and let it rise for about one hour, or until it has doubled in size. This is the perfect time to enjoy a cup of tea or coffee while you wait!
- After the dough has risen, gently punch it down to release the air. Divide the dough into two equal balls. Roll out each ball into a circle that’s about 12 inches wide on a floured surface.
- Using a pizza cutter, cut each circle into twelve wedges. This is where the magic happens as these wedges will transform into beautiful crescent shapes.
- Start rolling each wedge of dough up, beginning at the wide end, to form a crescent shape. Place the rolls on a lightly greased or parchment-lined baking sheet. Make sure they’re spaced out to allow for rising.
- Cover the shaped rolls with a towel and let them rise again until doubled, about 30 to 60 minutes. Meanwhile, preheat your oven to 350°F.
- Once they have risen beautifully, bake the rolls for about 10 to 12 minutes, or until they are golden brown on top. You want them to look inviting and delicious!
- As soon as they come out of the oven, brush the rolls with the melted butter for an extra touch of richness. Serve them warm and enjoy the delightful moments they bring!
Things Worth Knowing
- Let the Dough Rise: It’s crucial to allow the dough to rise properly. This helps develop the flavor and texture of the rolls. Be patient!
- Temperature Matters: Ensure the water is warm but not hot, as too much heat can kill the yeast.
- Kneading Technique: Knead until the dough is smooth and elastic, which helps create the perfect texture.
- Cover the Rolls: Always cover the rolls while they rise, as this prevents them from drying out.
Substitutions and Tips
If you’re looking to enhance your Homemade Crescent Rolls experience, here are some helpful tips and substitutions that can elevate your baking game.
- Storage: To store leftovers, keep the crescent rolls in an airtight container at room temperature for up to three days.
- Freezing: You can freeze unbaked rolls. After shaping, place the rolls on a baking sheet and freeze until solid. Transfer to a freezer-safe container and bake from frozen when you’re ready, allowing extra time for rising.
- Pairing: These rolls are fantastic with soups, salads, or as a side to any main dish. Try them with a creamy chicken dish or a hearty stew!
- Herb Infusion: For a flavor twist, consider adding fresh herbs like rosemary or thyme into the dough.
- Cheese Addition: You can also sprinkle some cheese on top before baking for a delicious cheesy crust.
- Sweet Variation: Add some cinnamon and sugar to the dough for a sweet version, perfect for breakfast.
Best Served With
Homemade Crescent Rolls can turn any meal into a memorable feast! Here are some fantastic ways to enjoy them:- With Soup: Serve them alongside a warm bowl of creamy soup to soak up the delicious flavors.
- For Breakfast: Enjoy them fresh out of the oven with a dab of butter or your favorite jam for a delightful morning treat.
- Holiday Gatherings: These rolls are perfect for Thanksgiving or Christmas dinners, adding a warm touch to your holiday table.
- Casual Dinners: Pair them with roasted vegetables and a protein for a comforting family dinner.
- Picnics: Take them on picnics or potlucks; they are easy to transport and always a crowd-pleaser.
- Storage Tips: To keep them fresh longer, store in an airtight container, and they can last for a few days.
FAQ
Conclusion
Making Homemade Crescent Rolls is a rewarding experience that fills your home with warmth and the delightful smell of freshly baked bread. These rolls are not just a side dish; they are a tradition that brings family and friends together. I encourage you to give this recipe a try, and I promise, the smiles around your table will be well worth the effort. Enjoy the process, and savor every bite!
Homemade Crescent Rolls
Equipment
- Baking Sheet
- Oven
- Mixing Bowl
Ingredients
- 1 tablespoon Active Dry Yeast
- 1 teaspoon Sugar
- ½ cup Warm Water
- ½ cup Butter, Softened
- ½ cup Warm Milk
- 1 large Egg
- ⅓ cup Sugar
- ¾ teaspoon Salt
- 4 cups All-Purpose Flour
- 2 tablespoons Butter, Melted
Instructions
- In a large bowl or the bowl of a stand mixer, dissolve the yeast and 1 teaspoon of sugar in the warm water. Let it sit for about 5 to 10 minutes until it becomes bubbly and foamy. This indicates that the yeast is active and ready to work its magic.
- Add the softened butter, warm milk, egg, remaining ⅓ cup sugar, and salt to the yeast mixture. Stir gently to combine all the ingredients, creating a deliciously fragrant base for your rolls.
- Gradually add 2 cups of flour into the mixture. Mix until it’s well combined. The dough will start to come together, so don’t worry if it looks a bit messy at first.
- Continue to mix in additional flour, about ¼ cup at a time, until the dough pulls away from the sides of the bowl. This indicates that it’s forming a soft dough. You want it to be tacky but not sticky.
- Once you reach the right consistency, turn the dough out onto a floured surface. Knead it for about 6 to 8 minutes until it becomes smooth and elastic. You’ll know it’s ready when it springs back after being poked.
- Shape the kneaded dough into a ball and place it in a greased bowl. Cover it with a clean kitchen towel and let it rise for about one hour, or until it has doubled in size. This is the perfect time to enjoy a cup of tea or coffee while you wait!
- After the dough has risen, gently punch it down to release the air. Divide the dough into two equal balls. Roll out each ball into a circle that’s about 12 inches wide on a floured surface.
- Using a pizza cutter, cut each circle into twelve wedges. This is where the magic happens as these wedges will transform into beautiful crescent shapes.
- Start rolling each wedge of dough up, beginning at the wide end, to form a crescent shape. Place the rolls on a lightly greased or parchment-lined baking sheet. Make sure they’re spaced out to allow for rising.
- Cover the shaped rolls with a towel and let them rise again until doubled, about 30 to 60 minutes. Meanwhile, preheat your oven to 350°F.
- Once they have risen beautifully, bake the rolls for about 10 to 12 minutes, or until they are golden brown on top. You want them to look inviting and delicious!
- As soon as they come out of the oven, brush the rolls with the melted butter for an extra touch of richness. Serve them warm and enjoy the delightful moments they bring!
Notes
- Refrigerate the Dough: Once the dough is kneaded, place it in a lightly oiled bowl. Cover with plastic wrap and store in the fridge for up to 2 days. When ready to bake, just roll, form, rise, and bake.
- Freeze the Dough: You can form the rolls into a crescent shape, line them up on a baking sheet, and freeze them. Once solid, transfer the individual rolls into a freezer-safe container. They are best when used by 3 months, but can last for up to 6 months.
- To Bake: When ready to bake, place the crescent rolls on a baking pan. Cover the pan with a greased piece of plastic wrap (the cooking spray helps keep the plastic from sticking to the dough). Allow to rise for about 4 hours before baking.