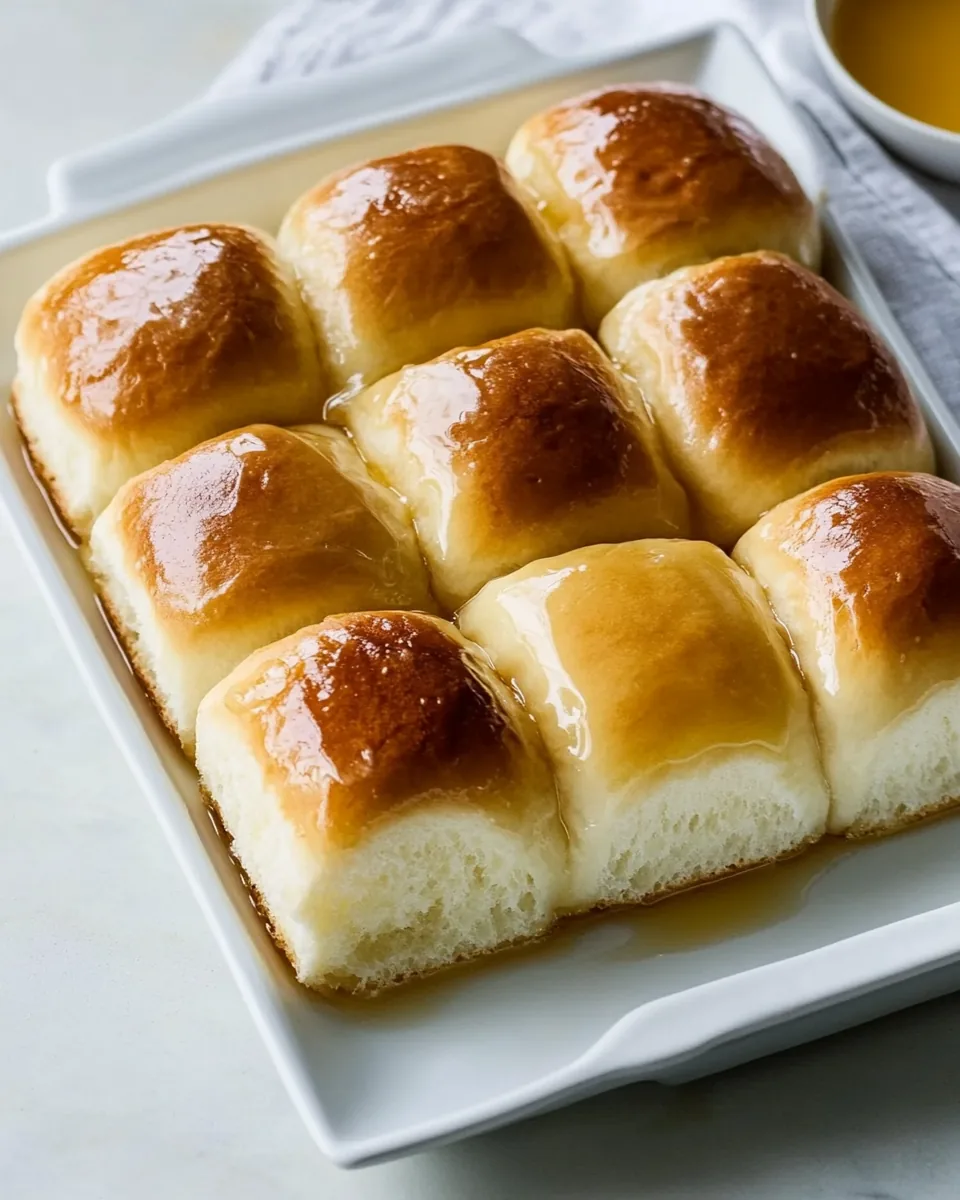
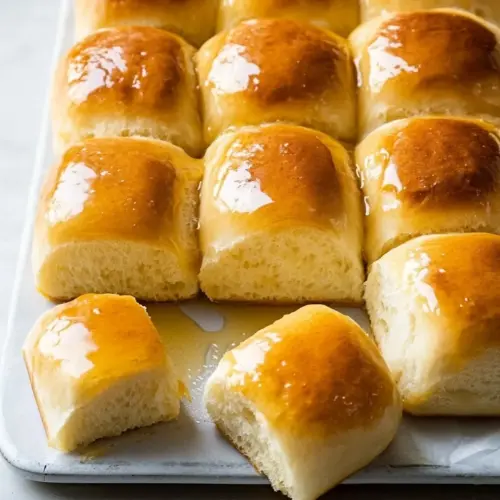
Hawaiian Buns with Honey Citrus Glaze
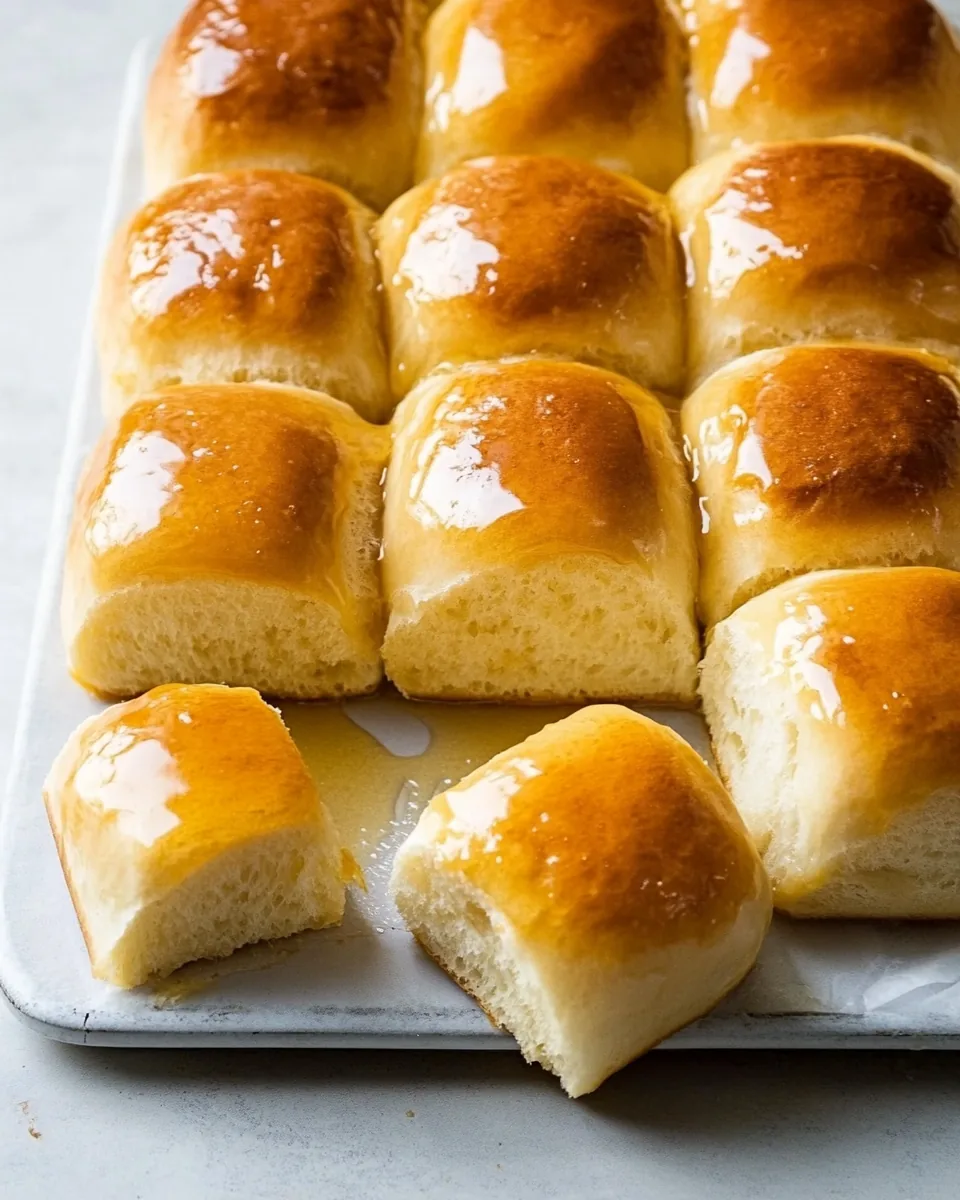
There’s something undeniably magical about the aroma of fresh-baked bread wafting through the kitchen, and when it comes to Hawaiian Buns with Honey Citrus Glaze, it takes me back to sunny days spent with family and friends. These soft, fluffy buns are not just any bread; they are infused with the sweetness of pineapple and orange, making each bite feel like a warm embrace. I remember the first time I baked these delightful treats for a weekend brunch. The moment I pulled them out of the oven, the golden-brown tops glistening with a honey glaze, I knew they would become a staple in my kitchen.
As I gathered around the table with loved ones, the chatter and laughter filled the air, and we eagerly tore into the warm buns, their sweet scent mingling with the joy of togetherness. Each bun was bursting with flavor, soft and pillowy, while the honey citrus glaze added that perfect touch of sweetness. It was a moment that reminded me how food can bring people closer, creating memories that last a lifetime.
Whether you serve them for a special occasion or simply as a delightful treat to enjoy at home, these Hawaiian Buns with Honey Citrus Glaze are sure to impress. They’re perfect for brunch, a casual gathering, or even as a comforting snack during the week. Trust me, once you try this recipe, you won’t want to keep it a secret!
Recipe Snapshot
1 hr 10 mins
45 mins
25 mins
Medium
210 kcal
4 g
Gluten-Free
7 g
Wooden Spoon, Mixing Bowl, Frying Pan, Whisk, Baking Sheet, Oven
Why Try This Hawaiian Buns with Honey Citrus Glaze
Soft and Fluffy Texture
One of the standout features of Hawaiian Buns with Honey Citrus Glaze is their incredible texture. These buns are pillowy soft, almost like a cloud, thanks to the careful combination of ingredients and the rising process. When you sink your teeth into one, you’ll experience that melt-in-your-mouth quality that makes them utterly irresistible.
Sweet and Zesty Flavor
The unique flavor profile of these buns comes from the sweet hints of pineapple and orange juice, perfectly balanced with the honey glaze. It’s a delightful combination that dances on your taste buds and pairs beautifully with savory dishes or can be enjoyed on their own. The citrus notes brighten up the bun, making it a refreshing choice for any meal.
Versatile Serving Options
What I love most about Hawaiian Buns with Honey Citrus Glaze is their versatility. You can serve them as a side dish with grilled meats, use them for sliders, or simply enjoy them as a snack. They’re perfect for any occasion, whether it’s a holiday gathering, a picnic, or a cozy dinner at home.
Fun Family Activity
Baking these buns is not only rewarding, but it’s also a fantastic way to spend time with loved ones. The process of mixing, kneading, and shaping the dough can be a fun activity for everyone involved. Get the kids in the kitchen and let them help roll the dough into balls; it’s a great way to bond and create lasting memories.
Perfect for Meal Prep
If you love to meal prep, these buns are an excellent choice. They can be made ahead of time and stored for later use. Simply reheat them in the oven for a few minutes before serving, and they’ll taste just as fresh as when they were first baked.
Beautiful Presentation
Last but not least, the stunning presentation of these buns makes them a showstopper on any table. The golden color, glossy honey glaze, and the inviting aroma will have your guests eagerly reaching for one. They are as beautiful as they are delicious!
Ingredients for Hawaiian Buns with Honey Citrus Glaze
Each ingredient in Hawaiian Buns with Honey Citrus Glaze plays a vital role in crafting the perfect bun. The combination of sweet and tangy elements, alongside rich textures, creates a harmonious balance that elevates the overall dish. Let’s explore these key players!
- 30 grams warm water (2 tablespoons) – This helps activate the yeast, creating the perfect environment for the dough to rise.
- 9 grams active dry yeast (1 tablespoon) – Essential for leavening, this ingredient is what makes the buns rise and become fluffy.
- 120 grams canned pineapple juice (½ cup) – Adds natural sweetness and a tropical flavor that makes these buns truly special.
- 73 grams firmly packed dark brown sugar (?) – This adds a rich sweetness and moisture to the buns.
- 60 grams fresh orange juice (¼ cup) – Enhances the citrus flavor profile, contributing freshness.
- 57 grams unsalted butter (¼ cup, melted) – Adds richness and flavor, making the buns incredibly soft.
- 3 large eggs (150 grams), room temperature and divided – Helps bind the ingredients and enriches the dough.
- 19 grams egg yolk (1 large) – Adds additional richness and color to the buns.
- 6 grams kosher salt (2 teaspoons) – Balances sweetness and enhances the overall flavor.
- 4 grams vanilla extract (1 teaspoon) – Introduces a lovely aroma and flavor to the buns.
- 500 grams all-purpose flour (4 cups) – The backbone of the recipe, creating structure and texture.
- 42 grams finely ground potato flour (¼ cup) – Enhances the softness and moisture of the buns.
- 15 grams water or whole milk (1 tablespoon, room temperature) – Helps create the right dough consistency.
- 85 grams clover honey (¼ cup) – The star of the glaze, adding sweetness and a beautiful shine.
- 14 grams unsalted butter (1 tablespoon) – Used in the glaze for richness and flavor.
- 3 grams packed orange zest (1 teaspoon) – Adds a burst of citrus aroma and flavor to the glaze.
How to Cook Hawaiian Buns with Honey Citrus Glaze
Making Hawaiian Buns with Honey Citrus Glaze is a joyful experience, blending simple ingredients into something extraordinary. Follow these steps to create your own batch of delightful buns!
- In the bowl of a stand mixer fitted with the paddle attachment, stir together 30 grams warm water and 9 grams active dry yeast. Let it stand until slightly puffed with small bubbles forming over the top, about 10 minutes. This step is crucial for activating the yeast.
- Once the yeast is activated, add 120 grams canned pineapple juice, 73 grams firmly packed dark brown sugar, 60 grams fresh orange juice, 57 grams unsalted butter, and 150 grams of the eggs (you’ll reserve the yolk). Mix at medium-low speed until well combined, about 2 to 3 minutes. Be sure to stop and scrape the sides of the bowl for even mixing.
- In a large bowl, whisk together 500 grams all-purpose flour and 42 grams finely ground potato flour. With the mixer on low speed, gradually add the flour mixture to the wet ingredients, mixing just until combined. The dough will appear shaggy at this point, which is completely normal.
- Increase the mixer speed to medium and beat for 2 minutes, stopping periodically to scrape the sides of the bowl. You want to create a smooth mixture here.
- Switch to the dough hook attachment and beat at medium-low speed until the dough is smooth and elastic, passing the windowpane test after about 5 to 8 minutes. If the dough sticks to the sides of the bowl, it’s fine, just give it a little more time.
- Grease a large bowl with oil and place the dough inside, turning it to grease the top. Cover the bowl and let it rise in a warm, draft-free place (around 75°F/24°C) until it doubles in size, about 1 hour.
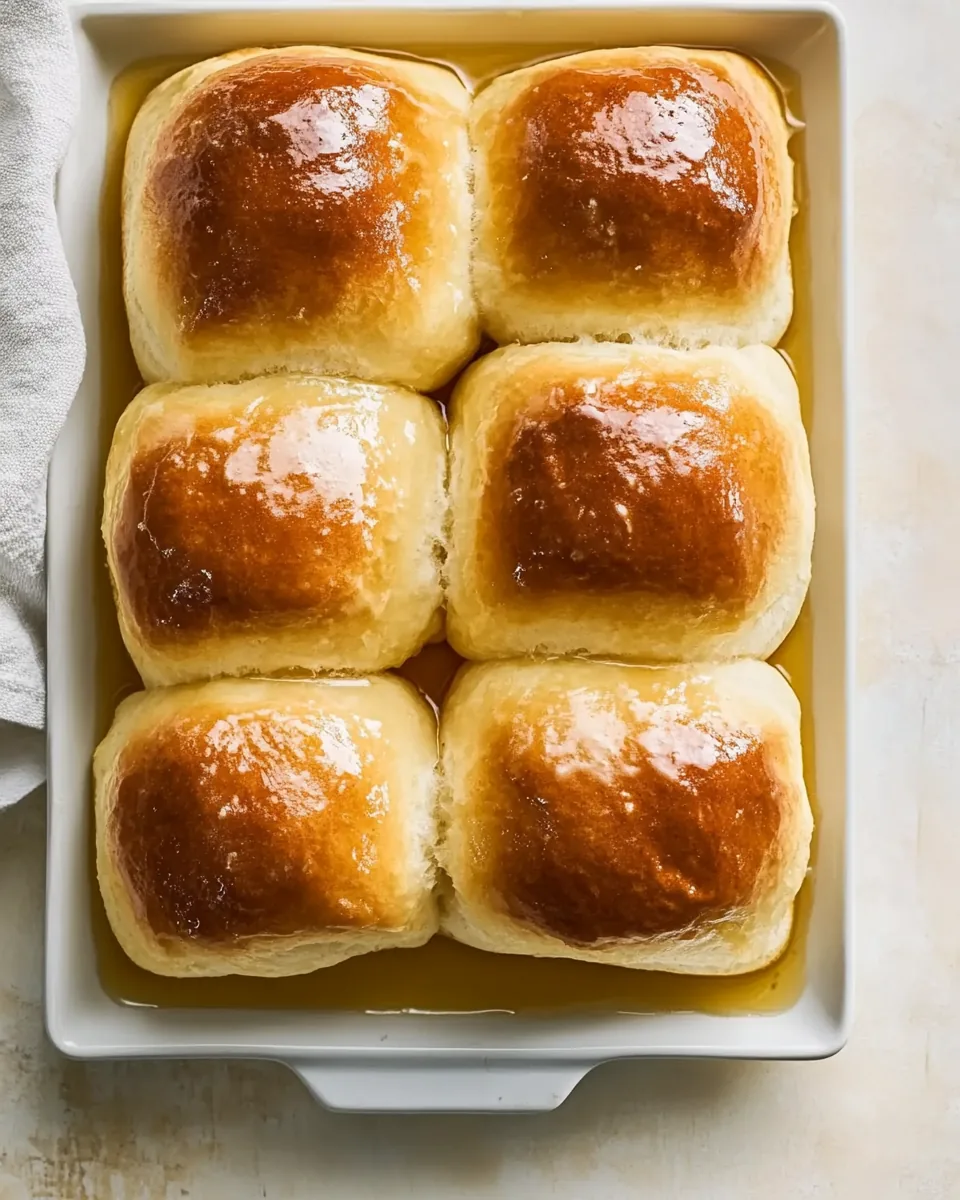
- Lightly spray a 13×9-inch baking pan with cooking spray and line it with parchment paper, allowing the excess to hang over the sides. This helps in easy removal after baking.
- Once the dough has risen, punch it down gently. Divide it into 15 equal portions (about 65 grams each) and roll them into balls. Place them evenly spaced in the prepared pan. Cover the pan and let the dough rise again in a warm place until almost doubled in size, approximately 45 minutes to 1 hour.
- Preheat your oven to 350°F (180°C). This is a key step to ensure that your buns bake perfectly.
- In a small bowl, whisk together 15 grams water or milk and the remaining 50 grams of egg (the yolk you reserved). Gently brush the rolls with this egg wash, giving them a beautiful golden color as they bake.
- Bake the buns until they are golden brown, about 20 to 25 minutes. The aroma will fill your kitchen!
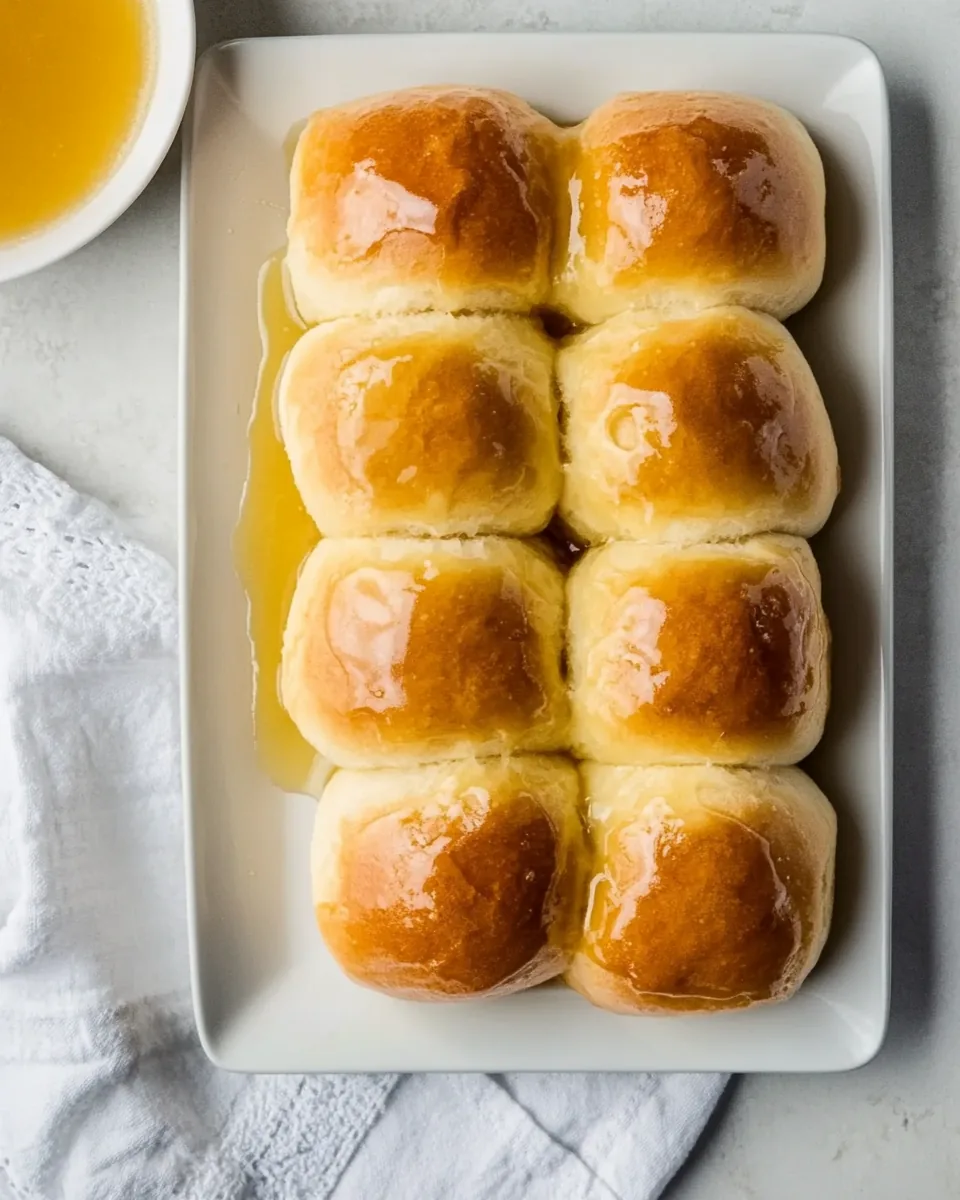
- While the buns are baking, prepare the glaze. In a small microwave-safe bowl, combine 85 grams clover honey, 14 grams unsalted butter, and 3 grams packed orange zest. Microwave on high in 10-second intervals until the butter melts. Stir and strain the honey mixture.
- Once the buns are baked, remove them from the oven and immediately brush them with the honey glaze. This will add a lovely shine and sweetness that will make you want to dive right in!
Things Worth Knowing
Things Worth Knowing
- Windowpane Test: Test the dough for proper gluten development using the windowpane test. Pinch off a small piece of dough and slowly pull it from the center. If it stretches thin and translucent, it’s ready. If it tears, give it more time.
- Keep an Eye on Your Mixer: When kneading, be cautious as some mixers may “walk” off your countertop if left unattended. Keep it stable and watch carefully.
- Rising Time Variance: The rising times may vary based on your kitchen’s temperature. Ensure that your dough is in a warm, draft-free place for optimal results.
- Egg Wash for Shine: Using an egg wash before baking enhances the buns’ color and gives them a beautifully shiny finish. Don’t skip this step!
- Cooling Period: Allow the buns to cool slightly before brushing on the honey glaze. This prevents the glaze from soaking into the buns and helps maintain their texture.
Tips and Variations
Here are some helpful tips and variations for making your Hawaiian Buns with Honey Citrus Glaze even more delightful!
- Storage: Store any leftover buns in an airtight container at room temperature. They’re best enjoyed fresh but can last for up to 2 days.
- Freezing: You can freeze the baked buns! Just wrap them tightly in plastic wrap, then place them in a freezer-safe bag. They’ll keep well for up to 3 months.
- Variations: Feel free to experiment with different fruit juices like mango or passion fruit for a tropical twist.
- Serving Options: These buns are fantastic with a spread of butter or can be used to make sliders with your favorite fillings.
- Meal Prep: Consider making a large batch of dough and freezing half for later use. Fresh buns can be just a few hours away!
Serve This Hawaiian Buns with Honey Citrus Glaze With
These Hawaiian Buns with Honey Citrus Glaze can be served alongside various dishes, making them a versatile addition to any meal. Here are some ideas:
- Grilled Chicken: Pair these buns with grilled chicken for a delightful sandwich at your next barbecue.
- Salads: A light salad complements the sweetness of the buns perfectly.
- Brunch Occasions: Serve them at brunch with fresh fruit and whipped cream for an indulgent treat.
- Picnics: They make an excellent picnic item, easy to pack and enjoy outdoors.
- Holiday Gatherings: These buns are a beautiful addition to your holiday table, adding a festive touch to your spread.
- Storage Tips: For best results, store leftover buns in a container with a piece of bread to keep them moist.
FAQ
Conclusion
These Hawaiian Buns with Honey Citrus Glaze are truly a treat that captures the essence of comfort food. Their soft, sweet, and citrus-infused nature makes them perfect for any gathering or a cozy night in. I encourage you to try making them yourself; you won’t regret it. Once you take that first bite, you’ll be hooked and wanting to share this delightful recipe with everyone you know.
Hawaiian Buns with Honey Citrus Glaze
Equipment
- Wooden Spoon
- Mixing Bowl
- Frying Pan
- Whisk
- Baking Sheet
- Oven
Ingredients
- 30 grams warm water (2 tablespoons)
- 9 grams active dry yeast (1 tablespoon)
- 120 grams canned pineapple juice (½ cup)
- 73 grams firmly packed dark brown sugar (?)
- 60 grams fresh orange juice (¼ cup)
- 57 grams unsalted butter (¼ cup, melted)
- 150 grams large eggs (3, room temperature and divided)
- 19 grams egg yolk (1 large)
- 6 grams kosher salt (2 teaspoons)
- 4 grams vanilla extract (1 teaspoon)
- 500 grams all-purpose flour (4 cups)
- 42 grams finely ground potato flour (¼ cup)
- 15 grams water or whole milk (1 tablespoon, room temperature)
- 85 grams clover honey (¼ cup)
- 14 grams unsalted butter (1 tablespoon)
- 3 grams packed orange zest (1 teaspoon)
Instructions
- In the bowl of a stand mixer fitted with the paddle attachment, stir together 30 grams warm water and 9 grams active dry yeast. Let it stand until slightly puffed with small bubbles forming over the top, about 10 minutes. This step is crucial for activating the yeast.
- Once the yeast is activated, add 120 grams canned pineapple juice, 73 grams firmly packed dark brown sugar, 60 grams fresh orange juice, 57 grams unsalted butter, and 150 grams of the eggs (you'll reserve the yolk). Mix at medium-low speed until well combined, about 2 to 3 minutes. Be sure to stop and scrape the sides of the bowl for even mixing.
- In a large bowl, whisk together 500 grams all-purpose flour and 42 grams finely ground potato flour. With the mixer on low speed, gradually add the flour mixture to the wet ingredients, mixing just until combined. The dough will appear shaggy at this point, which is completely normal.
- Increase the mixer speed to medium and beat for 2 minutes, stopping periodically to scrape the sides of the bowl. You want to create a smooth mixture here.
- Switch to the dough hook attachment and beat at medium-low speed until the dough is smooth and elastic, passing the windowpane test after about 5 to 8 minutes. If the dough sticks to the sides of the bowl, it’s fine, just give it a little more time.
- Grease a large bowl with oil and place the dough inside, turning it to grease the top. Cover the bowl and let it rise in a warm, draft-free place (around 75°F/24°C) until it doubles in size, about 1 hour.
- Lightly spray a 13×9-inch baking pan with cooking spray and line it with parchment paper, allowing the excess to hang over the sides. This helps in easy removal after baking.
- Once the dough has risen, punch it down gently. Divide it into 15 equal portions (about 65 grams each) and roll them into balls. Place them evenly spaced in the prepared pan. Cover the pan and let the dough rise again in a warm place until almost doubled in size, approximately 45 minutes to 1 hour.
- Preheat your oven to 350°F (180°C). This is a key step to ensure that your buns bake perfectly.
- In a small bowl, whisk together 15 grams water or milk and the remaining 50 grams of egg (the yolk you reserved). Gently brush the rolls with this egg wash, giving them a beautiful golden color as they bake.
- Bake the buns until they are golden brown, about 20 to 25 minutes. The aroma will fill your kitchen!
- While the buns are baking, prepare the glaze. In a small microwave-safe bowl, combine 85 grams clover honey, 14 grams unsalted butter, and 3 grams packed orange zest. Microwave on high in 10-second intervals until the butter melts. Stir and strain the honey mixture.
- Once the buns are baked, remove them from the oven and immediately brush them with the honey glaze. This will add a lovely shine and sweetness that will make you want to dive right in!
Notes
- Windowpane Test: Test the dough for proper gluten development using the windowpane test. Pinch off a small piece of dough and slowly pull it from the center. If it stretches thin and translucent, it’s ready. If it tears, give it more time.
- Keep an Eye on Your Mixer: When kneading, be cautious as some mixers may “walk” off your countertop if left unattended. Keep it stable and watch carefully.