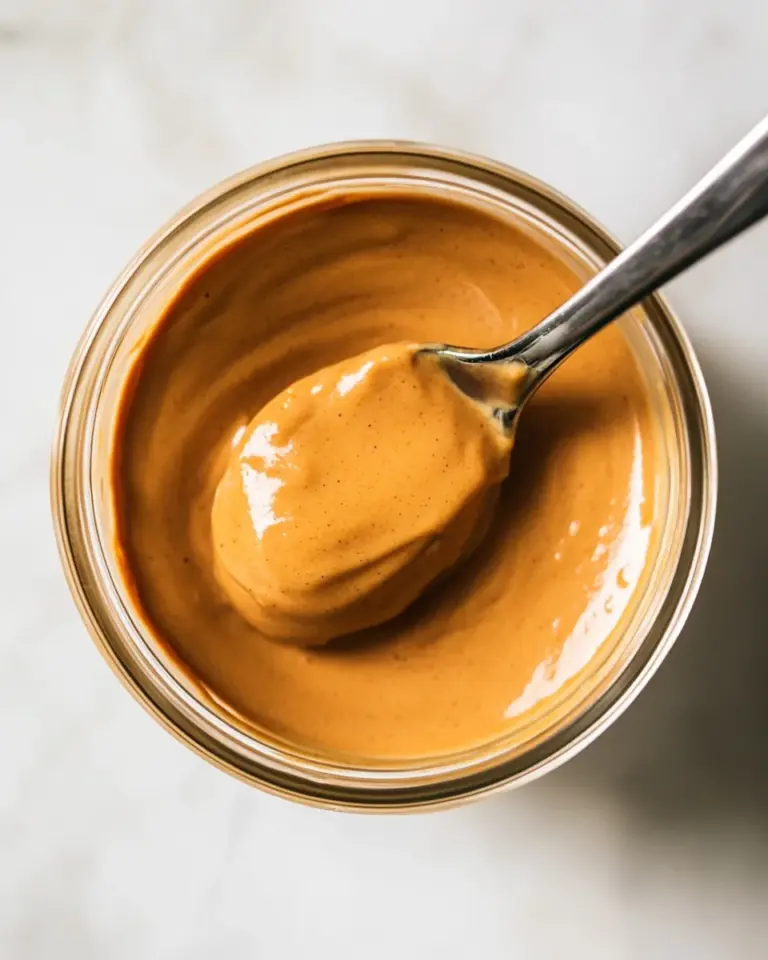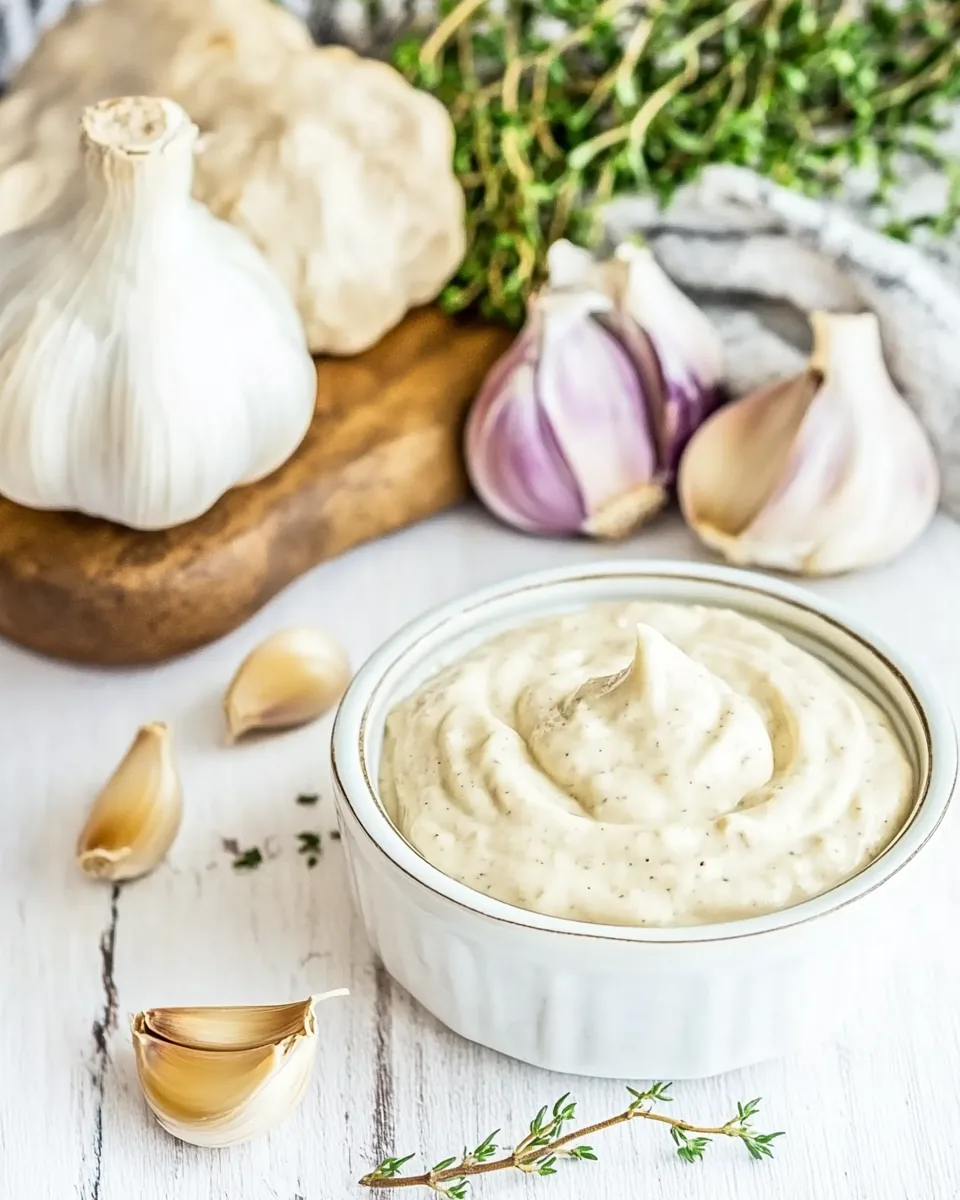
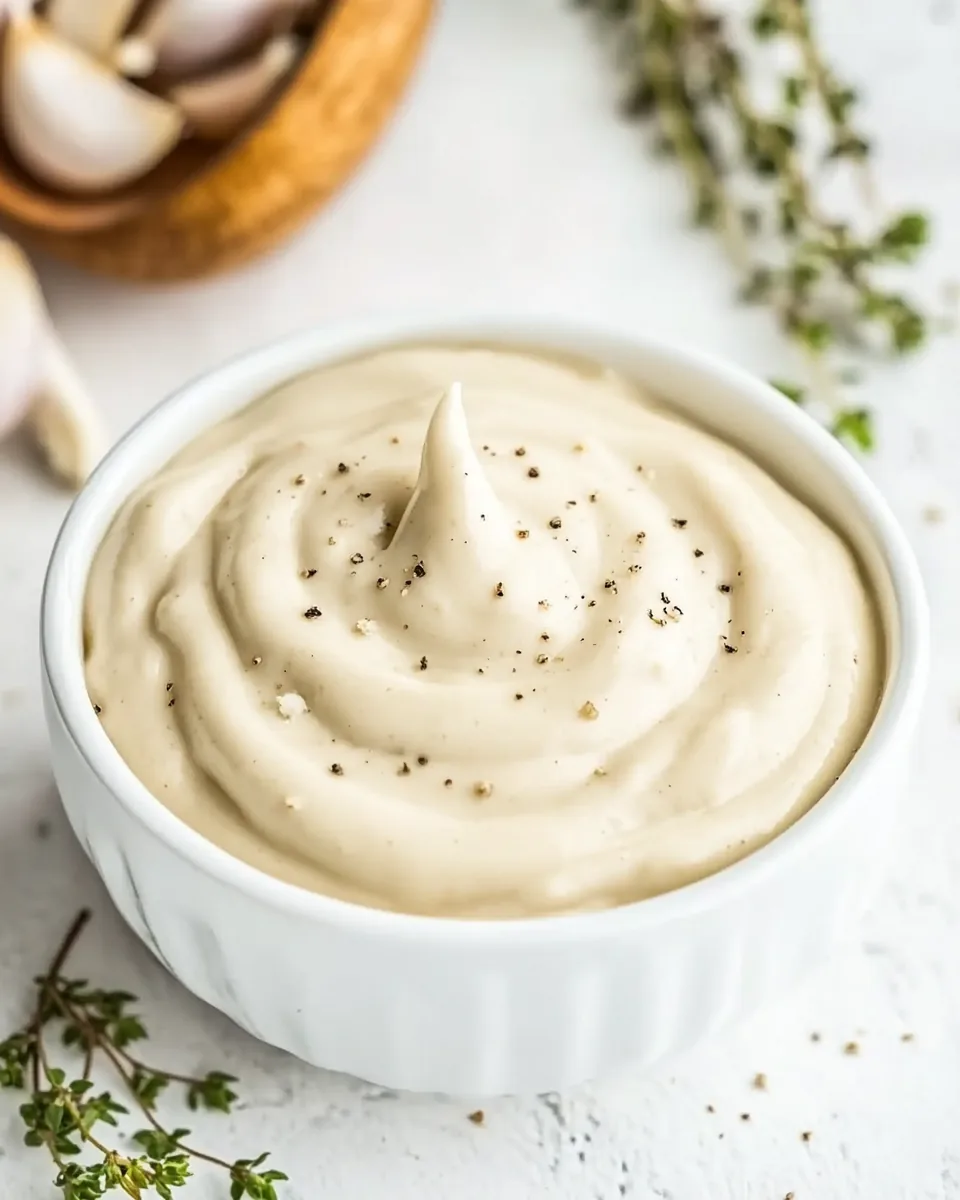
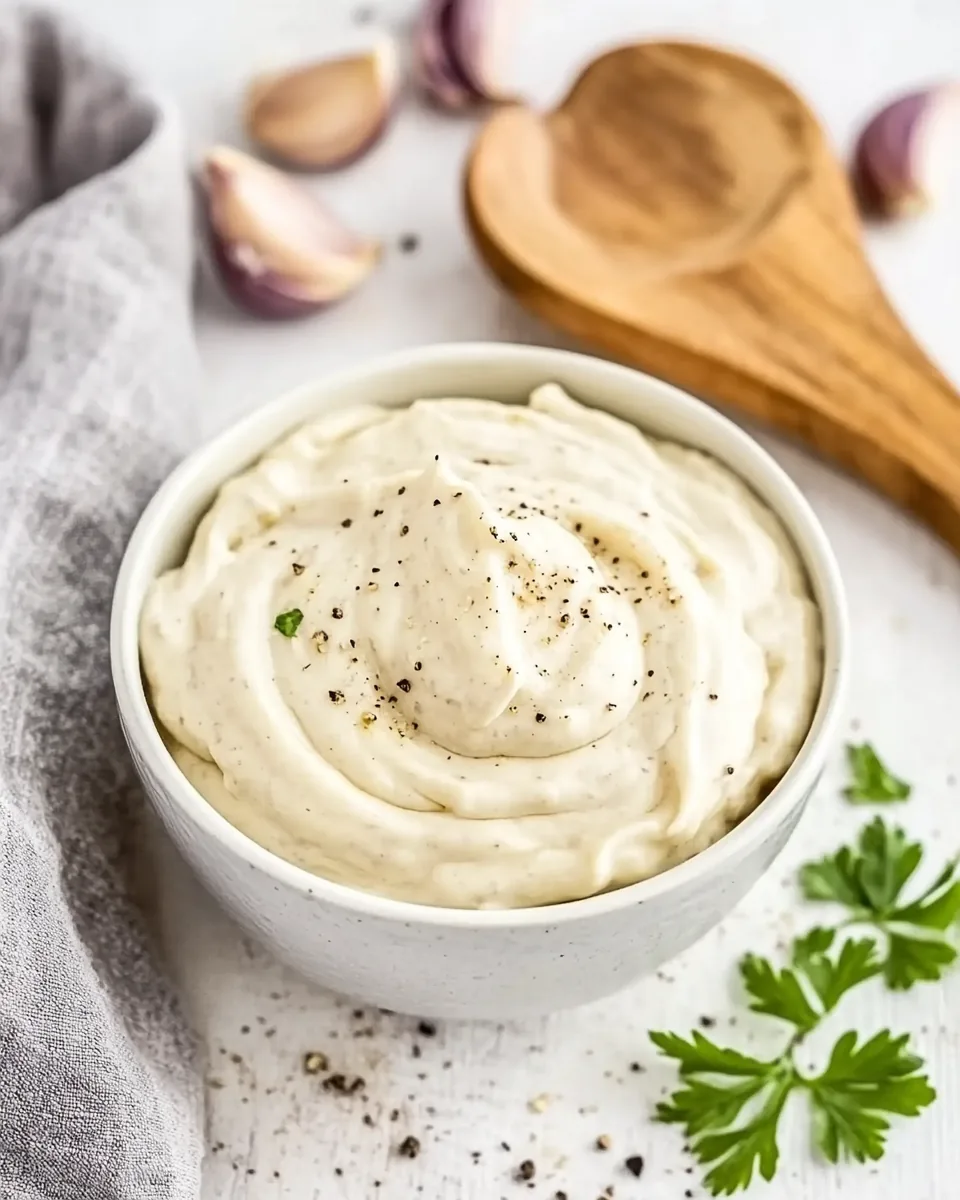
Garlic Aioli
Whenever I think about the perfect dip, Garlic Aioli always comes to mind. This creamy, rich condiment has the incredible ability to elevate anything it touches, from crispy fries to fresh veggies. I remember the first time I made it for a gathering; everyone was asking for the secret recipe! The beauty of Garlic Aioli lies in its simplicity and versatility. With just a handful of ingredients, you can create a deliciously smooth dip that’s both satisfying and impressive.
As I prepared it, the aroma of fresh garlic filled my kitchen, and I couldn’t help but feel excited. There’s something magical about blending these ingredients together; the way they meld and transform into a thick, luscious aioli is simply delightful. Whether you’re hosting a dinner party or enjoying a quiet evening at home, this dip is a must-have. Plus, it’s perfect for any occasion, making it a staple in my kitchen.
Every time I serve Garlic Aioli, I’m reminded of how a simple combination of flavors can bring joy and comfort. So, grab your immersion blender and let’s dive into this easy recipe that promises to impress!
Recipe Snapshot
5 mins
5 mins
0 mins
Medium
250 kcal
2 g
Keto, Paleo, Whole30
27 g
Peeler, Mixing Bowl, Chef’s Knife, Blender, Food Processor
Why This Garlic Aioli Is So Good
Quick to Prepare
One of the best things about Garlic Aioli is how swiftly you can whip it up. In just a few minutes, you can have a rich and creamy dip that tastes gourmet. It’s perfect for those impromptu gatherings or whenever you want something delicious without a lot of fuss.
Rich Flavor Profile
The flavor of garlic in this aioli is bold yet balanced. It’s not overwhelming but rather complements a wide variety of dishes. You’ll find that it enhances the taste of everything from grilled meats to crudités.
Customization Possibilities
Another reason I adore Garlic Aioli is its adaptability. You can easily adjust the flavors to suit your liking by adding herbs, spices, or even a hint of zest with lemon. This flexibility means you can enjoy it differently every time!
Perfect for Meal Prep
Making Garlic Aioli in advance is a game changer. It stores beautifully in the fridge for up to a week, allowing you to have a ready-to-go dip whenever cravings strike. Just a quick stir before serving, and you’re all set!
Healthier Homemade Alternative
Making your own Garlic Aioli at home means you can control the ingredients. This way, you avoid preservatives and unnecessary additives often found in store-bought versions.
Versatile Use
This aioli isn’t just for dipping; it can also be used as a spread on sandwiches or burgers. It adds a creamy texture and rich flavor that can take your meals to the next level.
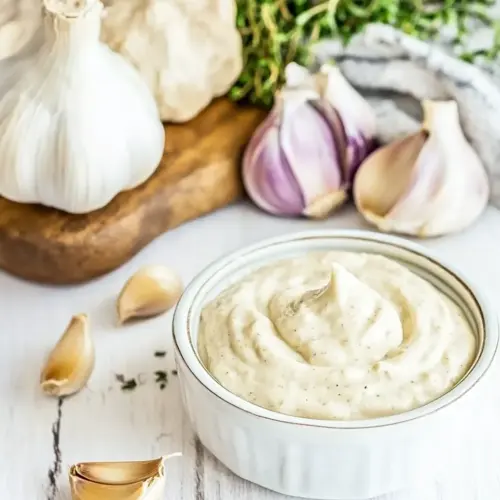
What to Gather for Garlic Aioli
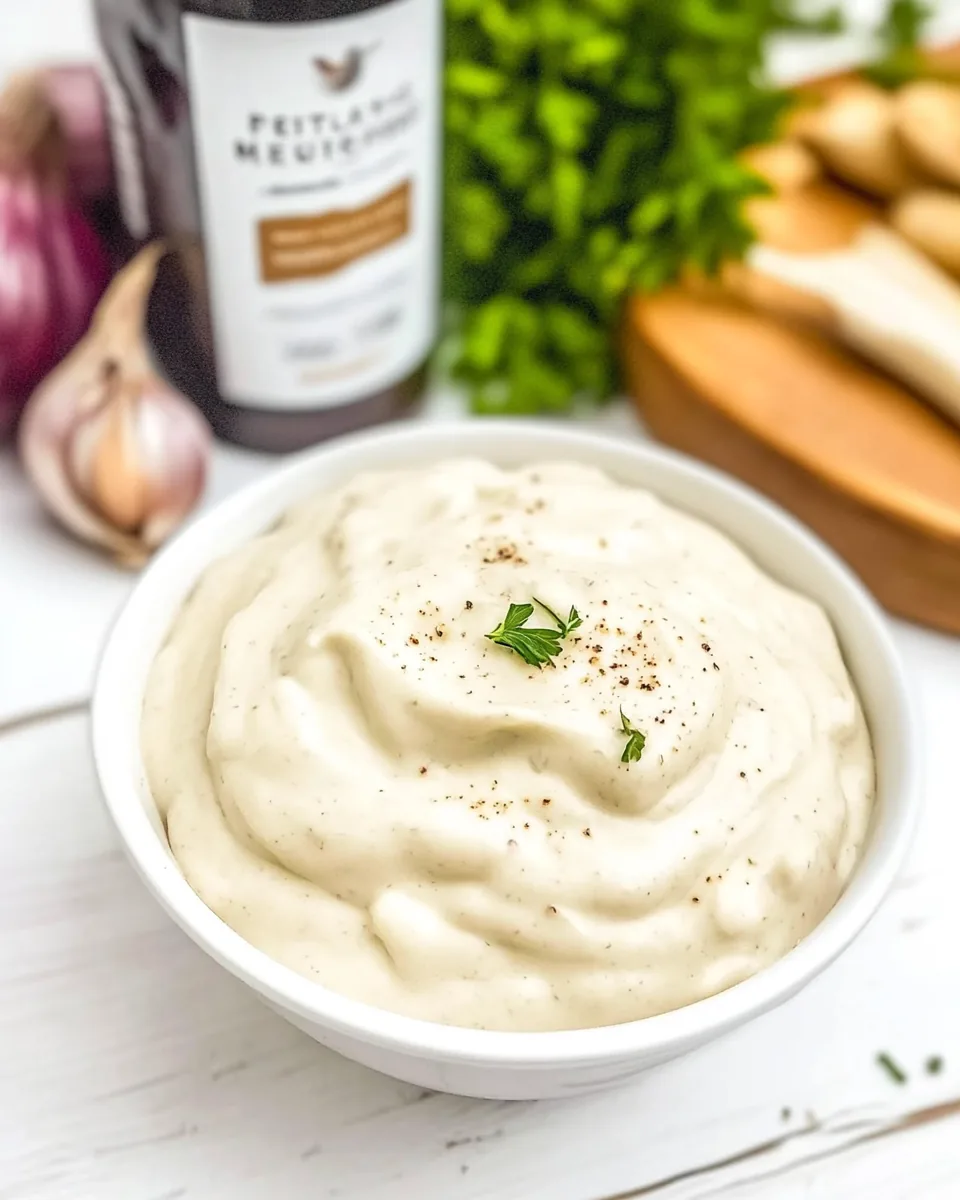
Gathering the right ingredients is key to a successful Garlic Aioli. Each component plays a crucial role in creating that creamy texture and rich flavor. The standout star is the garlic, offering its unmistakable boldness. Together, these ingredients harmonize to produce a delicious dip that’s perfect for any occasion.
- 1 whole egg – The base for your aioli, providing richness and helping to emulsify the mixture.
- 1 egg yolk – Enhances the creamy texture of the aioli.
- 1 tablespoon dijon mustard – Adds a subtle tang that balances the richness of the egg and oil.
- 1 tablespoon lemon juice – Fresh acidity that brightens the overall flavor.
- ½ teaspoon salt – Essential for seasoning and enhancing the flavors.
- 1 to 2 garlic cloves – The star ingredient that gives aioli its bold flavor.
- 1 cup canola oil – The main fat that helps in emulsification, creating that luscious texture.
Cooking Instructions for Garlic Aioli
Making Garlic Aioli is a straightforward process that anyone can master! With just a few simple steps, you’ll be on your way to creating a creamy, flavorful dip that will impress your friends and family. Follow along as I guide you through the steps to achieve the perfect aioli.
- Start by gathering your ingredients. You’ll need a jar that fits your immersion blender or a food processor if you prefer. Add the whole egg, egg yolk, dijon mustard, lemon juice, salt, and garlic cloves into the jar.
- Using your immersion blender, pulse the mixture briefly to combine the ingredients. You want to ensure that the garlic is broken down and well incorporated.
- Next, begin to slowly drizzle in the canola oil while keeping the blender submerged. This step is crucial for the emulsification process. You’ll notice the mixture starting to thicken.
- Occasionally lift the blender out of the mixture to allow some air to mix in. This will help achieve a light and airy texture in your aioli. Continue blending while adding the oil steadily.
- Blend until the aioli reaches your desired thickness. If you find it’s too thick, you can add a bit more oil to lighten it up.
- Once you’ve reached the perfect consistency, taste the aioli and adjust the seasoning if necessary. You might want to add a pinch more salt or a little extra lemon juice for more brightness.
- Transfer your Garlic Aioli to an airtight container. It can be stored in the fridge until you’re ready to use it.
- Serve chilled with your favorite dippers or as a spread for sandwiches. Enjoy your homemade aioli and bask in the compliments!
Things Worth Knowing
- Emulsification is Key: The process of slowly adding oil while blending is crucial. It allows the mixture to emulsify, creating that thick, creamy texture you want.
- Fresh Ingredients Matter: Using fresh garlic and lemon juice will significantly enhance the flavor of your aioli.
- Storage Tips: Store your aioli in the refrigerator in an airtight container. It will keep for up to a week.
- Adjust to Taste: Don’t hesitate to tweak the seasoning; everyone’s taste preferences are different, and your aioli should reflect that.
Recipe Variations about Garlic Aioli
There are countless ways to enjoy Garlic Aioli, and exploring variations can be a fun culinary adventure. Here are some ideas to get you started!
- Herbed Aioli: Add fresh herbs like dill, basil, or parsley for a refreshing twist.
- Spicy Aioli: Incorporate a pinch of cayenne pepper or a dash of hot sauce for a kick.
- Lemon Aioli: Increase the amount of lemon juice for a brighter, zingy flavor.
- Roasted Garlic Aioli: Swap out fresh garlic for roasted for a sweeter, more mellow flavor.
- Avocado Aioli: Blend in ripe avocado for a creamy, green version that’s perfect for sandwiches.
- Smoked Paprika Aioli: Add a sprinkle of smoked paprika for a smoky flavor that pairs well with fries.
- Storage: How to store leftovers: Keep aioli in the refrigerator, covered, for up to one week.
- Freezing: Can you freeze this? It’s best enjoyed fresh, but you can freeze it in small batches for later use.
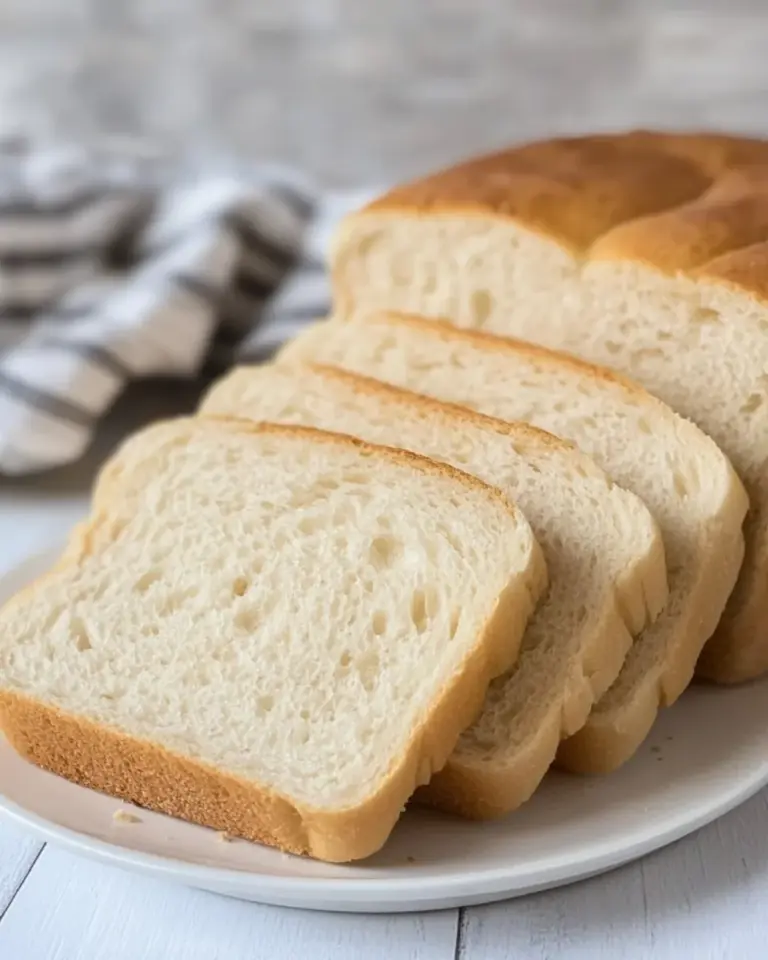
- Pairing: What to serve with this? Great with grilled vegetables, seafood, or as a sandwich spread.
What to Serve Alongside Garlic Aioli
Serving Garlic Aioli opens a world of delicious possibilities. Here are some perfect pairings that will complement this versatile dip:
- Fresh Vegetable Platter: Serve with an assortment of crisp veggies like carrots, cucumbers, and bell peppers for a healthy snack.
- Crispy Fries: Pair with golden fries for a classic and satisfying treat.
- Grilled Meats: Use as a dip for grilled chicken or fish to add richness and flavor.
- Sandwiches and Wraps: Spread on sandwiches or wraps to enhance flavors and add creaminess.
- Seasonal Parties: Perfect for summer barbecues or festive gatherings, Garlic Aioli elevates any dish it accompanies.
- Picnics: Pack it along with your favorite snacks for a delightful picnic spread.
- Storage Tips: Keep leftovers in an airtight container in the fridge, and bring it to your next gathering for a guaranteed hit.
FAQ
Conclusion
This Garlic Aioli is not just a dip; it’s a delightful experience that transforms everyday meals into something special. Its creamy texture and bold flavor will keep you coming back for more. I encourage you to try making it yourself and enjoy the compliments that follow. It’s a simple recipe that’s sure to impress!
Garlic Aioli
Equipment
- Peeler
- Mixing Bowl
- Chef's Knife
- Blender
- Food Processor
Ingredients
- 1 whole egg
- 1 egg yolk egg yolk
- 1 tablespoon dijon mustard
- 1 tablespoon lemon juice fresh
- ½ teaspoon salt
- 1 to 2 cloves garlic small, peeled
- 1 cup canola oil sunflower or extra virgin olive oil can also be used
Instructions
- 1. Start by gathering your ingredients. You’ll need a jar that fits your immersion blender or a food processor if you prefer. Add the whole egg, egg yolk, dijon mustard, lemon juice, salt, and garlic cloves into the jar.
- 2. Using your immersion blender, pulse the mixture briefly to combine the ingredients. You want to ensure that the garlic is broken down and well incorporated.
- 3. Next, begin to slowly drizzle in the canola oil while keeping the blender submerged. This step is crucial for the emulsification process. You’ll notice the mixture starting to thicken.
- 4. Occasionally lift the blender out of the mixture to allow some air to mix in. This will help achieve a light and airy texture in your aioli. Continue blending while adding the oil steadily.
- 5. Blend until the aioli reaches your desired thickness. If you find it’s too thick, you can add a bit more oil to lighten it up.
- 6. Once you’ve reached the perfect consistency, taste the aioli and adjust the seasoning if necessary. You might want to add a pinch more salt or a little extra lemon juice for more brightness.
- 7. Transfer your Garlic Aioli to an airtight container. It can be stored in the fridge until you’re ready to use it.
- 8. Serve chilled with your favorite dippers or as a spread for sandwiches. Enjoy your homemade aioli and bask in the compliments!
Notes
- Tip 1: Store covered in the refrigerator for up to a week.
- Tip 2: If you love the flavor of olive oil, replace part of the 1 cup of oil with olive oil, up to half a cup.
- Tip 3: An immersion blender is the perfect tool for this recipe. They typically come with a cup that emulsifies the aioli perfectly.