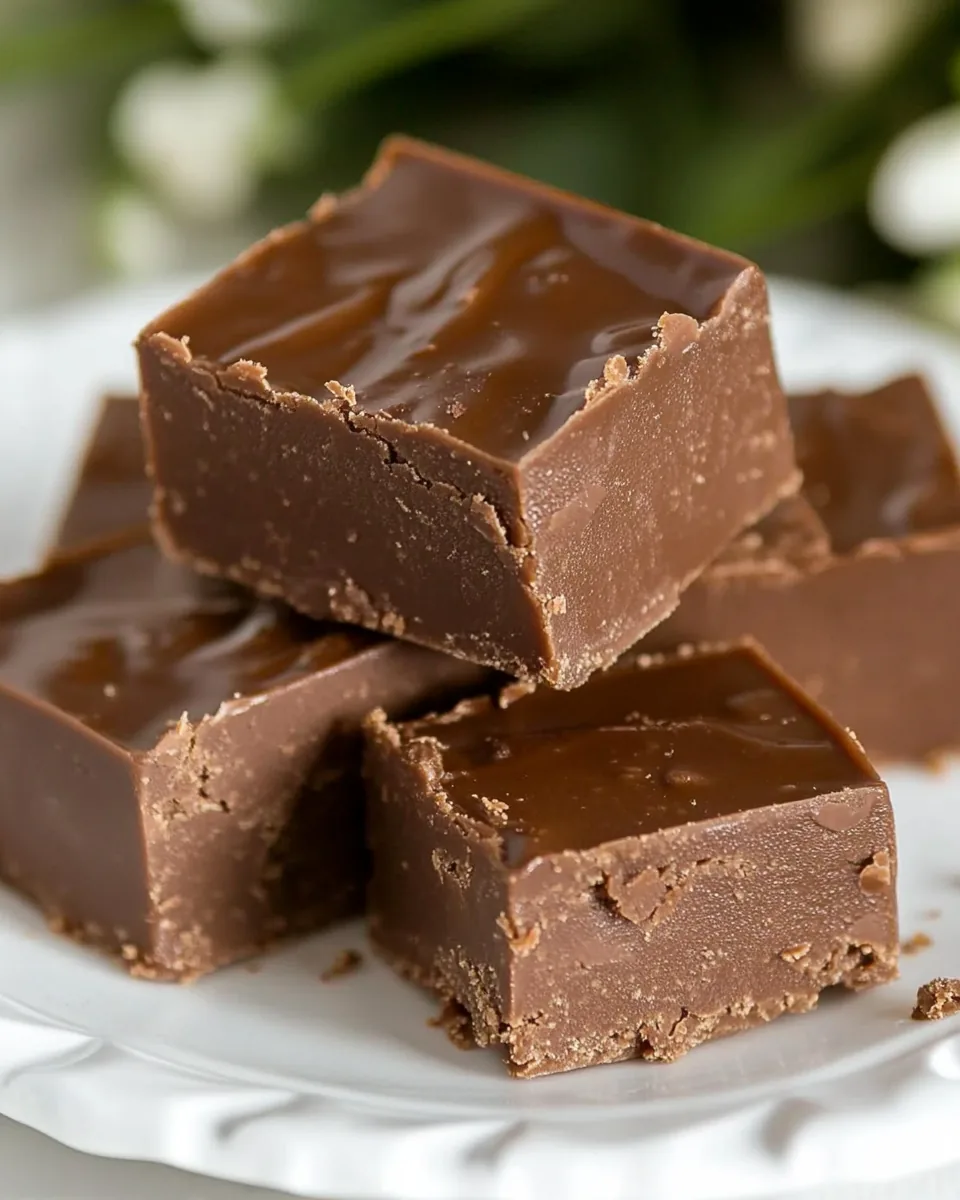
Easy Chocolate Fudge
When I think about comfort food, the first thing that comes to mind is my family’s favorite sweet treat: Easy Chocolate Fudge. This rich and creamy fudge has been a staple in our home for as long as I can remember. Growing up, I’d watch my mom whip up a batch, her laughter filling the kitchen as we all eagerly awaited the first taste. The process was magical—simple ingredients transforming into a decadent dessert that could bring smiles to anyone’s face. It was always a holiday favorite, but honestly, it’s perfect for any occasion. Whether it’s for a cozy movie night or a special celebration, this fudge never fails to impress. I still remember the first time I made it on my own; I felt like a pro in the kitchen! I love how versatile it is—add some nuts for crunch or keep it classic. Whenever I share this recipe, I feel connected to my roots, and I just know you’ll love it too.
Recipe Snapshot
25 mins
15 mins
10 mins
Medium
250 kcal
2 g
Keto, Paleo, Whole30
11 g
Wooden Spoon, Mixing Bowl, Frying Pan, Chef’s Knife, Whisk
The Beauty of This Easy Chocolate Fudge
1. Simplicity at Its Best
The beauty of Easy Chocolate Fudge lies in its simplicity. With just a handful of ingredients, you can create something that’s truly divine. No complicated techniques or fancy equipment needed! It’s perfect for both novice cooks and experienced chefs, making it a go-to recipe for everyone.
2. Perfect for Any Occasion
This fudge is incredibly versatile. It’s a wonderful gift around the holidays, a delightful treat for parties, or a sweet indulgence for yourself. Whenever I make it, I feel like I’m bringing joy to those around me. It’s the type of treat that can make any day feel special.
3. Customizable to Your Taste
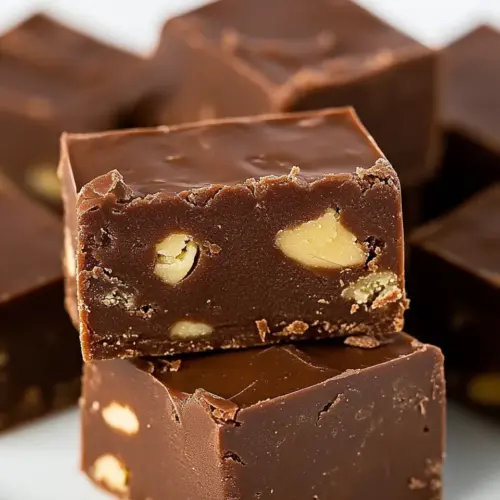
Another reason to love this recipe is its adaptability. While the classic version is delicious, you can add your personal touch. Want some crunch? Toss in some nuts! Prefer a hint of sweetness? Add chocolate chips or a swirl of caramel. The possibilities are endless, and that’s what makes it so much fun!
4. No Baking Required
Let’s be honest: sometimes you just don’t want to turn on the oven, right? That’s what makes Easy Chocolate Fudge so fantastic. It’s a no-bake recipe! You’ll have a delicious dessert ready to go in no time, perfect for hot summer days or when you’re short on time.
5. A Sweet Family Tradition
Making Easy Chocolate Fudge has become a cherished family tradition. I love gathering with loved ones in the kitchen, sharing stories, and creating memories while we stir the ingredients together. It’s more than just a recipe; it’s about the connections we make over food.
6. Budget-Friendly Treat
In today’s world, everyone is looking to save a little, and this recipe is gentle on the wallet. The ingredients are affordable and easy to find, making it a perfect choice for those of us who love to indulge without breaking the bank.
Ingredients for Easy Chocolate Fudge
When crafting the perfect Easy Chocolate Fudge, the ingredients are key to achieving that smooth and rich dessert. Each component works beautifully together, creating a balanced flavor that is both sweet and satisfying. Here’s a look at the main players in this delightful treat.
- 2 pounds powdered sugar – This is the main base of our fudge, giving it that sweet, melt-in-your-mouth quality.
- ½ cup unsweetened cocoa powder – This adds the rich chocolatey flavor we all crave without additional sweetness.
- ¼ teaspoon salt – A pinch of salt enhances the sweetness and brings out the flavors of the chocolate.
- 8 ounces block American Cheese – Surprisingly, this ingredient adds a creamy texture that makes the fudge velvety and smooth.
- 1 cup unsalted butter, sliced – Butter is essential for richness and helps the fudge set beautifully.
- 1 teaspoon vanilla extract – This adds depth and warmth to the overall flavor.
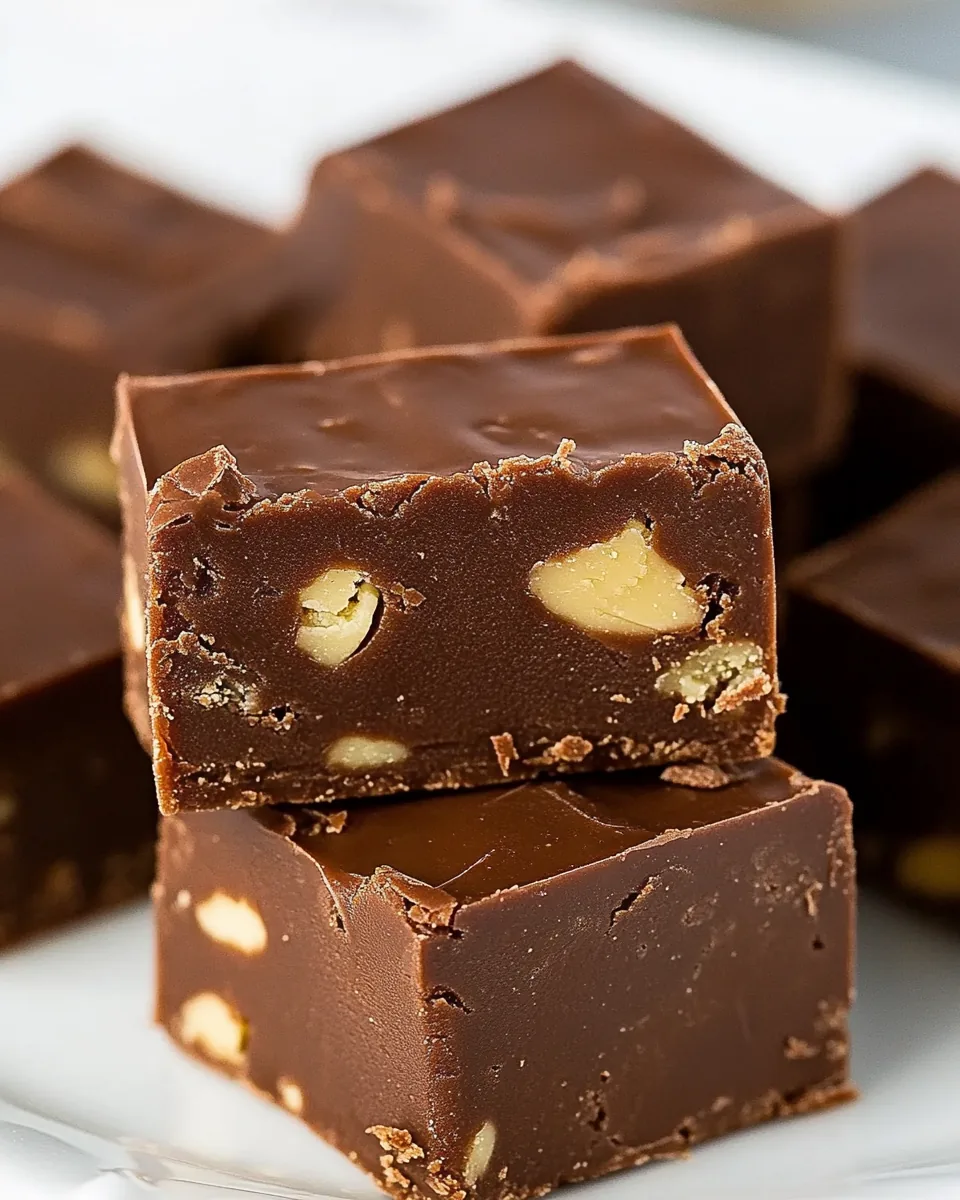
- 1 ½ cups chopped nuts, optional – Pecans or walnuts add texture and a delightful crunch, but feel free to use your favorite!
Instructions for Easy Chocolate Fudge
Making Easy Chocolate Fudge is a straightforward process, and I’m excited to guide you through it! Follow these simple steps for a delicious treat you’ll want to make again and again. Remember, the key is to keep an eye on your mixture to get the perfect consistency.
- First, it’s important to prepare your workspace. Grab a 9-inch square pan and line it with foil, then spray it lightly with nonstick spray. This ensures that your fudge releases easily once it’s set.
- In a large mixing bowl, combine 2 pounds of powdered sugar and ½ cup of unsweetened cocoa powder. Use a whisk to mix them thoroughly. If you see any lumps in the mixture, feel free to sift them out to ensure a smooth fudge.
- Now, let’s melt our main components. In a medium saucepan, add 1 cup of sliced unsalted butter and 8 ounces of block American Cheese. Heat over medium, stirring frequently. Watch closely as it melts. You want a smooth, creamy texture without any lumps.
- Once the butter and cheese have melted together, remove the saucepan from the heat immediately. It’s crucial not to let this mixture cool too much, as it needs to blend seamlessly into the sugar mixture.
- Quickly pour the melted mixture into the bowl with the powdered sugar and cocoa. Stir vigorously to combine everything. Make sure the mixture is fully incorporated; a few lumps here and there are fine, but you want it mostly smooth.
- Add 1 teaspoon of vanilla extract to the mixture and stir again. If you’re using 1 ½ cups of chopped nuts, now is the time to fold them in. Mix until evenly distributed throughout.
- Transfer the fudge mixture into your prepared pan. Use a spatula to press it down firmly and evenly. The surface should be smooth and flat to ensure even cooling.
- Let your fudge chill in the refrigerator for about 1 to 2 hours. This will allow it to set properly. Feel free to check on it occasionally, but resist the urge to disturb it too much!
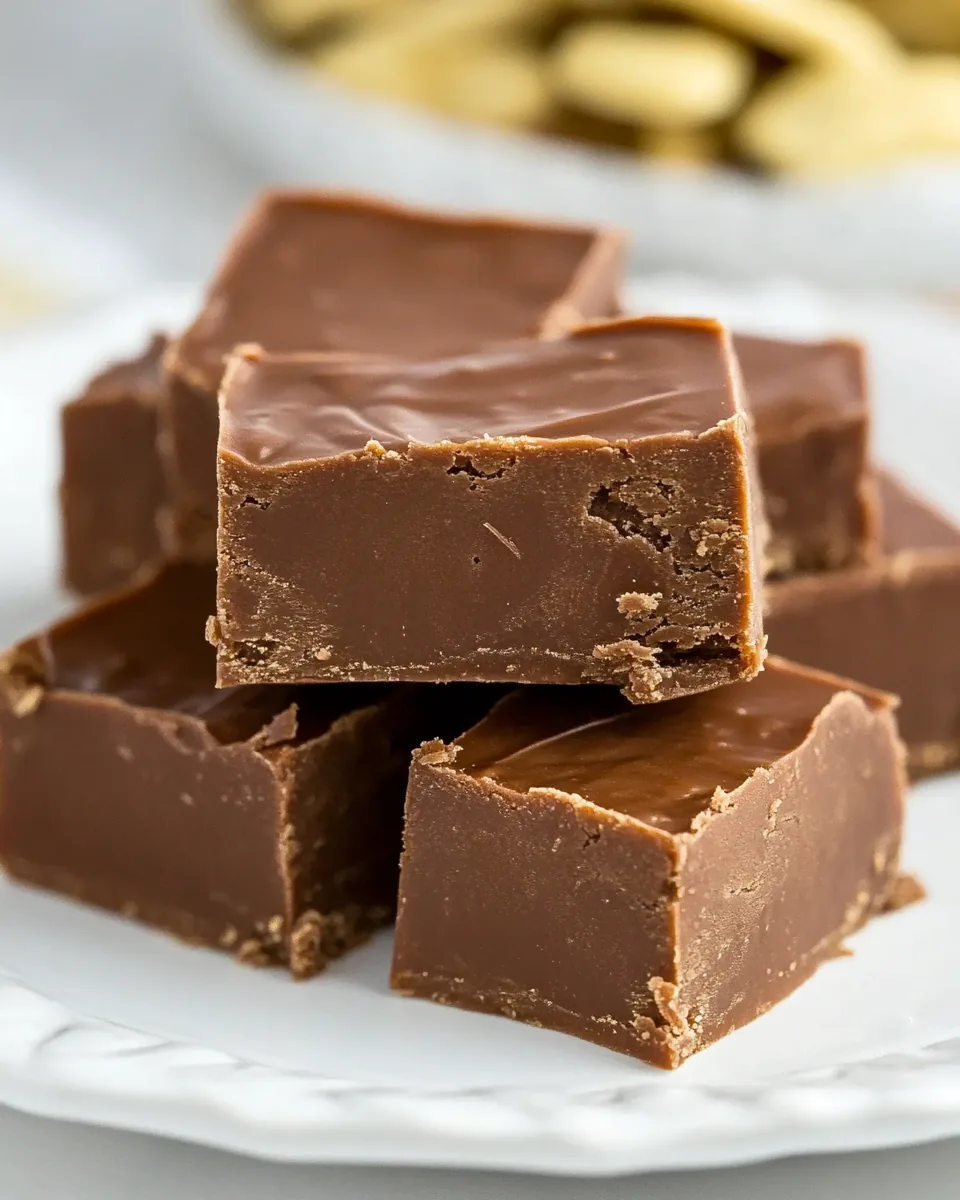
- After it has set, remove the fudge from the pan by lifting the foil. Place it on a cutting board and slice it into squares. Enjoy your tasty creation!
Things Worth Knowing
- Textural Perfection: Ensure the butter and cheese are melted together smoothly to avoid any graininess in the fudge.
- Immediate Mixing: Stir the melted cheese and butter into the sugar mixture promptly to prevent it from thickening too much.
- Cooling Tips: Make sure your fudge is completely chilled before cutting to achieve clean, neat squares.
- Flavor Variations: Experiment with different types of nuts or add some mini chocolate chips for added texture.
Ways to Customize
Customizing your Easy Chocolate Fudge is part of the fun! Here are some great ideas to make it your own:
- Storage: Store leftover fudge in an airtight container at room temperature for up to a week. For longer storage, refrigerate it.
- Freezing: Yes, you can freeze this fudge! Wrap it tightly in plastic wrap and then place it in an airtight container. It can last for up to three months in the freezer.
- Pairing: Serve your fudge with a glass of cold milk or a scoop of vanilla ice cream for a delightful dessert experience.
- Flavor Add-ins: Get creative with flavorings by adding almond extract or a splash of espresso for depth.
- Presentation: Cut your fudge into fun shapes with cookie cutters for special occasions or holidays.
Accompaniments for Easy Chocolate Fudge
Serving Easy Chocolate Fudge can be a delightful experience, especially when paired with the right accompaniments. Here are some ideas to elevate your serving game:
- Seasonal Treats: This fudge is perfect for winter holidays, but it also shines in summer when served at picnics or barbecues.
- Occasional Indulgence: Surprise guests at birthday parties or family gatherings with a plate of fudge on the dessert table.
- Pairing with Beverages: Serve with coffee, hot chocolate, or even a sparkling beverage for a nice contrast.
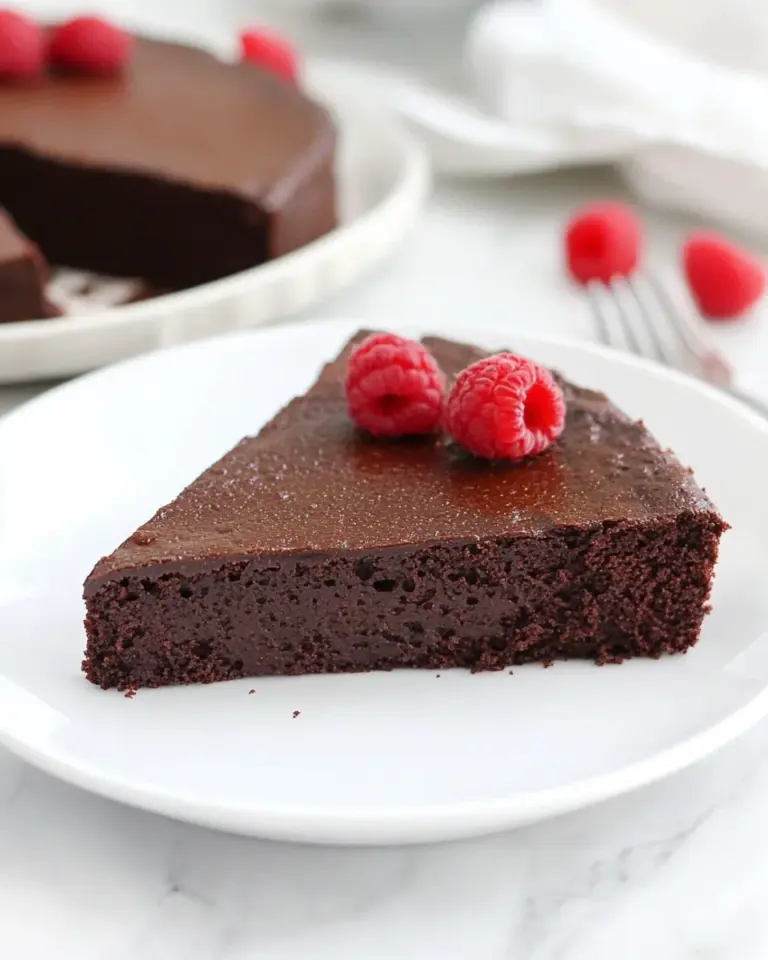
- Texture Contrast: Add a side of fresh fruit, like strawberries or raspberries, to balance the sweetness of the fudge.
- Chocolate Lovers’ Delight: Pair with a rich chocolate cake or brownies for the ultimate chocolate experience.
- Perfect for Gifting: Wrap pieces of fudge in decorative boxes or cellophane as thoughtful gifts for friends and family.
FAQ
Conclusion
In conclusion, Easy Chocolate Fudge is a delightful treat that is not only delicious but also brings back cherished memories of family and togetherness. Whether you’re enjoying it at a gathering or savoring a piece on your own, it’s a recipe that never fails to impress. I encourage you to try making it yourself—you won’t regret it!
Easy Chocolate Fudge
Equipment
- Wooden Spoon
- Mixing Bowl
- Frying Pan
- Chef's Knife
- Whisk
Ingredients
- 2 pounds Powdered Sugar Provides the sweetness and base for the fudge.
- ½ cup Unsweetened Cocoa Powder Adds the rich chocolate flavor.
- ¼ teaspoon Salt Enhances the sweetness.
- 8 ounces Block American Cheese Provides creaminess.
- 1 cup Unsalted Butter Adds richness to the fudge.
- 1 teaspoon Vanilla Extract Adds depth of flavor.
- 1 ½ cups Chopped Nuts Optional for added texture.
Instructions
- First, it’s important to prepare your workspace. Grab a 9-inch square pan and line it with foil, then spray it lightly with nonstick spray. This ensures that your fudge releases easily once it’s set.
- In a large mixing bowl, combine 2 pounds of powdered sugar and ½ cup of unsweetened cocoa powder. Use a whisk to mix them thoroughly. If you see any lumps in the mixture, feel free to sift them out to ensure a smooth fudge.
- Now, let’s melt our main components. In a medium saucepan, add 1 cup of sliced unsalted butter and 8 ounces of block American Cheese. Heat over medium, stirring frequently. Watch closely as it melts. You want a smooth, creamy texture without any lumps.
- Once the butter and cheese have melted together, remove the saucepan from the heat immediately. It’s crucial not to let this mixture cool too much, as it needs to blend seamlessly into the sugar mixture.
- Quickly pour the melted mixture into the bowl with the powdered sugar and cocoa. Stir vigorously to combine everything. Make sure the mixture is fully incorporated; a few lumps here and there are fine, but you want it mostly smooth.
- Add 1 teaspoon of vanilla extract to the mixture and stir again. If you’re using 1 ½ cups of chopped nuts, now is the time to fold them in. Mix until evenly distributed throughout.
- Transfer the fudge mixture into your prepared pan. Use a spatula to press it down firmly and evenly. The surface should be smooth and flat to ensure even cooling.
- Let your fudge chill in the refrigerator for about 1 to 2 hours. This will allow it to set properly. Feel free to check on it occasionally, but resist the urge to disturb it too much!
- After it has set, remove the fudge from the pan by lifting the foil. Place it on a cutting board and slice it into squares. Enjoy your tasty creation!
Notes
- Tip 1: It’s easiest to make this with a stand mixer fitted with the paddle attachment, but otherwise just use a large bowl and a wooden spoon or a hand mixer.
- Tip 2: When making fudge, it is important you have all your ingredients measured and your pan ready to go.
- Tip 3: You can also put this in a 9×13-inch pan to make more, smaller pieces.
- Tip 4: To use SALTED BUTTER: omit the salt in the recipe.
- Tip 5: If you can’t find block American cheese, you can use white cheddar as well.