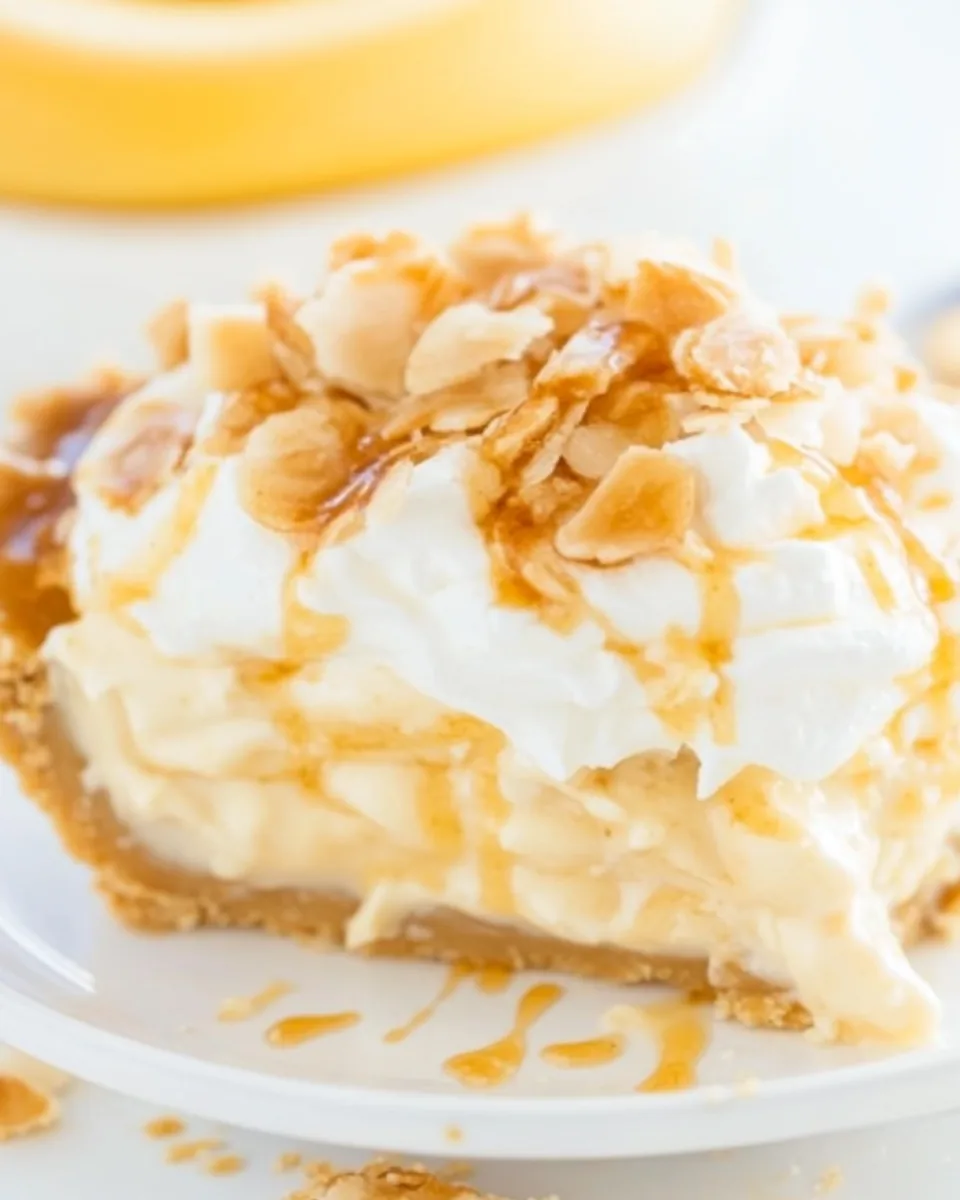
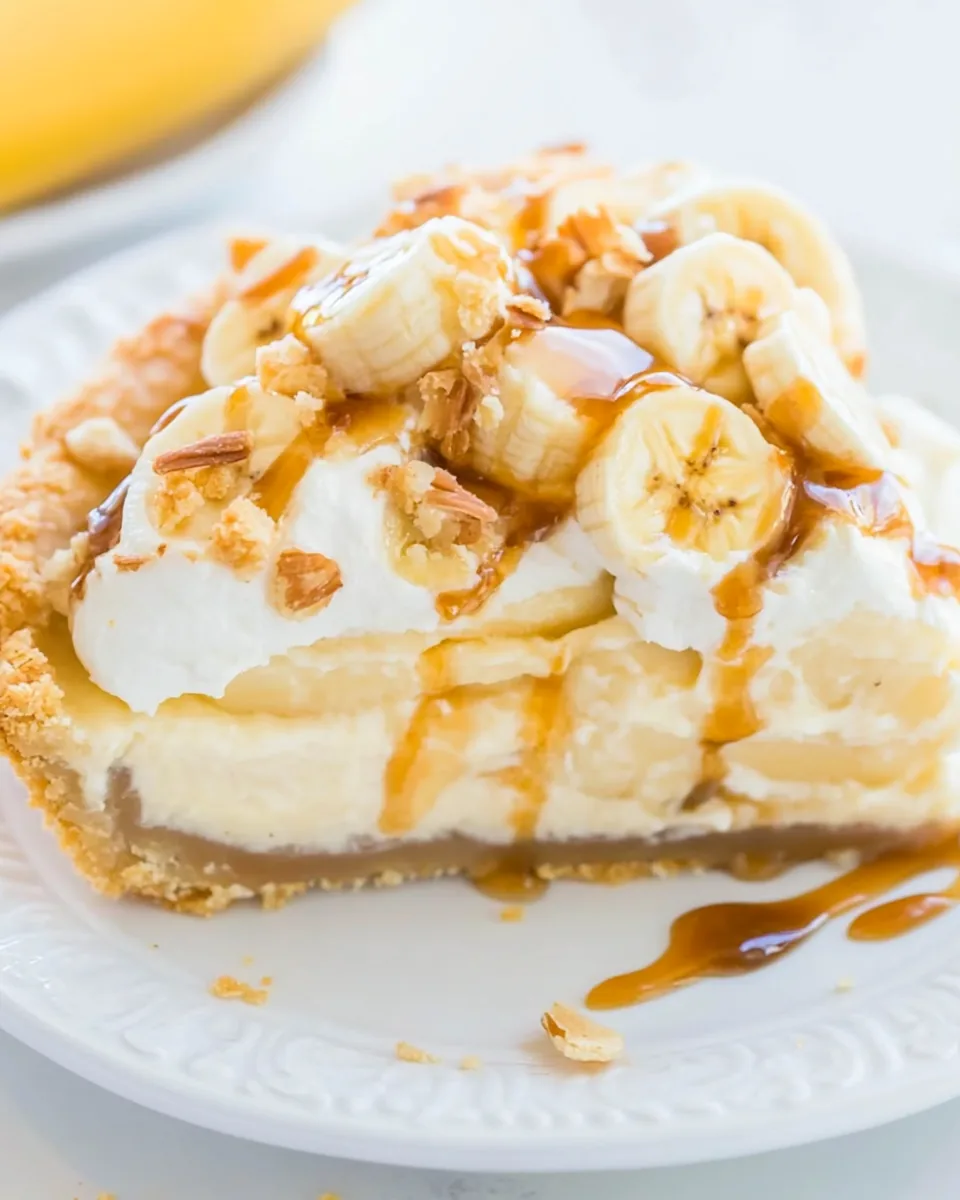
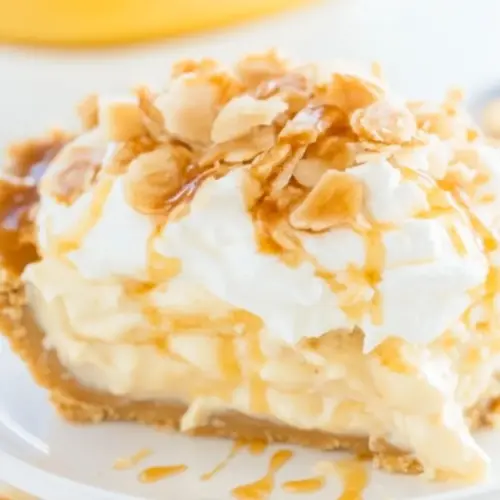
Easy Banana Cream Pudding Pie
There’s something truly special about a dessert that brings back childhood memories, and the Easy Banana Cream Pudding Pie does just that for me. I remember hot summer days when my mom would whip up this delightful pie, filling our home with the sweet aroma of ripe bananas and creamy pudding. It was a treat that made everyone smile! Now, I’m excited to share this recipe that perfectly captures that nostalgia. The combination of a delicious cream cheese crust and a luscious filling is simply irresistible. Perfect for family gatherings, casual get-togethers, or just a sweet indulgence on a quiet evening, this pie is easy to make and even easier to enjoy. You’ll find yourself reaching for seconds and thirds, it’s that good!
Recipe Snapshot
30 mins
15 mins
15 mins
Hard
320 kcal
3 g
Gluten-Free, Low FODMAP
15 g
Mixing Bowl, Chef’s Knife, Whisk, Baking Sheet, Oven
Why This Easy Banana Cream Pudding Pie Is So Good
1. Nostalgic Flavors
The Easy Banana Cream Pudding Pie evokes memories of sunny afternoons spent with loved ones. The creamy texture and sweet flavor of bananas combined with a rich pudding are a comforting reminder of childhood.
2. Simple Ingredients
With just a handful of readily available ingredients, making this pie is a breeze! The blend of cream cheese, shortening, and Nilla Wafers creates a delightful crust that perfectly complements the creamy filling.
3. Perfect for Any Occasion
This pie is suitable for any gathering, be it a holiday feast or a simple family dinner. It’s a crowd-pleaser that will leave your guests asking for the recipe!
4. No Baking Skills Required
If you’re not a baker, don’t worry! The Easy Banana Cream Pudding Pie doesn’t require advanced skills or techniques. Just follow the simple steps, and you’ll impress everyone with your culinary prowess.
5. Make-Ahead Convenience
This pie is ideal for busy schedules. Prepare it a day in advance and let it chill in the fridge, allowing all the flavors to meld together beautifully. You’ll have one less thing to worry about on the big day!
What Goes Into Easy Banana Cream Pudding Pie
The ingredients of this pie are not just staples but a harmonious blend that creates a symphony of flavors and textures. Each element plays a significant role, from the creamy filling to the crunchy crust. The key players include fresh ripe bananas, cream cheese, and Nilla Wafers, which together create the dessert’s delightful layers.
- Crisco Baking Sticks All-Vegetable Shortening: This is the base of our crust, providing a flaky, tender texture that’s essential for a great pie. It’s easy to work with and helps in achieving that perfect golden crust.
- Brick-style cream cheese: Softened to room temperature, this ingredient adds richness and creaminess to the filling. It’s crucial to use the full-fat version for the best flavor.
- All-purpose flour: This is what binds the crust together. It adds structure, making sure that the crust holds its shape when filled.
- Salt: A pinch of salt enhances the flavors of the crust and balances the sweetness of the filling.
- Instant vanilla pudding mix: This magical ingredient thickens the filling without the need for cooking, ensuring a smooth and creamy texture.
- Cold milk: Essential for mixing with the pudding to create that luscious filling. Full-fat cow’s milk is recommended for optimal results.
- Cool Whip or similar whipped topping: This adds a light, fluffy texture to the filling. It’s whipped and folded in for that airy bite.
- Medium/Large bananas: Fresh, ripe bananas are the star of this pie. They provide natural sweetness and a soft texture that pairs perfectly with the pudding.
- Lemon juice: A drizzle over the banana slices prevents them from browning and enhances their flavor.
- Nilla Wafers: These cookies provide a delightful crunch and sweetness that complements the creamy filling.
- Caramel or salted caramel sauce: Drizzled on top before serving, it adds an additional layer of flavor that’s simply irresistible.
Step by Step Guide for Easy Banana Cream Pudding Pie
Making the Easy Banana Cream Pudding Pie is a fun and rewarding experience. You’ll love how straightforward the steps are, making it perfect for both novice bakers and seasoned pros. Let’s walk through the process together!
First, preheat your oven to 400°F (200°C). Grease a 9 or 10-inch pie dish with cooking spray to ensure the crust doesn’t stick later on.
-
In a stand mixer bowl fitted with a paddle attachment, combine Crisco Baking Sticks All-Vegetable Shortening and cream cheese. Beat on medium-high speed for about 1 to 2 minutes until the mixture becomes fluffy and well blended. The key here is to incorporate air to create a light crust.
Next, scrape down the sides of the bowl and add in all-purpose flour and salt. Beat on low speed until the mixture resembles a sandy, crumbly dough. Be careful not to overmix; you want a texture that holds together when pressed.
Turn out this crumbly mixture into your prepared pie dish. Using your fingers, press it evenly across the bottom and up the sides of the dish, making sure it’s smooth and compact.
-
To allow steam to escape while baking, pierce the crust in about a dozen places with a fork. This prevents bubbling and allows for an even bake.
Bake the crust for about 15 minutes, or until it’s set and lightly golden brown. Keep an eye on it during the last moments to avoid burning. It should look just slightly browned around the edges.
Once baked, set the crust on a wire rack to cool completely while you prepare the filling. This cooling step is crucial for preventing a soggy crust.
-
In a large bowl, combine the instant vanilla pudding mix and cold milk. Whisk them together until fully blended and smooth. This will take a minute or two.
Add half of the Cool Whip to the pudding mixture and whisk until incorporated. This makes the filling lighter and more airy.
Slice your bananas into thin rounds and place them in a medium bowl. Drizzle them with lemon juice to prevent browning, and gently toss them to ensure they’re coated.
-
Add the banana slices to the pudding mixture and fold everything together gently. This step ensures the bananas are evenly distributed without breaking them.
Now, fold in about 1 and 1/2 heaping cups of Nilla Wafers, adding a crunchy element to the creamy filling. Be gentle to maintain the integrity of the wafers.
Transfer this delicious mixture into your cooled crust. Spread it out evenly, smoothing the top with a spatula.
-
Top with the remaining half of the Cool Whip, spreading it gently over the top of the pie.
Finally, sprinkle any remaining Nilla Wafers over the top for added texture and cover the pie with plastic wrap. Refrigerate for at least 4 hours, or until set. This waiting period allows the flavors to meld beautifully.
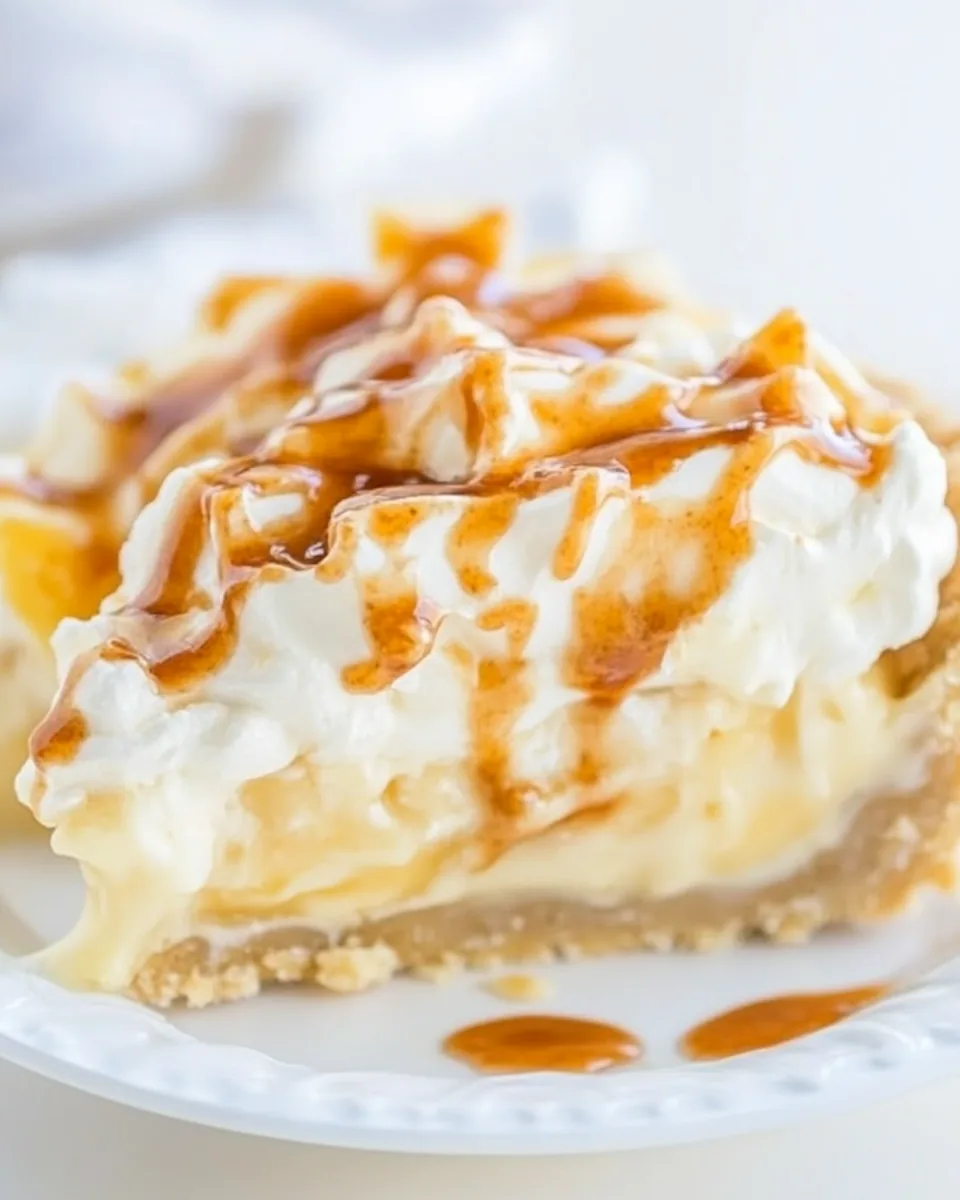
Before serving, drizzle some caramel sauce over the top to take the pie to the next level. This step adds an irresistible sweetness that both kids and adults will love!
Things Worth Knowing
- Cooling time is critical: Allow the pie to chill for at least four hours. This not only helps in setting but allows the flavors to intensify.
- Watch the bananas: To keep them fresh longer, add them just before serving if you plan to keep leftovers.
- Don’t skip the lemon juice: A little acidity goes a long way in preventing the bananas from browning and maintains their vibrant color.
- Storage is key: Keep leftovers in an airtight container in the refrigerator for up to five days. However, be mindful of the Nilla Wafers softening over time.
Ways to Adapt This Recipe

The Easy Banana Cream Pudding Pie is versatile and can be adapted in various ways to suit your taste or occasion. Here are some tips:
- Storage: If you’re not serving the pie right away, consider adding bananas just before serving to prevent browning.
- Freezing: You can freeze the pie before adding the whipped topping. To serve later, thaw in the refrigerator overnight.
- Variations: Experiment with different flavors of pudding mix, such as chocolate or butterscotch, for a fun twist.
- Garnishing: For an added touch, sprinkle some crushed nuts or chocolate shavings on top before serving.
- Reducing calories: You can use a low-fat whipped topping and reduced-fat Nilla Wafers to make a lighter version.
How to Serve Easy Banana Cream Pudding Pie
Serving the Easy Banana Cream Pudding Pie is as delightful as making it. Here are some suggestions:
- Ideal for gatherings: This pie is perfect for potlucks, birthday parties, and family reunions. Its crowd-pleasing flavors are sure to win hearts!
- Pair with coffee or tea: It makes an excellent dessert after a hearty meal, especially with a cup of coffee or tea.
- Seasonal treats: While versatile, this pie shines in spring and summer when fresh bananas are at their best.
- Perfect for dessert tables: Arrange slices on a dessert table for an eye-catching display that invites guests to indulge.
- Leftover storage: Keep any leftovers covered in the refrigerator for up to five days, but enjoy them within the first two days for optimal freshness.
FAQ
Conclusion
The Easy Banana Cream Pudding Pie is truly a nostalgic treat that combines delectable flavors and textures into an irresistible dessert. With its creamy filling, crunchy crust, and the sweetness of bananas, it’s bound to be a hit at your next gathering. I encourage you to give this recipe a try and share it with loved ones. There’s nothing like the joy of enjoying a homemade pie together, so don’t wait—make it tonight!
Easy Banana Cream Pudding Pie
Equipment
- Mixing Bowl
- Chef's Knife
- Whisk
- Baking Sheet
- Oven
Ingredients
- ½ cup Crisco Baking Sticks All-Vegetable Shortening
- 4 ounces Brick-style cream cheese softened; do not use lite or fat free
- 1 ½ cups All-purpose flour
- ¼ teaspoon Salt
- 1 box Instant vanilla pudding mix 5.1-ounce; not cook-and-serve, not sugar-free or lite, not the 3-ounce size
- 1 ½ cups Cold milk I used fat-free skim; I recommend cow’s milk and not soy, almond, etc. because filling may not set up properly
- 1 tub Cool Whip 8-ounce tub or similar whipped topping, thawed to room temp, divided (lite or fat-free okay; real whipped cream deflates easily and isn’t recommended)
- 2 medium/large Bananas sliced into thin rounds (should be ripe but not overly ripe or they become mushy)
- 1 to 2 tablespoons Lemon juice
- about 2 ½ to 3 cups Nilla Wafers coarsely chopped, divided (most of an 11-ounce box, reduced fat okay)
- to taste Caramel or salted caramel sauce for drizzling, store-bought or homemade
Instructions
- Preheat oven to 400°F and spray a 9 or 10-inch pie dish with cooking spray; set aside.
- To the bowl of a stand mixer fitted with the paddle attachment (or large mixing bowl and handheld electric mixer), add the Crisco Baking Sticks All-Vegetable Shortening and cream cheese, and beat on medium-high speed until fluffy, about 1 to 2 minutes.
- Stop, scrape down the sides of the bowl, and add the all-purpose flour and salt, and beat on low speed until a sandy, crumbly dough forms.
- Turn crumbly mixture out into prepared pie dish and using your fingertips, hard-pack the mixture to form an even, smooth crust making sure to press the mixture up around sides of pie dish.
- Pierce crust in about a dozen places with a fork so steam can escape while baking.
- Bake for about 15 minutes, or until set and very lightly golden brown. Watch the crust closely in final moments of baking as it will be prone to burning around the top edge.
- Set aside on a wire rack to cool while you make the filling.
- To a large bowl, add the pudding mix, milk, and whisk to combine.
- Add half the whipped topping and whisk to incorporate.
- Slice the bananas, add to a medium bowl, drizzle with lemon juice, and use your fingers to gently toss to disperse the lemon juice which helps to prevent the bananas from turning brown.
- Add the bananas to the pudding mixture and fold gently to combine.
- Add about 1 ½ heaping cups of Nilla Wafers and fold to combine.
- Turn mixture out into pie crust.
- Add and gently spread remaining half of the whipped topping.
- Sprinkle remaining Nilla Wafers, cover with plastic wrap, and refrigerate for at least 4 hours, or until set.
- Prior to serving, drizzle with caramel sauce to taste.
Notes
- Storage: Pie will keep airtight in the fridge for up to 5 days, noting that as time passes the Nilla Wafers will soften and bananas could turn a bit brown.