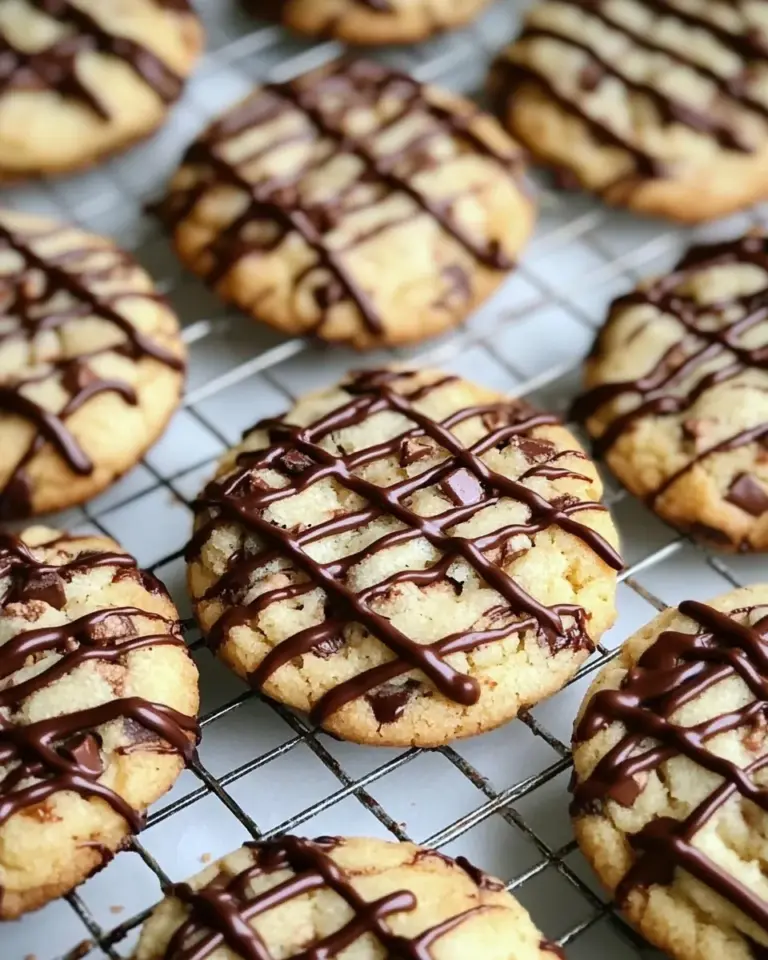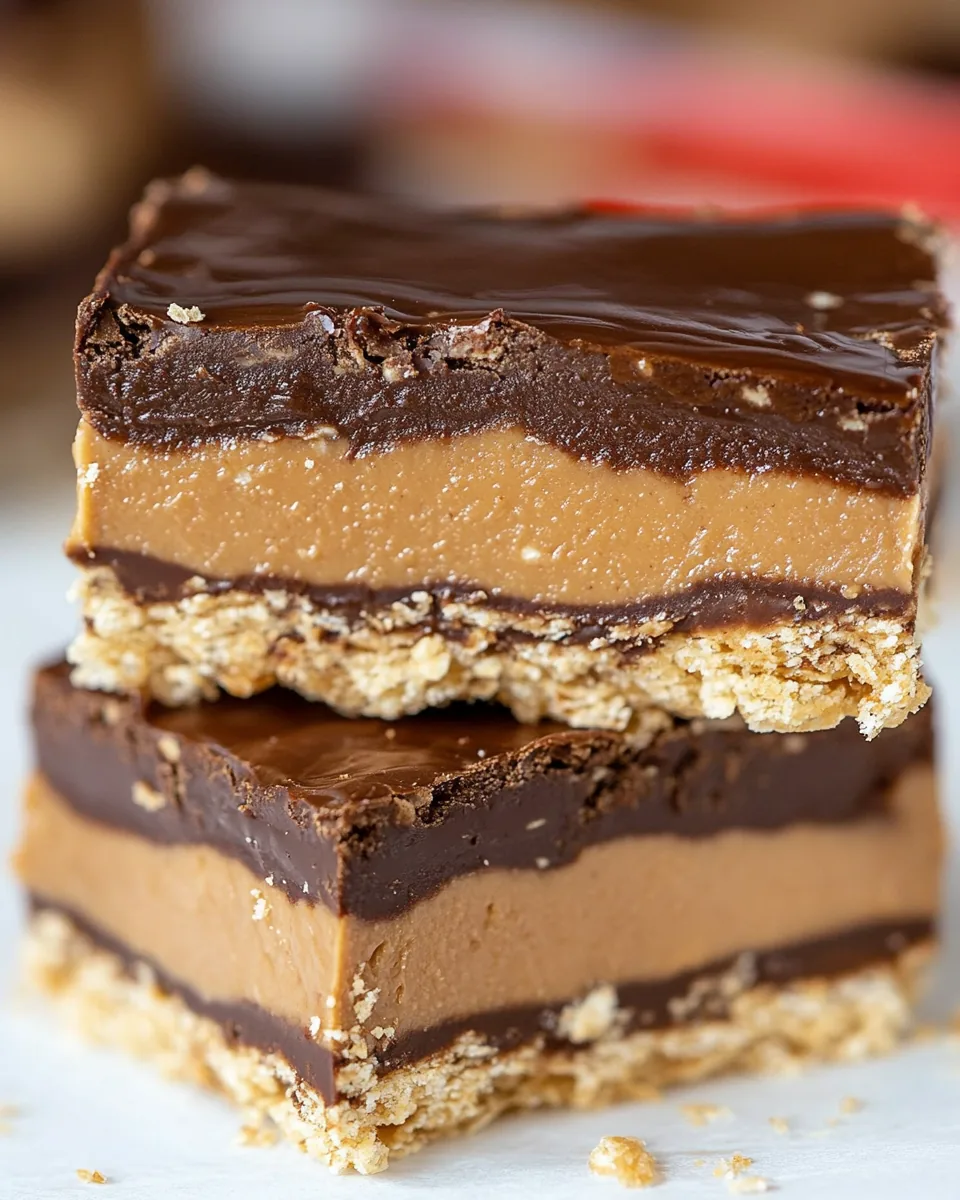
Disneyland Peanut Butter Sandwich Bars
As a child, I often found myself daydreaming about the delightful treats at Disneyland, and one of my absolute favorites was the Disneyland Peanut Butter Sandwich Bars. They were like a piece of magic wrapped in sweetness, and every bite took me back to the happiest place on earth. Every trip to the park felt incomplete without devouring these bars, filled with creamy peanut butter and layers of chocolate. Now, as an adult, I’ve realized how easy it is to recreate this treat at home, making it possible to relive those magical moments any time I want. It’s not just a dessert; it’s a sweet reminder of carefree days spent with family and friends. I love making these bars for gatherings or simply to indulge myself on a quiet evening. The best part is knowing that I can share this nostalgic recipe with you, allowing you to bring a little bit of Disneyland into your home!
Recipe Snapshot
1 hr 30 mins
30 mins
60 mins
Medium
220 kcal
4 g
Gluten-Free, Low FODMAP
12 g
Wooden Spoon, Chef’s Knife, Mixing Bowl, Frying Pan
Why This Disneyland Peanut Butter Sandwich Bars Stands Out
1. Nostalgic Flavor
These Disneyland Peanut Butter Sandwich Bars evoke childhood memories for many of us. The combination of peanut butter and chocolate is a classic that instantly transports you back to simpler times. Each bite is a taste of nostalgia!
2. Easy to Make
You don’t need to be a baking expert to whip up these bars. The recipe is straightforward, making it accessible for everyone. With just a few simple steps, you can create a dessert that will impress your family and friends.
3. Versatile Treat
These bars are perfect for any occasion. Whether it’s a birthday party, a family gathering, or just a cozy night in, the Disneyland Peanut Butter Sandwich Bars are sure to be a hit. You can even customize them by adding your favorite toppings!
4. No Baking Required
Who doesn’t love a dessert that doesn’t require turning on the oven? These bars set in the fridge, so you can enjoy making them without the heat of the stove. It’s a win-win for those warm days when you want something sweet without heating up the kitchen.
5. Perfect for Sharing
The recipe yields a generous amount, making it a great option for sharing. Whether you cut them into squares for a party or wrap them up as a sweet gift, everyone will appreciate the effort you put into making these delicious bars.
Ingredients Required for Disneyland Peanut Butter Sandwich Bars
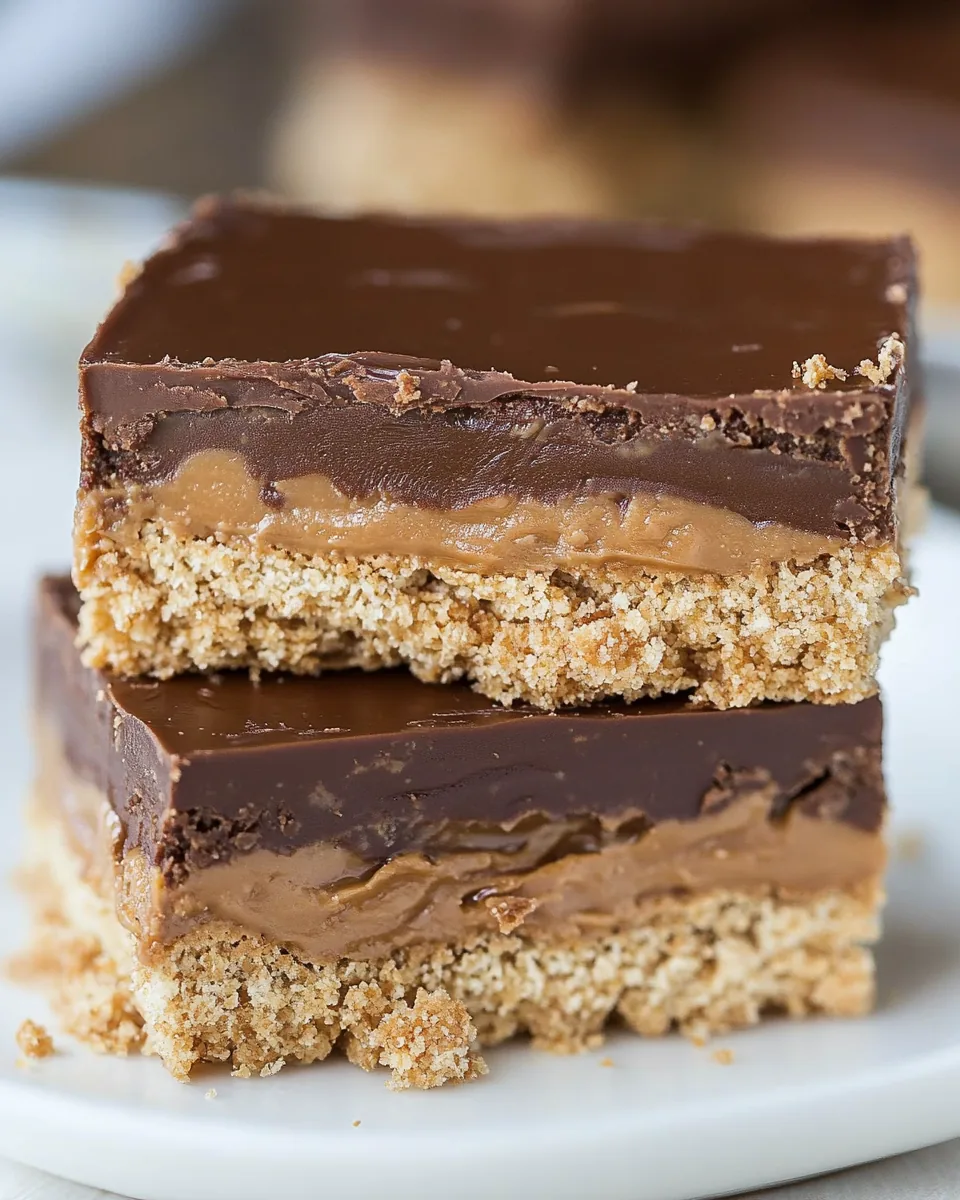
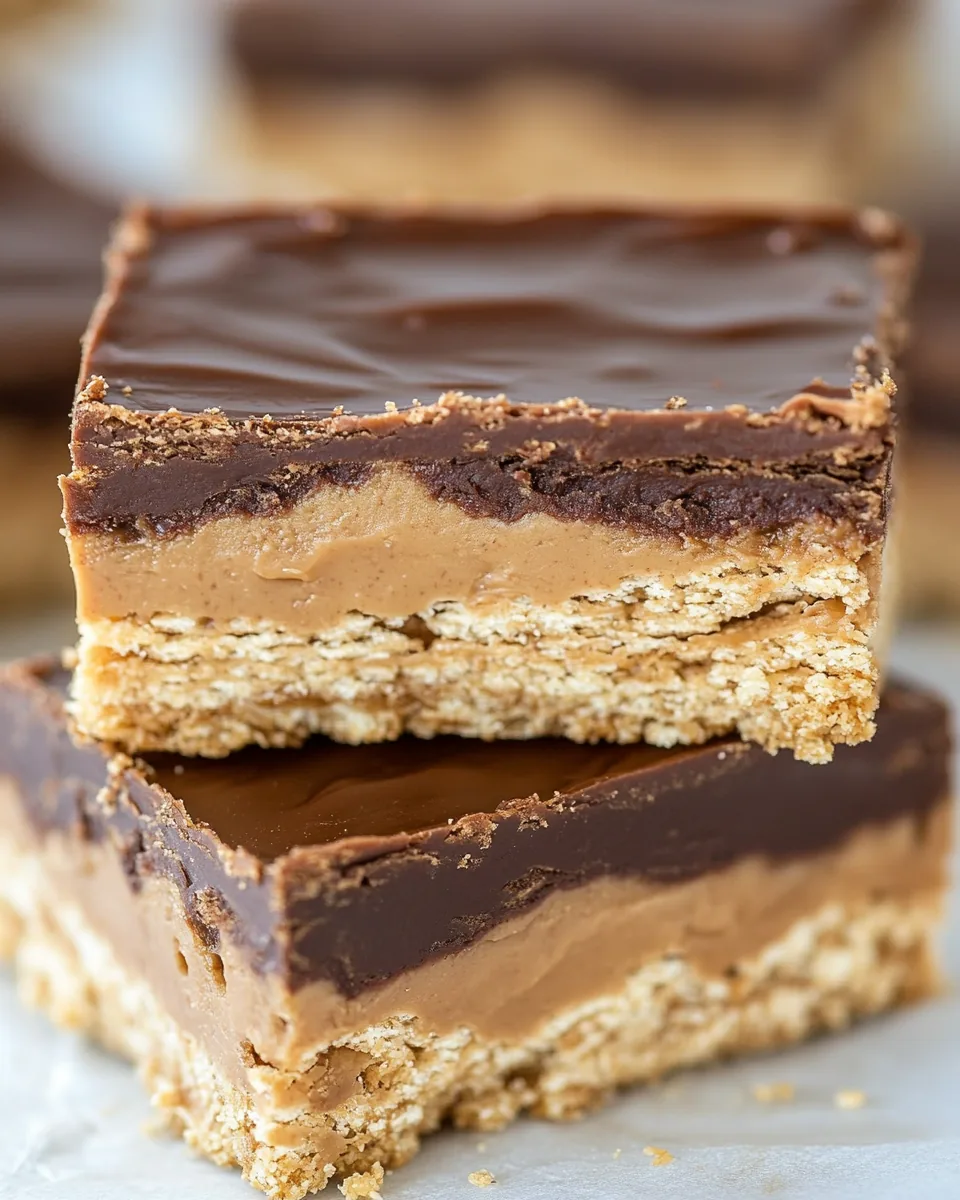
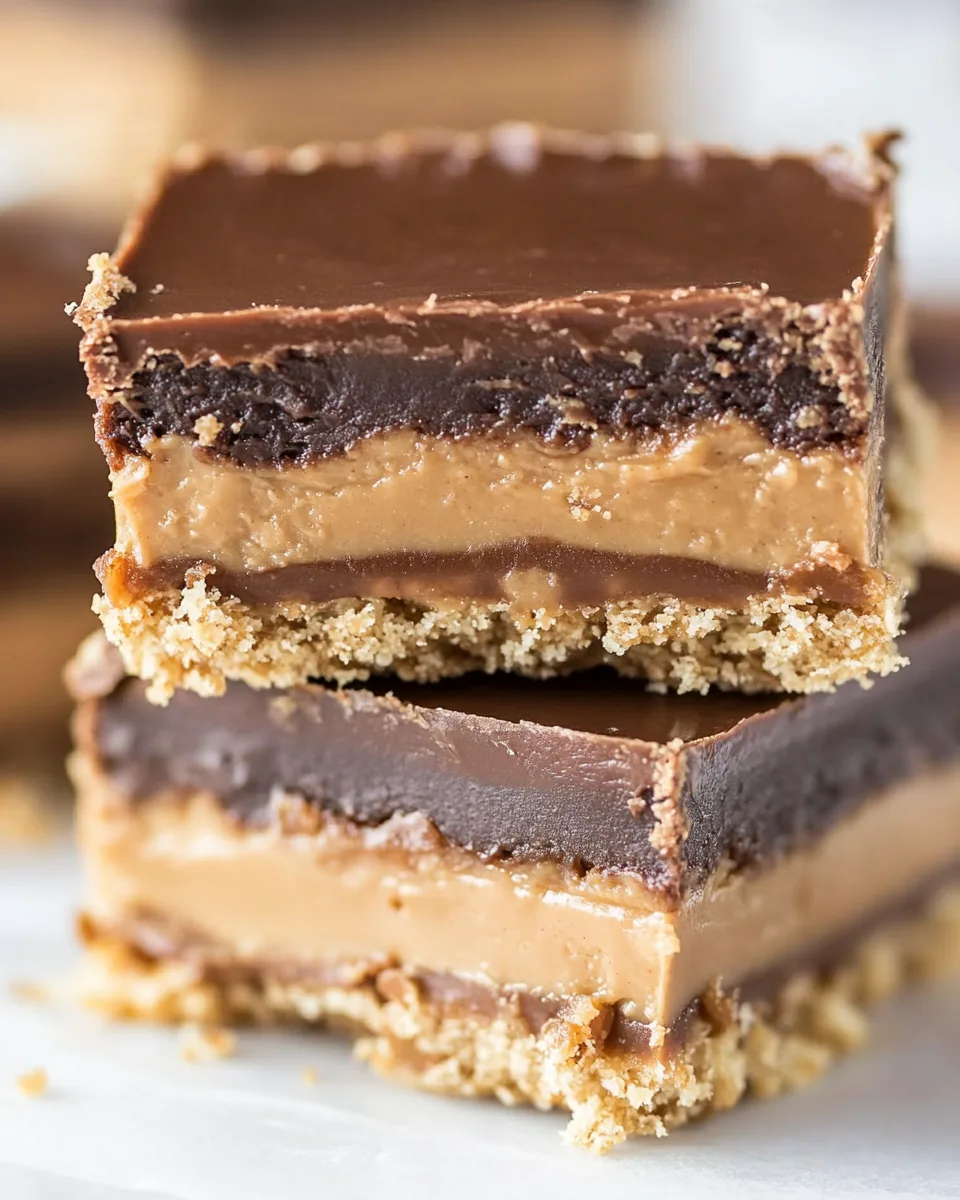
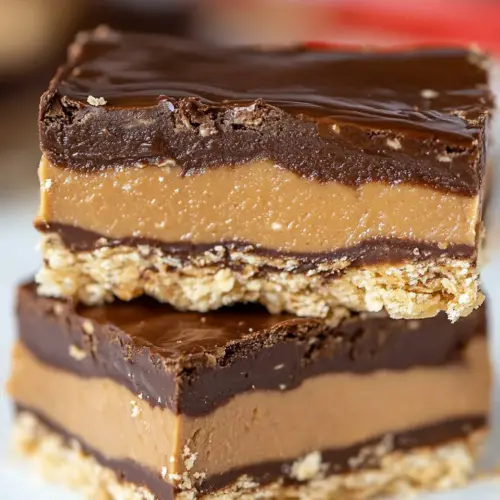
Let’s talk about the ingredients that come together to create these delightful bars. Each component has its role, and together, they create a harmonious balance of flavor and texture. The creamy peanut butter is the star, while the chocolate chips add richness, and the graham crackers provide a delightful crunch. Here’s what you’ll need:
- ¾ cup (200g) creamy peanut butter: The base of the recipe, offering that rich and nutty flavor.
- 4 tablespoons (57g) unsalted butter: Adds creaminess and helps hold the bars together.
- ¼ teaspoon salt: Balances the sweetness and enhances the flavors.
- 1 ½ – 2 cups (160-226g) powdered sugar: Sweetens the mixture and gives it the right texture.
- 10-12 graham cracker sheets: Provides a crunchy base and layers for the bars.
- 2 cups (340g) chocolate chips: Melts to create a delicious chocolate layer on top.
- 3 tablespoons shortening: Helps to melt the chocolate smoothly and gives a nice sheen.
The Method for Disneyland Peanut Butter Sandwich Bars
Making these bars is a straightforward process that brings back fond memories with each step. Here’s how to do it:
- Start by lining a 9×9 inch square pan with foil or parchment paper and spray it with nonstick cooking spray. This will make removing the bars much easier once they are set.
- In a mixing bowl, beat together the creamy peanut butter, unsalted butter, salt, and 1 ½ cups of powdered sugar using a hand mixer. Mix until smooth. The texture should be crumbly but not sticky; it should form a ball easily without falling apart. If it’s too crumbly, you can add up to ½ cup more of powdered sugar as needed.
- In a microwave-safe bowl, combine the chocolate chips and shortening. Melt them in the microwave in 30-second increments, stirring between each session until smooth and creamy.
- Next, take half of the graham cracker sheets and lay them on the bottom of the prepared pan in a single layer. Pour ⅓ of the melted chocolate over the top, spreading it evenly.
- Using your hands, scoop out balls of the peanut butter mixture and flatten them slightly. Place them evenly over the chocolate layer, smoothing it out as evenly as possible.
- Spread another ⅓ of the melted chocolate on top of the peanut butter layer, followed by the remaining graham crackers. Top with the rest of the melted chocolate, spreading it out to cover everything.
- Chill the bars in the refrigerator for at least 1 hour to set properly. This will help everything come together beautifully.
- Once the bars have set, remove them from the pan using the foil or parchment paper. Slice them into squares for serving.
- Store any leftovers in the refrigerator to keep them fresh and delicious.
Things Worth Knowing
- Texture Matters: When mixing the peanut butter and powdered sugar, aim for a crumbly but moldable texture. This ensures your bars hold together well.
- Chocolate Melting Tips: Stirring the chocolate chips frequently while melting prevents burning and promotes a smooth finish.
- Chilling Is Key: Don’t skip the chilling step! This is crucial for the bars to set properly and makes slicing easier.
- Customize Your Bars: Feel free to add chopped nuts or crispy rice cereal into the peanut butter layer for added texture.
Variations to Try
If you’re feeling adventurous, here are some fun variations to the classic Disneyland Peanut Butter Sandwich Bars. You can tweak this recipe to fit your taste or the occasion, and I promise you won’t regret it!
- Storage: Store the bars in an airtight container in the refrigerator for up to one week. They stay fresh and delicious, making them perfect for a quick dessert.
- Freezing: Yes, you can freeze these bars! Just wrap them tightly in plastic wrap and foil. They can last in the freezer for up to three months. Thaw in the refrigerator before serving.
- Nutty Twist: Add chopped nuts like peanuts or almonds to the peanut butter mixture for extra crunch and flavor.
- Flavor Variations: Try using flavored peanut butter like chocolate or honey for a unique taste.
- Chocolate Drizzle: For an extra touch, drizzle melted white chocolate on top of the bars before chilling.
- Layered Bars: Create layers by adding a layer of jelly or jam between the peanut butter and chocolate layers.
Serving Suggestions
There’s something special about serving the Disneyland Peanut Butter Sandwich Bars that makes them even more enjoyable. Here are some delightful ways to present and enjoy these treats:
- Perfect for Parties: These bars are a crowd-pleaser at parties and gatherings. Cut them into bite-sized squares for easy serving.
- With Coffee: Pair your bars with a warm cup of coffee or tea for a delightful afternoon snack.
- Lunchbox Treat: Add a square to lunchboxes for a sweet surprise that kids will love!
- Picnics: They make an excellent dessert for outdoor picnics. Just pack them in a cooler to keep them fresh.
- Seasonal Events: These bars are great for any season and perfect for celebrations like birthdays, holidays, or just because.
- Holiday Gift: Wrap them up as a homemade gift for friends and family during the holidays.
FAQ
Conclusion
The Disneyland Peanut Butter Sandwich Bars are a delightful treat that brings the magic of Disneyland right into your kitchen. Their creamy peanut butter and chocolate layers are not only easy to make but also incredibly satisfying to eat. I encourage you to give this recipe a try and enjoy the smiles they bring. Baking is more than just making food; it’s about creating unforgettable moments with loved ones. Treat yourself and those around you with these bars, and relive the sweet nostalgia of childhood!
Disneyland Peanut Butter Sandwich Bars
Equipment
- Wooden Spoon
- Chef's Knife
- Mixing Bowl
- Frying Pan
Ingredients
- ¾ cup 200g creamy peanut butter
- 4 tablespoons 57g unsalted butter
- ¼ teaspoon salt
- 1 ½ – 2 cups 160-226g powdered sugar
- 10-12 graham cracker sheets
- 2 cups 340g chocolate chips
- 3 tablespoons shortening
Instructions
- Line a 9×9 inch square pan with foil or parchment paper and spray with nonstick cooking spray.
- Beat together the peanut butter, butter, salt, and 1 ½ cups of powdered sugar with a hand mixer until smooth. The mixture should be crumbly but not sticky.
- In a microwave-safe bowl, combine the chocolate chips and shortening. Melt in the microwave in 30-second increments, stirring until smooth.
- Place half the graham cracker sheets on the bottom of the prepared pan and spread ⅓ of the melted chocolate over the top.
- Scoop out balls of the peanut butter mixture, flatten them, and place them evenly over the chocolate. Smooth out carefully.
- Spread another ⅓ of the chocolate over the peanut butter layer, then layer with the remaining graham crackers. Spread the rest of the chocolate on top.
- Chill the bars for at least 1 hour to set. Slice into squares and store in the refrigerator.
Notes
- Tip 1: Store the bars in an airtight container in the refrigerator for up to one week.
- Tip 2: You can freeze these bars for up to three months. Thaw in the refrigerator before serving.
- Tip 3: Add chopped nuts like peanuts or almonds for extra crunch.
- Tip 4: Try using flavored peanut butter like chocolate or honey for variation.
- Tip 5: Drizzle melted white chocolate on top for an extra touch.