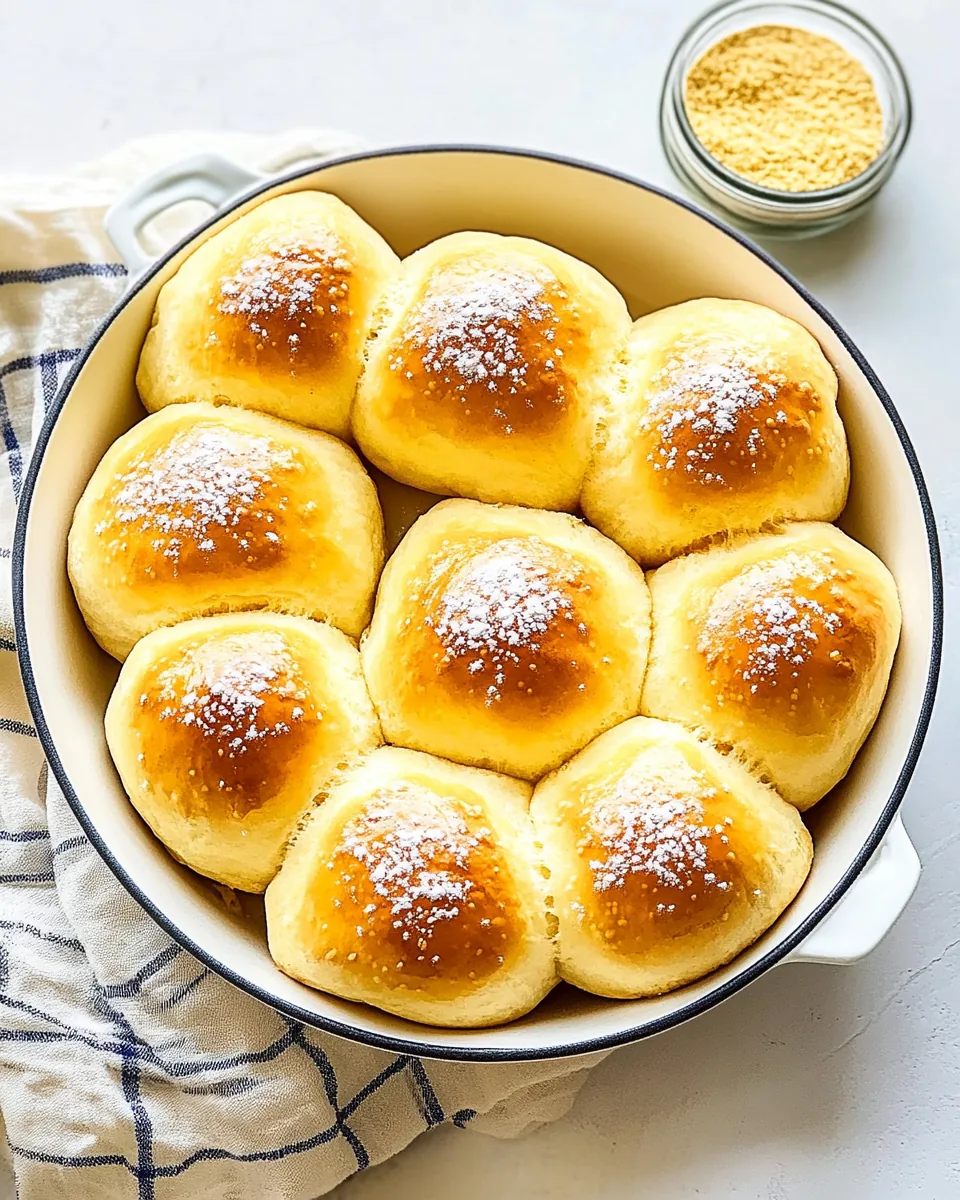
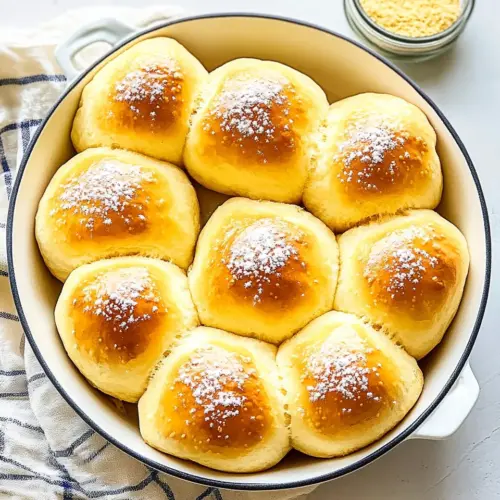
Dinner Rolls
The Dinner Rolls are one of those comforting recipes that take me back to my childhood. Growing up, every Sunday, my family would gather around the table, and the aroma of freshly baked bread would fill the air. I can still hear the laughter and the clinking of silverware as we shared stories over a warm meal. The centerpiece of those gatherings was always the warm, fluffy dinner rolls. Making these rolls is not just about the final product; it’s about the process, the anticipation of the dough rising, and the joy of pulling them from the oven, golden brown and inviting. Whether it’s a holiday feast or a quiet dinner at home, these dinner rolls have a way of bringing people together and making any meal feel special.
Recipe Snapshot
3 hr 20 mins
180 mins
20 mins
Hard
180 kcal
4 g
Gluten-Free, Low FODMAP
6 g
Mixing Bowl, Frying Pan, Skillet, Whisk, Baking Sheet, Oven
The Beauty of This Dinner Rolls
Comforting Aroma
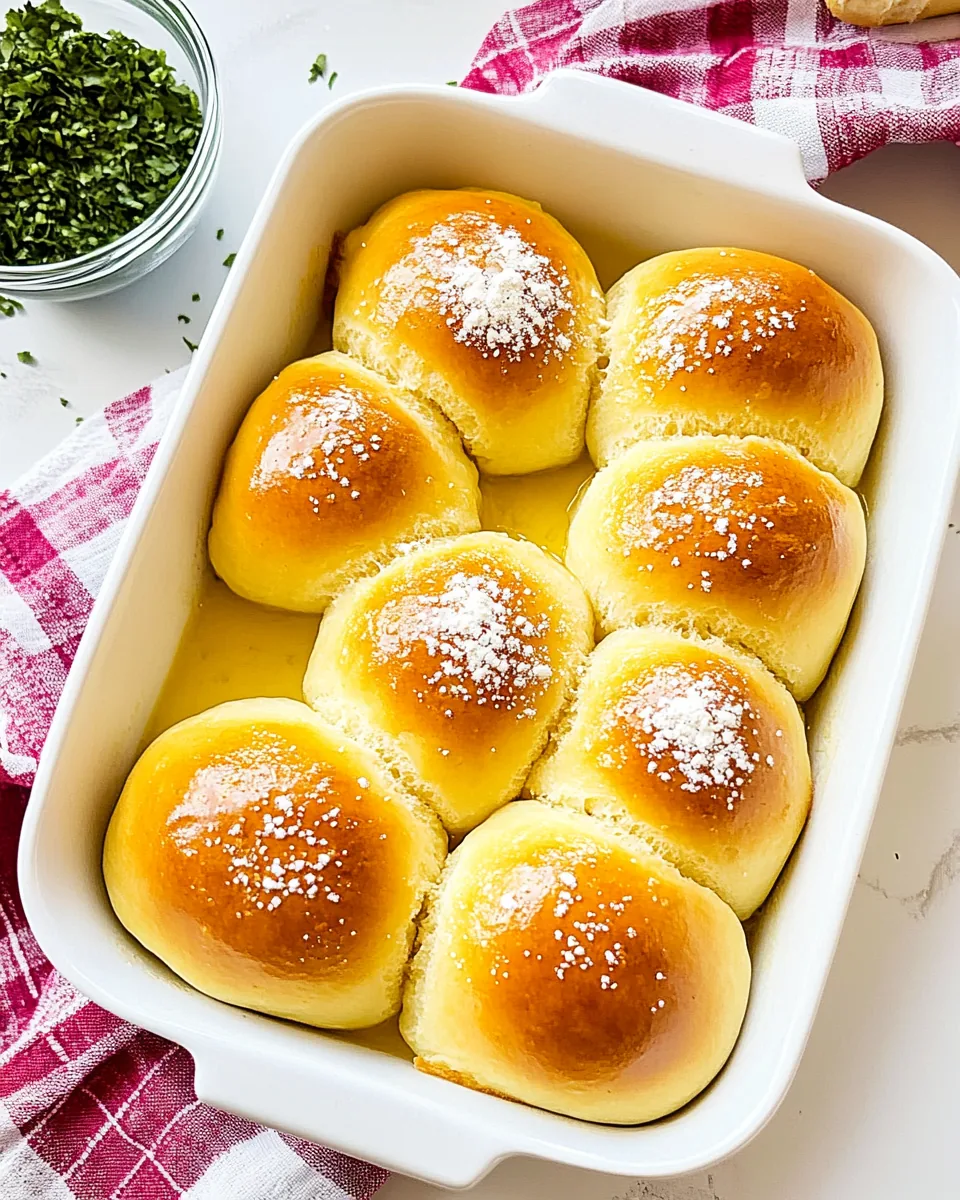
There’s something magical about the smell of freshly baked bread wafting through the house. The warm, buttery aroma of the dinner rolls baking is sure to make anyone’s mouth water. It transforms the kitchen into a welcoming space, creating an atmosphere that invites family and friends to gather.
Versatile Pairing
These dinner rolls are incredibly versatile. They pair beautifully with a variety of dishes, from savory roasted meats to hearty soups. Serve them alongside your favorite main course, or use them to mop up delicious sauces. No matter how you enjoy them, they’re bound to complement your meal perfectly.
Simple Ingredients
What I love most about making dinner rolls is how simple the ingredients are. With just a handful of pantry staples—like flour, yeast, and buttermilk—anyone can whip up a batch. It’s a reminder that great food doesn’t need to be complicated.
Warmth of Home
There’s nothing like the feeling of serving warm dinner rolls straight from the oven. They create a sense of home, warmth, and comfort. No fancy equipment is needed—just your hands, a mixing bowl, and a bit of love.
Perfect for Any Occasion
Whether it’s a holiday dinner, a family gathering, or just a cozy weeknight meal, these dinner rolls fit the bill. They add an element of festivity and warmth to any occasion, making every meal feel like a celebration.
Family Tradition
Making dinner rolls has become a treasured family tradition in my home. Each time I bake these delicious rolls, I’m not just making food; I’m creating memories that my loved ones will carry with them. It’s a simple act that brings joy and connection.
Ingredients for Dinner Rolls
When it comes to baking dinner rolls, the quality of your ingredients can make all the difference. Each component plays a significant role in achieving that perfect fluffy texture and delightful flavor. The key players in this recipe include buttermilk, which adds richness, and yeast, which gives the rolls their rise. Let’s dive into the ingredients that come together to create these irresistible rolls.
- 1 cup warm buttermilk, about 110 degrees F – This helps activate the yeast for a nice rise.
- 2 1/4 teaspoons instant yeast, 1 packet – Essential for leavening the rolls.
- 2 tablespoons granulated sugar, plus 1 teaspoon, divided – Adds sweetness and helps the yeast flourish.
- 1 large egg – Adds richness and helps bind the dough.
- 1/4 cup unsalted butter, softened – Provides a luscious flavor and tender texture.
- 1 teaspoon kosher salt – Enhances flavor and balances the sweetness.
- 3 cups all-purpose flour – The foundation of our rolls, providing structure.
- Butter and flaky sea salt, for topping rolls – A final touch that adds flavor and visual appeal.
Step by Step Guide for Dinner Rolls
Making dinner rolls is a rewarding process that fills your kitchen with warmth and wonderful aromas. Follow these steps, and you’ll have delicious rolls ready to enjoy in no time. Let’s get started!
- In the bowl of a stand mixer, whisk together the buttermilk, yeast, and 1 teaspoon of the sugar. Let it sit for 5 minutes until the mixture becomes foamy. This shows that the yeast is active and ready to work its magic.
- Add the remaining 2 tablespoons of sugar, egg, softened butter, salt, and 1 cup of the flour into the bowl. Mix on low speed with the paddle attachment until everything is well combined. You’ll want a uniform mixture without any dry patches.
- Use a spatula to scrape down the sides of the bowl, ensuring all ingredients are incorporated. Gradually add the remaining flour until the dough comes together. At this point, switch to the dough hook and mix for about 2 minutes. Look for a soft dough that forms a ball and pulls away from the sides of the bowl.
- If the dough feels sticky, don’t worry. Add a little more flour, one tablespoon at a time, until you achieve a slightly sticky but workable dough. It should feel elastic and smooth as you knead it.
- Transfer the dough onto a lightly floured surface. Knead by hand for about 3 to 5 minutes, or use the dough hook to knead in the mixer. Flour your hands to prevent sticking as you shape the dough.
- Spray a large bowl with cooking spray and place the kneaded dough inside. Cover the bowl with plastic wrap or a clean kitchen towel. Find a warm, draft-free place, and let the dough rise for about 1 hour or until it has doubled in size.
- While the dough is rising, grease a 9×13-inch baking pan or a large cast iron skillet with softened butter. This will prevent the rolls from sticking.
- Once the dough has risen, punch it down to release the air. Use a sharp knife or bench scraper to divide it into 14 to 16 equal pieces. Take each portion of dough and stretch it over itself, pinching it at the bottom to create a smooth top.
- Roll each piece gently on your work surface until it’s smooth and round. Place them in the prepared pan, leaving a little space in between each roll to allow for further rising.
- Cover the rolls with plastic wrap or a clean kitchen towel again and let them rise for about 1 hour until they double in size. Meanwhile, preheat your oven to 350 degrees F.
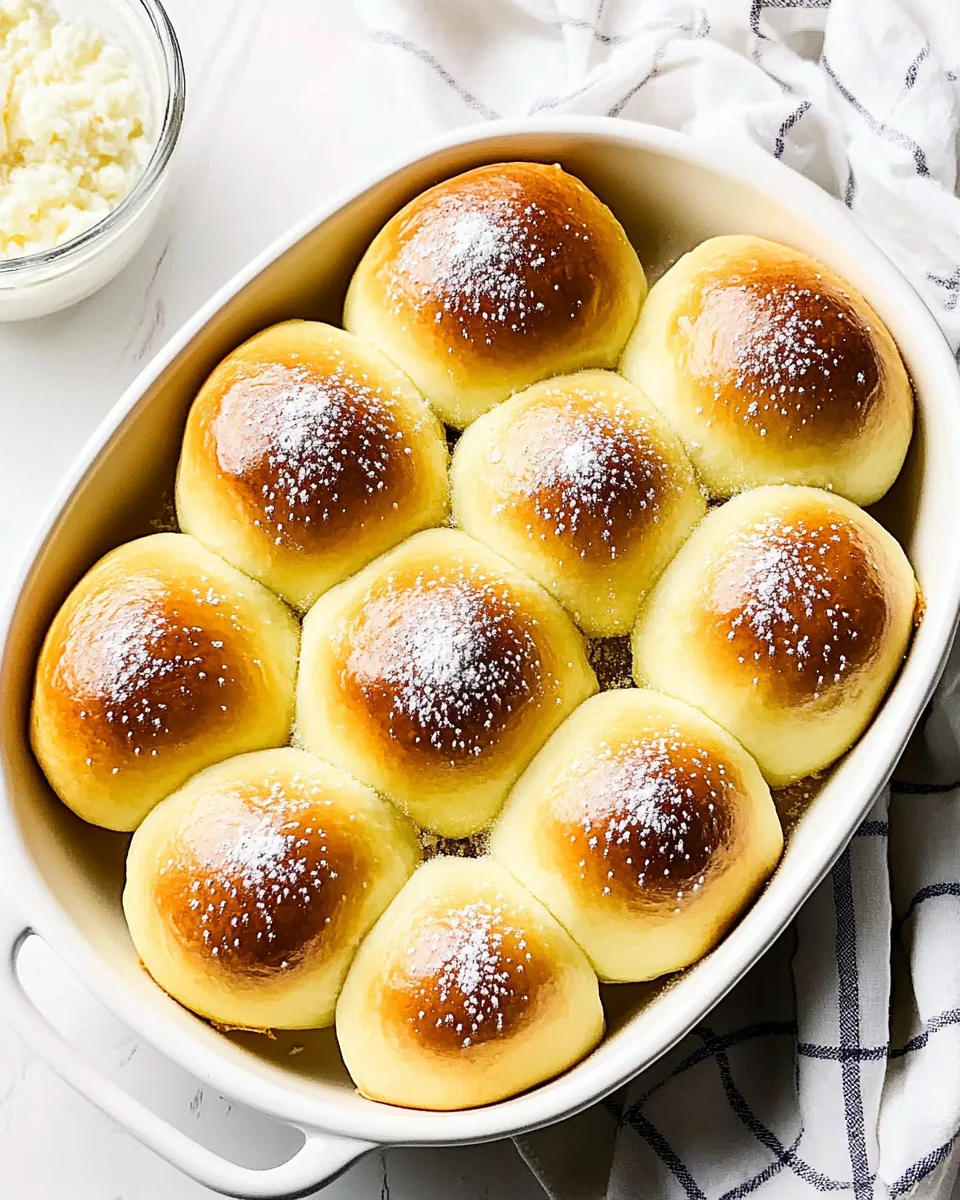
- Once risen, bake the rolls for 20 to 25 minutes, or until they turn golden brown on top. As soon as they come out of the oven, brush them with melted butter and sprinkle with flaky sea salt, if you desire. The aroma will be irresistible!
Things Worth Knowing
- Check the Yeast: Always ensure your yeast is fresh and active by testing it in warm buttermilk with sugar before mixing it into the dough.
- Don’t Rush the Rise: Allowing the dough enough time to rise is crucial for fluffy rolls. Be patient!
- Temperature Matters: The ideal temperature for the buttermilk is around 110 degrees F. Too hot can kill the yeast, and too cold can slow down the activation.
- Flour Gradually: When adding flour, do so gradually to find the perfect consistency of the dough.
- Resting the Dough: After shaping the rolls, letting them rest before baking ensures a light texture.
Making Adjustments
Making adjustments is part of the cooking process, especially with something as versatile as dinner rolls. Here are some helpful tips to ensure your rolls turn out perfectly every time.
- Storage: Store leftover dinner rolls in an airtight container on the counter for up to 3 days. They’ll stay fresh and delicious!
- Freezing: Yes, you can freeze these rolls! Once they have completely cooled, place them in a freezer-safe bag or container. They’ll last for up to 3 months.
- Pairing: Serve these rolls with a variety of dishes. They’re fantastic with soups, stews, or a hearty salad.
- Flavor Variations: Experiment with adding herbs or cheese to the dough for a different flavor profile. Fresh rosemary or grated parmesan can add a delightful twist!
- Egg Wash: For a more golden and shiny finish, brush the tops of the rolls with an egg wash before baking.
Great Combinations for Dinner Rolls
These dinner rolls are perfect for any occasion, and their versatility allows them to shine in various settings. Here are some great combinations and serving suggestions:
- With a Hearty Soup: Pair your warm dinner rolls with a rich, creamy soup for a comforting meal.
- Holiday Feasts: These rolls make a wonderful addition to holiday dinners, complementing everything from roasted turkey to glazed ham.
- Weekend Brunch: Serve them alongside eggs and fresh fruit for a delightful brunch spread.
- As an Appetizer: Enjoy them with dips like hummus or spinach artichoke dip—perfect for gatherings!
- Storage Tips: To maintain their freshness, wrap any leftover rolls in foil or plastic wrap.
- Seasonal Pairing: In the fall and winter, serve them with hearty dishes like chili or pot roast.
FAQ
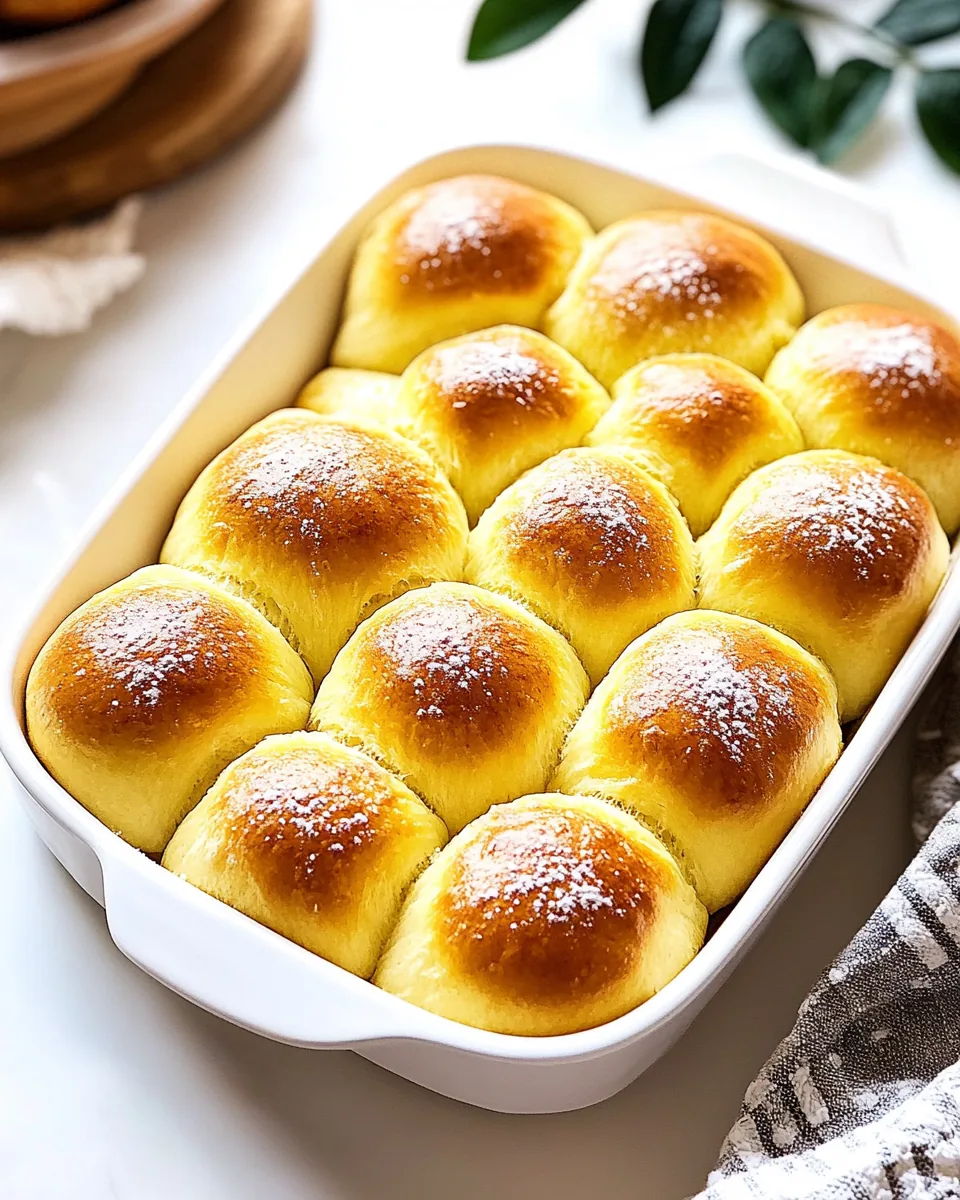
Conclusion
The Dinner Rolls are truly a labor of love, bringing warmth and comfort to any meal. They are perfect for family gatherings, weeknight dinners, or any occasion that deserves a little extra care. I encourage you to try making these rolls; they’ll fill your home with delightful aromas and create lasting memories at the table.
Dinner Rolls
Equipment
- Mixing Bowl
- Frying Pan
- Skillet
- Whisk
- Baking Sheet
- Oven
Ingredients
- 1 cup buttermilk about 110 degrees F
- 2 1/4 teaspoons instant yeast 1 packet
- 2 tablespoons granulated sugar plus 1 teaspoon, divided
- 1 large egg
- 1/4 cup unsalted butter softened
- 1 teaspoon kosher salt
- 3 cups all-purpose flour
- Butter and flaky sea salt for topping rolls
Instructions
- In the bowl of a stand mixer, whisk together the buttermilk, yeast, and 1 teaspoon of the granulated sugar. Let sit for 5 minutes.
- Add the remaining 2 tablespoons of granulated sugar, egg, softened butter, salt, and 1 cup of the flour into the bowl. Mix on low speed with the paddle attachment until everything is well combined.
- Use a spatula to scrape down the sides of the bowl. Gradually add the remaining flour until the dough comes together. At this point, switch to the dough hook and mix for about 2 minutes.
- If the dough feels sticky, add a little more flour, one tablespoon at a time, until you achieve a slightly sticky but workable dough.
- Transfer the dough onto a lightly floured surface. Knead by hand for about 3 to 5 minutes, or use the dough hook to knead in the mixer.
- Spray a large bowl with cooking spray and place the kneaded dough inside. Cover with plastic wrap and let rise for about 1 hour or until doubled in size.
- Once risen, punch the dough down and divide it into 14 to 16 equal pieces.
- Take each portion of dough and stretch it over itself, pinching at the bottom to create a smooth top. Roll each piece until round.
- Place them in the prepared pan, leaving space between each.
- Cover again and let rise for about 1 hour until doubled in size.
- Preheat the oven to 350 degrees F. Bake for 20 to 25 minutes or until golden brown. Brush with butter and sprinkle with flaky sea salt.
Notes
- If the dough is too sticky: Add a little extra flour, one tablespoon at a time.
- Milk Variation: You can use whole milk if you don’t have buttermilk.
- Storage: Store leftover dinner rolls in an airtight container on the counter for up to 3 days.