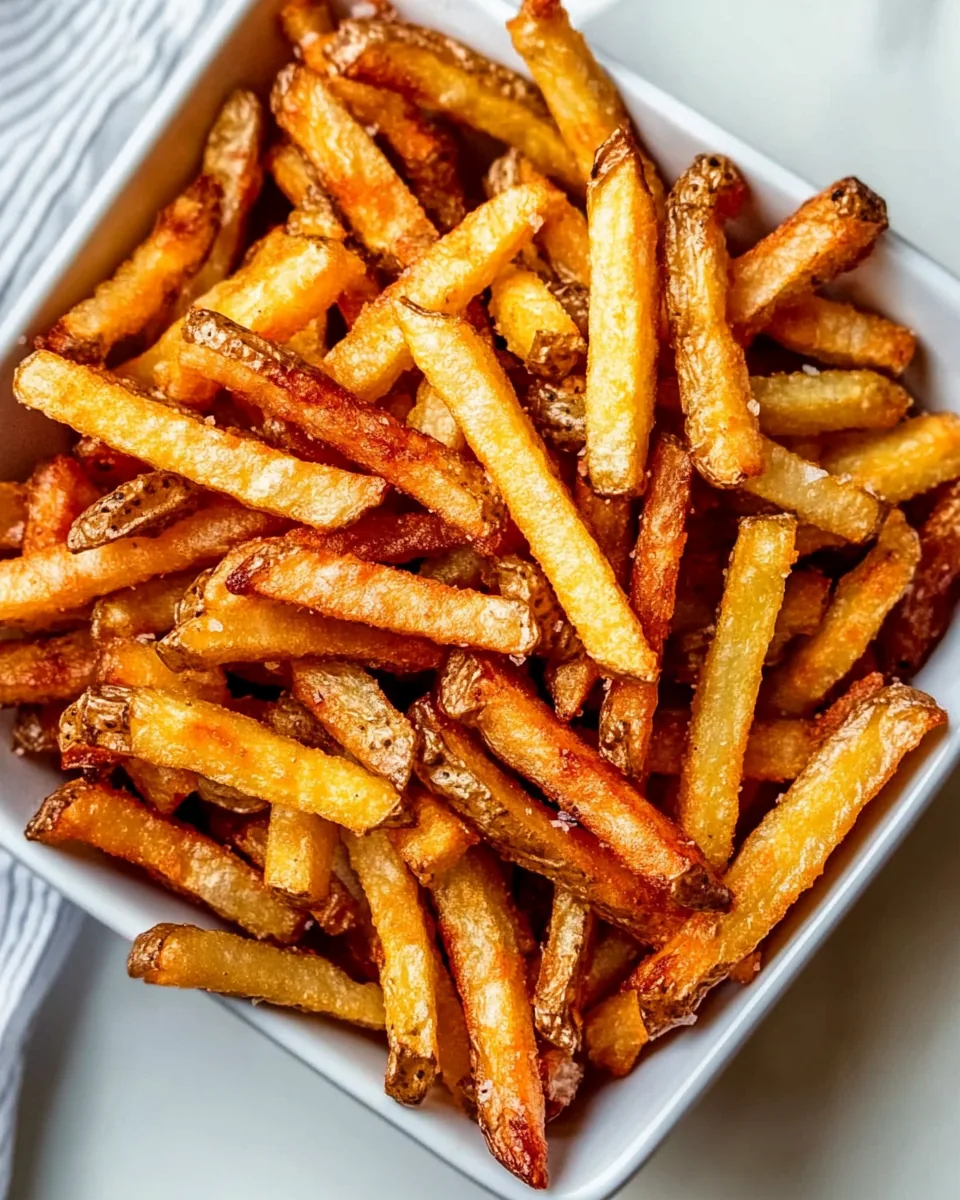
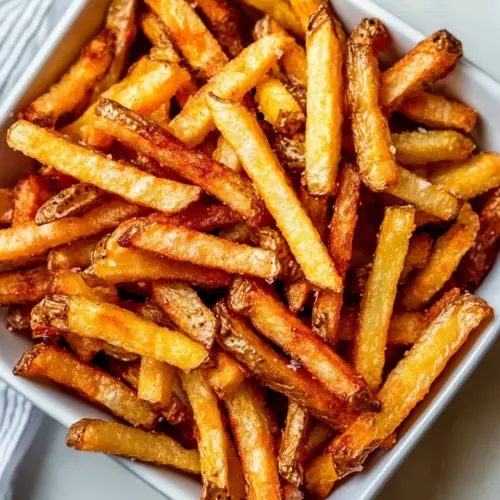
Crinkle Cut Fries
There’s something magical about the simplicity of homemade fries, especially when it comes to Crinkle Cut Fries. I still remember the first time I tried them at a local diner, the crispy edges and that delightful crinkle shape made each bite an experience. Whenever I’m looking for a fun side dish to accompany our family meals, these fries come to mind. They’re easy to whip up, and it’s a joy to watch them transform in the oven from plain potatoes into crispy treasures. I love serving them with an array of dipping sauces, which turns an ordinary meal into a fun, interactive dining experience. Whether it’s a casual weekend lunch or a festive dinner, Crinkle Cut Fries never fail to impress and satisfy. They’re the perfect comfort food that brings everyone together, and I can’t wait to share how you can make them at home!
Recipe Snapshot
30 mins
5 mins
25 mins
Medium
150 kcal
3 g
Keto, Paleo, Whole30
6 g
Baking Sheet, Chef’s Knife, Oven, Peeler
What Sets This Crinkle Cut Fries Apart
1. A Unique Texture
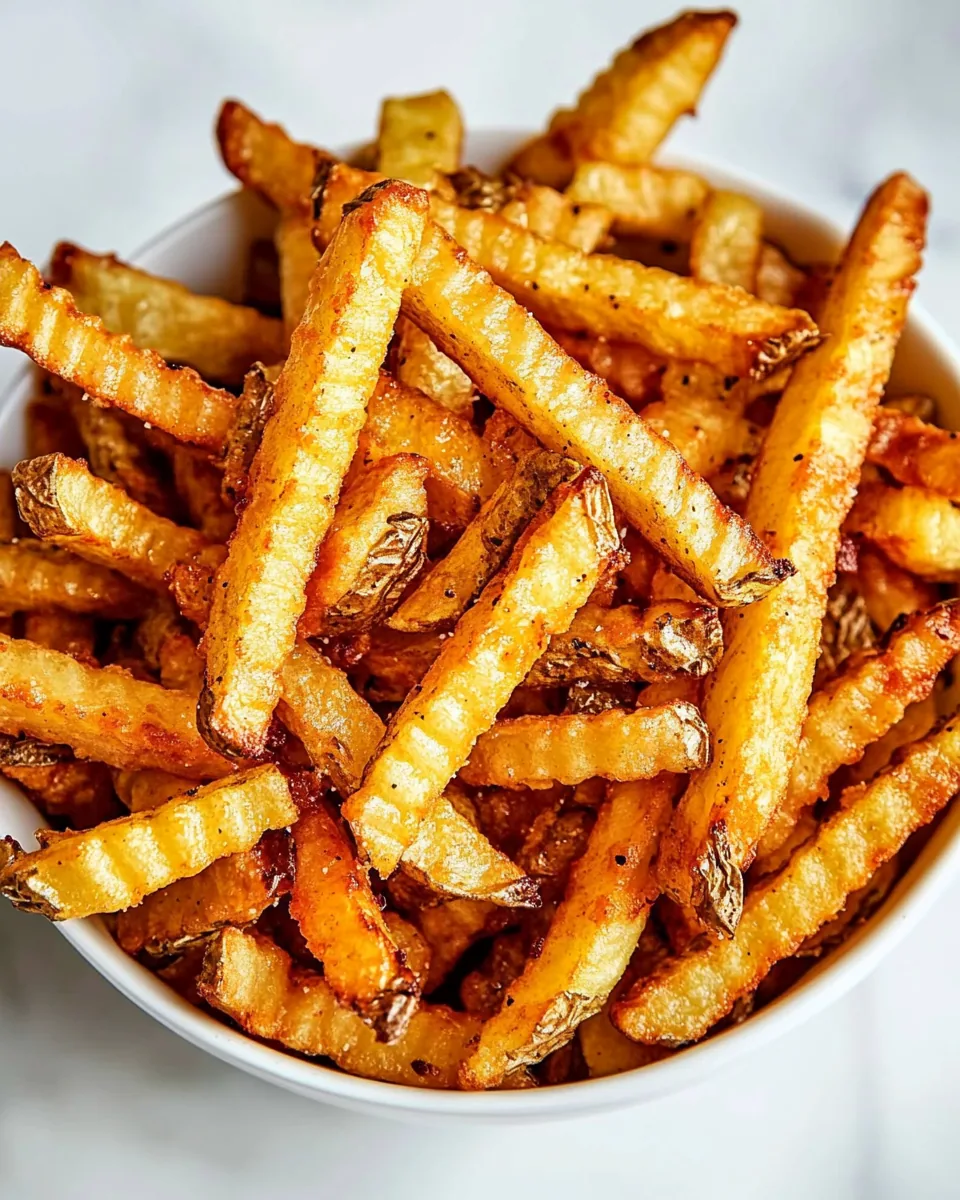
What makes Crinkle Cut Fries stand out is their unique shape, which provides an extra crispy exterior while keeping the inside soft and fluffy. The crinkly edges catch all the seasonings and dips, making every bite a flavor explosion. They’re not just fries; they’re a delightful culinary experience that appeals to both kids and adults.
2. Versatile and Customizable
These fries are a blank canvas for your creativity. You can season them in various ways, from simple salt to more adventurous combinations like garlic powder and paprika. You can even experiment with different dipping sauces, making them a perfect side for any meal or a fun snack for movie nights.
3. Easy to Make
One of the best things about Crinkle Cut Fries is how uncomplicated they are to prepare. With just a few ingredients and simple steps, you can have a batch ready to go in no time. This is the kind of recipe that fits seamlessly into any busy weeknight, allowing you to enjoy homemade fries without the hassle.
4. A Crowd-Pleaser
Whenever I serve Crinkle Cut Fries, they’re always a hit. They work perfectly as an appetizer for gatherings, a side dish for family dinners, or even as a snack for parties. Their appealing appearance and delicious taste make them a favorite among guests of all ages.
5. Healthier Alternative
By making Crinkle Cut Fries at home, you can control the ingredients and make a healthier version compared to store-bought options. You can use less oil, opt for organic potatoes, and skip the preservatives. It’s a great way to indulge without the guilt!
Everything You Need for Crinkle Cut Fries
To create the perfect Crinkle Cut Fries, you’ll need a handful of simple ingredients that work in harmony to deliver that satisfying taste and texture. Each ingredient plays a vital role, from the potatoes to the seasonings, ensuring that every fry is crispy and delicious.
- 4 medium to large russet potatoes: The base of this dish, russet potatoes are ideal for frying due to their high starch content, which helps achieve a fluffy interior while the exterior crisps up nicely.
- 2 teaspoons olive oil: This helps the fries crisp up in the oven while adding a pleasant flavor.
- 1/4 teaspoon salt: Essential for enhancing the natural flavors of the potatoes.
- 1/4 teaspoon garlic powder (optional): For a hint of garlic flavor that elevates the fries.
- 1/4 teaspoon onion powder (optional): Adds a subtle sweetness and depth of flavor.
- 1/4 teaspoon paprika (optional): This spice introduces a mild smokiness and a beautiful color.
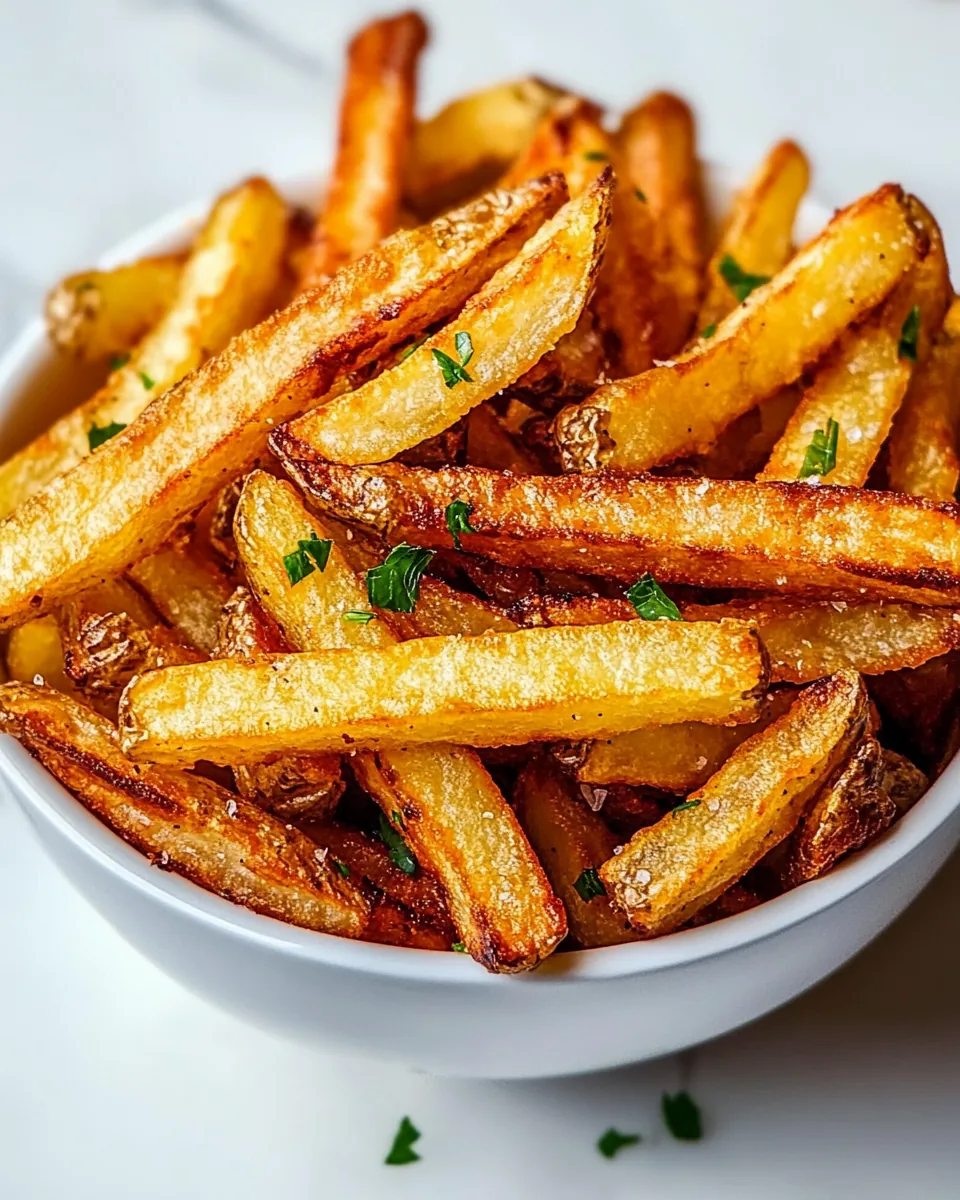
- Fresh parsley (chopped, for garnish): A pop of color and freshness that complements the fries beautifully.
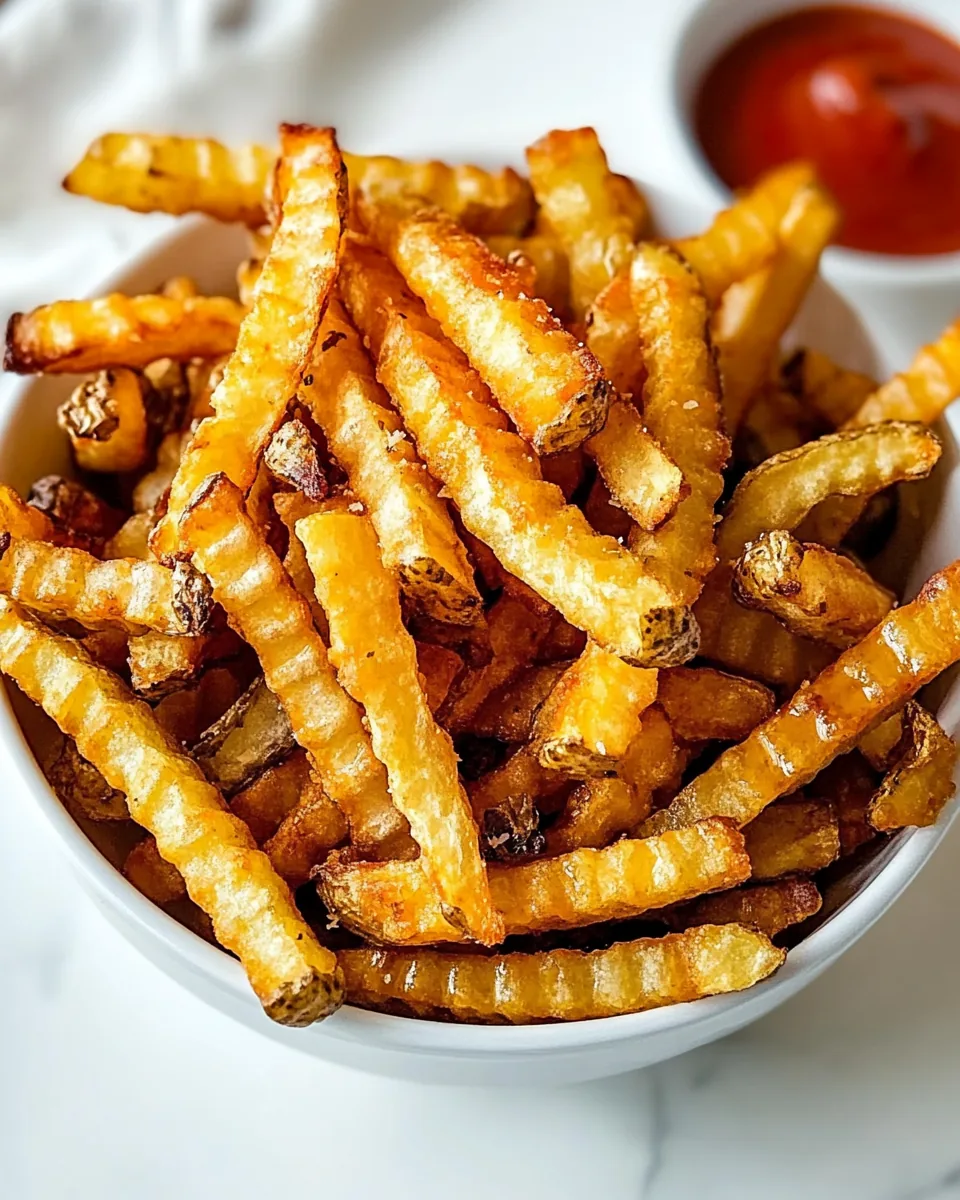
- Preferred dipping sauce (for serving): Choose your favorite condiment, from ketchup to aioli, to dip your crispy fries.
Instructions for Crinkle Cut Fries
Making Crinkle Cut Fries is a straightforward process that yields delicious results. Just follow these easy steps, and you’ll have golden, crispy fries ready to enjoy in no time!
Preheat your oven to 350°F. This is the crucial first step that ensures your fries cook evenly and reach the perfect level of crispiness.
-
Wash and optionally peel the potatoes. While peeling is not necessary, it can enhance the texture. If you prefer to keep the skin on, just wash them thoroughly to remove any dirt.
Use a crinkle cutter to slice the potatoes into fries. The shape is vital for that classic texture; it helps the fries hold onto seasonings and dips.
Place the cut fries on a paper towel and pat them dry thoroughly. This step is essential. Removing excess moisture helps them crisp up rather than steam in the oven.
-
Toss the fries in a bowl with olive oil, salt, garlic powder, onion powder, and paprika (if using) until they are evenly coated. This flavorful coat is what makes the fries irresistible.
Spread the fries in a single layer on a baking sheet. Make sure they are not crowded, as this allows them to roast properly and become crispy.
Bake for 25 minutes. Halfway through, flip the fries after 15 minutes for even crispness. This is the time to take a peek and see how they’re doing!
-
Remove from the oven when they’re golden. You want to see a nice, inviting golden color on the fries.
Serve immediately, garnished with fresh parsley. Pair them with your favorite dipping sauce for an extra treat!
Things Worth Knowing
- Choose the right potatoes: Russet potatoes are ideal due to their high starch content, leading to a fluffy interior.
- Pat them dry: It’s essential to remove moisture before baking to achieve maximum crispiness.
- Don’t overcrowd the baking sheet: This prevents steaming and helps the fries crisp up perfectly.
- Flip halfway through cooking: This ensures an even bake and golden color on all sides.
Tips and Variations
If you want to elevate your Crinkle Cut Fries experience, here are some handy tips and variations to consider:
- Storage: Store leftovers in an airtight container in the refrigerator for up to three days. Reheat in the oven for the best texture.
- Freezing: You can freeze uncooked fries. Lay them in a single layer on a baking sheet, freeze until solid, then transfer to a zip-top bag.
- Pairing: These fries go great with burgers, sandwiches, and grilled meats, making them perfect for barbecues and gatherings.
- Seasoning variations: Experiment with different spices or add grated cheese before baking for cheesy fries.
- Make it a meal: Serve them alongside a salad or protein for a complete dinner.
Pairing Suggestions for Crinkle Cut Fries
When it comes to serving Crinkle Cut Fries, the options are endless! Here are some great ideas:
- Burgers: Pair your fries with your favorite burger for a classic combination.
- Sandwiches: Serve them alongside a crispy chicken or veggie sandwich for a satisfying meal.
- Dips: Consider various dipping sauces like ranch, aioli, or spicy ketchup to enhance the flavor experience.
- Occasions: These fries are perfect for family gatherings, movie nights, or casual dinners with friends.
- Seasonal pairings: Enjoy them during barbecues in the summer or cozy movie nights in the winter.
FAQ
Conclusion
Making Crinkle Cut Fries at home is incredibly rewarding. They bring a unique twist to your meals and are sure to please everyone at the table. I encourage you to give this recipe a try—once you taste that crunch and soft center, you’ll understand why they’re a favorite! Plus, they’re so easy to prepare, making them a go-to for any occasion.
Crinkle Cut Fries
Equipment
- Baking Sheet
- Chef's Knife
- Oven
- Peeler
Ingredients
- 4 medium to large russet potatoes
- 2 teaspoons olive oil
- 1/4 teaspoon salt
- 1/4 teaspoon garlic powder (optional)
- 1/4 teaspoon onion powder (optional)
- 1/4 teaspoon paprika (optional)
- fresh parsley chopped (for garnish)
- 1 serving Preferred dipping sauce (for serving)
Instructions
- Preheat your oven to 350°F. This is the crucial first step that ensures your fries cook evenly and reach the perfect level of crispiness.
- Wash and optionally peel the potatoes. While peeling is not necessary, it can enhance the texture. If you prefer to keep the skin on, just wash them thoroughly to remove any dirt.
- Use a crinkle cutter to slice the potatoes into fries. The shape is vital for that classic texture; it helps the fries hold onto seasonings and dips.
- Place the cut fries on a paper towel and pat them dry thoroughly. This step is essential. Removing excess moisture helps them crisp up rather than steam in the oven.
- Toss the fries in a bowl with olive oil, salt, garlic powder, onion powder, and paprika (if using) until they are evenly coated. This flavorful coat is what makes the fries irresistible.
- Spread the fries in a single layer on a baking sheet. Make sure they are not crowded, as this allows them to roast properly and become crispy.
- Bake for 25 minutes. Halfway through, flip the fries after 15 minutes for even crispness. This is the time to take a peek and see how they're doing!
- Remove from the oven when they’re golden. You want to see a nice, inviting golden color on the fries.
- Serve immediately, garnished with fresh parsley. Pair them with your favorite dipping sauce for an extra treat!