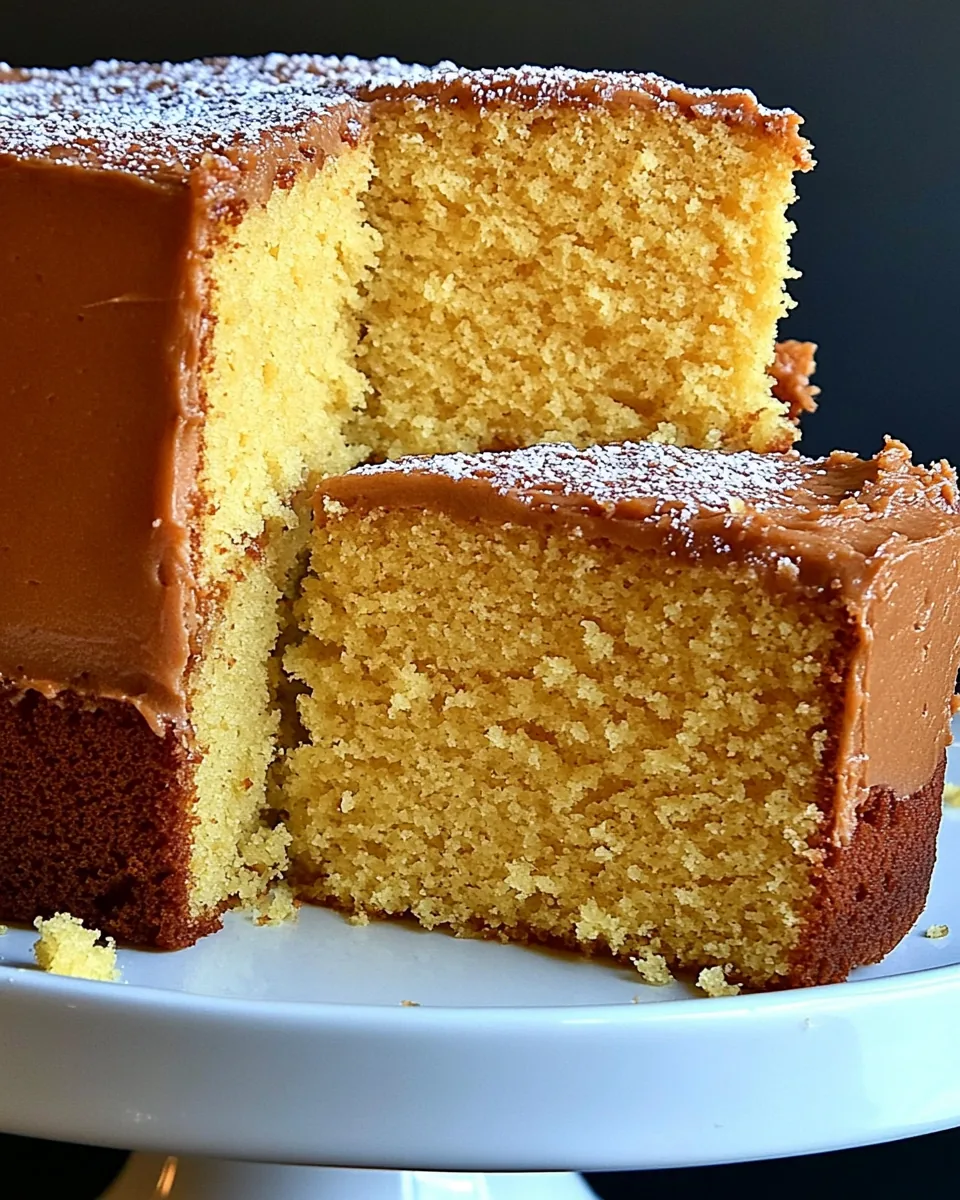
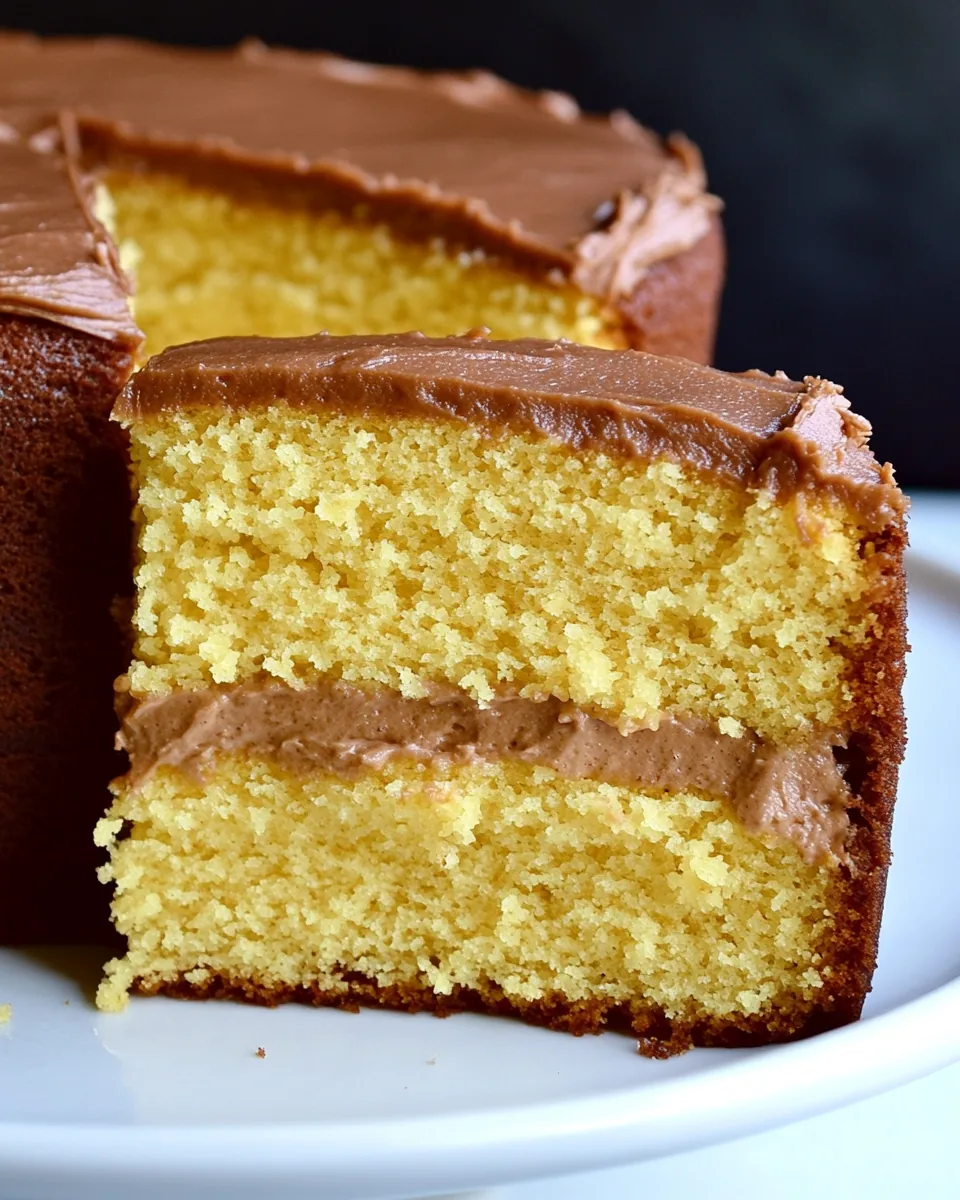
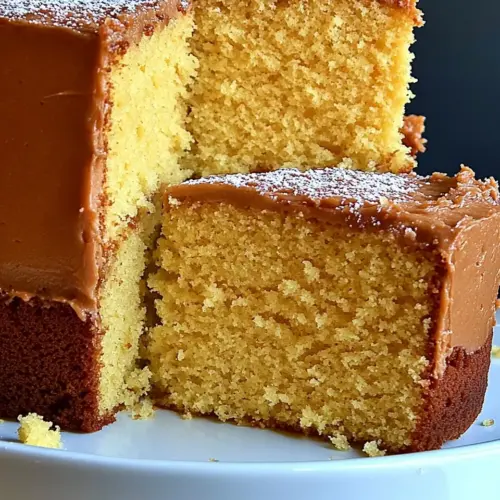
Classic Yellow Cake
The Classic Yellow Cake is one of those recipes that brings me back to my childhood. I remember the excitement of special occasions when my mom would bake this cake, filling the house with the warm, buttery scent of vanilla and sweetened sugar. Each layer was fluffy and light, the perfect canvas for a rich chocolate frosting or simple whipped cream. It was a staple at birthdays, family gatherings, and celebrations, making every moment a little more special. This recipe is not just about the cake itself; it’s about the memories and love that come with it. I can still hear the sound of the mixer blending the ingredients and see the joy on everyone’s faces when they took their first bite. Making this Classic Yellow Cake is a way to recreate those beautiful moments and share them with others.
Recipe Snapshot
35 mins
10 mins
25 mins
Medium
275 kcal
4 g
Gluten-Free, Low FODMAP
12 g
Cake Pans (9-inch)
What We Adore About This Classic Yellow Cake
It’s a Timeless Dessert
The Classic Yellow Cake is timeless, transcending generations. Whether it’s a birthday party, a holiday gathering, or just a Tuesday night, it fits in perfectly. Its versatility allows for endless frosting options, making it a favorite for many.
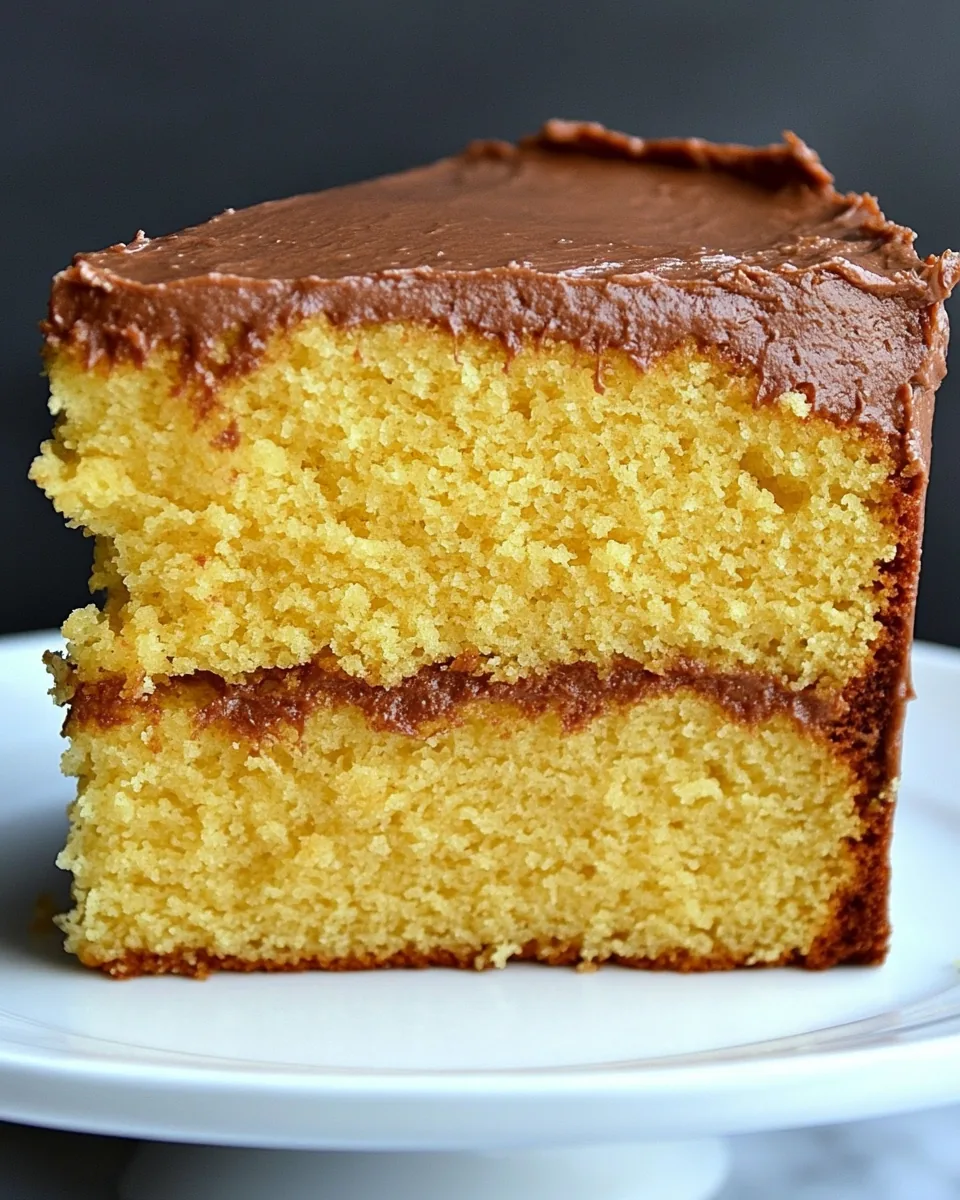
Fluffy and Light Texture
What makes this cake truly stand out is its fluffy texture. The combination of eggs and butter creates a beautiful lightness, allowing each slice to melt in your mouth. It’s this delicate balance that keeps you coming back for more.
Simple Ingredients
The ingredients in this Classic Yellow Cake are simple and straightforward. You probably have most of them in your pantry already! This simplicity means you can whip it up whenever the craving strikes.
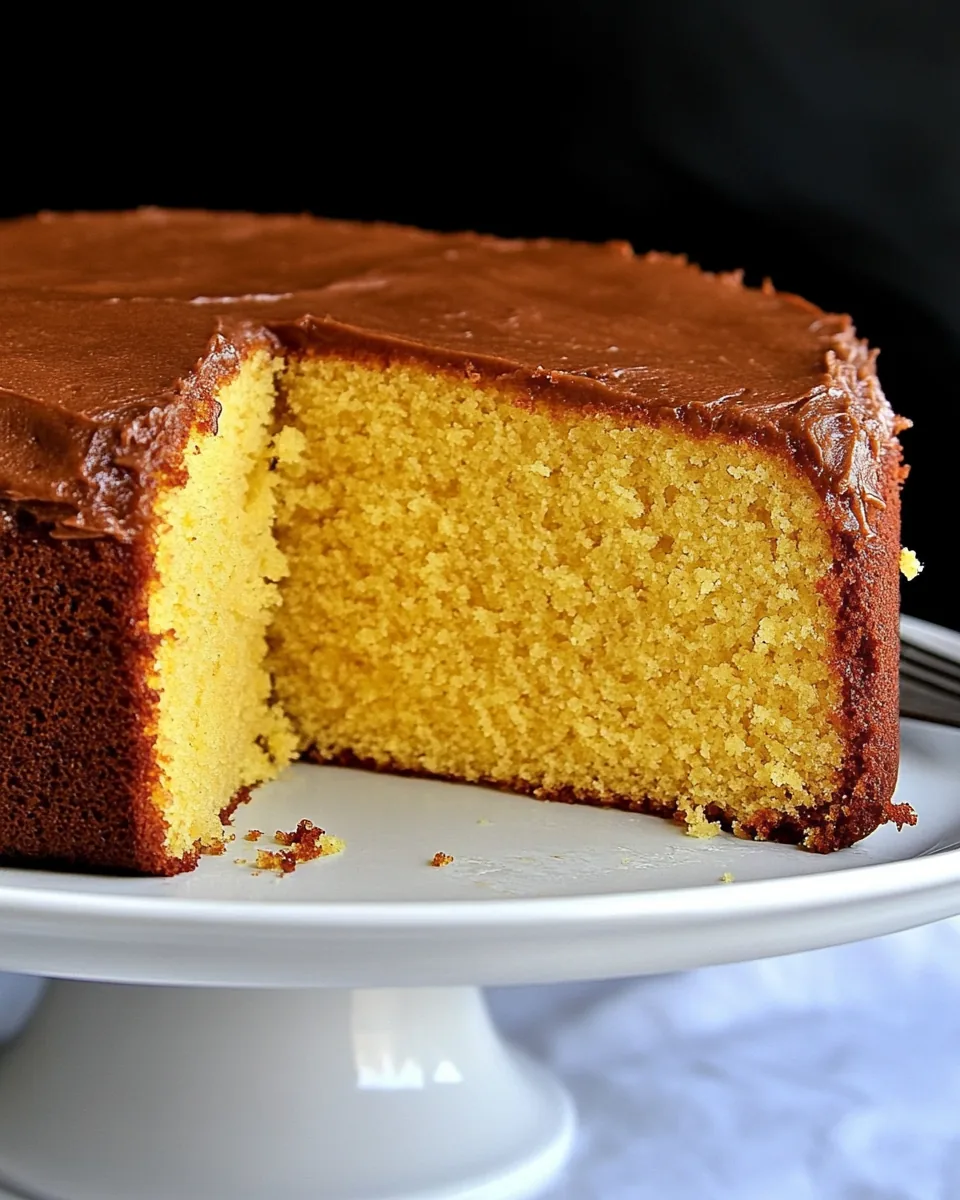
Perfect for Decorating
This cake is a decorator’s dream. Its smooth surface and rich flavor provide the perfect base for whatever frosting you desire. Whether you want to go classic with chocolate or get creative with fruit toppings, the options are limitless!
Family Tradition
Baking this cake has been a family tradition for years. Each time I make it, I’m reminded of the love and care my family put into their own cakes. It’s a recipe that connects generations, and I’m excited to pass it down to my children.
Great for Sharing
This Classic Yellow Cake makes a generous amount, perfect for sharing with friends, family, or your neighbors. There’s something special about sharing homemade treats that brings people together.
Ingredients to Make Classic Yellow Cake
When it comes to baking, the ingredients are everything. Each component in this Classic Yellow Cake plays a vital role in creating that delicious flavor and perfect texture. From the richness of the unsalted butter to the sweetness of the granulated sugar, these ingredients work harmoniously to deliver a cake that’s not only tasty but also satisfying. Let’s dive into what you’ll need to create this delightful dessert.
- 1 cup (226g) unsalted butter, softened – This is the base of your cake, providing a rich, buttery flavor that defines the cake.
- 2 cups (396g) granulated sugar – Adding sweetness and contributing to the cake’s moist texture.
- 4 large (200g) eggs – Essential for structure and richness, giving the cake its delightful fluffiness.
- 2 large (28g) egg yolks – Extra richness and a deeper color to the batter.
- 1 teaspoon (2.6g) kosher salt – Balances the sweetness and enhances all the flavors.
- 3 teaspoons (12g) baking powder – The leavening agent that helps the cake rise beautifully.
- 3 cups (375g) all-purpose flour – Forms the structure of the cake, providing the needed bulk.
- 2 cups (454g) buttermilk – Adds moisture and a slight tang, making the cake tender.
- 2 ½ teaspoons (11.75g) vanilla extract – For that warm, aromatic flavor that makes this cake irresistible.
Directions for Classic Yellow Cake
Making the Classic Yellow Cake is a delightful process that fills your kitchen with wonderful smells and anticipation. Follow along with these detailed steps to craft a cake that’s sure to impress.
- Preheat your oven to 350º F. Prepare your baking pans by brushing them with butter and lightly flouring them. This ensures that your cake releases easily after baking.
- In a large mixing bowl, cream together the unsalted butter and granulated sugar using an electric mixer until the mixture is light yellow and fluffy, which should take about 2 to 3 minutes. This step is crucial as it incorporates air, leading to a lighter cake.
- Add the eggs one by one, ensuring each egg is fully mixed in before adding the next. This helps maintain the emulsion and keeps your batter smooth.
- Next, mix in the egg yolks, continuing to beat until fully incorporated and the mixture is creamy.
- In a separate bowl, whisk together the kosher salt, baking powder, and all-purpose flour. This helps distribute the leavening agent evenly throughout the flour for consistent results.
- Gradually add half of the flour mixture to the butter and sugar mixture, stirring until just combined. This prevents overmixing, which can toughen the cake.
- Now pour in half of the buttermilk and mix until combined. Repeat this process with the remaining flour and buttermilk, stirring gently after each addition.
- Finally, add the vanilla extract and mix until everything is just combined. Avoid overmixing to ensure a tender cake.
- Divide the batter evenly between the prepared pans or pour it all into a 9×13 baking dish. Smooth the top with a spatula.
- Bake in the preheated oven until the cake springs back when touched and a toothpick inserted in the center comes out clean. For two 8-inch pans, this should take around 25 minutes; for two 9-inch pans, about 30 minutes; and for a 9×13 pan, about 35 minutes.
- Once baked, remove the cakes from the oven and allow them to cool for about 8 to 10 minutes in the pans. Then, transfer them to a wire rack to cool completely before frosting.
Things Worth Knowing
- Room Temperature Ingredients: It’s best to use butter, eggs, and buttermilk at room temperature for better emulsification.
- Don’t Overmix: Mix just until combined to prevent a dense cake; overmixing can lead to a tough texture.
- Check for Doneness: Use a toothpick to check if the cake is baked through; it should come out clean.
- Cooling Time: Let the cake cool properly before frosting to prevent the frosting from melting.
How to Switch It Up
While the Classic Yellow Cake is delicious as is, here are some ways to add variety to your baking experience.
- Storage: Store leftovers in an airtight container at room temperature for up to 3 days, or refrigerate for up to a week.
- Freezing: You can freeze the cake layers individually wrapped in plastic wrap for up to 3 months. Just thaw them in the fridge before frosting.
- Pairing: This cake pairs wonderfully with fresh fruits like strawberries or raspberries for a refreshing touch.
- Add Citrus: Incorporate lemon or orange zest into the batter for a subtle citrus flavor boost.
- Frosting Variations: Try different frostings such as cream cheese, whipped cream, or even a flavored buttercream for unique twists.
What Complements This Classic Yellow Cake
When it comes to serving your Classic Yellow Cake, the options are plentiful, making it a versatile choice for any occasion.
- Frosting Choices: Pair with chocolate buttercream, vanilla frosting, or cream cheese frosting to elevate the flavor.
- Seasonal Fruits: Serve alongside seasonal fruits like berries or peaches for a fresh twist.
- Special Occasions: It’s perfect for birthdays, anniversaries, and celebrations, making them unforgettable.
- Afternoon Tea: Enjoy it with a cup of tea or coffee as an afternoon delight.
- Picnics: Slice it up for picnics or gatherings, as it’s easy to transport and serves a crowd.
FAQ
Conclusion
The Classic Yellow Cake is a beloved dessert that brings joy and warmth to any occasion. Its simple yet rich flavor, combined with its fluffy texture, makes it a crowd-pleaser. I encourage you to try making this cake for your next gathering or just as a special treat for yourself. You won’t be disappointed!
Classic Yellow Cake
Equipment
- Cake Pans (9-inch)
Ingredients
- 1 cup Unsalted Butter softened
- 2 cups Granulated Sugar
- 4 large Eggs
- 2 large Egg Yolks
- 1 teaspoon Kosher Salt
- 3 teaspoons Baking Powder
- 3 cups All-Purpose Flour
- 2 cups Buttermilk
- 2.5 teaspoons Vanilla Extract
Instructions
- Preheat your oven to 350º F. Prepare your baking pans by brushing them with butter and lightly flouring them. This ensures that your cake releases easily after baking.
- In a large mixing bowl, cream together the unsalted butter and granulated sugar using an electric mixer until the mixture is light yellow and fluffy, which should take about 2 to 3 minutes. This step is crucial as it incorporates air, leading to a lighter cake.
- Add the eggs one by one, ensuring each egg is fully mixed in before adding the next. This helps maintain the emulsion and keeps your batter smooth.
- Next, mix in the egg yolks, continuing to beat until fully incorporated and the mixture is creamy.
- In a separate bowl, whisk together the kosher salt, baking powder, and all-purpose flour. This helps distribute the leavening agent evenly throughout the flour for consistent results.
- Gradually add half of the flour mixture to the butter and sugar mixture, stirring until just combined. This prevents overmixing, which can toughen the cake.
- Now pour in half of the buttermilk and mix until combined. Repeat this process with the remaining flour and buttermilk, stirring gently after each addition.
- Finally, add the vanilla extract and mix until everything is just combined. Avoid overmixing to ensure a tender cake.
- Divide the batter evenly between the prepared pans or pour it all into a 9×13 baking dish. Smooth the top with a spatula.
- Bake in the preheated oven until the cake springs back when touched and a toothpick inserted in the center comes out clean. For two 8-inch pans, this should take around 25 minutes; for two 9-inch pans, about 30 minutes; and for a 9×13 pan, about 35 minutes.
- Once baked, remove the cakes from the oven and allow them to cool for about 8 to 10 minutes in the pans. Then, transfer them to a wire rack to cool completely before frosting.
Notes
- Storage: Store leftovers in an airtight container at room temperature for up to 3 days, or refrigerate for up to a week.
- Freezing: You can freeze the cake layers individually wrapped in plastic wrap for up to 3 months. Just thaw them in the fridge before frosting.
- Pairing: This cake pairs wonderfully with fresh fruits like strawberries or raspberries for a refreshing touch.
- Add Citrus: Incorporate lemon or orange zest into the batter for a subtle citrus flavor boost.
- Frosting Variations: Try different frostings such as cream cheese, whipped cream, or even a flavored buttercream for unique twists.