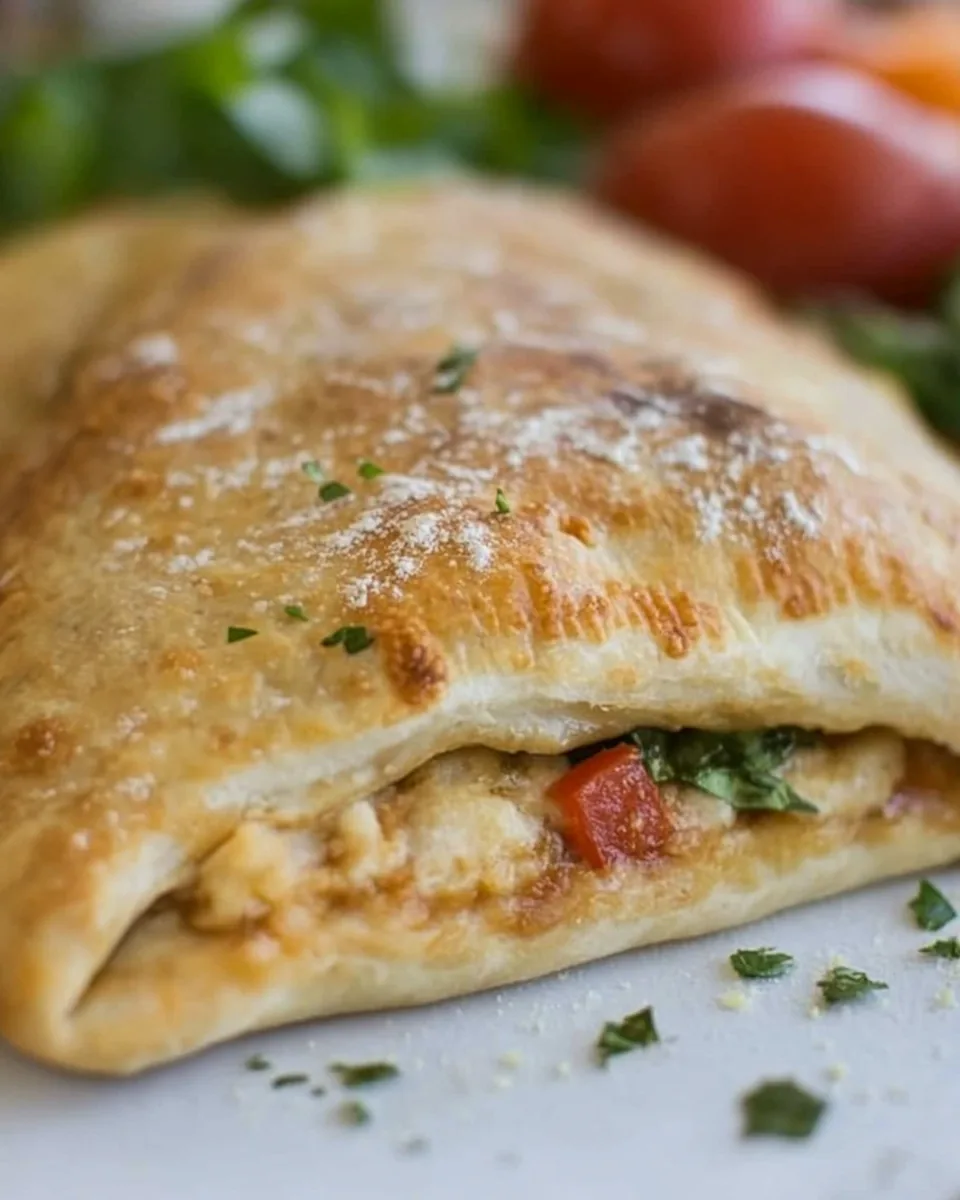
Classic Calzones
There’s something magical about making Classic Calzones at home. It takes me back to those cozy family gatherings where we’d all gather around the kitchen, flour dusting the countertops, laughter filling the air. As the aroma of baked dough mingling with melted cheese wafted through the house, everyone would eagerly await the first bite of those golden pockets filled with cheesy goodness. I remember the first time I attempted to make them myself; the excitement was palpable! The idea of crafting my own calzones, with the fillings of my choice, made it all the more special. Each calzone felt like a canvas to express my culinary creativity. I’ll never forget the satisfaction of pulling them out of the oven, their crust perfectly browned, and watching my loved ones devour them.
Recipe Snapshot
60 mins
30 mins
30 mins
Medium
400 kcal
15 g
Gluten-Free, Low FODMAP
18 g
Peeler, Mixing Bowl, Frying Pan, Saucepan, Whisk, Baking Sheet, Oven
Why This Classic Calzones Stands Out
They’re Perfect for Customization
One of the things I absolutely love about Classic Calzones is how versatile they are. You can fill them with whatever your heart desires! Want to throw in some sautéed vegetables for a healthier twist? Go for it! Prefer a mix of different cheeses? Why not? The possibilities are endless, and it’s a great way to use up leftovers!
Great for Family and Friends
These calzones are the perfect dish to share with family and friends. There’s something about breaking bread together that brings everyone closer. Whether it’s a casual Friday night dinner or a festive gathering, Classic Calzones fit right in. Plus, each person can customize their filling, making it a fun interactive meal that everyone will enjoy.
Freezing for Later Enjoyment
If you find yourself with extra calzones (which is rare because they’re so delicious!), they freeze beautifully. Just bake them, let them cool, and wrap them up for a quick meal later. When you’re ready to eat, just pop them in the oven for a quick reheat, and you’ve got a homemade meal without the fuss!
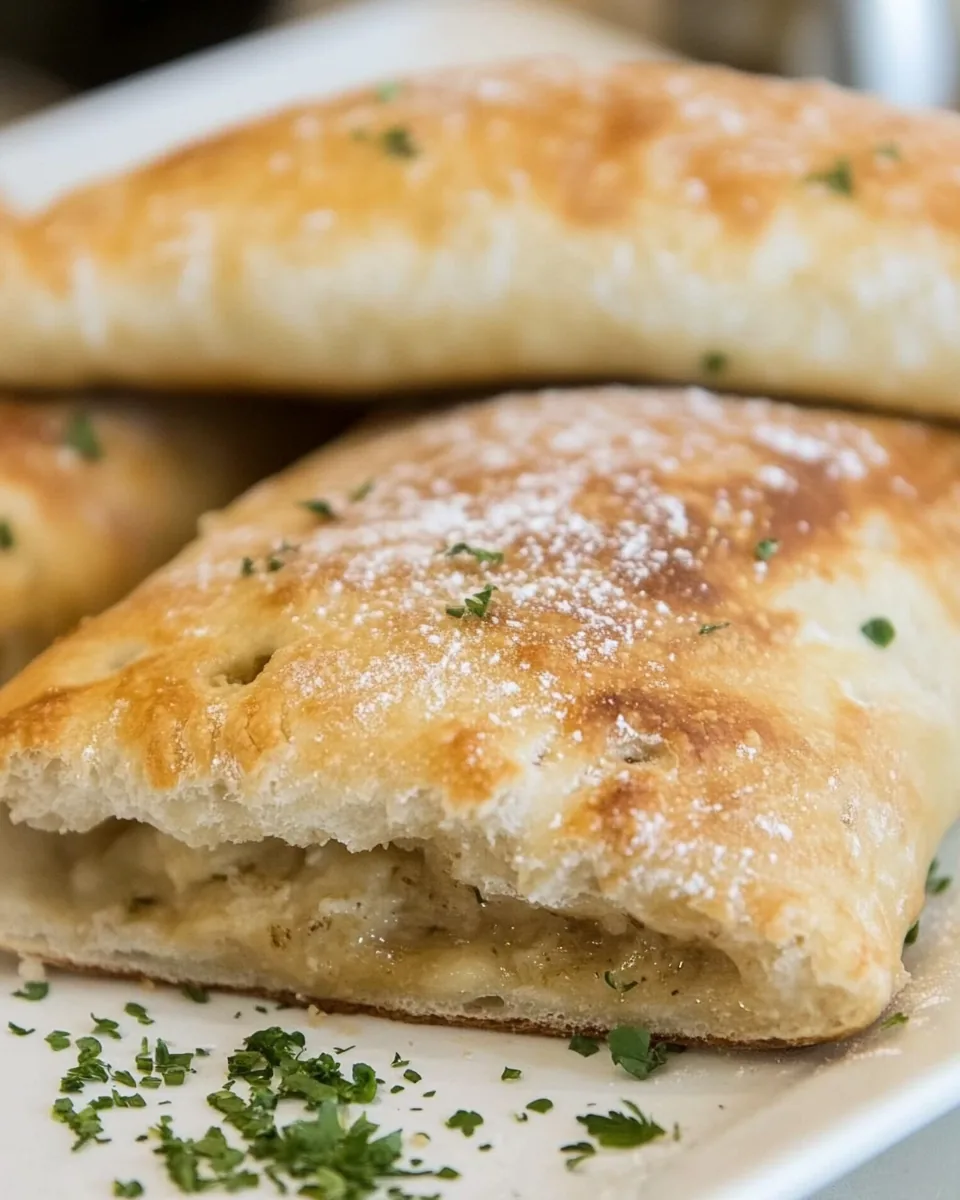
The Comfort Food Factor
There’s a reason why Classic Calzones are considered comfort food. They are warm, cheesy, and satisfying, making them the ultimate treat for a cozy night in. The crust is crispy, yet the inside is soft and filled with flavors that just make your taste buds dance. They’re truly a hug in food form!
Simple Ingredients, Big Flavor
With just a handful of ingredients, you can create something truly magical. Flour, yeast, cheese, and tomatoes come together to create a delicious feast. The simplicity of these ingredients allows the flavors to shine, making it easy for anyone to recreate this dish at home.
Making Memories
Finally, making Classic Calzones is about more than just the food; it’s about the memories created in the kitchen. Involving loved ones in the preparation process, sharing stories while cooking, and enjoying the fruits of your labor together—these are the moments that make life special.
Key Ingredients for Classic Calzones
The ingredients for Classic Calzones are simple yet essential for creating that perfect balance of flavors. The combination of the dough, various cheeses, and flavorful fillings ensures each bite is a delight. Here’s a closer look at the key players:
- Bread Flour: This is the backbone of your calzone dough, providing the right structure and chewiness. It allows for a crispy exterior while maintaining a soft interior.
- Instant Yeast: This ingredient helps the dough rise quickly, creating that fluffy texture we all love in a calzone.
- Salt: Essential for flavor, salt enhances all other ingredients, bringing them together beautifully.
- Olive Oil: Adds richness to the dough and helps create a wonderfully golden crust.
- Ricotta Cheese: Creamy and slightly sweet, ricotta is a classic filling that adds moisture and richness to your calzones.
- Mozzarella and Provolone Cheese: These cheeses melt beautifully, providing that gooey, cheesy center that everyone craves.
- Crushed Tomatoes: A simple yet flavorful sauce that serves as a fantastic dipping option.
- Garlic: Adds a lovely aromatic quality to the tomato sauce, enhancing its flavor.
- Salt and Pepper: Always important for seasoning, ensuring your calzones are perfectly balanced.
Instructions for Classic Calzones

Making Classic Calzones can be a delightful experience! Follow these steps, and you’ll have a delicious meal that everyone will love. Let’s get started!
- Make the Dough: In the bowl of a standing mixer, whisk together flour, yeast, and salt to combine. Attach the dough hook, and with the mixer running at medium-low speed, add olive oil, then gradually add water. Continue to mix until the mixture comes together and a smooth, elastic dough forms, about 10 minutes.
- Coat a large bowl with non-stick cooking spray. Transfer the ball of dough to the bowl, turn to coat, and cover with plastic wrap. Let rise in a warm, draft-free area until doubled in size, about 1½ to 2 hours.
- Prepare the Filling: While the dough rises, combine ricotta cheese, half of the mozzarella, and half of the provolone in a bowl. Cover with plastic wrap and refrigerate until needed. If using any additional fillings like vegetables, sauté them and place on a paper towel-lined plate to drain.
- Assemble the Calzones: Adjust an oven rack to the lowest position, place a pizza stone on the oven rack, and preheat the oven to 500 degrees. Line a baking sheet with parchment paper and spray the parchment with non-stick cooking spray.
- Turn the risen dough out onto an unfloured work surface. Divide the dough into six equal pieces and gently shape each piece of dough into a ball. Transfer the balls of dough to the baking sheet and cover with lightly sprayed plastic wrap. Let the dough rest for at least 15 minutes, but no more than 30 minutes.
- Working with one piece of dough at a time, roll it into a 9-inch circle. Spread one-sixth of the ricotta mixture on the bottom half of the dough round, leaving a 1-inch border. Top with your desired fillings and one-sixth of the remaining mozzarella and provolone cheeses.
- Fold the top half of the dough over the filled bottom half, leaving a ½-inch layer of the bottom layer uncovered. With your fingertips, press around the cheese filling and out to the edge to lightly seal the dough. Starting at one end of the calzone, place an index finger diagonally across the edge and gently pull the bottom layer of dough over the tip of your index finger; press into the dough to seal. Repeat until the calzone is fully sealed.
- With a paring knife, cut five slits, about 1½ inches long, diagonally across the top of the calzone. Repeat with the remaining balls of dough until all of the calzones are assembled.
- Brush the tops and sides of each of the calzones with olive oil. Dust a pizza peel with flour and transfer three of the calzones to the baking stone. Bake until golden brown, about 11 to 15 minutes. Remove to a wire cooling rack and allow to cool for at least 5 minutes before serving. Once you remove the first batch, bake the second batch of calzones.
- Make the Tomato Dipping Sauce: When you put the first batch of calzones in the oven, start the dipping sauce. Place garlic and olive oil in a medium saucepan over medium heat. When the garlic starts to sizzle, add the crushed tomatoes. Simmer uncovered until the sauce thickens, about 15 minutes. Season to taste with salt and pepper.
Things Worth Knowing
- Don’t Rush the Dough: Allowing the dough to rise properly is crucial. It’s what gives your calzones that fluffy texture.
- Check for Doneness: Keep an eye on the calzones while baking. They should be golden brown and crispy on the outside.
- Experiment with Fillings: Don’t hesitate to try different combinations of cheeses and vegetables. This recipe is highly adaptable!
- Cooling Time: Let the calzones cool slightly before cutting into them. This helps the filling set and prevents burns.
Tips for Success
To ensure that your Classic Calzones turn out perfectly, here are some tips to keep in mind:
- Storage: Store any leftovers in an airtight container in the refrigerator. They can last up to three days.
- Freezing: Yes, you can freeze baked calzones! Just allow them to cool, then wrap tightly in plastic wrap and foil. They can be frozen for up to three months.
- Pairing: These calzones pair perfectly with a simple salad or some marinara sauce for dipping.
- Thawing: When ready to eat frozen calzones, thaw them overnight in the fridge before reheating in the oven.
- Variations: Feel free to add herbs like basil or oregano to your cheese filling for extra flavor!
What Goes Well With This Classic Calzones
Enjoying Classic Calzones can be a delightful experience, especially when paired thoughtfully with side dishes. Here are some ideas:
- Fresh Salad: A crisp garden salad with vinaigrette is a refreshing complement to the richness of the calzones.
- Marinara Sauce: Serve with a side of marinara or garlic dipping sauce for a tasty treat.
- Seasonal Vegetables: Roasted seasonal vegetables can add color and nutrition to your meal.
- Wine Pairing: For a special occasion, pair with a light white wine to enhance the flavors without overpowering them.
- Casual Gatherings: These calzones are ideal for casual gatherings, game days, or family dinners. They bring everyone together!
- Kids’ Parties: The fun of filling their own calzones can be a hit for kids, making it a great choice for a party!
FAQ
Conclusion
The Classic Calzones are not just a meal; they’re an experience that brings people together. The blend of crispy dough and indulgent fillings creates a delightful dish that everyone can enjoy. I encourage you to try making them for your next gathering or cozy night in. You won’t regret it; they just might become a new family favorite!

Classic Calzones
Equipment
- Peeler
- Mixing Bowl
- Frying Pan
- Saucepan
- Whisk
- Baking Sheet
- Oven
Ingredients
- 4 cups Bread Flour
- 2.25 teaspoons Instant Yeast
- 1.5 teaspoons Salt
- 2 tablespoons Olive Oil
- 1.5 cups Warm Water (about 105 degrees F)
- 15 ounces Ricotta Cheese
- 16 ounces Shredded Mozzarella Cheese divided
- 16 ounces Shredded Provolone Cheese divided
- 1 serving Toppings of Your Choice
- 1 serving Olive Oil for Brushing
- 2 cloves Minced Garlic
- 2 tablespoons Olive Oil
- 28 ounces Canned Crushed Tomatoes
- Salt and Pepper to taste
Instructions
- Make the Dough: In the bowl of a standing mixer, whisk together flour, yeast, and salt to combine. Attach the dough hook, and with the mixer running at medium-low speed, add olive oil, then gradually add water. Continue to mix until the mixture comes together and a smooth, elastic dough forms, about 10 minutes.
- Coat a large bowl with non-stick cooking spray. Transfer the ball of dough to the bowl, turn to coat, and cover with plastic wrap. Let rise in a warm, draft-free area until doubled in size, about 1½ to 2 hours.
- Prepare the Filling: While the dough rises, combine ricotta cheese, half of the mozzarella, and half of the provolone in a bowl. Cover with plastic wrap and refrigerate until needed. If using any additional fillings like vegetables, sauté them and place on a paper towel-lined plate to drain.
- Assemble the Calzones: Adjust an oven rack to the lowest position, place a pizza stone on the oven rack, and preheat the oven to 500 degrees. Line a baking sheet with parchment paper and spray the parchment with non-stick cooking spray.
- Turn the risen dough out onto an unfloured work surface. Divide the dough into six equal pieces and gently shape each piece of dough into a ball. Transfer the balls of dough to the baking sheet and cover with lightly sprayed plastic wrap. Let the dough rest for at least 15 minutes, but no more than 30 minutes.
- Working with one piece of dough at a time, roll it into a 9-inch circle. Spread one-sixth of the ricotta mixture on the bottom half of the dough round, leaving a 1-inch border. Top with your desired fillings and one-sixth of the remaining mozzarella and provolone cheeses.
- Fold the top half of the dough over the filled bottom half, leaving a ½-inch layer of the bottom layer uncovered. With your fingertips, press around the cheese filling and out to the edge to lightly seal the dough. Starting at one end of the calzone, place an index finger diagonally across the edge and gently pull the bottom layer of dough over the tip of your index finger; press into the dough to seal. Repeat until the calzone is fully sealed.
- With a paring knife, cut five slits, about 1½ inches long, diagonally across the top of the calzone. Repeat with the remaining balls of dough until all of the calzones are assembled.
- Brush the tops and sides of each of the calzones with olive oil. Dust a pizza peel with flour and transfer three of the calzones to the baking stone. Bake until golden brown, about 11 to 15 minutes. Remove to a wire cooling rack and allow to cool for at least 5 minutes before serving. Once you remove the first batch, bake the second batch of calzones.
- Make the Tomato Dipping Sauce: When you put the first batch of calzones in the oven, start the dipping sauce. Place garlic and olive oil in a medium saucepan over medium heat. When the garlic starts to sizzle, add the crushed tomatoes. Simmer uncovered until the sauce thickens, about 15 minutes. Season to taste with salt and pepper.
Notes
- Storage: Store any leftovers in an airtight container in the refrigerator. They can last up to three days.
- Freezing: Yes, you can freeze baked calzones! Just allow them to cool, then wrap tightly in plastic wrap and foil. They can be frozen for up to three months.
- Pairing: Serve with a side of marinara or garlic dipping sauce for a tasty treat.
- Thawing: When ready to eat frozen calzones, thaw them overnight in the fridge before reheating in the oven.
- Variations: Feel free to add herbs like basil or oregano to your cheese filling for extra flavor!