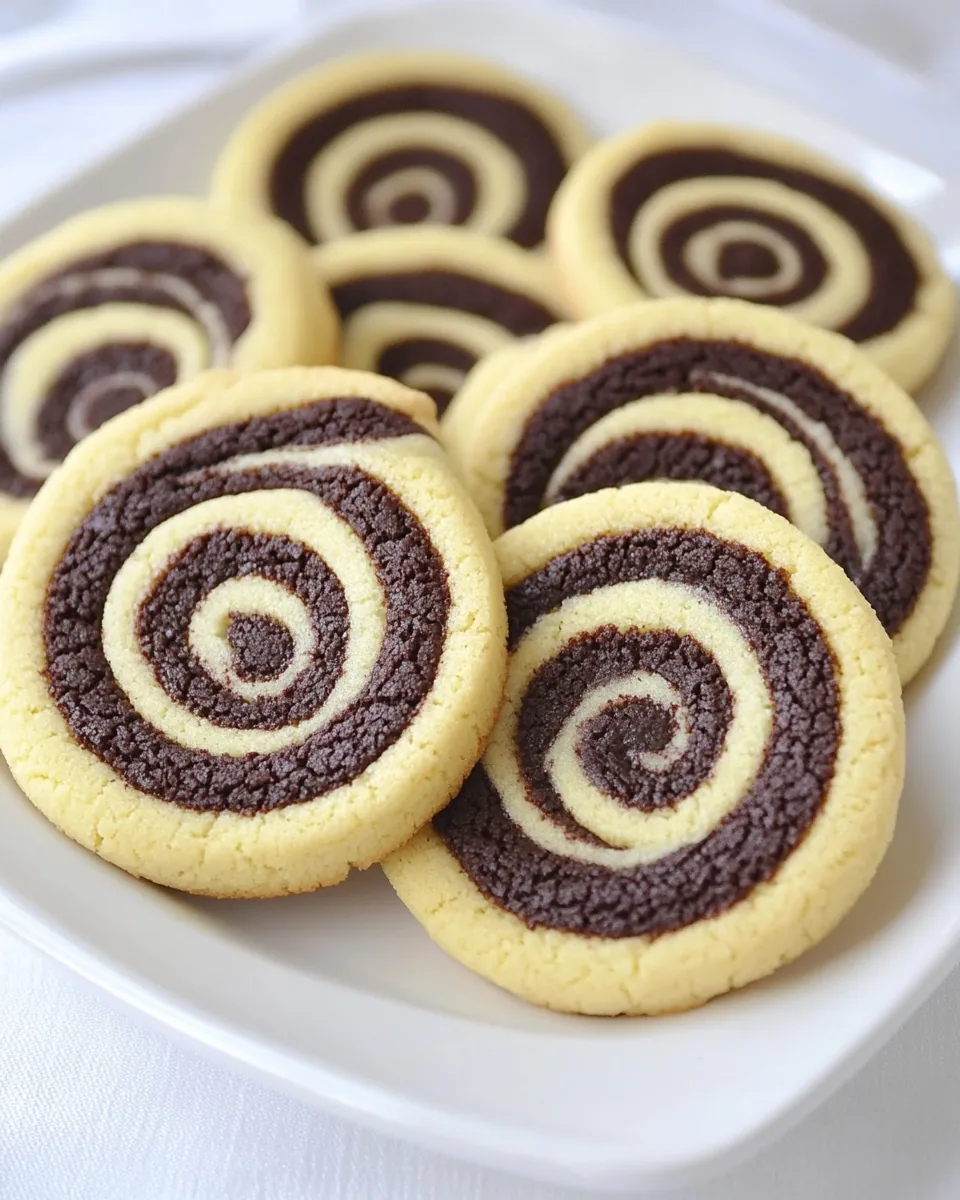
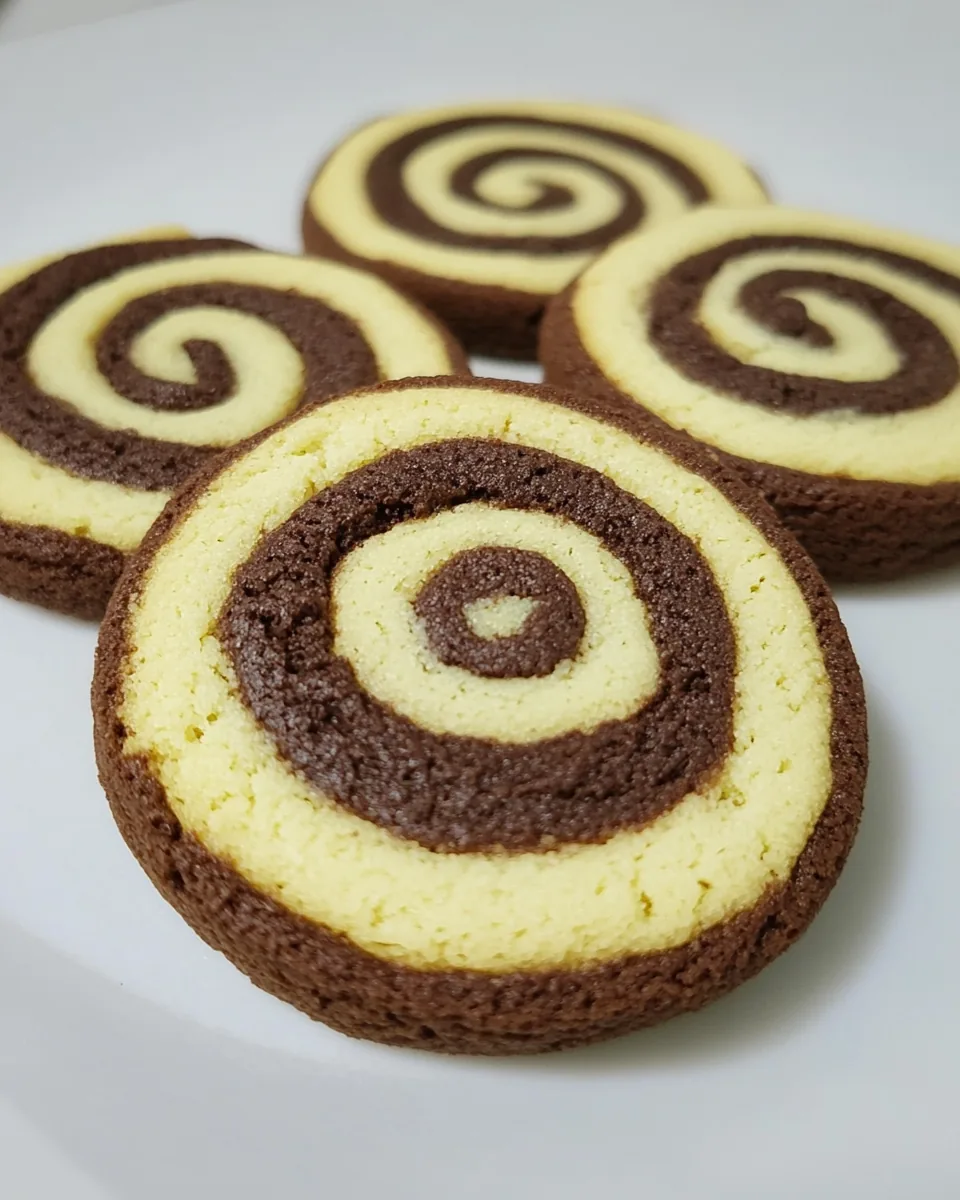
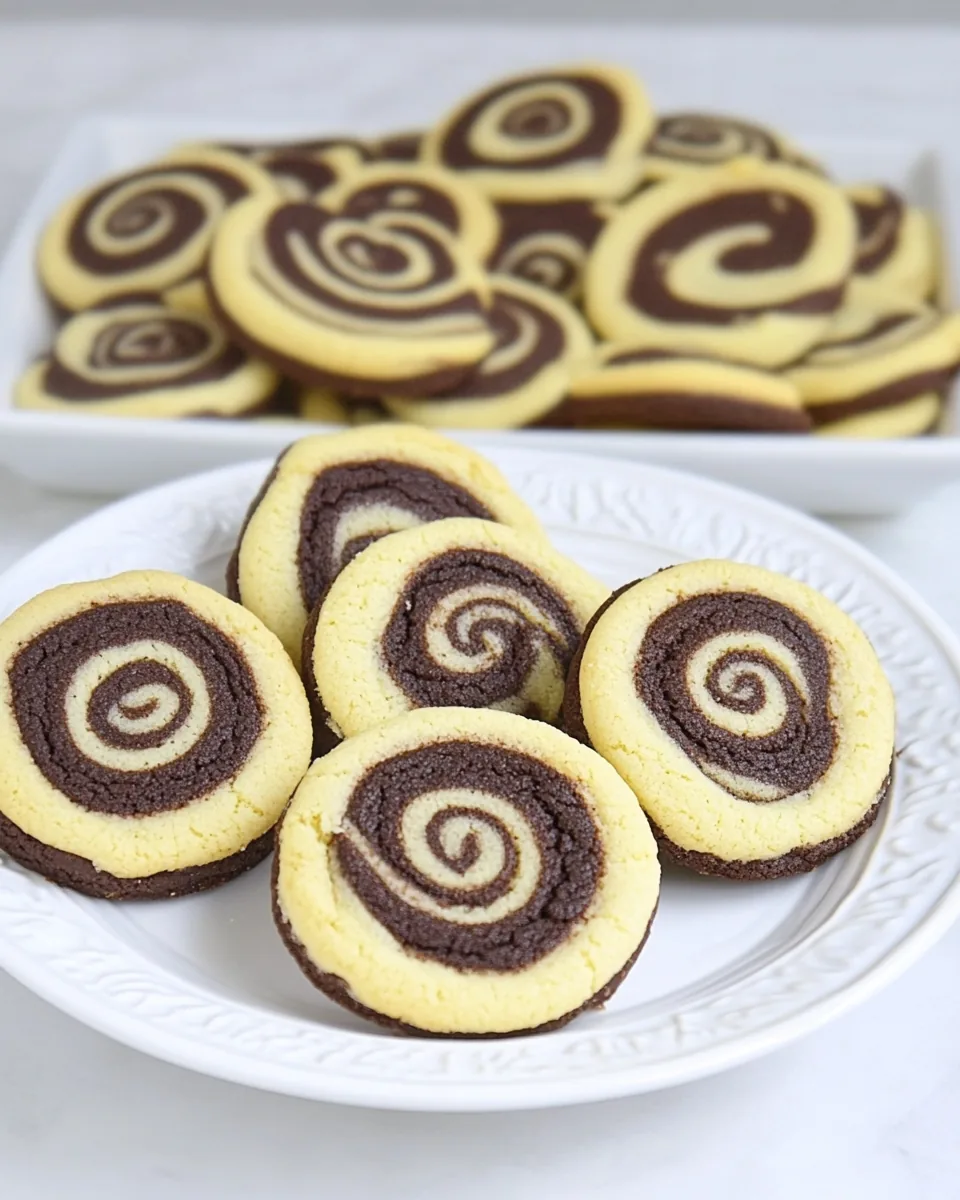
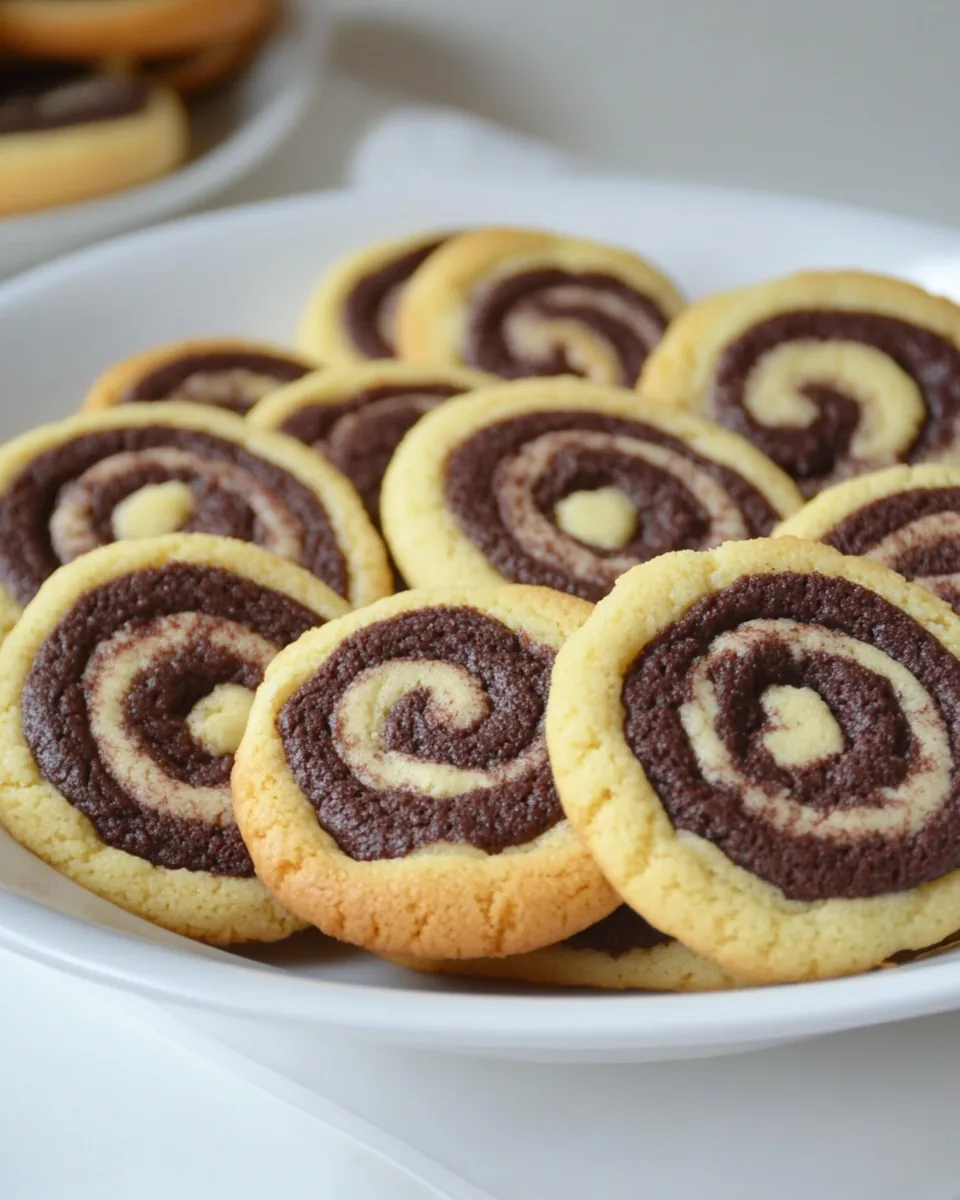
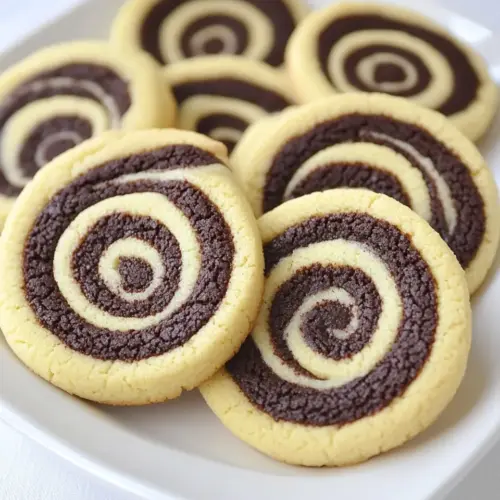
Chocolate Swirl Cookies
There’s something incredibly special about the aroma of freshly baked cookies wafting through your home, and that’s exactly what you’ll experience when making Chocolate Swirl Cookies. I vividly remember the first time I baked these delightful treats with my grandmother. It was a rainy afternoon, and we decided to turn our gloomy day around with warm cookies. Mixing the dough was our bonding time, and rolling it out into swirls was my favorite part. The excitement of watching them bake until they turned a lovely golden brown was the icing on the cake. Now, every time I whip up a batch of Chocolate Swirl Cookies, I’m reminded of those sweet moments filled with laughter and love. They are not just cookies; they are a tradition, a memory, and an experience wrapped in chocolatey goodness.
Recipe Snapshot
42 mins
30 mins
12 mins
Medium
180 kcal
2g g
Gluten-Free, Low FODMAP
8g g
Baking Sheet, Chef’s Knife, Oven, Mixing Bowl
What You’ll Enjoy About This Chocolate Swirl Cookies
Comfort Food at Its Best
When it comes to comfort food, cookies rank high on my list. The Chocolate Swirl Cookies are the perfect blend of textures and flavors. The soft, buttery base complements the rich cocoa, making it a treat that’s simply irresistible. Whenever I’m feeling down or just need a little pick-me-up, I find solace in these cookies.
Unique Presentation
One of the standout features of Chocolate Swirl Cookies is their stunning visual appeal. The beautiful swirls of chocolate and vanilla not only look inviting but also create a delightful surprise with every bite. It’s a simple yet impressive way to make cookies that leave a lasting impression on family and friends.
Perfect for Any Occasion
Whether you’re hosting a gathering, celebrating a birthday, or just enjoying a quiet evening, these cookies are versatile enough for any occasion. They make fantastic gifts too! A box of homemade Chocolate Swirl Cookies is a sweet gesture that anyone would appreciate.
Easy to Make
Don’t be intimidated by the intricate look; these cookies are surprisingly easy to make! The process is straightforward, and they don’t require specialized skills. Even if you’re new to baking, you’ll find joy in creating these cookies.
Endless Variations
Another reason I love this recipe is that it allows for endless variations. You can tweak the flavors, add nuts, or even change the types of chocolate used. This flexibility means you can customize them to suit your taste preferences or dietary needs.
Kid-Friendly Fun
Baking is a fantastic activity to do with children, and Chocolate Swirl Cookies are no exception. Kids love the hands-on experience of rolling and cutting the dough. Plus, they’ll be thrilled to eat what they helped create!
Essential Ingredients for Chocolate Swirl Cookies
Every great cookie begins with quality ingredients. The Chocolate Swirl Cookies are no exception. We use a combination of rich butters, sugars, and flour to give the cookies their delightful texture and flavor. Each ingredient plays a pivotal role in achieving that perfect cookie.
- Soft Butter – Provides a rich, creamy base, essential for a soft and chewy texture.
- Powdered Sugar – Adds sweetness and helps to create a smooth, melt-in-your-mouth texture.
- Starch – Helps in achieving a light and tender cookie.
- Flour – The backbone of any cookie, giving it structure and stability.
- Large Eggs – Binds the ingredients together and adds moisture.
- Black Cocoa – Imparts a deep chocolate flavor and striking color.
- Vanilla Extract – Enhances the overall flavor, making each bite irresistible.
How to Make Chocolate Swirl Cookies
Making Chocolate Swirl Cookies is a straightforward process that yields delicious results. Follow these simple steps, and you’ll have a batch of cookies that everyone will love.
- Start with the vanilla layer. In a mixing bowl, combine the soft butter with powdered sugar, starch, and flour. Use your hands or a mixer to blend them until the mixture resembles a crumbly dough.
- Add one large egg and the vanilla extract to the dough. Knead it gently until everything is well combined. If the dough feels too soft, don’t hesitate to add a little more flour until you achieve a workable consistency.
- Wrap the dough in cling film and refrigerate for about an hour. This step is crucial as it helps the cookies maintain their shape during baking.
- While the vanilla dough chills, prepare the cocoa layer. Mix the soft butter with the powdered sugar, starch, flour, and black cocoa in another bowl until you have a crumbly dough similar to the vanilla layer.
- Incorporate the other large egg into the cocoa mixture and knead slightly. Again, if it’s too soft, add more flour as needed.
- Once ready, wrap the cocoa dough in cling film and refrigerate for the same duration as the vanilla dough.
- After both doughs are chilled, remove the vanilla dough from the fridge. Roll it out on a lightly floured surface into a rectangular sheet approximately 0.3cm thick.
- Repeat the rolling process with the cocoa dough, aiming for the same thickness as the vanilla layer.
- Place the cocoa dough atop the vanilla dough carefully, ensuring an even coverage. Gently roll them together into a tight log.
- Wrap the log in cling film and freeze for about 10 to 15 minutes. This will make slicing much easier.
- Preheat your oven to medium heat (around 180°C or 350°F). Remove the log from the freezer and cut it into thin slices with a sharp knife.
- Lay the spiral cookies on a baking tray lined with parchment paper. Bake them for about 12 to 13 minutes. Keep an eye on them, and remove them when the edges start to brown slightly.
- Allow the cookies to cool on a wire rack. Enjoy them warm or store them for later!
Things Worth Knowing
- Texture is Key: The dough should be soft but manageable. If it’s too sticky, a little extra flour helps.
- Chilling the Dough: Never skip the chilling step. It’s essential for shaping and achieving the right texture.
- Watch the Bake Time: Every oven is diverse. Check your cookies a minute or two before the recommended time.
- Storing Cookies: Keep baked cookies in an airtight container to maintain their softness.
Variations to Try
If you’re looking to mix things up, here are some creative variations for your Chocolate Swirl Cookies. Each variation offers a unique twist on the classic recipe!
- Add Nuts: Incorporate chopped nuts like walnuts or pecans to add a delightful crunch.
- Experiment with Flavors: Try adding almond extract instead of vanilla for a different flavor profile.
- Stuff with Chocolate: Roll chocolate chips into the dough before baking for an extra chocolatey experience.
- Use Different Cocoa: Experiment with dark or white cocoa powders for varied taste and color.
- Frosting: Once cooled, top them with a light layer of frosting or a drizzle of melted chocolate for added sweetness.
- Sandwich Style: Make cookie sandwiches by adding a layer of frosting or whipped cream between two cookies.
- Double the Dough: Make two logs at once and freeze one for later baking.
Serving Options for Chocolate Swirl Cookies
When it comes to serving Chocolate Swirl Cookies, the possibilities are endless. Here are some delicious options:
- Serve Freshly Baked: Enjoy them warm right out of the oven with a glass of milk.
- Pair with Ice Cream: These cookies make a fantastic ice cream sandwich, perfect for hot summer days.
- Perfect for Parties: They’re an excellent addition to dessert tables at parties or family gatherings.
- Gift Them: Package them in a decorative box as a thoughtful homemade gift.
- Seasonal Serving: Great for holidays or special occasions, you can decorate them with icing for a festive touch.
- Store for Later: If you have leftovers, keep them in an airtight container at room temperature for several days.
FAQ
Conclusion
In conclusion, Chocolate Swirl Cookies are not just a treat; they’re a cherished recipe filled with memories and delightful flavors. The perfect blend of chocolate and vanilla creates a unique taste that appeals to all ages. I encourage you to try making these cookies yourself; it’s a delightful experience that will surely bring joy to your kitchen and smiles to those you share them with. So, why not whip up a batch today and indulge in the sweet nostalgia they offer?
Chocolate Swirl Cookies
Equipment
- Baking Sheet
- Chef's Knife
- Oven
- Mixing Bowl
Ingredients
- 100g Soft Butter
- 50g Powdered Sugar
- 50g Starch
- 140g Flour
- 1 Large Egg
- 1 tsp Vanilla Extract
- 100g Soft Butter
- 50g Powdered Sugar
- 50g Starch
- 120g Flour
- 20g Black Cocoa
- 1 Large Egg
Instructions
- Start with the vanilla layer. In a mixing bowl, combine the soft butter with powdered sugar, starch, and flour. Use your hands or a mixer to blend them until the mixture resembles a crumbly dough.
- Add one large egg and the vanilla extract to the dough. Knead it gently until everything is well combined. If the dough feels too soft, don’t hesitate to add a little more flour until you achieve a workable consistency.
- Wrap the dough in cling film and refrigerate for about an hour. This step is crucial as it helps the cookies maintain their shape during baking.
- While the vanilla dough chills, prepare the cocoa layer. Mix the soft butter with the powdered sugar, starch, flour, and black cocoa in another bowl until you have a crumbly dough similar to the vanilla layer.
- Incorporate the other large egg into the cocoa mixture and knead slightly. Again, if it’s too soft, add more flour as needed.
- Once ready, wrap the cocoa dough in cling film and refrigerate for the same duration as the vanilla dough.
- After both doughs are chilled, remove the vanilla dough from the fridge. Roll it out on a lightly floured surface into a rectangular sheet approximately 0.3cm thick.
- Repeat the rolling process with the cocoa dough, aiming for the same thickness as the vanilla layer.
- Place the cocoa dough atop the vanilla dough carefully, ensuring an even coverage. Gently roll them together into a tight log.
- Wrap the log in cling film and freeze for about 10 to 15 minutes. This will make slicing much easier.
- Preheat your oven to medium heat (around 180°C or 350°F). Remove the log from the freezer and cut it into thin slices with a sharp knife.
- Lay the spiral cookies on a baking tray lined with parchment paper. Bake them for about 12 to 13 minutes. Keep an eye on them, and remove them when the edges start to brown slightly.
- Allow the cookies to cool on a wire rack. Enjoy them warm or store them for later!
Notes
- Storage: Keep baked cookies in an airtight container to maintain their softness.
- Freezing: You can freeze the dough before slicing for a quick bake later.
- Pairing: Serve with milk or coffee for a delightful treat.
- Gifting: Package in a decorative box for a sweet homemade gift.
- Customizing: Feel free to add nuts or chocolate chips for added flavor.