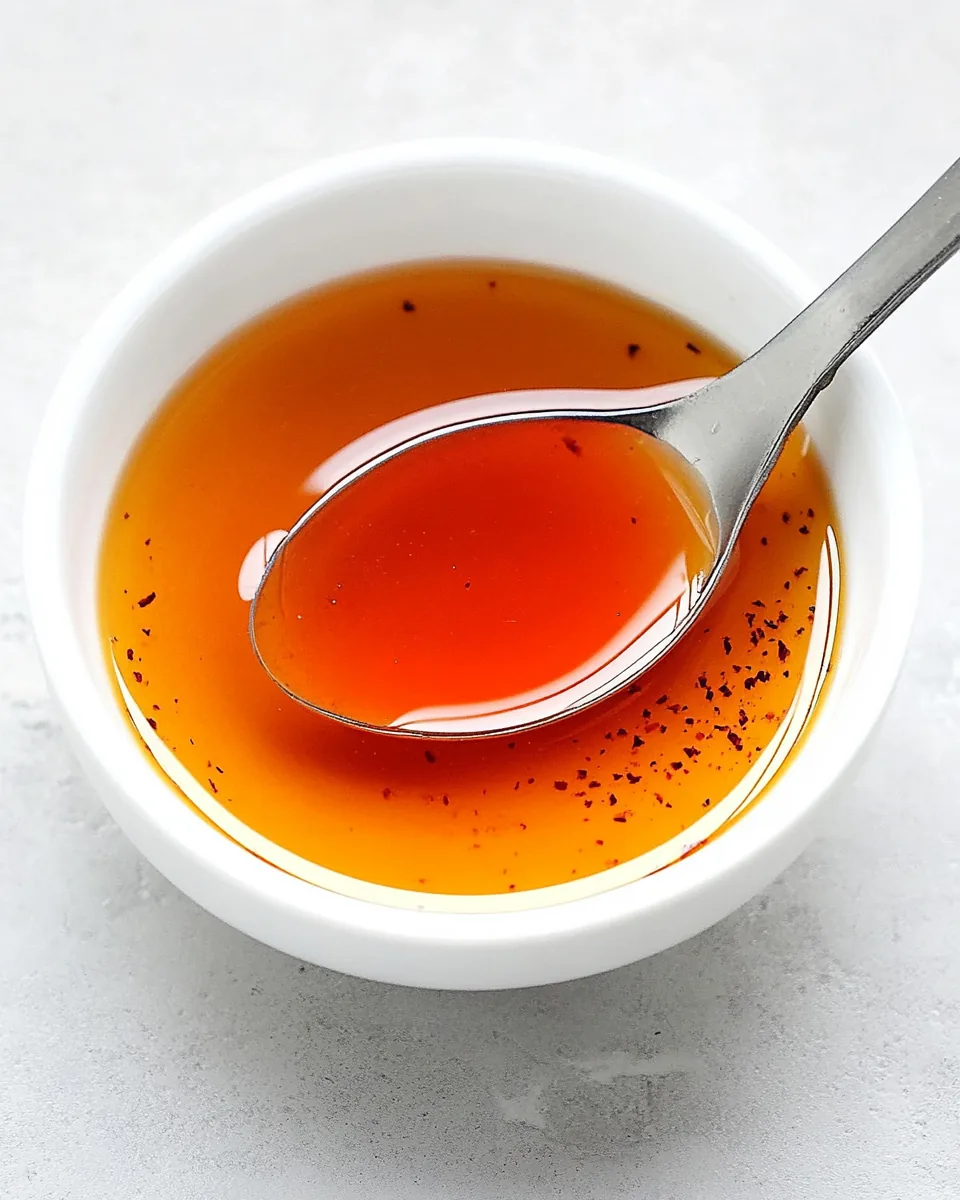
Chili Oil
Making Chili Oil has been one of my favorite kitchen adventures. There’s something incredibly satisfying about infusing oil with the fiery essence of dried red pepper flakes, creating a condiment that can elevate just about any dish. I remember the first time I made it; the vibrant aroma filled my kitchen, and I couldn’t wait to see how it would transform my meals. Whether drizzled over pizza, added to stir-fries, or used as a dipping oil for bread, this Chili Oil packs a punch that keeps you coming back for more. It’s surprising how something so simple can bring so much flavor and excitement to the table.
Recipe Snapshot
5 mins
2 mins
3 mins
Easy
120 kcal
0 g
Keto, Paleo, Whole30
14 g
Wooden Spoon, Skillet, Chef’s Knife
The Best Thing About This Chili Oil
Versatility at Its Best
One reason I absolutely love making Chili Oil is its versatility. You can use it in a wide variety of dishes, from Asian stir-fries to Italian pasta. This oil doesn’t just add heat; it also provides an aromatic depth that enhances the overall flavor of your food.
Easy to Make
It’s incredibly easy to whip up a batch of Chili Oil. With just a few simple ingredients, you can have this flavorful oil ready in no time. I find it’s a great way to use up leftover oil in your pantry, giving it a new life.
Personalization
One of the best parts about making your own Chili Oil is that you can customize it to suit your taste. Want more heat? Add extra pepper flakes. Prefer a hint of sweetness? A touch of sugar can do wonders. The options are practically endless!
Great for Gifting
Homemade Chili Oil makes a fantastic gift for friends and family who enjoy cooking. You can package it in a beautiful bottle, and it’s sure to impress. I always love giving it out during the holidays!
Long Shelf Life
Unlike some homemade condiments, Chili Oil has a long shelf life. As long as you store it properly in a cool, dark place, it can last for quite a while, making it a handy addition to your pantry.
What You’ll Need for Chili Oil
Creating delicious Chili Oil requires just a handful of quality ingredients. Each plays a crucial role in building that intense flavor profile. The heart of this recipe lies in the dried red pepper flakes, which provide the heat, while the oil serves as the medium that carries and enhances the flavors. Let’s explore each ingredient and why it’s essential.
- Dried Red Pepper Flakes: These are the star of your Chili Oil. They provide the heat and vibrant color that makes this oil so appealing. You can use different varieties to adjust the spice level to your preference.
- Cloves: While optional, adding a few cloves can introduce a warm, aromatic depth to your oil. They pair beautifully with the spiciness of the pepper flakes.
- Oil: A neutral oil like canola or vegetable oil is perfect for this recipe. It allows the flavors of the pepper flakes to shine through without competing.
Cooking Method for Chili Oil
Making Chili Oil is a straightforward process that only requires a few steps. The best part is watching the transformation of the oil as it heats up and infuses with flavor. Follow these detailed steps and enjoy the delightful aroma that fills your kitchen.
- Start by placing the dried red pepper flakes and cloves in a small bowl. This is where the magic begins as they will absorb the flavors of the oil.
- In a wok or skillet, heat the oil over high heat. Keep a close eye on it; different oils have different smoking points. You’ll know it’s ready when you see a swirl of white smoke and bubbles around a pair of wooden chopsticks.
- Once the oil reaches its smoking point, it’s time to pour it into the bowl with the red pepper flakes and cloves. The hot oil will immediately sizzle as it hits the flakes, releasing a fragrant aroma.
- Using wooden chopsticks, stir the mixture to ensure the red pepper flakes are well-coated in oil. This step is crucial as it helps release the heat, aroma, and flavor into the oil.
- Let the oil cool for at least two hours. This time allows the flavors to develop fully, resulting in a richer Chili Oil.
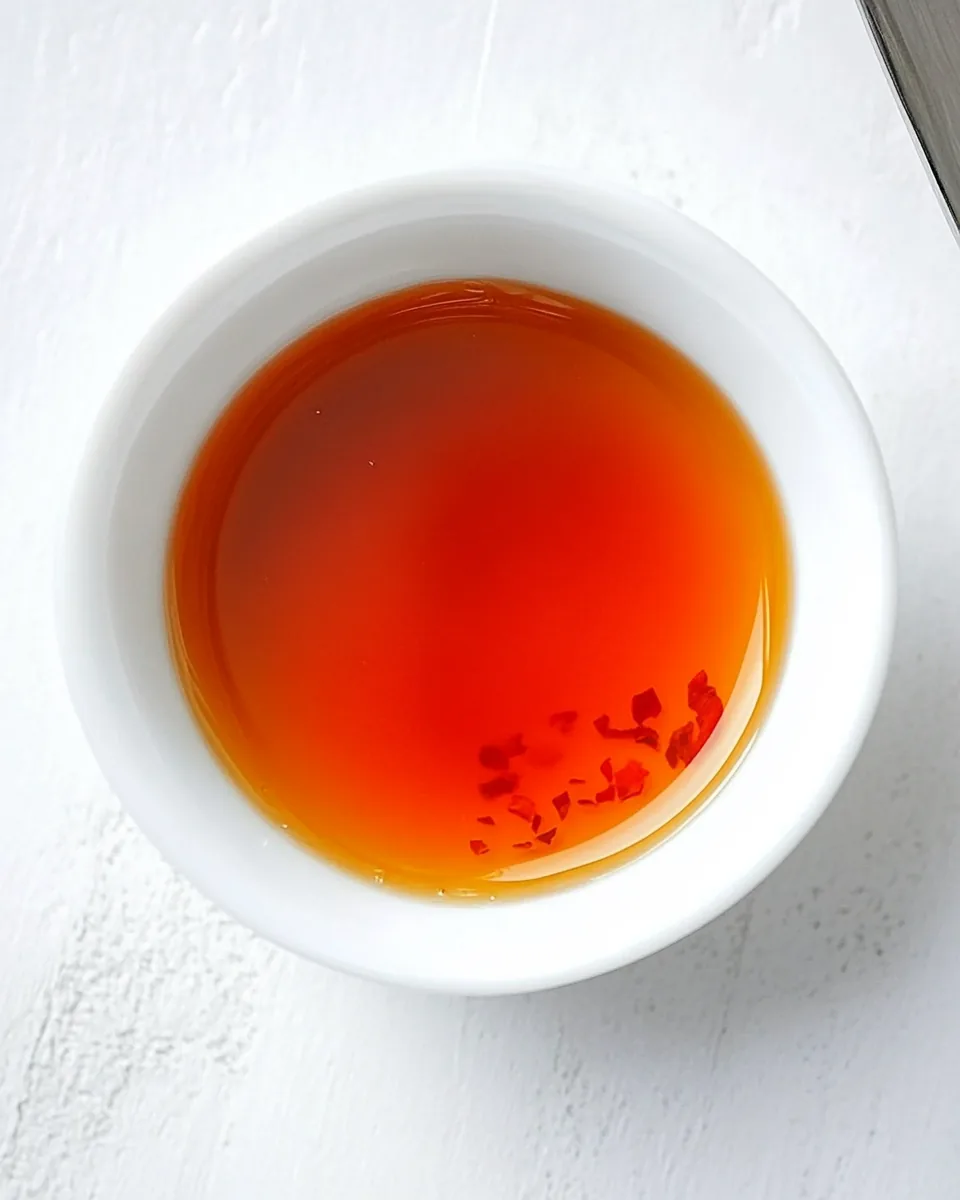
- After cooling, prepare to strain your oil. Use a fine strainer to drain the mixture, discarding the strained pepper flakes. This will leave you with a beautifully clear oil.
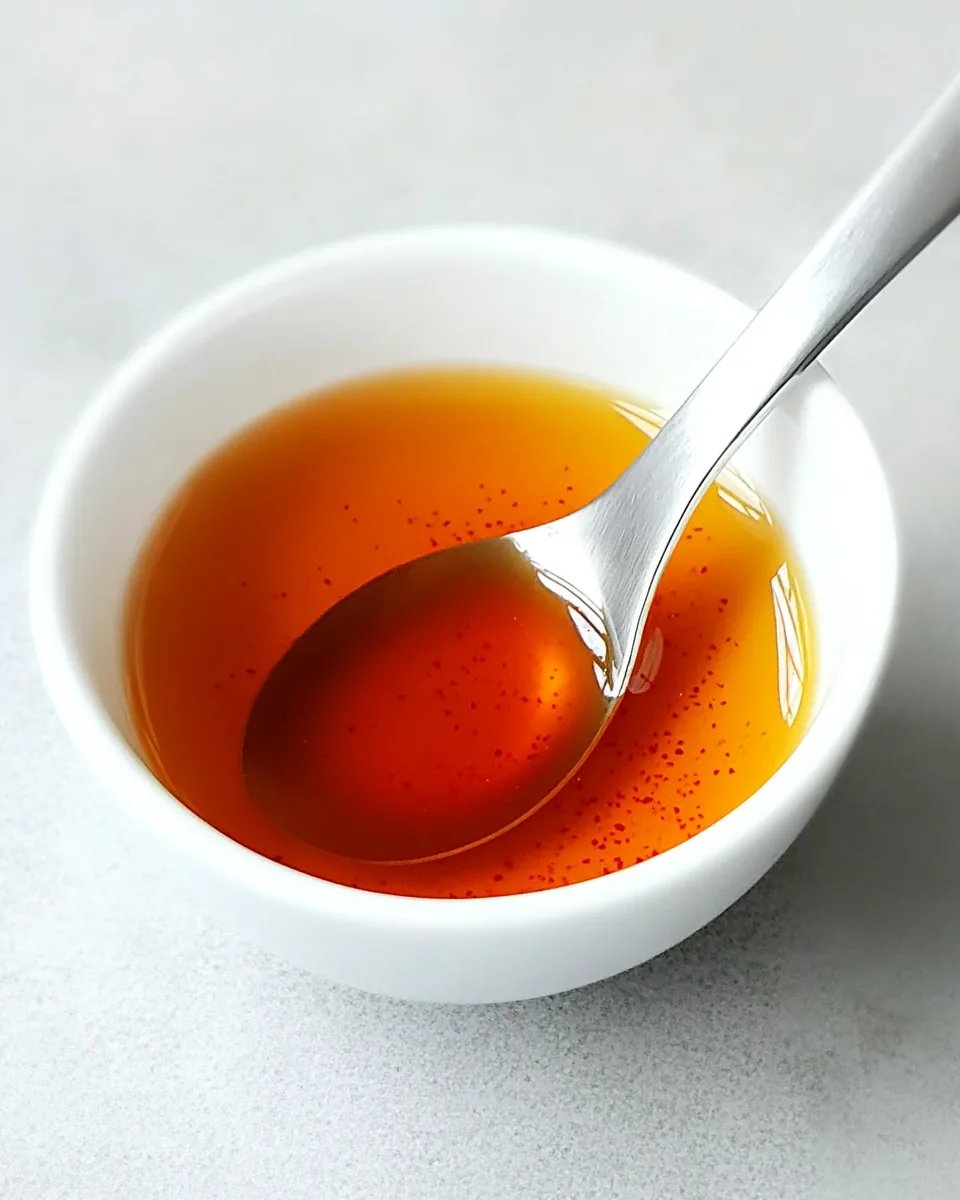
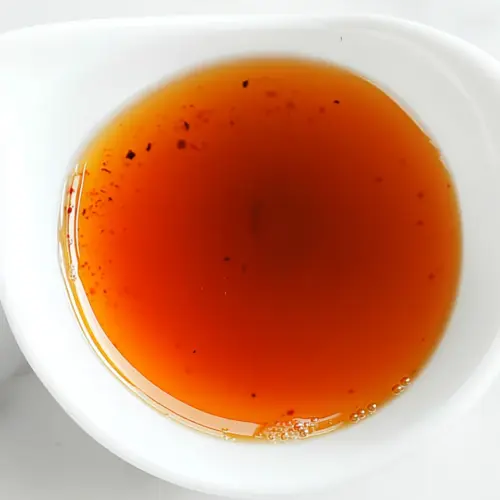
- Your Chili Oil is now ready for use! You can store it in a clean, airtight glass jar at room temperature, ready to elevate your dishes.
Things Worth Knowing
- Tip for Smoke Point: Always monitor the oil closely as it heats. Different oils have varying smoke points, and you want to reach it without burning the oil.
- Customizing Flavor: Feel free to experiment with additional spices like star anise or cinnamon for a unique twist on traditional Chili Oil.
- Straining Tips: For a clearer oil, strain it twice using a coffee filter or muslin cloth to catch any remaining bits.
- Use Quality Ingredients: The better the quality of your red pepper flakes, the more flavorful your oil will be. Don’t skimp on this ingredient!
Ways to Adapt This Recipe
There are many exciting ways to customize your Chili Oil. Here are some tips to help you make it truly yours.
- Storage: Store your homemade Chili Oil in a clean, airtight glass jar at room temperature. It should last for several months.
- Freezing: While freezing isn’t typically necessary for Chili Oil, you can freeze it in small portions in ice cube trays for easy use later.
- Pairing: Serve Chili Oil over pizza, pasta, or grilled vegetables. It adds a delightful kick to any dish.
- Adjusting Heat: If you prefer a milder oil, reduce the amount of red pepper flakes. For more heat, add additional flakes or a variety known for higher heat levels.
- Infusion: Experiment with other spices or herbs in your infusion for unique flavors, such as garlic or ginger.
Pairing Suggestions for Chili Oil
When it comes to serving your homemade Chili Oil, the possibilities are endless. Here are some ideas to elevate your meals:
- Asian Dishes: Use it as a finishing oil for stir-fried noodles or dumplings for an extra kick.
- Pasta Dishes: Drizzle over spaghetti or fettuccine dishes to add depth and flavor.
- Pizza Nights: Serve alongside pizza for dipping crusts or drizzling over toppings.
- Marinades: Incorporate Chili Oil into marinades for meats or tofu to infuse them with flavor before grilling or roasting.
- Brunch Ideas: Drizzle over eggs or avocado toast for a spicy twist on your breakfast.
- Gift Ideas: Package in a decorative bottle for a thoughtful gift for your culinary friends.
FAQ
Conclusion
Homemade Chili Oil is a delightful addition to your culinary repertoire that brings fiery flavor to your meals. With its ease of preparation and endless customization options, it’s no wonder this condiment is a favorite among home cooks. I encourage you to try making your own batch and discover just how simple and rewarding it is. You’ll find that it enhances everything from simple dishes to gourmet meals, making it a must-have in any kitchen.
Chili Oil
Equipment
- Wooden Spoon
- Skillet
- Chef's Knife
Ingredients
- 0.25 cup Dried Red Pepper Flakes
- 3 cloves Cloves optional
- 0.5 cup Oil
Instructions
- Place the dried red pepper flakes and cloves in a small bowl. Heat the oil in a wok or skillet over high heat until it reaches the smoking point. Different oils have different temperatures of smoking point. The oil is ready when you see a swirl of white smoke coming out from it and bubbles around a pair of wooden chopsticks. Pour the oil into the red pepper flakes and cloves. Stir the Chili Oil immediately with a pair of wooden chopsticks to help the red pepper flakes release their heat, aroma, and flavor. Let it cool for at least 2 hours, allowing the flavor to develop. Drain the Chili Oil with a fine strainer. Discard the strained pepper flakes. The oil is now ready for use.
Notes
- This recipe makes: about 1/3 cup (80 ml).
- Customization: You can customize the flavor to your liking. Add 3 cloves, 1 star anise, or 1 cinnamon stick for a deeper, spiced aroma.
- Sichuan Peppercorns: If you enjoy that classic numbing kick, toss in 1 teaspoon of Sichuan peppercorns for that ma (tingly) sensation.
- Straining Tips: You’ll have some black bits in your homemade Chili Oil. Use a very fine strainer to strain it. You can also use a coffee filter or muslin cloth. Strain it twice for the best results.
- Garnishing: A sprinkle of sesame seeds on top for garnishing.
- Storage: Store your oil in a clean, airtight glass jar at room temperature.