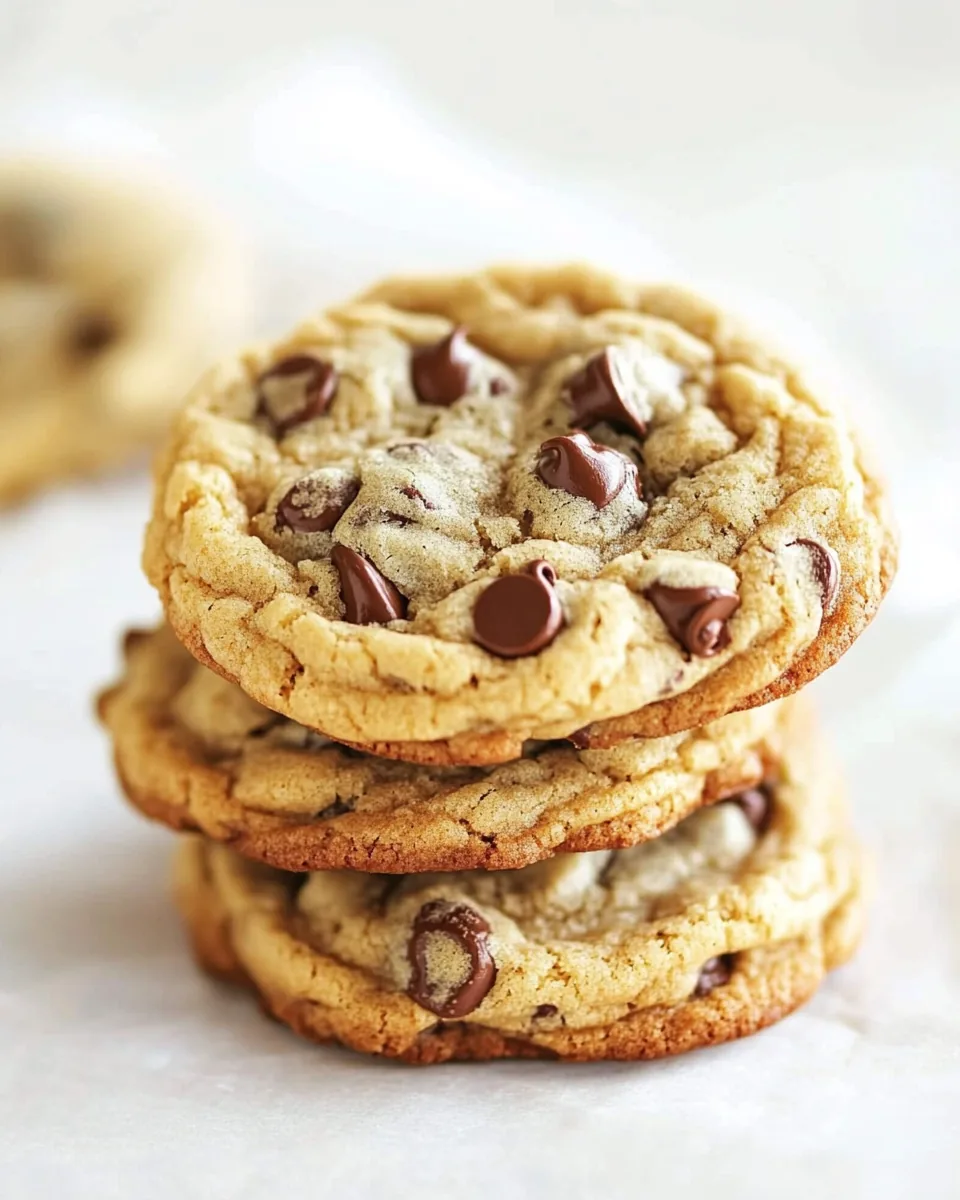
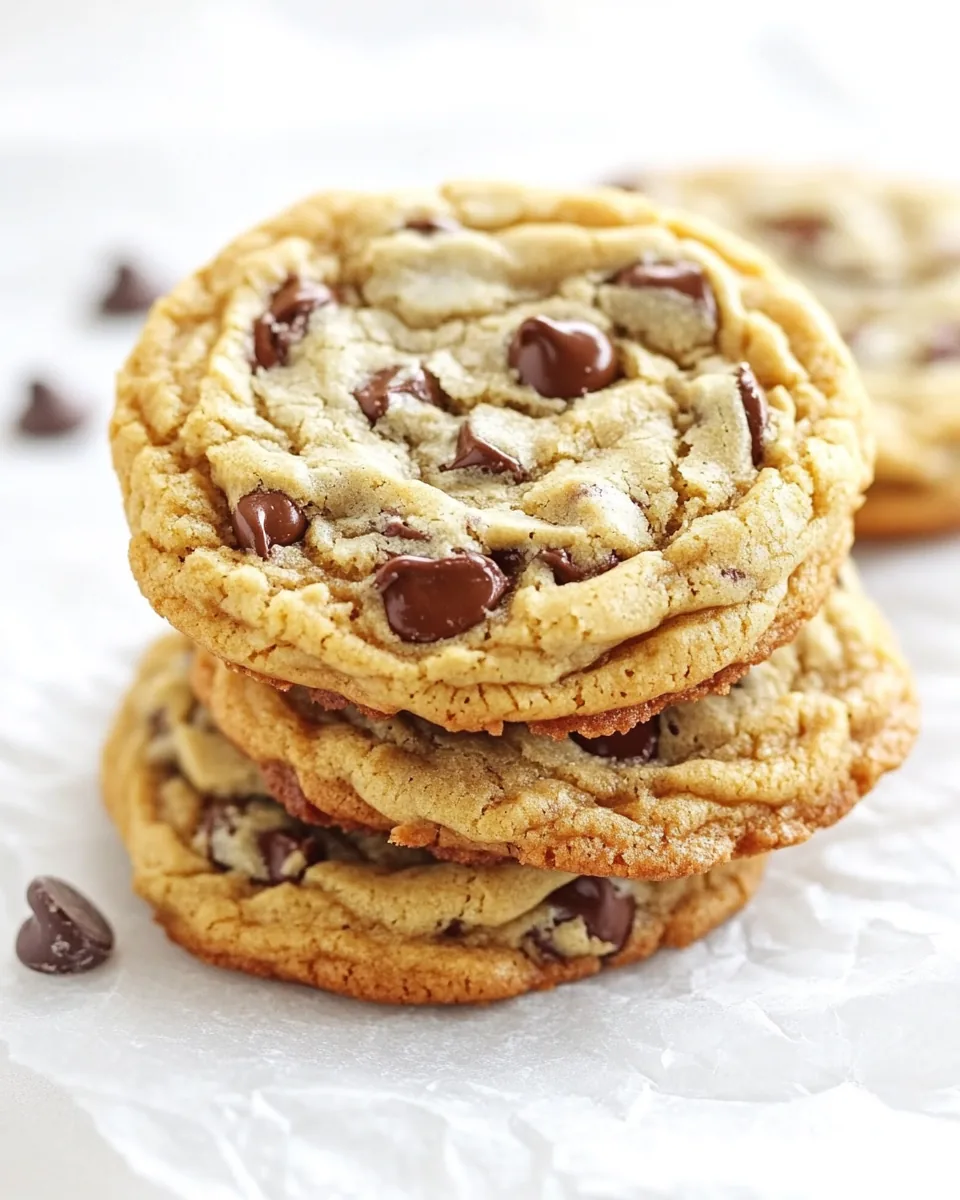
Chewy Chocolate Chip Cookies
Every time I make Chewy Chocolate Chip Cookies, it feels like a warm hug on a chilly day. I remember the first time I baked them as a kid, my mom guiding my hands as I poured in the ingredients. The sweet aroma of melting chocolate and buttery dough wafting through the house was pure magic. Friends would often drop by, and there was never a moment when these cookies didn’t bring smiles all around. Each bite is a delightful combination of soft and chewy textures, with just the right amount of chocolate chips. The joy of making and sharing these cookies is something that I cherish every time I step into my kitchen.
Recipe Snapshot
25 mins
10 mins
15 mins
Medium
200 kcal
2g g
Gluten-Free, Low FODMAP
10g g
Baking Sheet, Oven, Mixing Bowl
What Makes This Chewy Chocolate Chip Cookies Special
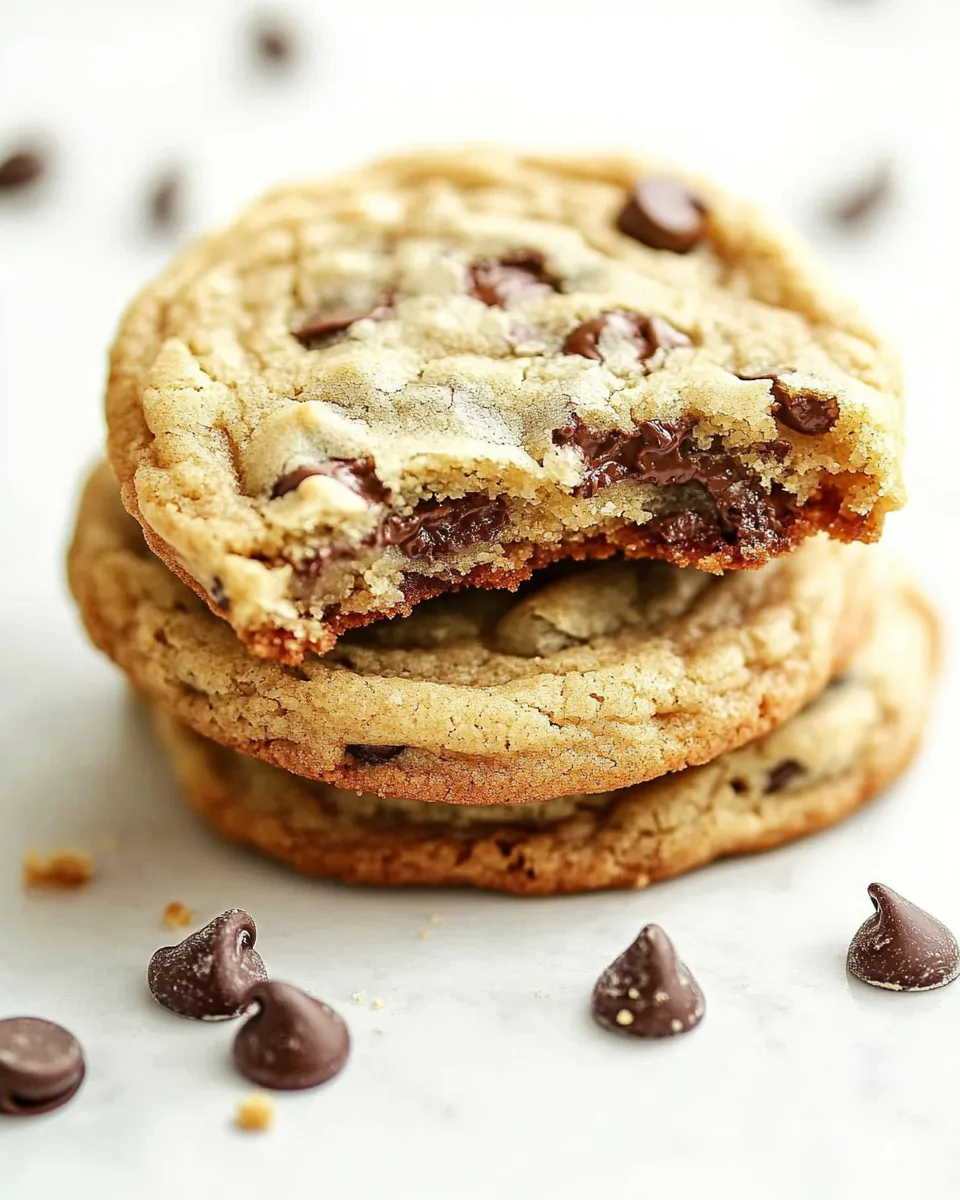
They’re Incredibly Chewy
What truly sets Chewy Chocolate Chip Cookies apart is their chewy texture. Achieving that perfect chewiness is all about the balance of ingredients. The combination of cake flour and bread flour gives these cookies a unique structure that’s soft on the inside yet slightly crisp on the outside. Trust me, it’s the dream texture!
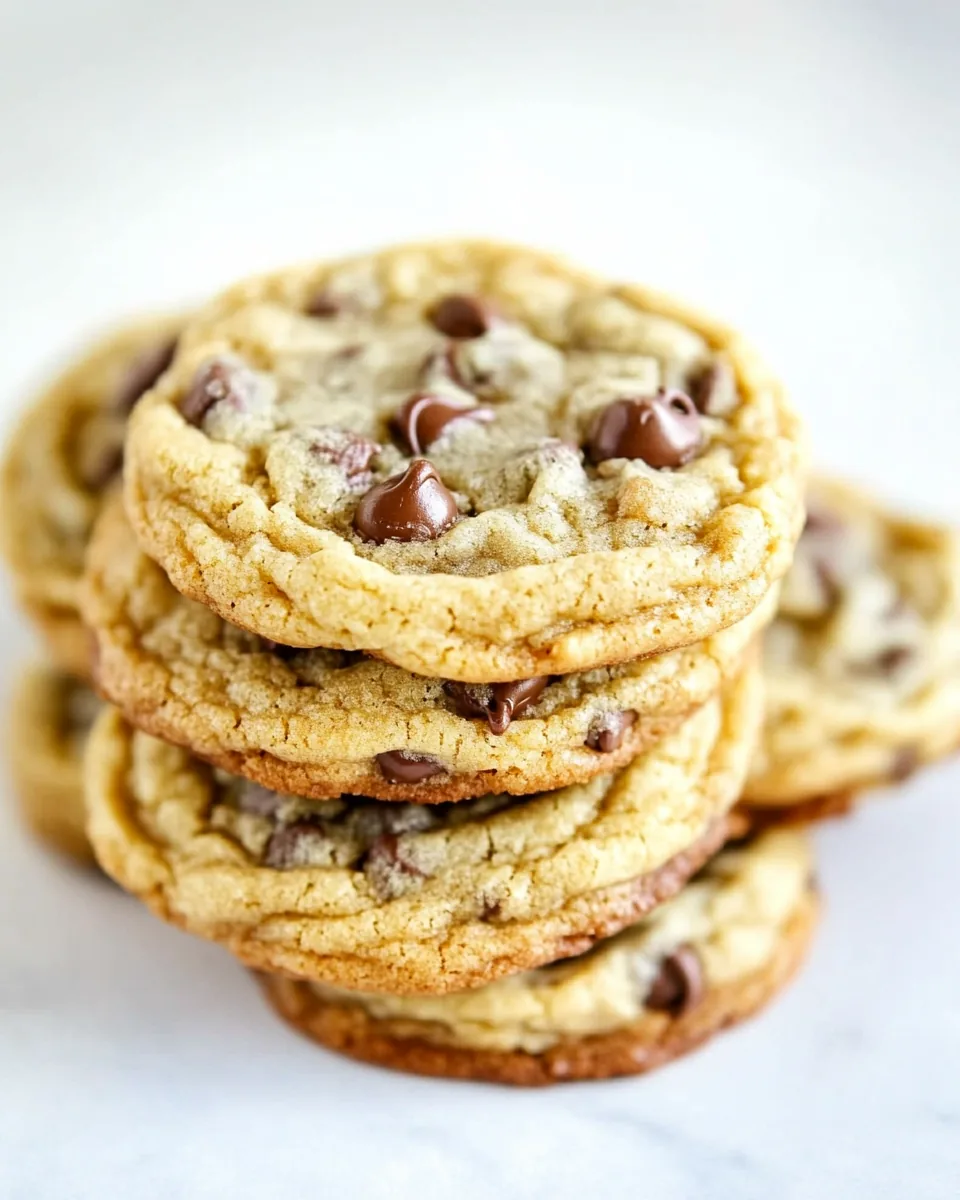
Perfectly Balanced Flavors
These cookies strike an amazing balance between sweetness and richness. The light brown sugar adds a hint of caramel flavor, while the granulated sugar gives just the right amount of sweetness. Together with the rich, creamy butter and bursts of chocolate, every bite is an explosion of flavor that’s simply irresistible.
Customization Options
One of my favorite things about these cookies is how versatile they are. Want to add nuts? Go for it! Prefer dark chocolate? Swap it in! You can personalize your batch to make it uniquely yours, and that’s part of the fun of baking.
Make Ahead Convenience
Another reason to love Chewy Chocolate Chip Cookies is that you can prepare the dough ahead of time and refrigerate it. This means you can enjoy freshly baked cookies whenever the craving strikes. Just scoop and bake, and within minutes you’ll have warm cookies to share!
Great for Any Occasion
Whether it’s a family gathering, a school event, or simply a quiet night at home, these cookies are always a hit. They’re the perfect treat to bring to gatherings or to enjoy with a glass of milk while binge-watching your favorite show.
What You’ll Need for Chewy Chocolate Chip Cookies
Gathering the right ingredients is key to making the best Chewy Chocolate Chip Cookies. Each component plays a vital role in creating the perfect cookie. The mix of flours ensures that the cookies will have the ideal texture, while the sugars contribute to a rich flavor profile. Let’s dive into what you’ll need!
- 8½ ounces (240.97g) cake flour: Provides a light texture and contributes to the chewiness.
- 8½ ounces (240.97g) bread flour: Adds strength and structure to the cookies.
- 1¼ teaspoons baking soda: Helps the cookies rise and spread correctly.
- 1½ teaspoons baking powder: Works with baking soda for a perfect rise.
- 1½ teaspoons kosher salt: Enhances the flavors of the other ingredients.
- 10 ounces (283.5g) unsalted butter: Provides richness and moisture.
- 10 ounces (283.5g) light brown sugar: Adds a caramel-like flavor and moisture.
- 8 ounces (226.8g) granulated sugar: Sweetens the cookies and contributes to their texture.
- 1 egg: Binds the ingredients and adds richness.
- 1 egg yolk: Enhances moisture and chewiness.
- 2 teaspoons vanilla extract: Adds depth and warmth to the flavor.
- 2½ cups (450g) semisweet chocolate chips: The star ingredient that makes these cookies irresistible.
Cooking Method for Chewy Chocolate Chip Cookies
Now that you have all your ingredients ready, let’s get started on the cooking process. Making Chewy Chocolate Chip Cookies is easier than you might think. Follow these steps closely to ensure perfect results!
- Start by sifting together the cake flour, bread flour, baking soda, baking powder, and kosher salt in a large bowl. This step is essential for ensuring that the dry ingredients are well combined and aerated, which leads to a lighter cookie.
- In another bowl, cream together the unsalted butter, light brown sugar, and granulated sugar on medium speed until the mixture is very light, about 5 minutes. This process incorporates air into the mixture, giving your cookies that lovely texture. The mixture should look pale and fluffy.
- Add the egg and the egg yolk one at a time, mixing well after each addition. Follow this with the vanilla extract. Mixing in the eggs gradually ensures that they are fully incorporated into the batter.
- Reduce the mixer speed to low and gradually add the sifted dry ingredients to the wet mixture. Mix until just combined, about 5 to 10 seconds. Over-mixing can lead to tough cookies, so be gentle!
- Using a rubber spatula, fold in the semisweet chocolate chips until evenly distributed throughout the dough. Be careful not to over-mix here as well; you want chunks of chocolate in every bite!
- Next, press plastic wrap against the dough and refrigerate it for at least 2 hours, or up to 24 hours. Chilling the dough helps to develop the flavors and improves the texture of your cookies.
- When you’re ready to bake, preheat your oven to 350 degrees F. Line a baking sheet with parchment paper or a nonstick baking mat.
- Scoop about 2 ounces of dough and roll it into a rough ball, slightly larger than a golf ball, placing them on the baking sheet with at least 2 inches of space between them. This allows the cookies to spread without merging into each other.
- Bake the cookies in the preheated oven until the edges are light brown and set, but the centers still look pale, about 13 to 16 minutes. The cookies will continue to cook a bit after being removed from the oven.
- Allow the cookies to cool on the baking sheet for about 10 minutes before transferring them to a wire rack to cool completely. This step is crucial for achieving that perfect chewy texture. Leftover cookies can be stored in an airtight container at room temperature for up to 3 days or wrapped in plastic wrap, placed in a freezer bag, and frozen for up to 3 months.
Things Worth Knowing
- Chilling the dough is essential: This allows the flavors to meld and leads to a better texture.
- Don’t skip the sifting: Sifting your dry ingredients helps to avoid clumps and ensures a smooth batter.
- Space is key: Make sure to leave enough room between your cookie dough balls on the baking sheet to allow for spreading.
- Watch the bake time: Every oven is different. Keep an eye on your cookies to prevent overbaking.
Substitutions and Tips
Here are some tips and substitutions to enhance your baking experience with Chewy Chocolate Chip Cookies. Follow these carefully!
- Storage: Keep your cookies in an airtight container at room temperature for up to 3 days to maintain freshness.
- Freezing: You can freeze the cookie dough for up to 3 months. Just scoop the dough into balls, freeze, then transfer to a freezer bag.
- Pairing: Enjoy these cookies with a glass of cold milk or a scoop of vanilla ice cream for a delightful dessert.
- Flavor add-ins: You can experiment with different types of chocolate chips or add nuts for extra crunch.
- Make it festive: Add seasonal spices like cinnamon or nutmeg for a holiday twist.
What to Pair With Chewy Chocolate Chip Cookies
Serving Chewy Chocolate Chip Cookies is all about creating the perfect experience. Here are some ideas:
- Milk: A classic pairing, a glass of cold milk complements the richness of the cookies, creating a nostalgic feel.
- Ice Cream: Serve these cookies warm with a scoop of vanilla ice cream for an indulgent dessert.
- Coffee: The richness of a good cup of coffee pairs beautifully with the sweetness of the cookies, perfect for an afternoon treat.
- Fruit: Fresh fruit like strawberries or a fruit salad can balance the sweetness of the cookies nicely.
- Picnics: Pack these cookies for a picnic or outdoor gathering; they’re an easy, transportable treat that everyone will love.
- Movie Night: These cookies make a perfect snack while watching a movie. Pair with popcorn for a fun mix!
FAQ
Conclusion
These Chewy Chocolate Chip Cookies are a true delight that bridges the gap between nostalgia and contemporary comfort. Their perfect texture and rich flavor make them a timeless treat everyone will love. I encourage you to try making these cookies today; they’re not just a recipe but a beautiful way to create memories in your kitchen. Enjoy each bite and the smiles they bring!
Chewy Chocolate Chip Cookies
Equipment
- Baking Sheet
- Oven
- Mixing Bowl
Ingredients
- 8½ ounces cake flour
- 8½ ounces bread flour
- 1¼ teaspoons baking soda
- 1½ teaspoons baking powder
- 1½ teaspoons kosher salt
- 10 ounces unsalted butter at room temperature
- 10 ounces light brown sugar
- 8 ounces granulated sugar
- 1 egg
- 1 egg yolk
- 2 teaspoons vanilla extract
- 2½ cups semisweet chocolate chips
Instructions
- Start by sifting together the cake flour, bread flour, baking soda, baking powder, and kosher salt in a large bowl. This step is essential for ensuring that the dry ingredients are well combined and aerated, which leads to a lighter cookie.
- In another bowl, cream together the unsalted butter, light brown sugar, and granulated sugar on medium speed until the mixture is very light, about 5 minutes. This process incorporates air into the mixture, giving your cookies that lovely texture. The mixture should look pale and fluffy.
- Add the egg and the egg yolk one at a time, mixing well after each addition. Follow this with the vanilla extract. Mixing in the eggs gradually ensures that they are fully incorporated into the batter.
- Reduce the mixer speed to low and gradually add the sifted dry ingredients to the wet mixture. Mix until just combined, about 5 to 10 seconds. Over-mixing can lead to tough cookies, so be gentle!
- Using a rubber spatula, fold in the semisweet chocolate chips until evenly distributed throughout the dough. Be careful not to over-mix here as well; you want chunks of chocolate in every bite!
- Next, press plastic wrap against the dough and refrigerate it for at least 2 hours, or up to 24 hours. Chilling the dough helps to develop the flavors and improves the texture of your cookies.
- When you’re ready to bake, preheat your oven to 350 degrees F. Line a baking sheet with parchment paper or a nonstick baking mat.
- Scoop about 2 ounces of dough and roll it into a rough ball, slightly larger than a golf ball, placing them on the baking sheet with at least 2 inches of space between them. This allows the cookies to spread without merging into each other.
- Bake the cookies in the preheated oven until the edges are light brown and set, but the centers still look pale, about 13 to 16 minutes. The cookies will continue to cook a bit after being removed from the oven.
- Allow the cookies to cool on the baking sheet for about 10 minutes before transferring them to a wire rack to cool completely. This step is crucial for achieving that perfect chewy texture. Leftover cookies can be stored in an airtight container at room temperature for up to 3 days or wrapped in plastic wrap, placed in a freezer bag, and frozen for up to 3 months.