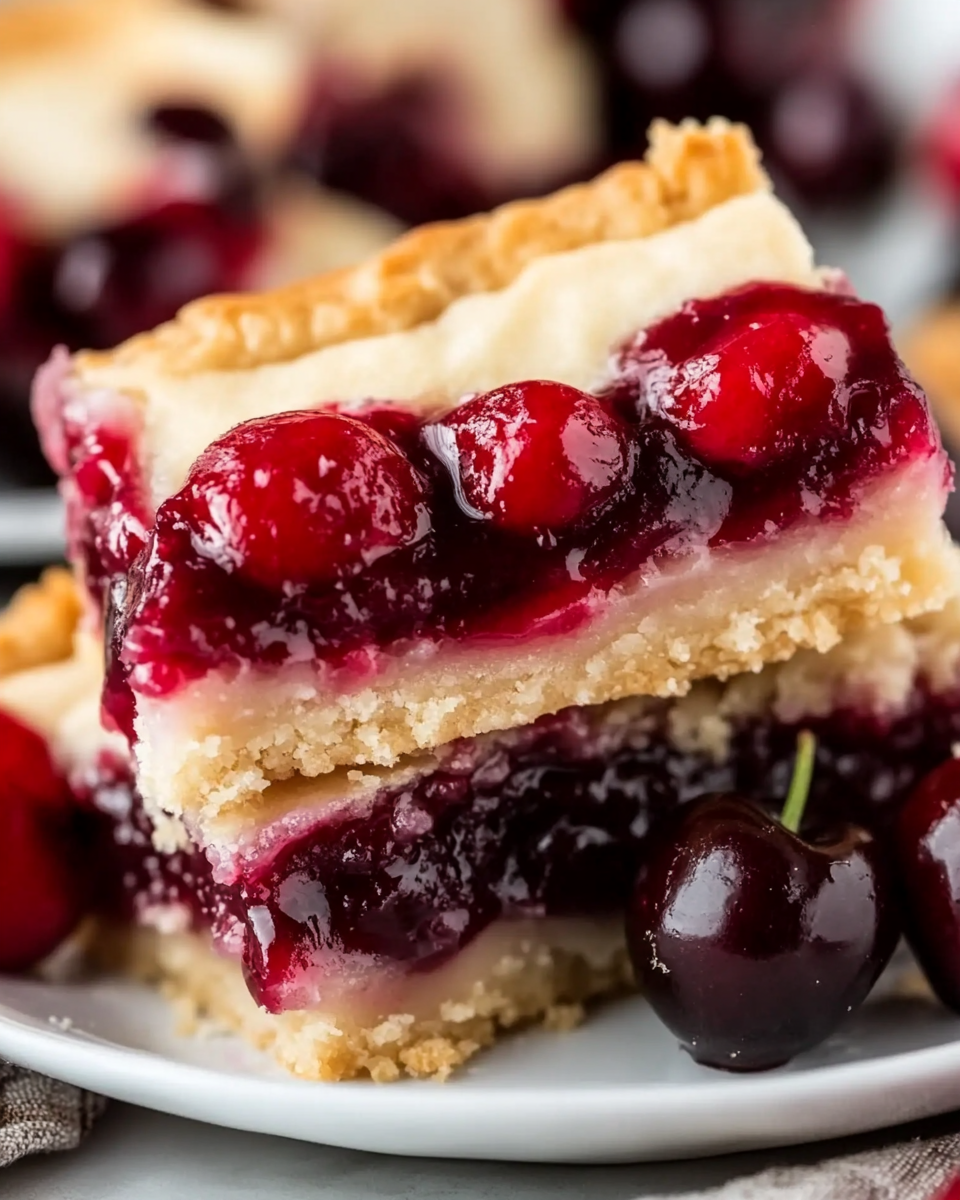
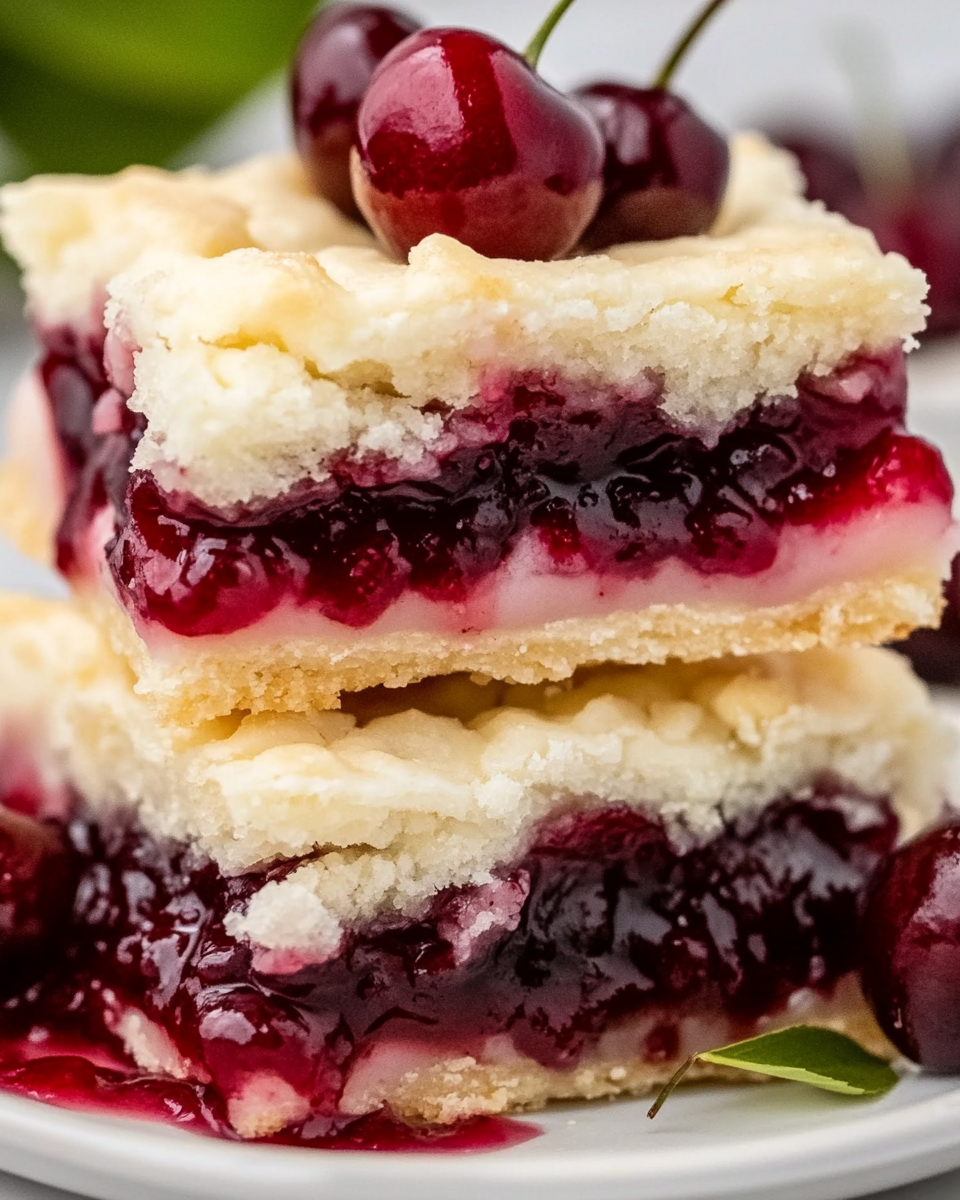
Cherry Pie Bars
Cherry pie bars are a scrumptious and convenient twist on the classic cherry pie that many people adore. Imagine biting into a soft, buttery crust filled with sweet and tangy cherry goodness, all neatly packaged in a portable bar form. These bars are perfect for any occasion, whether it be a casual family gathering, a picnic in the park, or a special holiday celebration. They combine the comforting flavors of traditional cherry pie with the ease of a handheld treat. The crust is both tender and crumbly, while the cherry filling is bursting with vibrant flavor. Topped with a light glaze or dusted with powdered sugar, cherry pie bars not only taste fantastic but also look impressive on any dessert table. With their inviting aroma and delectable taste, these bars are sure to be a favorite among friends and family.
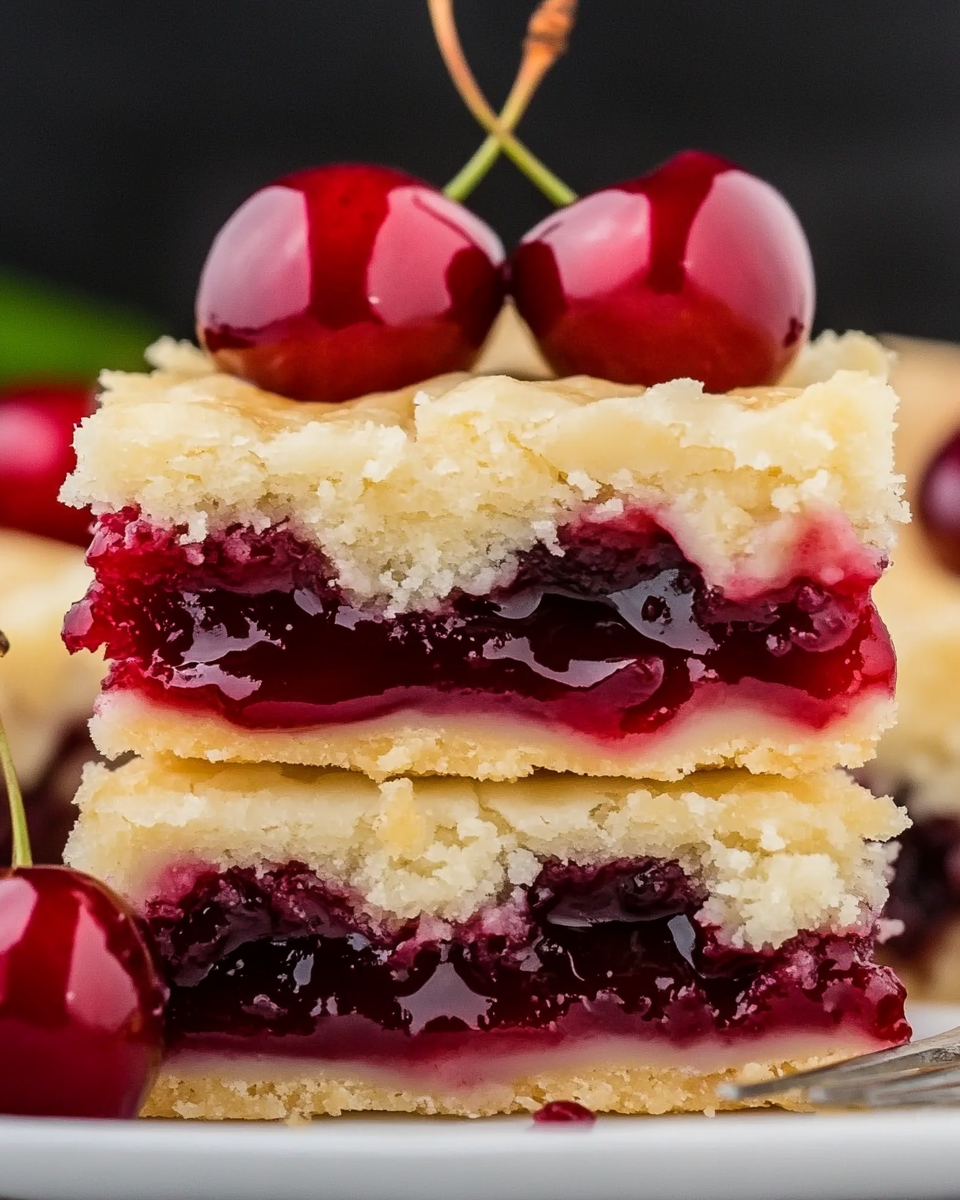
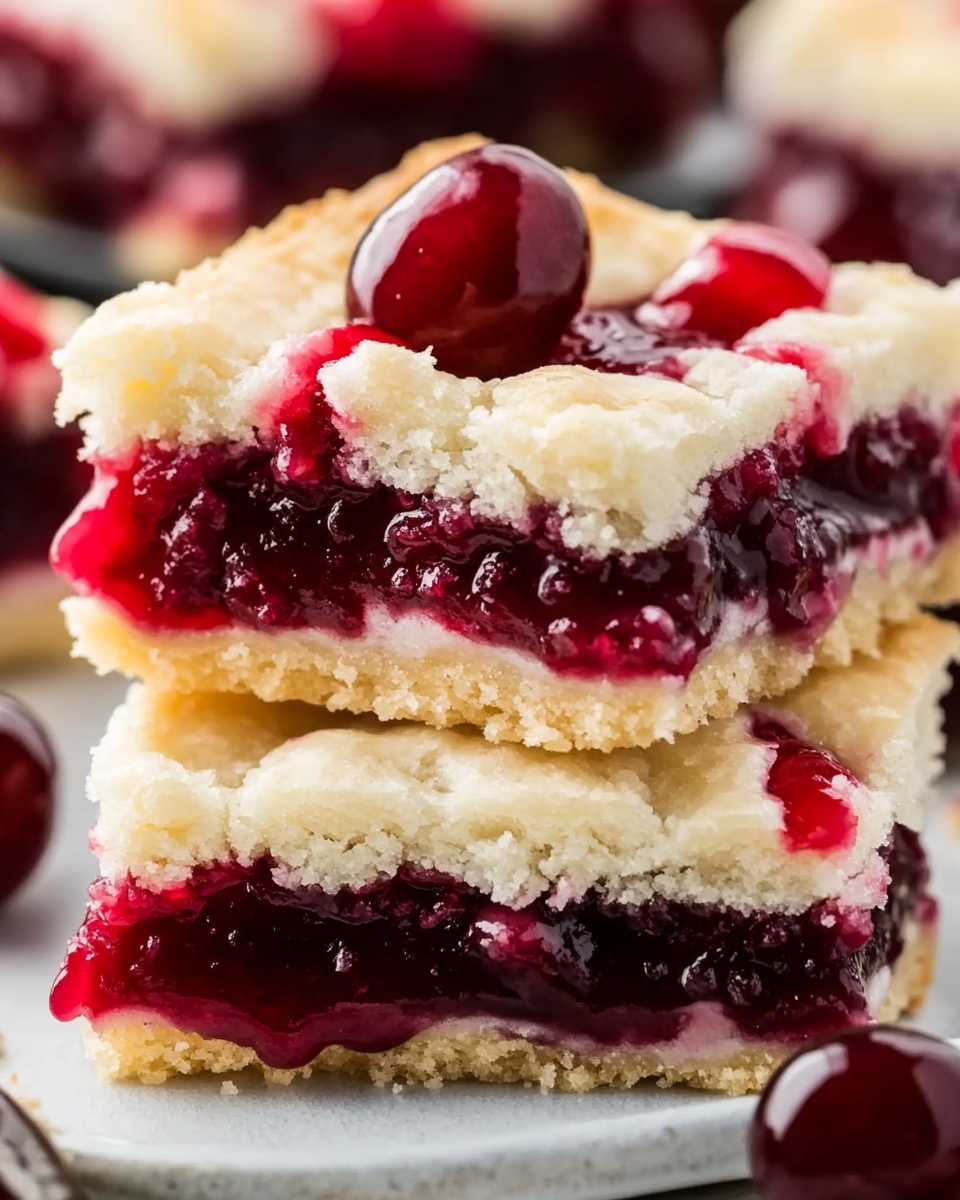
Why You’ll Love This Recipe?
There are several compelling reasons to fall in love with cherry pie bars. Firstly, the taste is simply irresistible. The combination of sweet cherries with a hint of tartness creates a perfect flavor balance that is both refreshing and satisfying. The buttery crust adds richness, making each bite a delightful experience. Secondly, the preparation of cherry pie bars is straightforward and manageable, even for novice bakers. The recipe requires minimal ingredients and simple steps, allowing you to whip up these delicious treats quickly without feeling overwhelmed. Thirdly, cherry pie bars are visually appealing. Their vibrant red cherry filling peeking through a golden-brown crust offers an inviting presentation that will impress your guests. Whether served at a summer barbecue or a cozy winter gathering, these bars are bound to be a crowd-pleaser. Lastly, they are incredibly versatile. You can enjoy them warm, at room temperature, or chilled, making them a delightful dessert option for any season.
Ingredients:
To create your cherry pie bars, you will need the following ingredients:
- 2 ½ cups all-purpose flour – This is the foundation for your crust and gives it the perfect texture.
- 1 cup granulated sugar – This sweetener will balance the tartness of the cherries and enhance the overall flavor of the bars.
- 1 teaspoon baking powder – This will help your crust rise slightly and achieve a light texture.
- ½ teaspoon salt – A pinch of salt helps to elevate the sweetness and adds depth to the flavor of the crust.
- 1 cup unsalted butter, softened – Butter provides richness and helps create a tender crust.
- 1 large egg – This binds the ingredients together and adds moisture to the crust.
- 1 teaspoon vanilla extract – This will enhance the flavor profile of both the crust and the cherry filling.
- 2 cups fresh or frozen cherries, pitted and chopped – The star ingredient that gives these bars their delicious cherry flavor.
- 2 tablespoons cornstarch – This thickener will help the cherry filling hold together without becoming too runny.
- 1 tablespoon lemon juice – This adds brightness to the filling and balances the sweetness of the cherries.
- 1 teaspoon almond extract – This optional ingredient adds a subtle nutty flavor that pairs beautifully with cherries.
- Powdered sugar (optional) – For dusting on top for a finishing touch.
Be sure to measure your ingredients accurately for the best results. The combination of fresh or frozen cherries, along with the buttery crust, creates a delightful balance of flavors that will have everyone asking for seconds.
How To Make Cherry Pie Bars?
Now that you have gathered all your ingredients, let’s dive into the step-by-step process to create these cherry pie bars:
- Preheat your oven to 350°F (175°C). Grease a 9×13-inch baking dish with cooking spray or line it with parchment paper for easy removal later on.
- In a large mixing bowl, combine the flour, granulated sugar, baking powder, and salt. Whisk together until well blended.
- Add the softened butter to the dry ingredients. Using a pastry cutter or your fingers, mix the butter into the flour mixture until it resembles coarse crumbs.
- In a separate small bowl, beat the egg and vanilla extract together. Pour this into the flour-butter mixture and stir until it begins to come together.
- Reserve about one cup of the dough for the topping, and press the remaining dough firmly into the bottom of the prepared baking dish to create an even layer.
- In another bowl, combine the chopped cherries, cornstarch, lemon juice, and almond extract if you are using it. Mix until the cherries are well coated with the cornstarch.
- Spread the cherry mixture evenly over the crust in the baking dish, ensuring it is well distributed.
- Using the reserved dough, crumble it over the cherry filling to create a topping. This will give your bars a nice texture and appearance.
- Bake in the preheated oven for 40-45 minutes or until the top is golden brown and the filling is bubbling.
- Once baked, remove the dish from the oven and allow the cherry pie bars to cool completely in the pan on a wire rack.
- Once cooled, dust the top with powdered sugar if desired, and cut into bars. Serve and enjoy!
Enjoying your homemade cherry pie bars is the ultimate reward after following these steps. The aroma of cherries baking will fill your kitchen, and the anticipation of tasting these delicious bars will be worth every effort.
Tips For Variations:
Cherry pie bars are versatile, and you can easily customize them to suit your taste preferences or what you have on hand. Here are some unique substitution ideas for flavor, texture, and budget options:
- Fruit Variations: While cherries are the classic choice, feel free to experiment with other fruits. Blueberries, raspberries, or even a mix of berries can create a delightful variation. Simply adjust the sugar based on the sweetness of the chosen fruit.
- Nutty Twist: For added crunch and flavor, consider incorporating finely chopped nuts into the crust. Almonds or pecans can add a rich texture that complements the fruity filling.
- Spice it Up: Enhance the flavor profile by adding spices. A sprinkle of cinnamon or nutmeg in the crust can elevate the taste. You can also add a bit of ground ginger for a warming kick.
- Gluten-Free Option: For those avoiding gluten, substitute regular flour with a gluten-free all-purpose flour blend. Ensure it includes xanthan gum for the best texture.
- Bar Toppings: Instead of powdered sugar, consider drizzling a simple glaze made from powdered sugar and lemon juice over the cooled bars. This adds a lovely sheen and extra sweetness.
- Serving Temperature: These bars are delightful served warm with a scoop of vanilla ice cream or chilled with whipped cream for a refreshing dessert.
These variations allow you to tailor the cherry pie bars to your preferences while keeping the essence of the original recipe intact. Don’t hesitate to get creative and make this dessert your own!
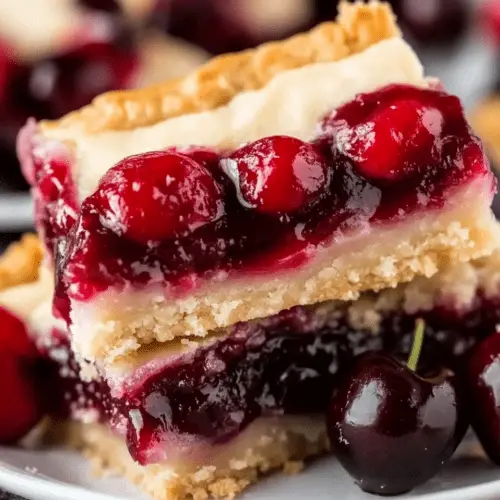
Serving Suggestions:
When it comes to serving cherry pie bars, there are numerous creative ways to present this delectable dessert that will make them even more appealing.
- Ice Cream Pairing: Serve the cherry pie bars warm with a generous scoop of vanilla ice cream on the side. The creamy ice cream melts into the warm cherries, creating a delightful contrast in temperature and texture.
- Whipped Cream: Top each bar with a dollop of freshly whipped cream for a light and airy addition. This complements the richness of the crust and the sweetness of the cherries.
- Fruit Compote: Create a simple cherry compote by simmering extra cherries with a bit of sugar and lemon juice. Drizzle this over the bars for an added layer of flavor and an elegant touch.
- Garnish: Fresh mint leaves can add a pop of color and a hint of freshness when placed on top of each bar. This simple garnish elevates the presentation and gives a nod to the flavors within.
- Platter Presentation: Arrange the bars on a decorative platter, alternating with fresh cherries for a stunning display. This makes for a beautiful centerpiece at any gathering or event.
- Picnic Ready: Pack the bars in individual servings for a picnic or outdoor event. They are easy to transport and make for a perfect handheld treat that everyone will enjoy.
These serving suggestions enhance the overall experience of the cherry pie bars, making them not just a dessert but a memorable part of your meal or celebration. Whether you opt for simple pairings or elaborate presentations, these bars are sure to impress.
FAQ:
Can I use canned cherries instead of fresh or frozen?
Yes, you can use canned cherries, but be sure to drain them well and reduce the amount of sugar in the filling as canned cherries are often packed in syrup.
How do I store leftover cherry pie bars?
Store leftover cherry pie bars in an airtight container at room temperature for up to three days. For longer storage, refrigerate them for up to a week.
Can I freeze cherry pie bars?
Absolutely! Once cooled, wrap the bars tightly in plastic wrap and aluminum foil before freezing. They can be kept in the freezer for up to three months.
What can I substitute for almond extract?
If you don’t have almond extract, you can use additional vanilla extract or omit it altogether. The bars will still be delicious without it.
Can I make these bars gluten-free?
Yes, you can use a gluten-free all-purpose flour blend to substitute the regular flour. Just ensure it contains xanthan gum for better texture.
Cherry Pie Bars
Equipment
- Mixing Bowl
- Baking Dish
- Whisk
- Pastry Cutter
Ingredients
Ingredients
- 2.5 cups All-purpose flour Foundation for the crust.
- 1 cup Granulated sugar Balances the tartness of the cherries.
- 1 teaspoon Baking powder Helps the crust rise slightly.
- 0.5 teaspoon Salt Elevates sweetness and adds depth.
- 1 cup Unsalted butter, softened Provides richness and tenderness.
- 1 large Egg Binds ingredients and adds moisture.
- 1 teaspoon Vanilla extract Enhances flavor profile.
- 2 cups Fresh or frozen cherries, pitted and chopped Star ingredient for cherry flavor.
- 2 tablespoons Cornstarch Thickens the cherry filling.
- 1 tablespoon Lemon juice Adds brightness to the filling.
- 1 teaspoon Almond extract Optional for nutty flavor.
- Powdered sugar Optional for dusting on top.
Instructions
- Preheat your oven to 350°F (175°C). Grease a 9×13-inch baking dish with cooking spray or line it with parchment paper.
- In a large mixing bowl, combine flour, granulated sugar, baking powder, and salt. Whisk until well blended.
- Add softened butter to the dry ingredients. Mix until it resembles coarse crumbs.
- In a separate bowl, beat the egg and vanilla extract together. Pour into the flour-butter mixture and stir until combined.
- Reserve about one cup of the dough for topping, and press the remaining dough into the bottom of the prepared baking dish.
- In another bowl, combine chopped cherries, cornstarch, lemon juice, and almond extract. Mix until cherries are coated.
- Spread the cherry mixture evenly over the crust.
- Crumble the reserved dough over the cherry filling.
- Bake for 40-45 minutes or until the top is golden brown and filling is bubbling.
- Allow to cool completely in the pan on a wire rack before dusting with powdered sugar and cutting into bars.