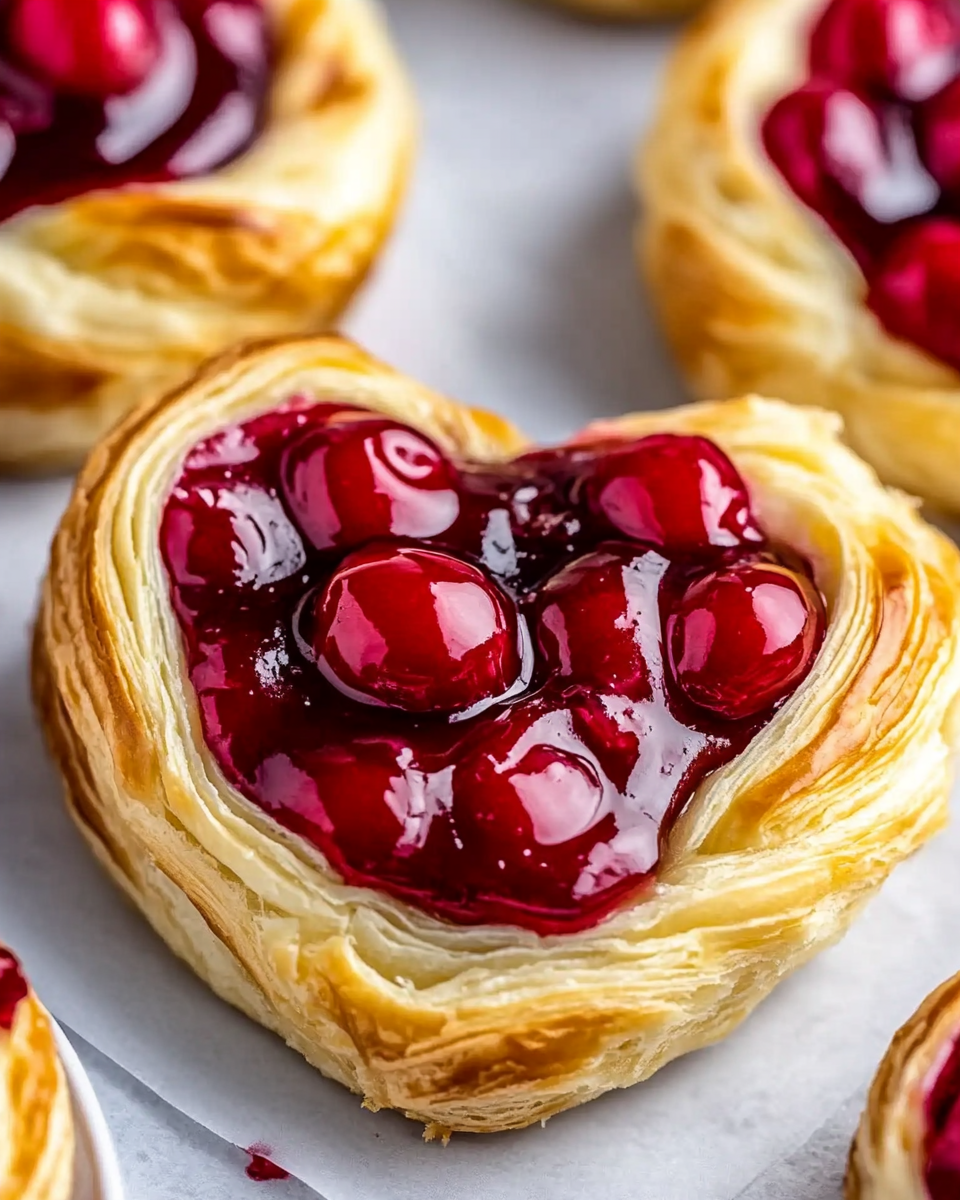
Cherry Cheese Danish
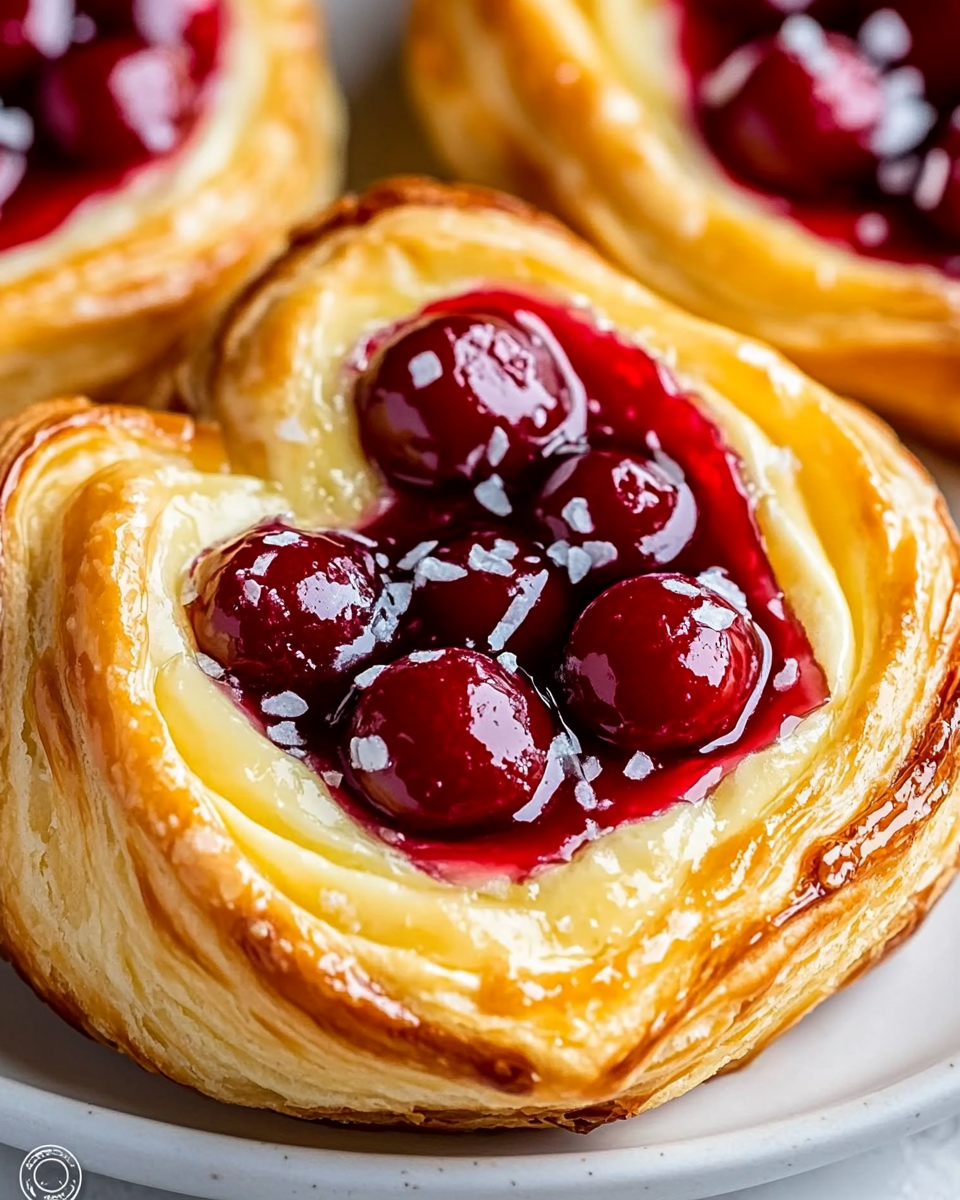
Cherry Cheese Danish is a classic pastry that perfectly combines the sweet and tangy flavors of cherries with the creamy richness of cheese, all wrapped in a flaky, buttery dough. Originating from Danish bakers, this delectable treat has won hearts around the world. The golden-brown exterior, with its crisp layers, gives way to a delightful filling that bursts with flavor. Whether enjoyed for breakfast, as a snack, or for dessert, this Cherry Cheese Danish is sure to impress. Not only is it a feast for the palate, but it also makes for an eye-catching centerpiece on any table. The vibrant red of the cherries against the creamy filling and golden pastry creates a beautiful contrast that is as pleasing to the eye as it is to the taste buds. Plus, making these pastries from scratch can be a rewarding experience, allowing you to control the ingredients and customize flavors to your liking. In this article, you will find everything you need to know to create your own Cherry Cheese Danish from start to finish, ensuring that every bite is a celebration of flavor and texture.
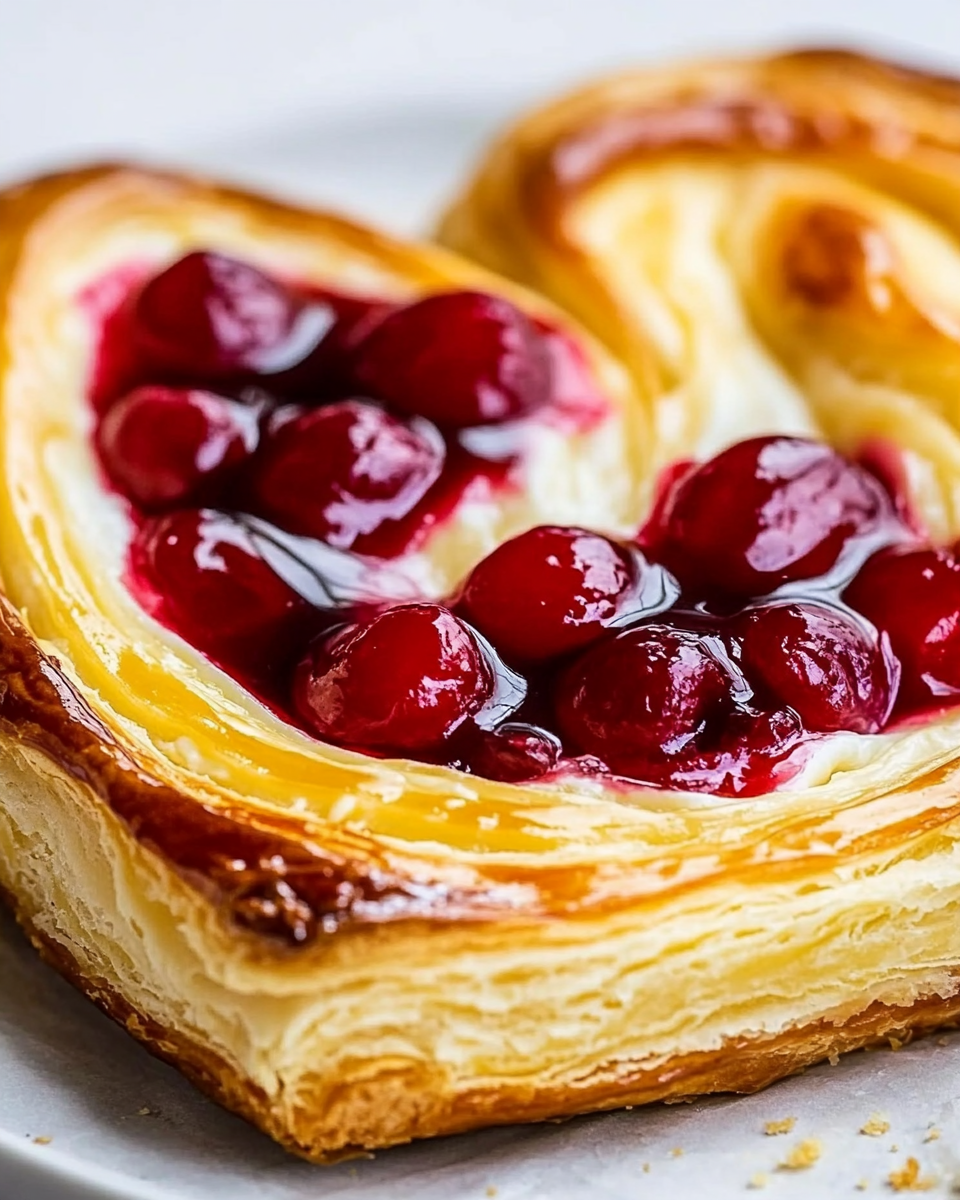
Why You’ll Love This Recipe?
This Cherry Cheese Danish recipe offers numerous reasons to fall in love with its unique flavors and textures. First, the taste is simply irresistible; the sweet cherries complement the smooth, rich cream cheese filling, creating a delightful balance that leaves you wanting more. The addition of a hint of vanilla and a touch of lemon zest enhances the overall flavor profile, making each bite a multi-dimensional experience. Second, the preparation of this Danish is surprisingly easy. While it may seem like a daunting task, the step-by-step instructions provided ensure that even novice bakers can achieve bakery-quality results at home. The use of pre-made puff pastry saves time and effort, allowing you to focus on crafting the delicious filling and assembling the pastries. Lastly, the appearance of these Danishes is sure to impress. The golden, flaky layers of pastry topped with vibrant cherry filling create an eye-catching presentation that is perfect for gatherings or special occasions. Each Danish is a miniature work of art that looks as good as it tastes, making it a standout treat for any event.
Ingredients:
Creating the perfect Cherry Cheese Danish requires a selection of quality ingredients that come together to form the ideal pastry. Below is a comprehensive list of what you will need, along with descriptions that will help you understand the role of each ingredient in the recipe.
- 1 package (17.3 ounces) of frozen puff pastry: This is the base of your Danish. Puff pastry is a light, flaky dough that rises beautifully when baked, creating the perfect texture to hold the filling.
- 1 cup of cream cheese (8 ounces), softened: Cream cheese provides a rich, creamy texture and tangy flavor that pairs wonderfully with the sweetness of the cherries.
- 1/2 cup of powdered sugar: This sweetener adds just the right amount of sweetness to the cream cheese filling without overwhelming it.
- 1 teaspoon of vanilla extract: A hint of vanilla enhances the overall flavor of the cheese filling, giving it a warm, inviting taste.
- 1 tablespoon of lemon zest: Fresh lemon zest brightens the filling, adding a refreshing contrast to the sweetness of the cherries.
- 1 cup of cherry pie filling: The star of the show! This filling adds sweetness and tartness, making your Danish irresistibly delicious.
- 1 egg, beaten (for egg wash): The egg wash will give the pastry a beautiful golden color and shine once baked.
- Flour for dusting: A small amount of flour is needed to prevent sticking while rolling out the puff pastry.
These ingredients come together to create a Cherry Cheese Danish that is not only delicious but also visually stunning. Feel free to source high-quality, fresh ingredients for the best results. Using fresh cherries instead of canned pie filling can also elevate the flavor profile and texture, although it will require additional steps to prepare.
How To Make Cherry Cheese Danish?
Making Cherry Cheese Danish at home may seem like a labor of love, but the process is straightforward and rewarding. Follow these detailed steps to create your own batch of delicious Danish pastries.
- Thaw the puff pastry: Begin by removing the frozen puff pastry from the packaging and allowing it to thaw according to the package instructions. This usually takes about 30 minutes at room temperature. Make sure not to rush this step as it is crucial for achieving the flaky texture.
- Prepare the cream cheese filling: In a mixing bowl, combine the softened cream cheese, powdered sugar, vanilla extract, and lemon zest. Use a hand mixer or whisk to beat the mixture until it is smooth and creamy. Ensure there are no lumps for a perfect filling texture.
- Preheat the oven: While preparing the filling, preheat your oven to 400°F (200°C). This will ensure your pastries bake evenly and achieve a golden color.
- Roll out the puff pastry: On a lightly floured surface, gently roll out the thawed puff pastry into a rectangle. Aim for a thickness of about 1/8 inch. Use a sharp knife to cut the pastry into squares, approximately 4×4 inches each. This size is perfect for holding the filling without spilling.
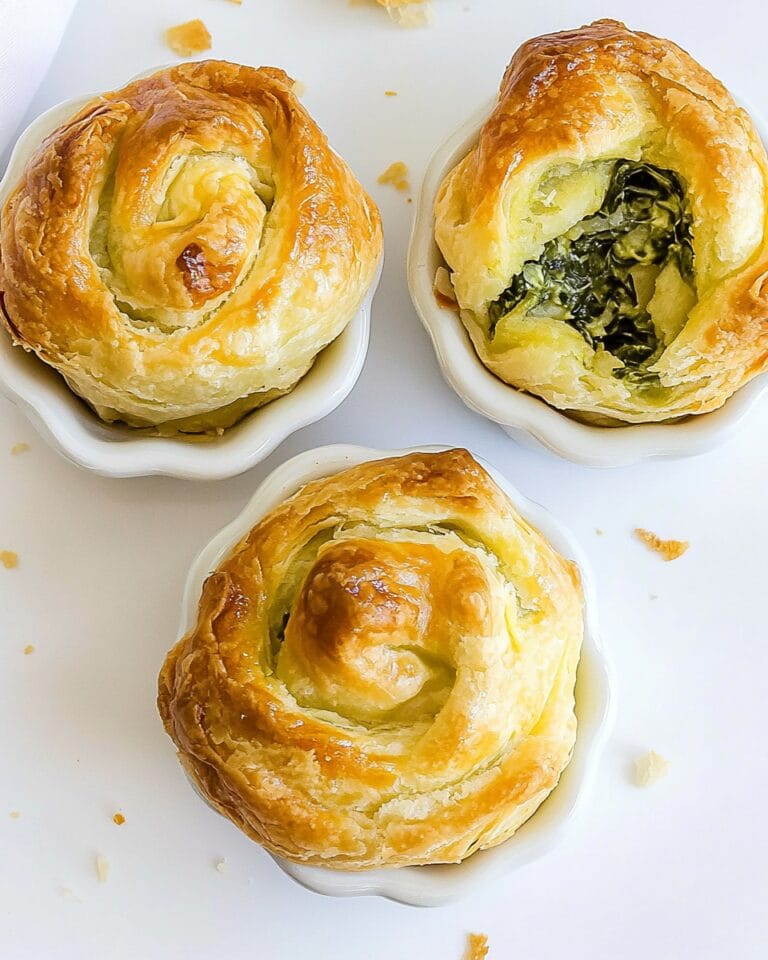
- Assemble the Danish: Take each pastry square and place a generous spoonful of the cream cheese filling in the center. Top this with a spoonful of cherry pie filling, ensuring that you don’t overfill, as this can lead to messy pastries. Fold the corners of the pastry squares towards the center, pinching them together to create a pocket. Alternatively, you can leave the filling exposed for a more open-faced appearance.
- Apply the egg wash: Using a pastry brush, gently brush the tops of each assembled Danish with the beaten egg. This step will give your pastries a lovely golden hue and an appetizing shine.
- Bake the pastries: Place the assembled Danish on a parchment-lined baking sheet, spacing them apart to allow for expansion. Bake in the preheated oven for about 15-20 minutes, or until they are puffed and golden brown. Keep an eye on them to prevent burning.
- Cool and serve: Once baked, remove the Danish from the oven and let them cool on a wire rack for a few minutes before serving. These pastries are best enjoyed warm, but they can also be stored in an airtight container for a few days.
With these simple steps, you will have created a batch of Cherry Cheese Danish that is sure to impress family and friends. The combination of the flaky pastry, creamy filling, and sweet cherries is a match made in dessert heaven.
Tips For Variations:
While the classic Cherry Cheese Danish is a treat on its own, there are numerous variations you can explore to add your personal touch. Here are some unique ideas to consider for flavor, texture, and budget options.
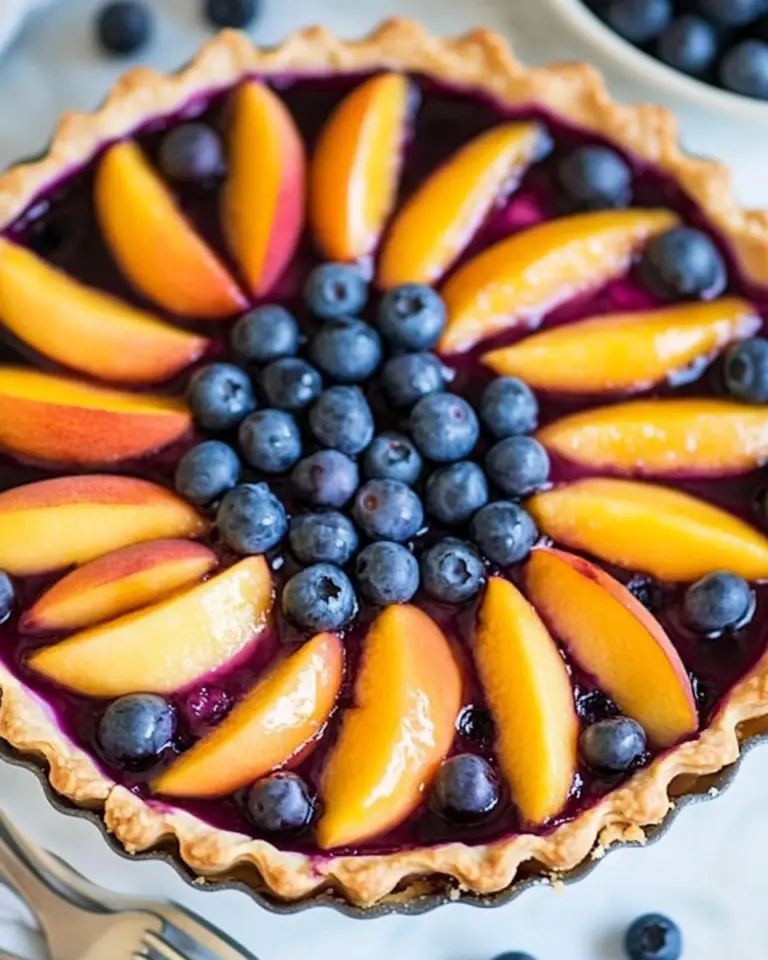
- Fruit Variations: Instead of cherry pie filling, experiment with other fruits such as blueberries, raspberries, or peaches. Each fruit offers a distinct flavor profile and can create a different experience. Fresh fruit can be used, but you may need to adjust the sugar levels based on the fruit’s natural sweetness.
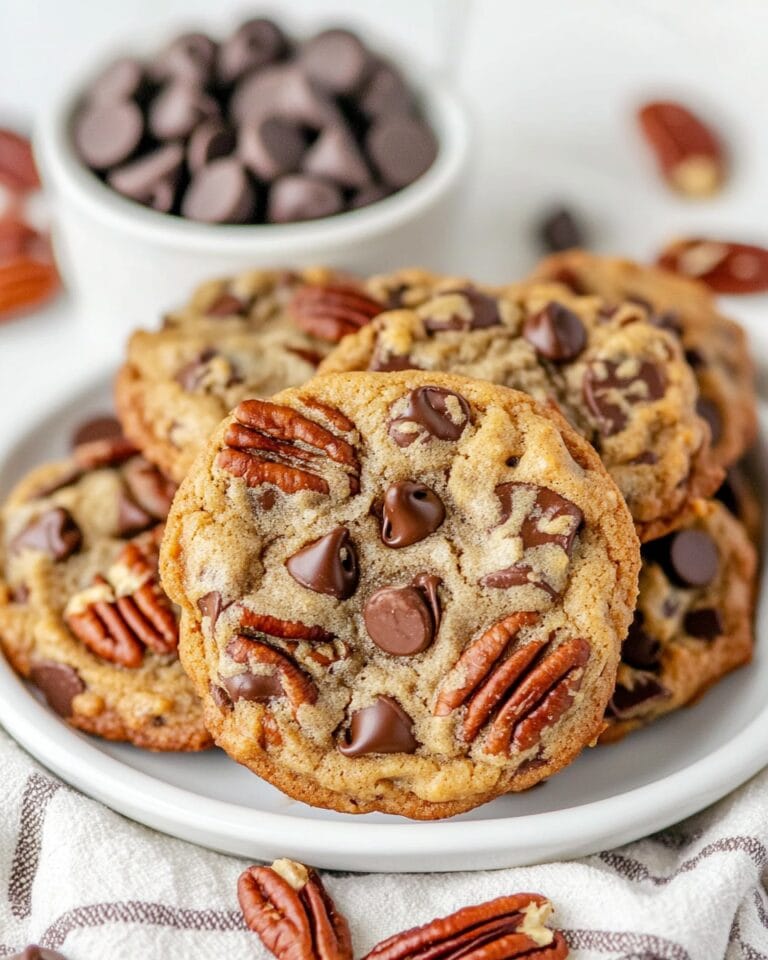
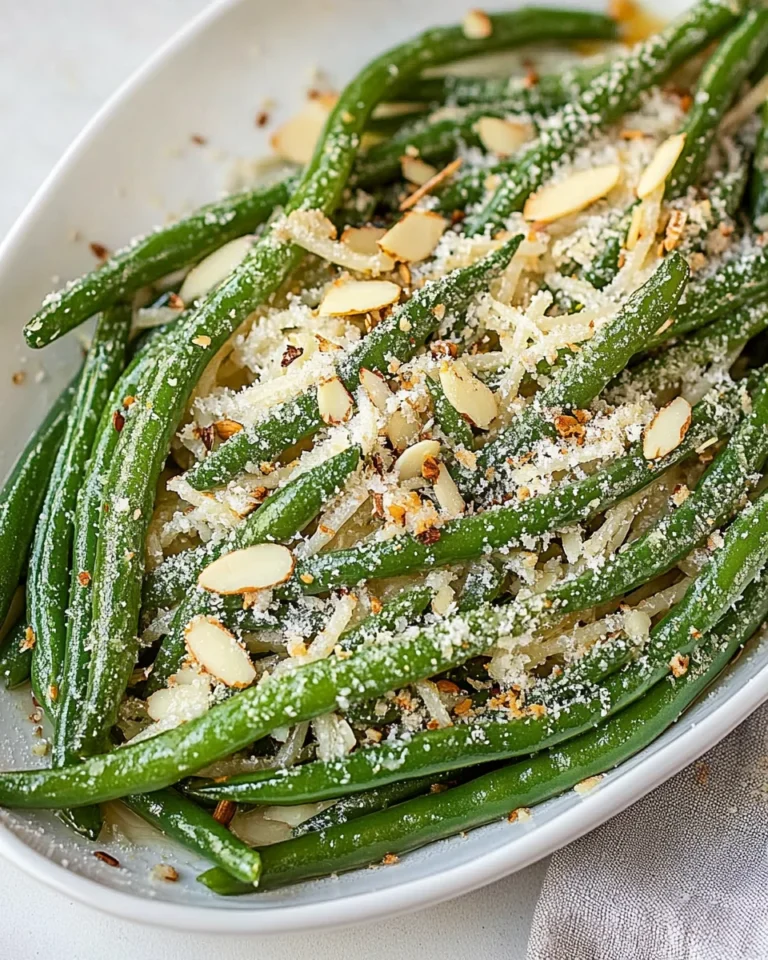
- Nutty Twist: Add some crushed nuts, such as almonds or pecans, to the cream cheese filling for added texture and flavor. This not only enhances the taste but also adds a delightful crunch that contrasts beautifully with the softness of the cheese filling.
- Spice it Up: Incorporate spices such as cinnamon or nutmeg into the cream cheese filling for an aromatic twist. These spices can elevate the overall flavor and make the pastry feel more seasonal, especially during the fall and winter months.
- Chocolate Lovers: For a decadent variation, mix in some mini chocolate chips into the cream cheese filling. The combination of chocolate with cherries or any other fruit creates a rich and indulgent treat that chocolate lovers will appreciate.
- Mini Danish: For bite-sized treats, cut the puff pastry into smaller squares and adjust the filling accordingly. These mini versions are perfect for parties and gatherings, allowing guests to enjoy a variety of flavors without committing to a full pastry.
These variations not only allow you to cater to different tastes but also make it easier to create a delightful array of pastries for any occasion. Feel free to get creative and experiment with different combinations until you find your favorite.
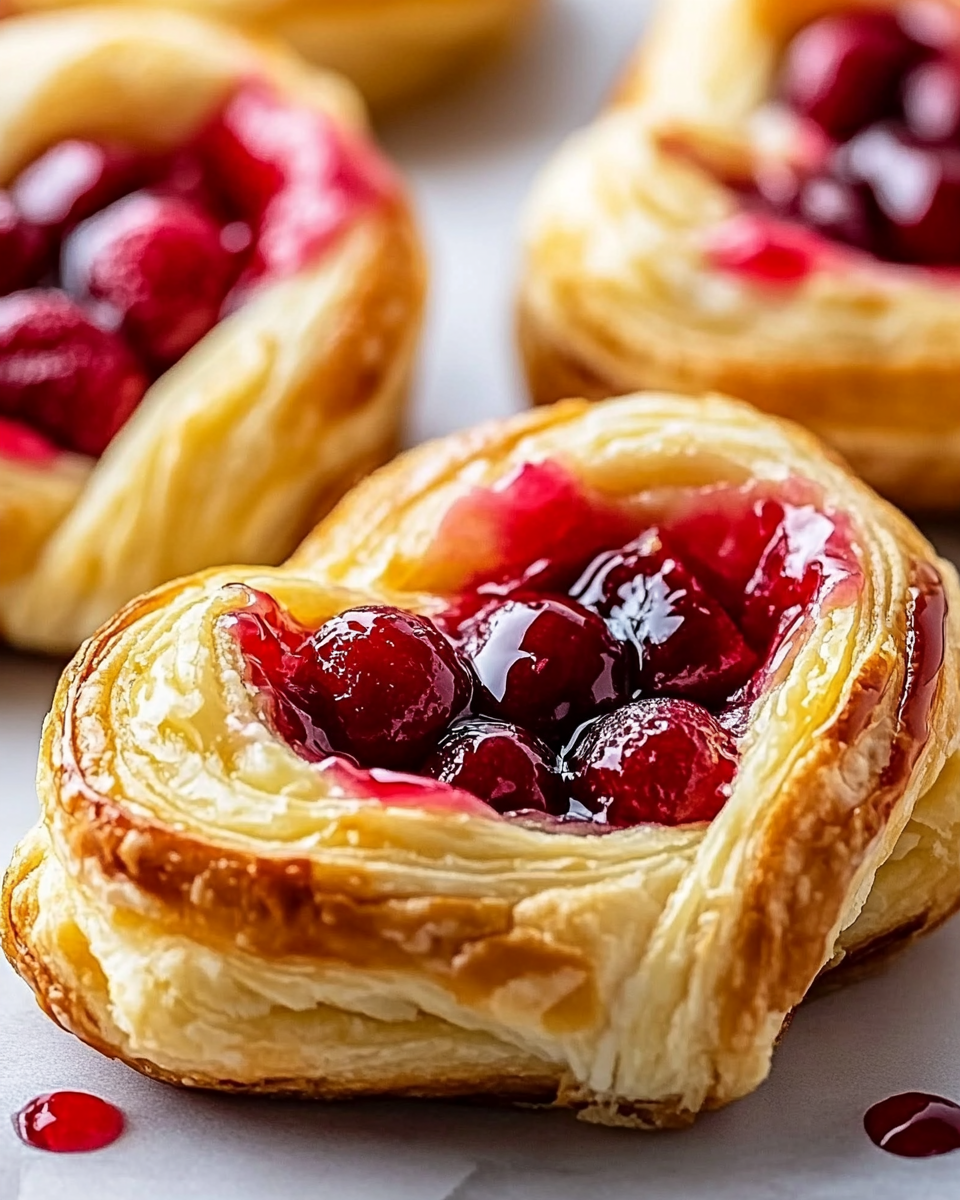
Serving Suggestions:
Cherry Cheese Danish can be served in a variety of ways, enhancing the overall experience for you and your guests. Here are some creative serving suggestions that will elevate your pastry experience.
- Coffee Pairing: Serve your Cherry Cheese Danish alongside a freshly brewed cup of coffee or tea. The rich flavors of the pastry complement the warm beverages beautifully, making it a perfect breakfast or afternoon snack.
- Garnish with Fresh Fruit: Add a few fresh cherries or berries on the side for a pop of color and freshness. This not only enhances the presentation but also provides a refreshing contrast to the creamy filling.
- Dust with Powdered Sugar: For an elegant touch, lightly dust the tops of the Danish with powdered sugar before serving. This simple addition adds a touch of sweetness and creates an appealing visual contrast with the golden pastry.
- Ice Cream or Whipped Cream: For a decadent dessert option, serve warm Cherry Cheese Danish with a scoop of vanilla ice cream or a dollop of whipped cream. The cold creaminess pairs wonderfully with the warm pastry, creating a deliciously indulgent treat.
- Brunch Platter: Include the Danish in a brunch spread with other pastries, fruits, and cheeses. This allows guests to enjoy a variety of flavors and textures, making your gathering feel even more special.
These serving suggestions not only enhance the enjoyment of Cherry Cheese Danish but also provide opportunities for creativity and presentation that will impress your guests. Whether for a casual gathering or a special occasion, these pastries will shine on any table.
FAQ:
Can I make Cherry Cheese Danish ahead of time?
Yes, you can prepare the Danish ahead of time. Assemble the pastries and refrigerate them for up to 24 hours before baking. Just be sure to allow them to come to room temperature before placing them in the oven for even baking.
How should I store leftover Danish?
Leftover Cherry Cheese Danish can be stored in an airtight container at room temperature for up to two days. For longer storage, consider refrigerating them. Reheat in the oven for a few minutes to restore the flakiness.
Can I freeze Cherry Cheese Danish?
Yes, you can freeze the assembled, unbaked Danish. Place them on a baking sheet to freeze individually, then transfer to an airtight container. Bake directly from frozen, adding a few extra minutes to the baking time.
What can I use if I don’t have puff pastry?
If you don’t have puff pastry, you can use crescent roll dough or make a simple homemade pastry dough. While the texture and flakiness may differ, both alternatives can still yield delicious results.
Can I use fresh cherries instead of cherry pie filling?
Absolutely! Fresh cherries can be pitted and chopped, then mixed with a little sugar and cornstarch to create your filling. This allows you to control the sweetness and enjoy the fresh fruit flavor in your Danish.

Cherry Cheese Danish
Equipment
- Mixing Bowl
- Baking Sheet
- Pastry Brush
Ingredients
Ingredients
- 1 package Frozen puff pastry (17.3 ounces)
- 1 cup Cream cheese (8 ounces, softened)
- 1/2 cup Powdered sugar
- 1 teaspoon Vanilla extract
- 1 tablespoon Lemon zest
- 1 cup Cherry pie filling
- 1 egg Beaten egg (for egg wash)
- as needed amount Flour (for dusting)
Instructions
- Thaw the puff pastry according to package instructions, about 30 minutes at room temperature.
- In a mixing bowl, combine cream cheese, powdered sugar, vanilla extract, and lemon zest. Beat until smooth and creamy.
- Preheat the oven to 400°F (200°C).
- On a floured surface, roll out the puff pastry to about 1/8 inch thick and cut into 4x4 inch squares.
- Place a spoonful of cream cheese filling and a spoonful of cherry pie filling in the center of each square. Fold corners towards the center and pinch to seal.
- Brush the tops with the beaten egg for a golden finish.
- Bake on a parchment-lined baking sheet for 15-20 minutes until golden brown.
- Cool on a wire rack for a few minutes before serving.