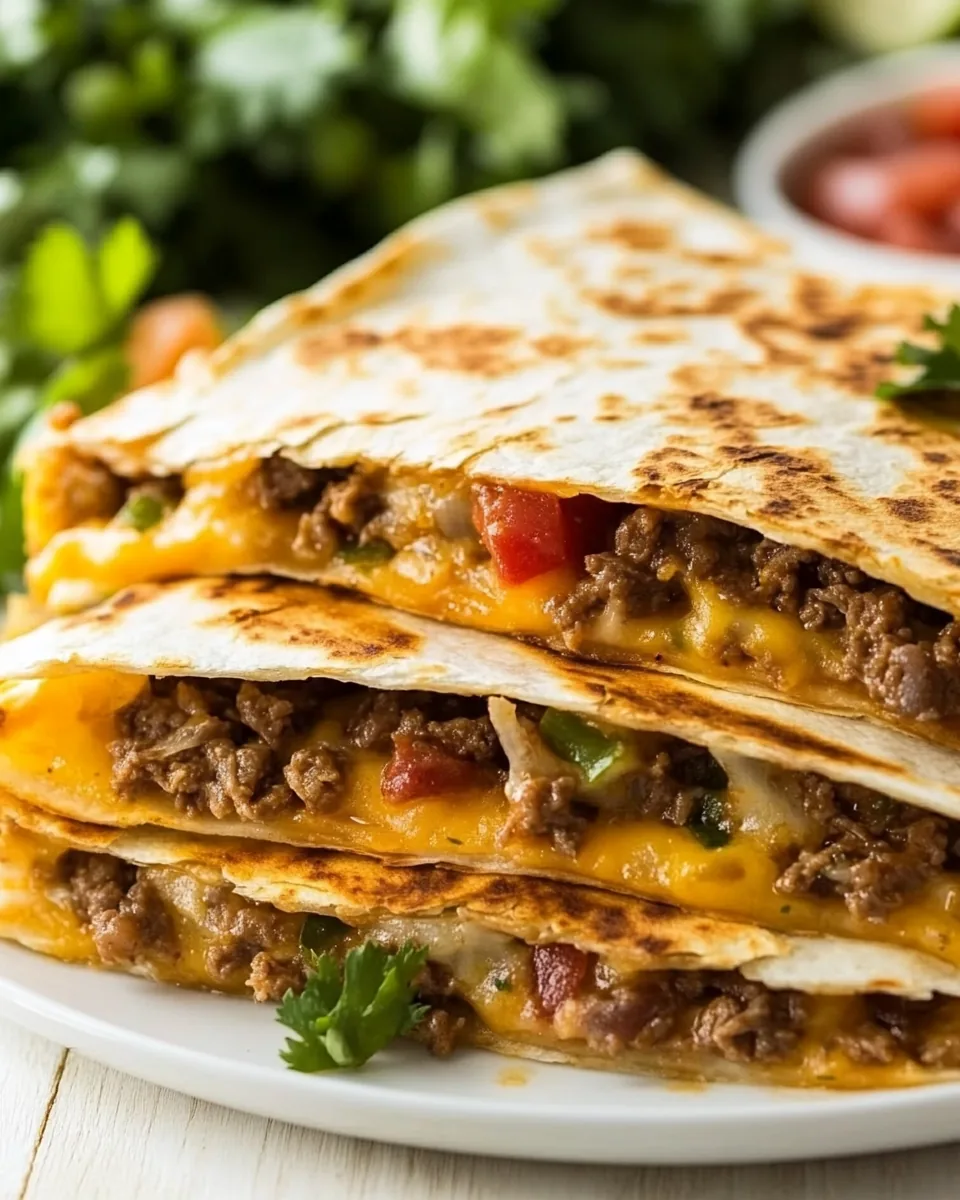
Cheesy Beef Quesadillas
There’s something about a plate of Cheesy Beef Quesadillas that brings back memories of cozy family dinners. I remember the first time I made these delicious, cheesy wonders; it was a rainy Sunday afternoon, and I wanted to prepare something that everyone would love. The aroma of sizzling beef and melting cheese filled the kitchen, and before I knew it, my family was gathered around the table, eagerly awaiting their share. These quesadillas are not just a meal; they’re an experience—one that invites conversations and laughter. The best part? They’re incredibly easy to whip up, making them my go-to dish for a quick weeknight dinner.
Recipe Snapshot
20 mins
5 mins
15 mins
Medium
550 kcal
37g g
Gluten-Free
32g g
Wooden Spoon, Skillet, Mixing Bowl
What Sets This Cheesy Beef Quesadillas Apart
Quick and Simple to Prepare
One of the reasons I adore Cheesy Beef Quesadillas is their simplicity. With just a handful of ingredients, you can create a meal that feels indulgent yet is prepared in no time. Whether you’re a culinary novice or a seasoned chef, these quesadillas can easily fit into your cooking repertoire.
Endless Flavor Combinations
Another standout feature is the versatility. You can customize the filling to include your favorite ingredients, be it different types of cheese, a variety of spices, or even veggies. The world is your oyster when it comes to creating the perfect quesadilla!
Perfect for Any Meal
I love how Cheesy Beef Quesadillas can serve as a hearty lunch, a simple dinner, or even a party appetizer. They can be cut into small wedges, making them great for sharing with friends during game nights or family gatherings. Everyone loves a good quesadilla!
Kid-Friendly
These quesadillas are a hit with kids. The gooey, melted cheese and flavorful beef make for a delightful combination that even picky eaters will approve of. Plus, watching them get excited as I flip the quesadillas in the skillet is a joy all on its own!
Great for Meal Prep
What’s even better is that Cheesy Beef Quesadillas are ideal for meal prepping. You can make a batch ahead of time, freeze them, and reheat them whenever hunger strikes. It’s a fantastic way to ensure you have a delicious meal ready to go at a moment’s notice.
Budget-Friendly
Lastly, they are incredibly budget-friendly. You can make a hearty meal for your entire family without breaking the bank. With affordable ingredients like ground beef and tortillas, you can create something that feels special without splurging.
Cheesy Beef Quesadillas Ingredients
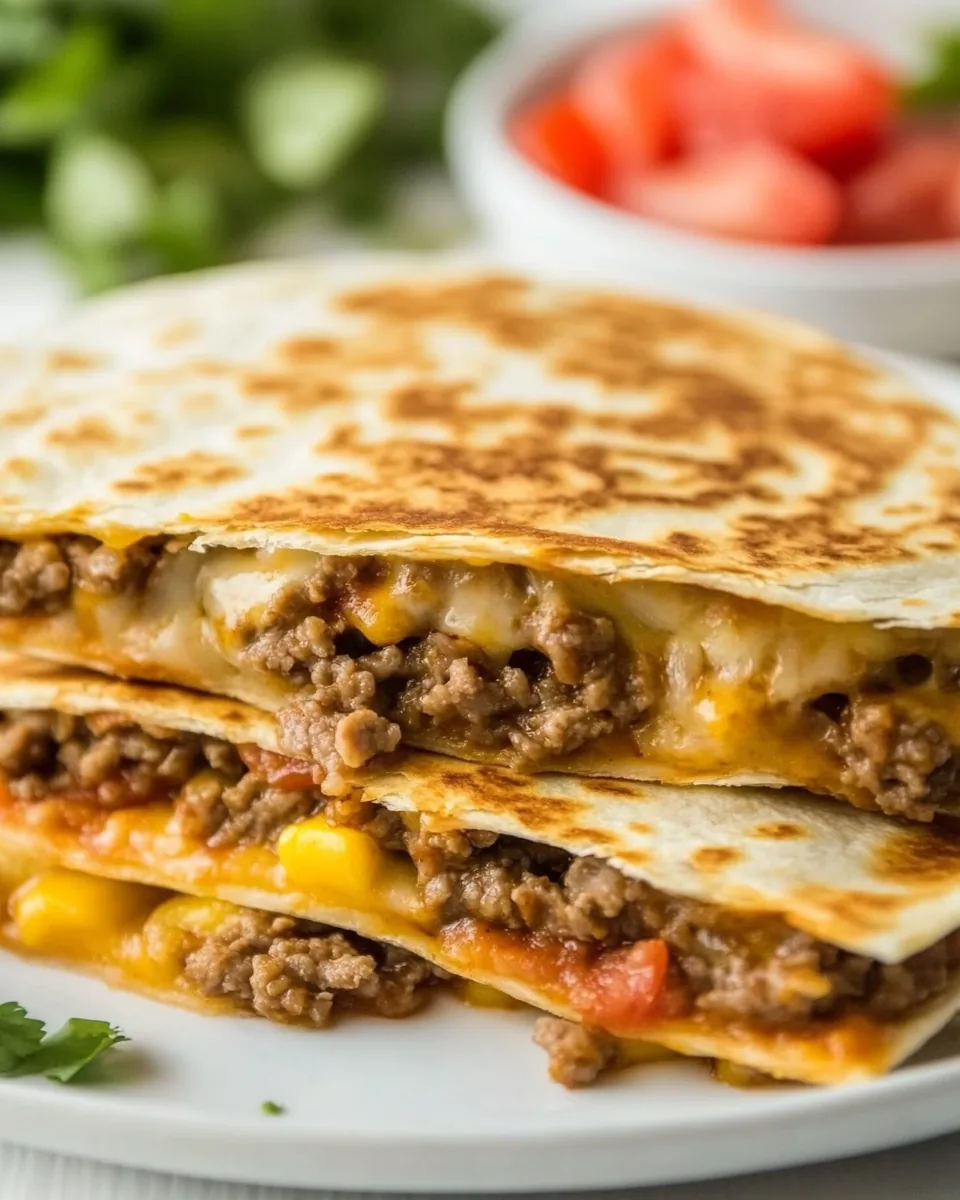
The ingredients for Cheesy Beef Quesadillas come together beautifully to create a dish that is both satisfying and flavorful. Each component plays a vital role, from the robust taste of the ground beef to the rich melt of the cheese. The combination of spices adds depth, while the tortillas serve as the perfect crispy vessel.
- 1 pound ground beef: The primary protein that provides a hearty base for your quesadillas.
- 1 tablespoon garlic paste: Adds a punch of flavor that complements the beef.
- 1 teaspoon onion powder: Introduces a subtle sweetness and depth.
- 1 teaspoon salt: Enhances all the flavors in the dish.
- 8 ounces tomato sauce (with basil, garlic, and oregano): Offers a tangy note that binds the fillings together.
- ½ teaspoon red pepper flakes (optional): For those who enjoy a bit of heat.
- 2 tablespoons butter (divided): Used for cooking and adds richness.
- 8 10-inch flour tortillas: The perfect wrap for your cheesy fillings.
- 4½ cups Colby jack cheese (shredded): This melty, flavorful cheese is a must for that gooey texture.
Cheesy Beef Quesadillas Instructions
Cooking Cheesy Beef Quesadillas is a fun and easy process that results in a deliciously crispy and cheesy treat. The steps are straightforward, and you’ll be left with a comforting dish that everyone will fight over.
- In a large skillet over medium heat, add the ground beef. Cook until no longer pink, breaking it up with a wooden spoon as it cooks. This should take about five to seven minutes. You want the beef to be nicely browned.
- Drain any excess grease from the skillet, then return the beef to the pan. Continue cooking for a couple more minutes until the beef develops a rich, brown color.
- Add the garlic paste, onion powder, salt, tomato sauce, and red pepper flakes (if using). Stir well to combine all the ingredients. Let this mixture simmer for a few minutes, allowing the flavors to meld together.
- In a separate large skillet over medium-low heat, add ½ tablespoon of butter and let it melt. This is essential for achieving that golden, crispy exterior.
- Place one tortilla in the skillet. On one half of the tortilla, add a generous amount of Colby jack cheese, followed by a portion of the beef mixture, then top with more cheese to help everything stick together.
- Fold the tortilla over to cover the filling. Spread a little butter on the top side of the tortilla to promote even browning.
- Carefully flip the quesadilla over after a few minutes, cooking until all of the cheese is melted and the tortilla is golden brown. You might want to use a spatula to help with this.
- Repeat the process for each quesadilla, adding more butter to the skillet as needed. You can keep the cooked quesadillas warm in the oven while you finish the rest.
Things Worth Knowing
- Watch the heat: Cooking the quesadillas over medium-low heat is crucial to prevent burning while ensuring the cheese melts perfectly.
- Let it rest: After cooking, let the quesadilla sit for a minute before cutting. This helps the cheese set slightly, making it easier to slice.
- Use fresh ingredients: Freshly shredded cheese melts far better than pre-packaged shredded cheese, which often contains anti-caking agents.
- Experiment with fillings: Don’t hesitate to add other ingredients like bell peppers or beans for extra flavor and nutrition.
Making Adjustments
If you want to personalize your Cheesy Beef Quesadillas, here are some great tips to enhance your cooking experience. Feel free to get creative!
- Storage: Store leftovers in an airtight container in the refrigerator for up to three days. Reheat in a skillet for the best results.
- Freezing: You can freeze uncooked quesadillas. Just assemble them, then wrap tightly in foil or plastic wrap before placing them in the freezer.
- Pairing: Serve your quesadillas with fresh guacamole, salsa, or sour cream for added flavor.
- Flavor variations: Add a variety of spices to the beef mixture, such as cumin and smoked paprika, for a deeper flavor profile.
- Cheese options: Experiment with different cheeses like mozzarella or pepper jack for a unique twist on the classic recipe.
Best Served With
When it comes to serving Cheesy Beef Quesadillas, the options are vast! Here are some fantastic ideas:
- Fresh salsa: A vibrant salsa made from diced tomatoes, onions, and cilantro adds a refreshing touch.
- Guacamole: Creamy guacamole complements the crispy texture of the quesadillas beautifully.
- Side salad: A simple green salad dressed with lime vinaigrette pairs perfectly for a lightening effect.
- Beans: A side of seasoned black or pinto beans can enhance the meal’s protein content.
- Rice: Serve with Mexican rice for a hearty, fulfilling dish that’s perfect for dinner.
- Occasions: These quesadillas are great for casual gatherings, family dinners, or even game day! They’re easy to share and can be made in large batches.
- Storage tips: Any leftover quesadillas can be stored in the fridge for a few days, making for a quick lunch option.
FAQ
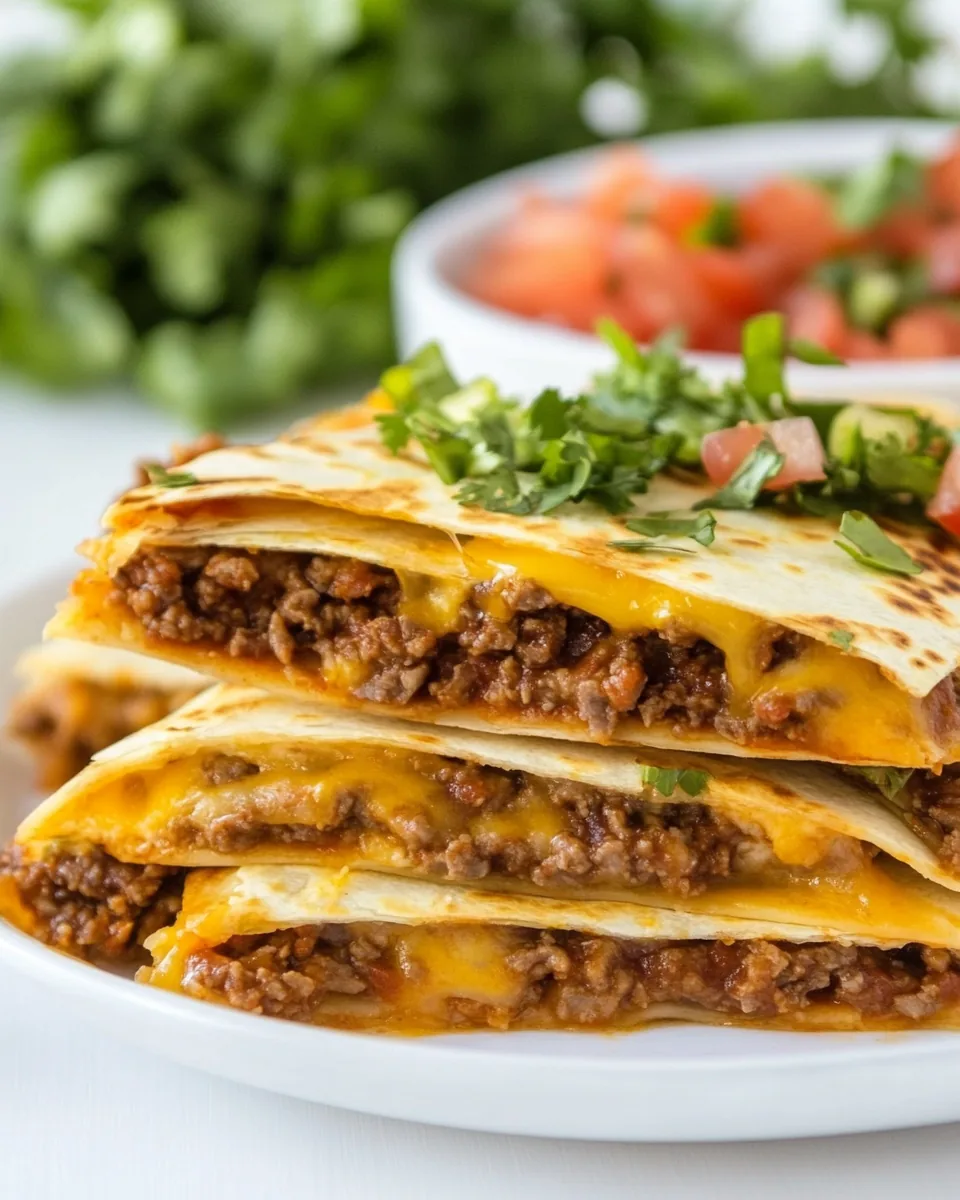
Conclusion
In summary, Cheesy Beef Quesadillas are a fantastic dish that combines melty cheese, flavorful beef, and crispy tortillas into one delicious package. They are not only easy to make but also perfect for sharing with family and friends. I encourage you to try these quesadillas for your next meal. They’re bound to become a favorite in your household, just as they have in mine!
Cheesy Beef Quesadillas
Equipment
- Wooden Spoon
- Skillet
- Mixing Bowl
Ingredients
- 1 pound ground beef
- 1 tablespoon garlic paste
- 1 teaspoon onion powder
- 1 teaspoon salt
- 8 ounces tomato sauce (with basil, garlic, and oregano)
- ½ teaspoon red pepper flakes (optional)
- 2 tablespoons butter (divided)
- 8 10-inch flour tortillas
- 4½ cups Colby jack cheese (shredded)
Instructions
- In a large skillet over medium heat, add the ground beef. Cook until no longer pink, breaking it up with a wooden spoon as it cooks. This should take about five to seven minutes. You want the beef to be nicely browned.
- Drain any excess grease from the skillet, then return the beef to the pan. Continue cooking for a couple more minutes until the beef develops a rich, brown color.
- Add the garlic paste, onion powder, salt, tomato sauce, and red pepper flakes (if using). Stir well to combine all the ingredients. Let this mixture simmer for a few minutes, allowing the flavors to meld together.
- In a separate large skillet over medium-low heat, add ½ tablespoon of butter and let it melt. This is essential for achieving that golden, crispy exterior.
- Place one tortilla in the skillet. On one half of the tortilla, add a generous amount of Colby jack cheese, followed by a portion of the beef mixture, then top with more cheese to help everything stick together.
- Fold the tortilla over to cover the filling. Spread a little butter on the top side of the tortilla to promote even browning.
- Carefully flip the quesadilla over after a few minutes, cooking until all of the cheese is melted and the tortilla is golden brown. You might want to use a spatula to help with this.
- Repeat the process for each quesadilla, adding more butter to the skillet as needed. You can keep the cooked quesadillas warm in the oven while you finish the rest.
Notes
- Tip 1: Store leftovers in an airtight container in the refrigerator for up to three days. Reheat in a skillet for the best results.
- Tip 2: You can freeze uncooked quesadillas. Just assemble them, then wrap tightly in foil or plastic wrap before placing them in the freezer.
- Tip 3: Serve your quesadillas with fresh guacamole, salsa, or sour cream for added flavor.
- Tip 4: Don’t hesitate to add other ingredients like bell peppers or beans for extra flavor and nutrition.
- Tip 5: Freshly shredded cheese melts far better than pre-packaged shredded cheese, which often contains anti-caking agents.