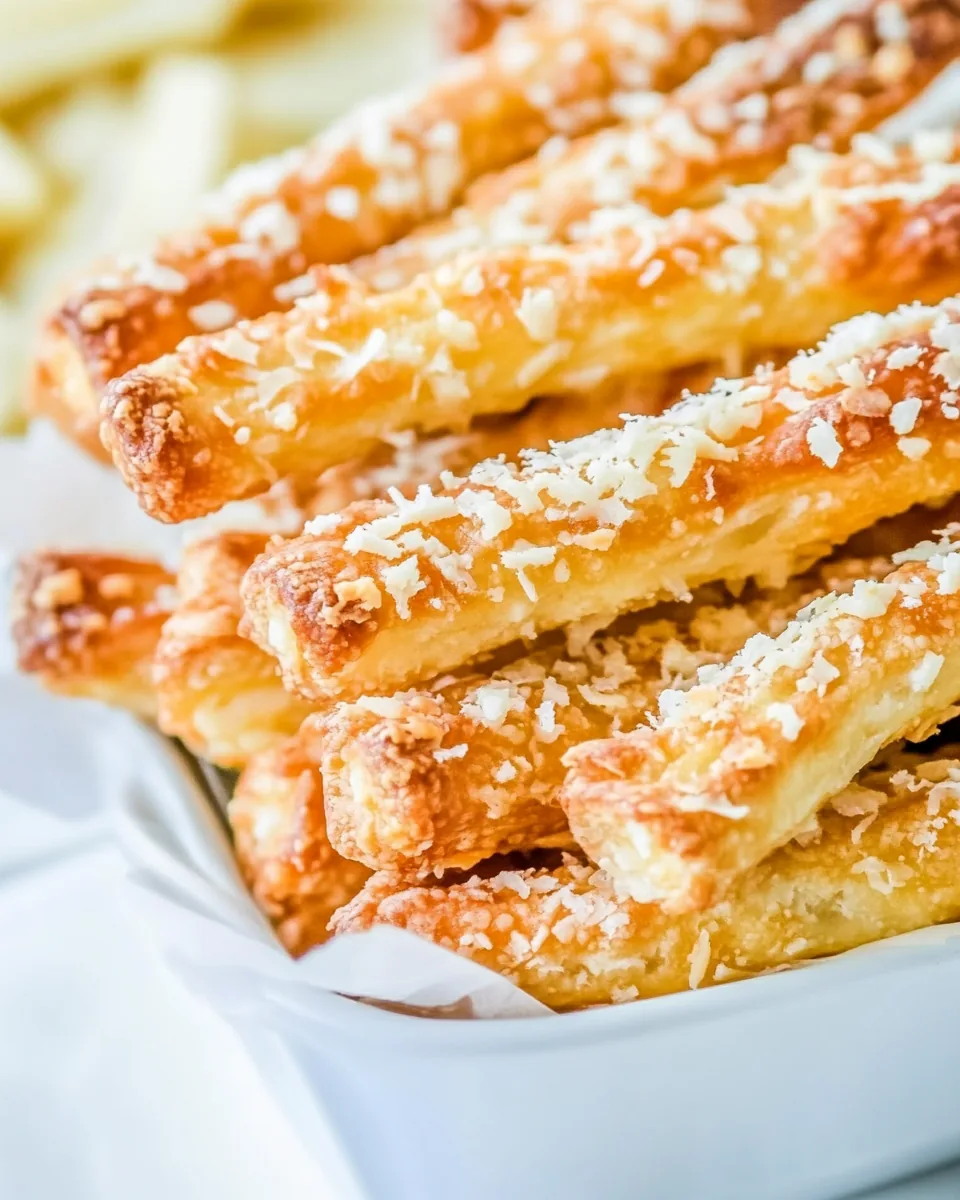
Cheese Sticks
There’s something incredibly comforting about serving up a plate of Cheese Sticks to friends and family. I still remember the first time I tried them at a friend’s gathering. The warm, cheesy goodness was a crowd-pleaser, and I couldn’t resist going back for seconds. Since then, I’ve made it my mission to perfect my own recipe. These Cheese Sticks are perfect as an appetizer, snack, or even as a side for a hearty meal. Whenever I prepare them, I feel a sense of joy and nostalgia—each bite reminds me of laughter-filled gatherings and shared moments over delicious food. Whether it’s a casual get-together or a festive celebration, these Cheese Sticks never fail to bring smiles to faces. So, let’s dive into making these delightful treats together!
Recipe Snapshot
50 mins
30 mins
20 mins
Medium
150 kcal
5 g
Gluten-Free, Low FODMAP
7 g
Baking Sheet, Oven, Mixing Bowl
Why We Love This Cheese Sticks
Loaded with Flavor
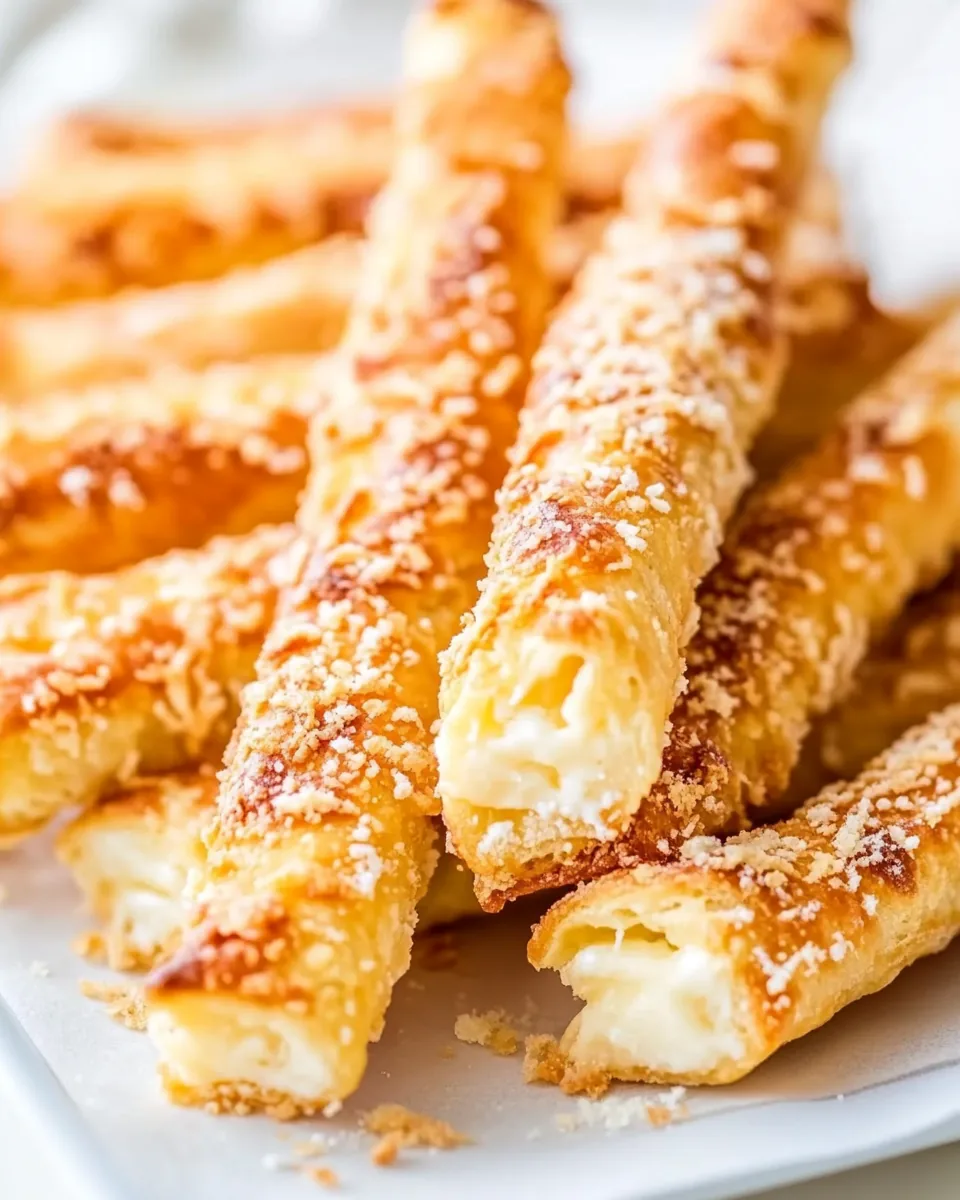
One of the best things about Cheese Sticks is the rich flavor they pack in every bite. The combination of different cheeses, especially the creamy ricotta and sharp gruyere, creates a taste sensation that’s hard to resist. You can savor the gooey, melty goodness that perfectly complements the crunch of the crust.
Fun to Make
Making Cheese Sticks is a fun culinary adventure. Getting your hands in the dough and shaping each stick feels satisfying. It’s a great recipe to involve kids or friends as they can help with rolling and cutting the dough. Plus, watching them bake until golden brown is a joyous moment.
Perfect for Any Occasion
These Cheese Sticks are versatile and work for any occasion. Whether you’re hosting a game night or preparing them for a festive holiday, they always fit right in. You can also serve them alongside soups or salads for a delightful twist.
Easy to Customize
You can easily customize your Cheese Sticks to suit your taste. Feel free to experiment with different cheese combinations or add herbs and spices to give them an extra kick. Each time you make them, you can create something new and exciting!
Great for Meal Prep
If you’re a busy person, these Cheese Sticks are fantastic for meal prep. You can make a large batch and freeze them for later. Just bake a few whenever hunger strikes, and you’re good to go!
A Crowd Favorite
Finally, Cheese Sticks are a guaranteed hit with guests. No matter what your friends’ tastes are, these cheesy delights tend to win over even the most discerning palates. They’re perfect for sharing and encourage conversation—everyone loves digging into a plate of warm, homemade snacks!
Ingredients You’ll Need for Cheese Sticks
For Cheese Sticks, the ingredients are simple yet essential for that perfect blend of flavors and textures. Each element plays a vital role in creating the final dish. The key players here are the ricotta cheese, which gives a creamy base, and the gruyere cheese that adds depth and a hint of nuttiness. The combination of these ingredients is what makes your Cheese Sticks a hit!
- 8 ounces ricotta cheese: A creamy cheese that forms the base of the dough, providing moisture and richness.
- 1 cup plain yogurt: Adds a tangy flavor and helps achieve a tender texture.
- 6 ounces margarine: Used for richness; you can also substitute it with butter for a different flavor.
- 1 egg: Binds the ingredients together and contributes to the dough’s structure.
- ½ teaspoon salt: Enhances all flavors in the recipe.
- 2 teaspoons active dry yeast: Helps the dough rise and gives it a light texture.
- 4 cups all-purpose flour: The main ingredient that forms the dough, providing structure.
- 1 egg (for egg wash): Used to give the sticks a beautiful golden color when baked.
- 1 cup gruyere cheese (shredded): Adds a melty, flavorful finish to the sticks.
Instructions for Cheese Sticks
Ready to create some delicious Cheese Sticks? The process is fun and straightforward! Let’s roll up our sleeves and get started. Follow these steps closely, and soon you’ll be enjoying your very own cheesy delights.
- In a large mixing bowl, combine ricotta cheese, plain yogurt, margarine, egg, active dry yeast, and salt. Use the paddle attachment of your mixer on medium speed until everything is well incorporated. The mixture should be creamy and smooth, with no lumps.
- Gradually add half of the all-purpose flour to the mixture. Continue mixing until the flour is fully combined. The dough will begin to form and get slightly thicker.
- Once the first half of the flour is well mixed, add the remaining flour. Switch the mixer to a dough hook attachment and mix on low speed until the dough pulls away from the sides of the bowl and becomes smooth and elastic. This may take about five minutes.
- Transfer the dough to a large, oiled bowl. Cover it with plastic wrap and let it rest in the refrigerator for at least two hours, or ideally overnight. This resting time allows the flavors to develop and the dough to rise slightly.
- Preheat your oven to 375°F (190°C) and line two large baking sheets with parchment paper. This will prevent the sticks from sticking and make cleanup easier.
- When the dough is ready, take it out of the refrigerator and divide it into two equal pieces. On a lightly floured surface, roll out one piece of dough into a rectangle about ¼ inch thick. Be careful not to roll it too thin, as you want a good chew in your Cheese Sticks.
- Using a sharp knife or a pizza cutter, cut the rolled-out dough into long strips. Place these strips on the prepared baking sheets, leaving some space between each piece.
- If desired, poke holes into each stick using the end of a skewer. This step is optional, but it can help the sticks bake evenly.
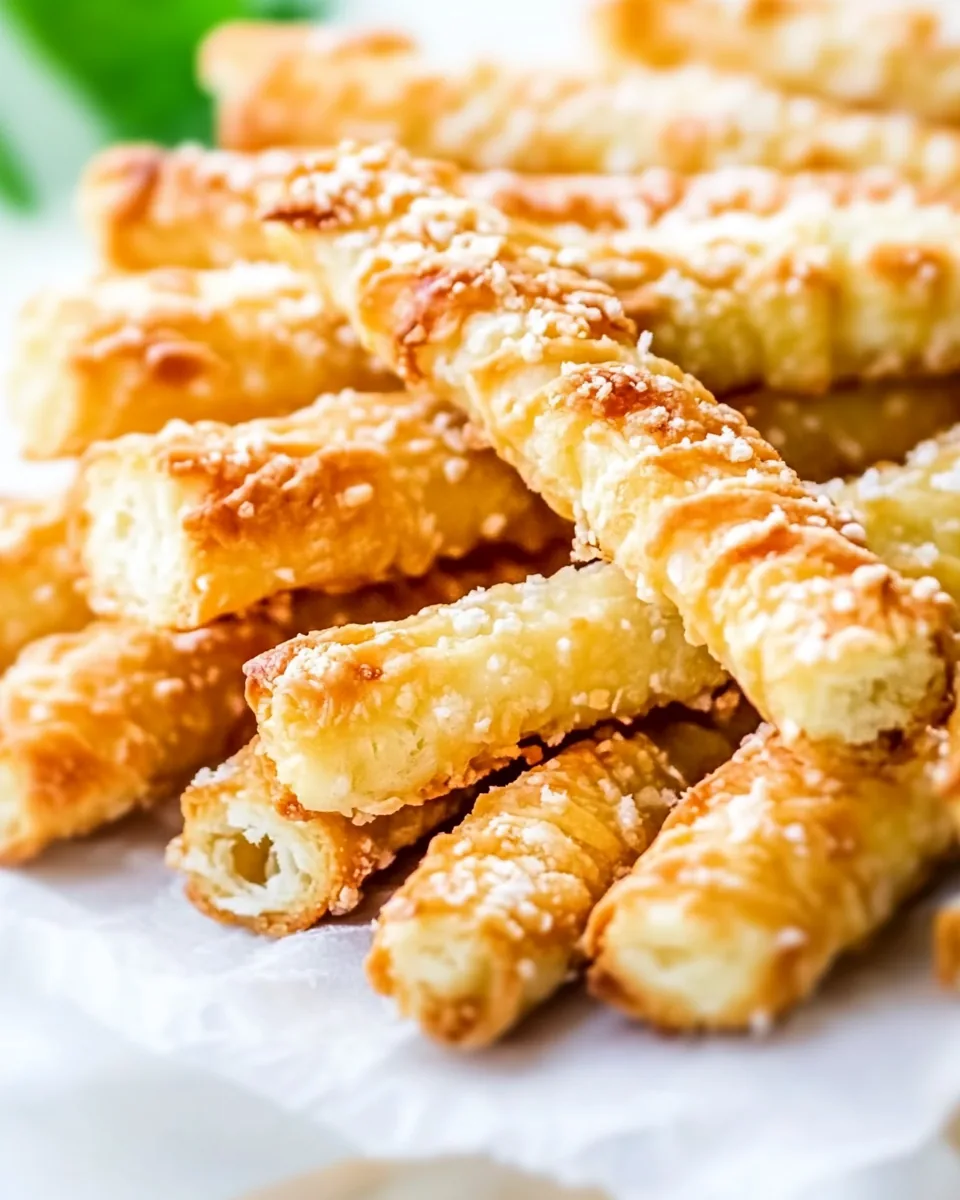
- In a small bowl, whisk another egg to create an egg wash. Brush the top of each stick with the wash, ensuring they are well coated for a golden finish. Sprinkle the shredded gruyere cheese generously over the top.
- Bake in the preheated oven for 20 to 22 minutes, or until the sticks are golden brown and puffed. Keep an eye on them, as ovens can vary. When done, the sticks should look beautifully golden and smell amazing!
- Once baked, remove the Cheese Sticks from the oven and allow them to cool for a few minutes on a wire rack before serving. Repeat the rolling, cutting, and baking process with the second piece of dough.
Things Worth Knowing
- Ensure all your ingredients are at room temperature before beginning. This helps in achieving a smooth and well-mixed dough.
- Don’t skip the resting time! Refrigerating the dough allows the flavors to meld and results in a better texture.
- The thickness of the dough is crucial. Rolling it too thin may result in crunchy sticks rather than chewy ones.
- Consider using a variety of cheeses for the filling to create different flavor profiles. Cheddar or mozzarella can be delightful additions!
Tips and Tricks about Cheese Sticks

Making the perfect Cheese Sticks can be enhanced with a few tips and tricks. Let’s ensure you have the best experience while making them!
- Storage: Keep leftover Cheese Sticks in an airtight container in the fridge for up to five days. They taste great even when reheated!
- Freezing: To freeze, place the cooled sticks in a single layer on a baking sheet and freeze until solid. Then, transfer them to a freezer bag for up to a month. Thaw overnight in the fridge before baking.
- Pairing: These Cheese Sticks are delicious with marinara sauce, garlic dip, or even a fresh green salad for a balanced meal.
- Serving: Serve them warm for the best texture and flavor. Garnish with fresh herbs for an extra pop of color.
- Variations: Feel free to add herbs like rosemary or garlic powder into the dough for extra flavor!
Serving Suggestions
When it comes to serving Cheese Sticks, the possibilities are endless! These delightful treats can be paired with a variety of dishes or enjoyed on their own. Here are some ideas:
- As an appetizer: Present them on a platter with a selection of dips such as marinara, ranch, or a spicy aioli.
- For lunch: They’re great as a side dish alongside a fresh garden salad or a comforting bowl of soup.
- At parties: Make a large batch for gatherings; they disappear quickly and are always a hit with guests.
- During festivities: Perfect for holiday events, they add a fun and festive touch to any table.
- For kids’ meals: Serve them with a side of fruit or veggie sticks to create a fun and nutritious plate.
- Storage tips: If you have leftovers, store them in an airtight container on the counter for short-term freshness, or refrigerate for longer preservation.
- Seasonal pairings: In colder months, serve them warm with hearty soups; in warmer weather, pair them with light salads.
FAQ
Conclusion
The charm of Cheese Sticks lies in their delightful texture and wonderful flavor that brings everyone together. They’re a fantastic snack for any occasion, offering a cheesy treat that warms the heart. I encourage you to try making them—you’ll quickly see why they’re so beloved!

Cheese Sticks
Equipment
- Baking Sheet
- Oven
- Mixing Bowl
Ingredients
- 8 ounces ricotta cheese
- 1 cup plain yogurt
- 6 ounces margarine
- 1 whole egg
- ½ teaspoon salt
- 2 teaspoons active dry yeast
- 4 cups all-purpose flour
- 1 whole egg (for egg wash)
- 1 cup gruyere cheese (shredded)
Instructions
- In a large mixing bowl, combine ricotta cheese, plain yogurt, margarine, egg, active dry yeast, and salt. Use the paddle attachment of your mixer on medium speed until everything is well incorporated. The mixture should be creamy and smooth, with no lumps.
- Gradually add half of the all-purpose flour to the mixture. Continue mixing until the flour is fully combined. The dough will begin to form and get slightly thicker.
- Once the first half of the flour is well mixed, add the remaining flour. Switch the mixer to a dough hook attachment and mix on low speed until the dough pulls away from the sides of the bowl and becomes smooth and elastic. This may take about five minutes.
- Transfer the dough to a large, oiled bowl. Cover it with plastic wrap and let it rest in the refrigerator for at least two hours, or ideally overnight. This resting time allows the flavors to develop and the dough to rise slightly.
- Preheat your oven to 375°F (190°C) and line two large baking sheets with parchment paper. This will prevent the sticks from sticking and make cleanup easier.
- When the dough is ready, take it out of the refrigerator and divide it into two equal pieces. On a lightly floured surface, roll out one piece of dough into a rectangle about ¼ inch thick. Be careful not to roll it too thin, as you want a good chew in your Cheese Sticks.
- Using a sharp knife or a pizza cutter, cut the rolled-out dough into long strips. Place these strips on the prepared baking sheets, leaving some space between each piece.
- If desired, poke holes into each stick using the end of a skewer. This step is optional, but it can help the sticks bake evenly.
- In a small bowl, whisk another egg to create an egg wash. Brush the top of each stick with the wash, ensuring they are well coated for a golden finish. Sprinkle the shredded gruyere cheese generously over the top.
- Bake in the preheated oven for 20 to 22 minutes, or until the sticks are golden brown and puffed. Keep an eye on them, as ovens can vary. When done, the sticks should look beautifully golden and smell amazing!
- Once baked, remove the Cheese Sticks from the oven and allow them to cool for a few minutes on a wire rack before serving. Repeat the rolling, cutting, and baking process with the second piece of dough.
Notes
- Tip 1: Keep leftover Cheese Sticks in an airtight container in the fridge for up to five days. They taste great even when reheated!
- Tip 2: To freeze, place the cooled sticks in a single layer on a baking sheet and freeze until solid. Then, transfer them to a freezer bag for up to a month. Thaw overnight in the fridge before baking.
- Tip 3: These Cheese Sticks are delicious with marinara sauce, garlic dip, or even a fresh green salad for a balanced meal.
- Tip 4: Serve them warm for the best texture and flavor. Garnish with fresh herbs for an extra pop of color.
- Tip 5: Feel free to add herbs like rosemary or garlic powder into the dough for extra flavor!