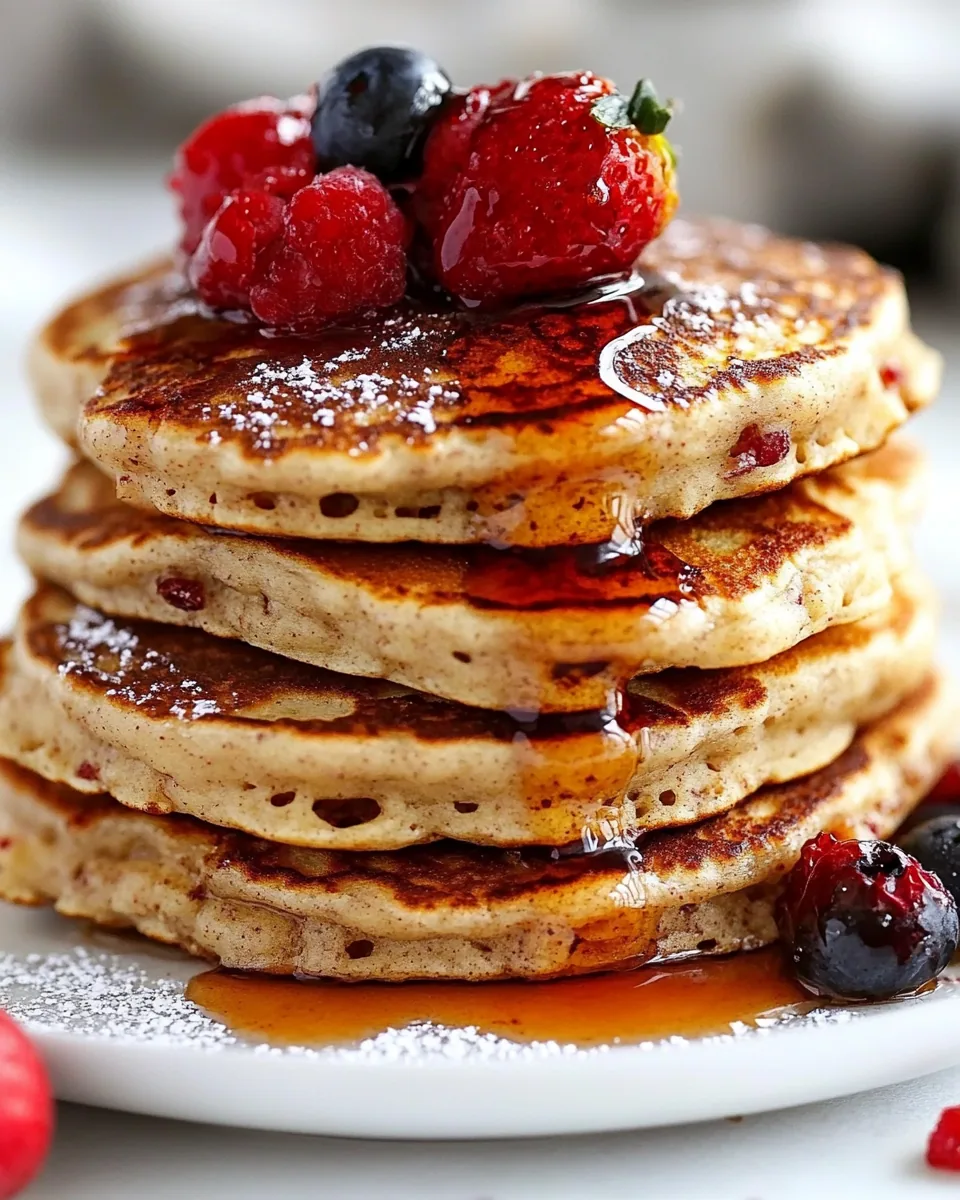
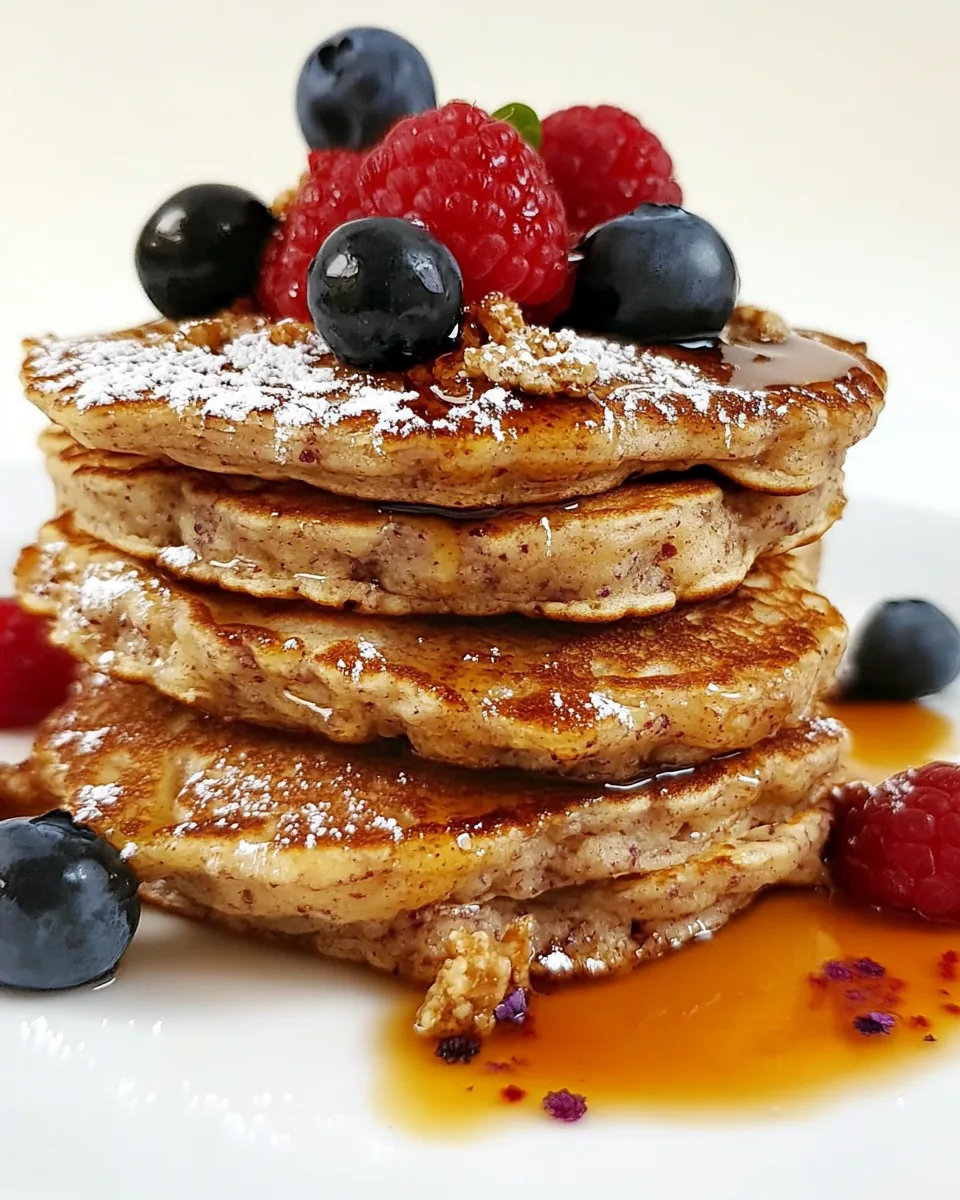
Cereal Pancakes
There’s something so nostalgic about a stack of warm pancakes, isn’t there? The first time I made Cereal Pancakes, it was a chilly Saturday morning. My kids were busy rummaging through the pantry, looking for a delicious breakfast that would bring us all together. That’s when I spotted the box of cinnamon crunch cereal. I knew I had to create something special with it. These pancakes not only bring back memories but also fill the air with the sweet aroma of cinnamon as they cook. Every flip brings excitement, and the kids can’t wait to devour them with their favorite toppings.
Recipe Snapshot
30 mins
15 mins
15 mins
Medium
210 kcal
5g g
Gluten-Free, Low FODMAP
8g g
Skillet, Mixing Bowl, Whisk, Frying Pan
Why You Need This Cereal Pancakes
Comfort Food at Its Best
There’s nothing quite like the comforting texture of pancakes. The fluffy stacks are a staple in many households, and adding crushed cereal gives them a unique twist that makes them even more delightful.
Creative Breakfast Idea
We often find ourselves in a breakfast rut, making the same dishes over and over. However, Cereal Pancakes shake things up! You can easily customize these pancakes by swapping in your favorite cereals. The kids will love choosing their favorite flavors!
Quick and Easy
These pancakes are not only delicious but also a breeze to whip up. In just a short while, you can have a stack ready for the family. It’s perfect for those busy mornings when you want something homemade without the fuss.
Perfect for Any Occasion
Whether it’s a special weekend brunch or a simple weekday breakfast, Cereal Pancakes fit right in. They’re versatile enough to impress guests or satisfy a simple craving.
Kid-Friendly Fun
Kids love to help in the kitchen, and this recipe is no exception. From crushing the cereal to pouring the batter, they’ll enjoy every moment of the cooking process. Plus, they can personalize their pancakes with toppings like berries or whipped cream!
A Sweet Aroma
As these pancakes cook, the kitchen fills with the sweet scent of cinnamon and toasted cereal. It’s a smell that brings everyone to the table, excited for breakfast.
Cereal Pancakes Shopping List
When it comes to making Cereal Pancakes, the ingredients play a significant role in creating the perfect fluffy texture and delightful flavor. Each component is selected for its unique contribution, enhancing the overall experience of the dish. Let’s explore these ingredients:
- 2 cups slightly crushed cinnamon crunch cereal (measure whole, before crushing)
- 1 3/4 cups all-purpose flour
- 1/4 cup granulated sugar
- 1 tablespoon + 1 teaspoon baking powder
- 1 teaspoon ground cinnamon
- 1/2 teaspoon salt
- 1 1/2 cups Real California Milk
- 1/4 cup Real California unsalted butter
- 1 large egg
- 2 teaspoons vanilla extract
- 2 tablespoons granulated sugar
- 1/2 teaspoon cinnamon
Step by Step Instructions for Cereal Pancakes
Making Cereal Pancakes is a fun and engaging process that brings everyone together. Follow these easy steps to create a delicious breakfast that will have everyone smiling!
- Start by melting the butter in a microwave-safe dish. Set it aside to cool slightly while you prepare the dry ingredients. This will keep the pancakes from becoming greasy.
- In a large mixing bowl, whisk together the crushed cereal, flour, sugar, baking powder, cinnamon, and salt. Make sure everything is well combined to ensure an even distribution of flavors.
- In another medium-sized bowl, warm the milk in the microwave until it’s lukewarm, about 60 seconds. This temperature is essential for preventing lumps when mixed with the butter.
- Whisk the lukewarm milk, melted butter, egg, and vanilla together until smooth. Ensure the butter isn’t too hot, or it will cook the egg.
- Make a well in the center of the dry mixture and pour the milk mixture into the well. Gently whisk until just combined. The batter will be thick and lumpy; this is normal. Avoid over-mixing to keep your pancakes fluffy.
- Allow the batter to rest for 5 to 10 minutes. This step helps the ingredients meld together, ensuring each pancake is light and airy.
- Heat a large nonstick skillet or griddle over medium heat. If your stove tends to run hot, adjust it to medium-low. This ensures even cooking without burning.
- Using a 1/4 cup measuring cup, pour the batter onto the skillet. Gently spread the batter into a 4-inch circle using a spatula or the back of the cup. The thick batter will hold its shape.
- Wait until the edges are set and bubbles form on the surface, about 2 minutes. This indicates it’s time to flip. Carefully turn the pancake over and cook for an additional 1 to 2 minutes, until lightly browned.
- Optional: Brush the tops of the warm pancakes with softened butter and sprinkle with cinnamon and sugar topping for extra flavor.
- Serve the pancakes warm with your choice of berries, cream, syrup, or even some extra crushed cereal on top!
Things Worth Knowing
- Mixing Technique: It’s essential not to over-mix the batter. A few lumps are okay, as they contribute to the fluffy texture of the pancakes.
- Cooking Temperature: Adjust the heat if needed; your pancakes should be golden brown after flipping. If they cook too fast and burn, reduce the heat and let the skillet cool slightly.
- Flipping Tips: Use a thin spatula to flip the pancakes. It needs to slide easily under the pancake without tearing it.
- Storage: Let pancakes cool completely before stacking with parchment in between. Store them tightly covered in the refrigerator for up to three days.
- Freezing: To freeze, line cooked pancakes on a baking sheet, freeze until solid, then store in a freezer bag. They can last up to two months.
Recipe Tips about Cereal Pancakes
To ensure your Cereal Pancakes turn out perfectly every time, consider the following tips:
- Adjusting the Recipe: Feel free to swap in your favorite cereal. This recipe is versatile and can be customized to your taste.
- Cooking in Batches: Keep pancakes warm by placing them on a baking sheet in a low-temperature oven while you cook the remaining batter.
- Sweetness Level: If you have a sweet tooth, consider adding a little more sugar to the batter or serving with a drizzle of syrup or honey.
- Serving: Pair your pancakes with fresh fruits like strawberries or blueberries for a refreshing touch.
- Experiment with Flavors: Try adding chocolate chips or nuts to the batter for additional flavor and texture.
Accompaniments for Cereal Pancakes
Serving Cereal Pancakes can be as fun and varied as making them! Here are some great ideas:
- Fresh Fruits: Serve warm Cereal Pancakes with a side of fresh berries, such as strawberries, blueberries, or sliced bananas. They add sweetness and a pop of color.
- Yogurt: A dollop of yogurt can be a creamy accompaniment, adding a tangy contrast to the sweetness of the pancakes.
- Maple Syrup: Don’t forget the classic maple syrup! A generous drizzle complements the pancakes beautifully.
- Whipped Cream: For a special treat, top the pancakes with whipped cream. It transforms breakfast into a delightful dessert.
- Cereal Topping: For fun, sprinkle more crushed cereal on top right before serving for an extra crunch!
- Breakfast Occasion: These pancakes are perfect for any breakfast occasion, whether it’s a lazy Sunday morning or a holiday brunch with family.
- Storage Tips: If you have leftovers, stack them with parchment paper in between and store them in an airtight container in the refrigerator for up to three days.
FAQ
Conclusion
Cereal Pancakes are a delightful way to start your day, bringing together the crunch of your favorite cereal and the fluffiness of traditional pancakes. They’re not only easy to make but also fun and customizable, perfect for families and gatherings. I encourage you to give this recipe a try; your breakfast can be both delicious and nostalgic!
Cereal Pancakes
Equipment
- Skillet
- Mixing Bowl
- Whisk
- Frying Pan
Ingredients
- 2 cups slightly crushed cinnamon crunch cereal measure whole, before crushing
- 1 3/4 cups all-purpose flour
- 1/4 cup granulated sugar
- 1 tablespoon baking powder
- 1 teaspoon ground cinnamon
- 1/2 teaspoon salt
- 1 1/2 cups Real California Milk
- 1/4 cup Real California unsalted butter
- 1 large egg
- 2 teaspoons vanilla extract
- 2 tablespoons granulated sugar
- 1/2 teaspoon cinnamon
Instructions
- Melt the butter in a microwave-safe dish; set aside to slightly cool.
- Whisk the crushed cereal, flour, sugar, baking powder, cinnamon, and salt together in a large mixing bowl.
- Warm the milk in a medium microwave-safe mixing bowl in the microwave until lukewarm, not hot (about 60 seconds).
- Whisk the milk, melted butter, egg, and vanilla together.
- Make a well in the center of the flour mixture. Pour the milk mixture into the well and gently whisk just until no clumps of flour remain.
- Allow the batter to rest for 5-10 minutes.
- Heat a large nonstick skillet (or griddle) over medium heat.
- Add the batter ¼ cup at a time, and gently spread it into a 4-inch circle using your spatula or the back of the measuring cup.
- When edges are set and a few bubbles pop on surfaces of the pancake, flip over, about 2 minutes.
- Cook the other side for 1 to 2 additional minutes, until lightly browned and cooked in the middle.
- Optional: Brush the tops of the warm pancakes with softened butter and sprinkle with cinnamon and sugar topping.
- Serve warm with your choice of berries, cream, syrup and/or crushed cereal.
Notes
- Use a different cereal: swap in your favorite cereal and omit the cinnamon.
- Adjust heat if needed: your pancakes should be golden brown on the bottom after you flip them. If they are darker than you like, then your pan is too hot.
- Flip with the correct spatula: when flipping pancakes, you need a thin spatula that will adeptly slide under the delicate pancakes.
- Don’t burn the butter: to avoid burnt tasting pancakes, wipe the skillet clean and brush with fresh butter between batches.
- Make ahead: whisk the dry ingredients together and wet ingredients together separately and store them in separate airtight containers. Combine them in the morning when you’re ready to make the pancakes.
- Storage: let the pancakes cool completely before lining them in a single layer or stack them with parchment in between each layer. Tightly cover and refrigerate for up to three days.