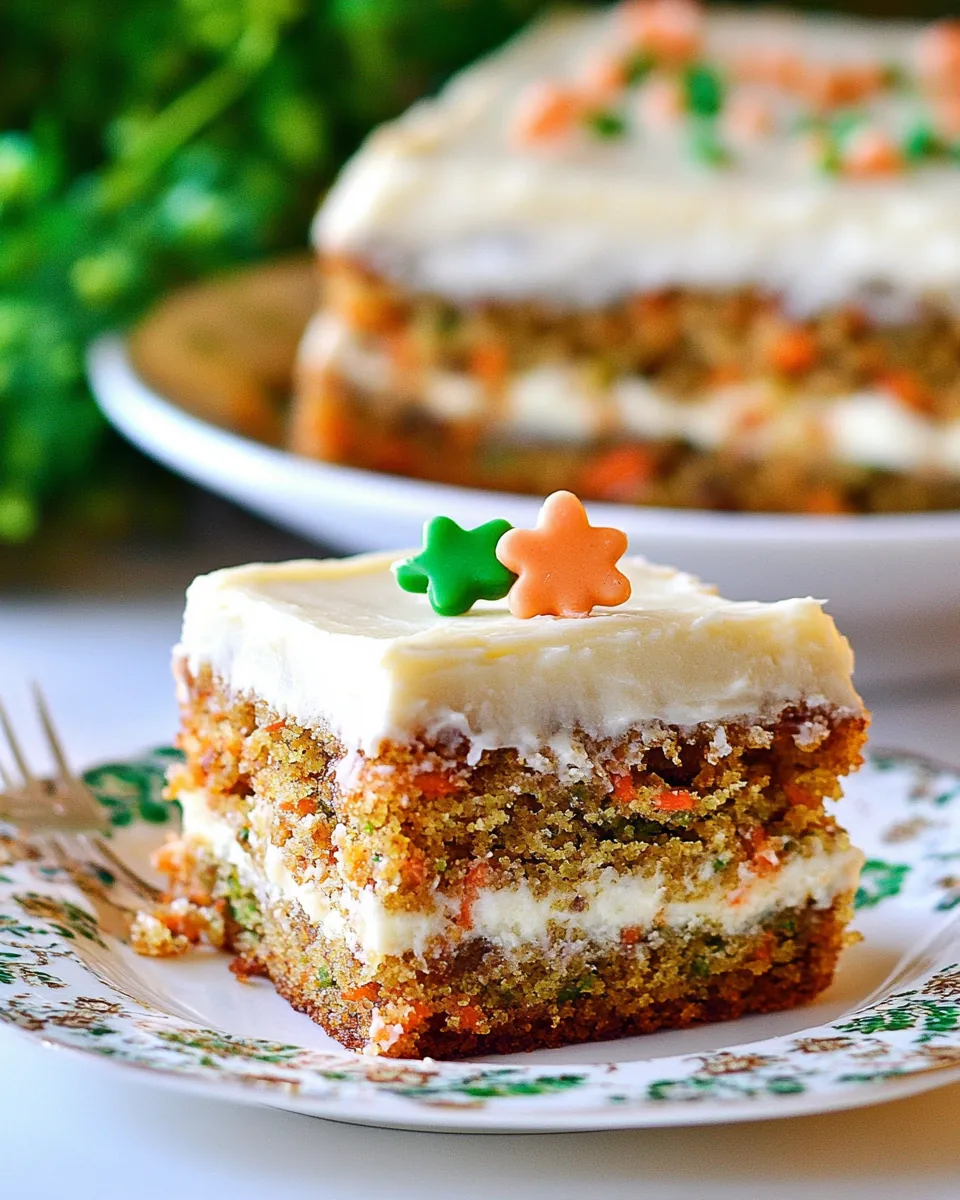
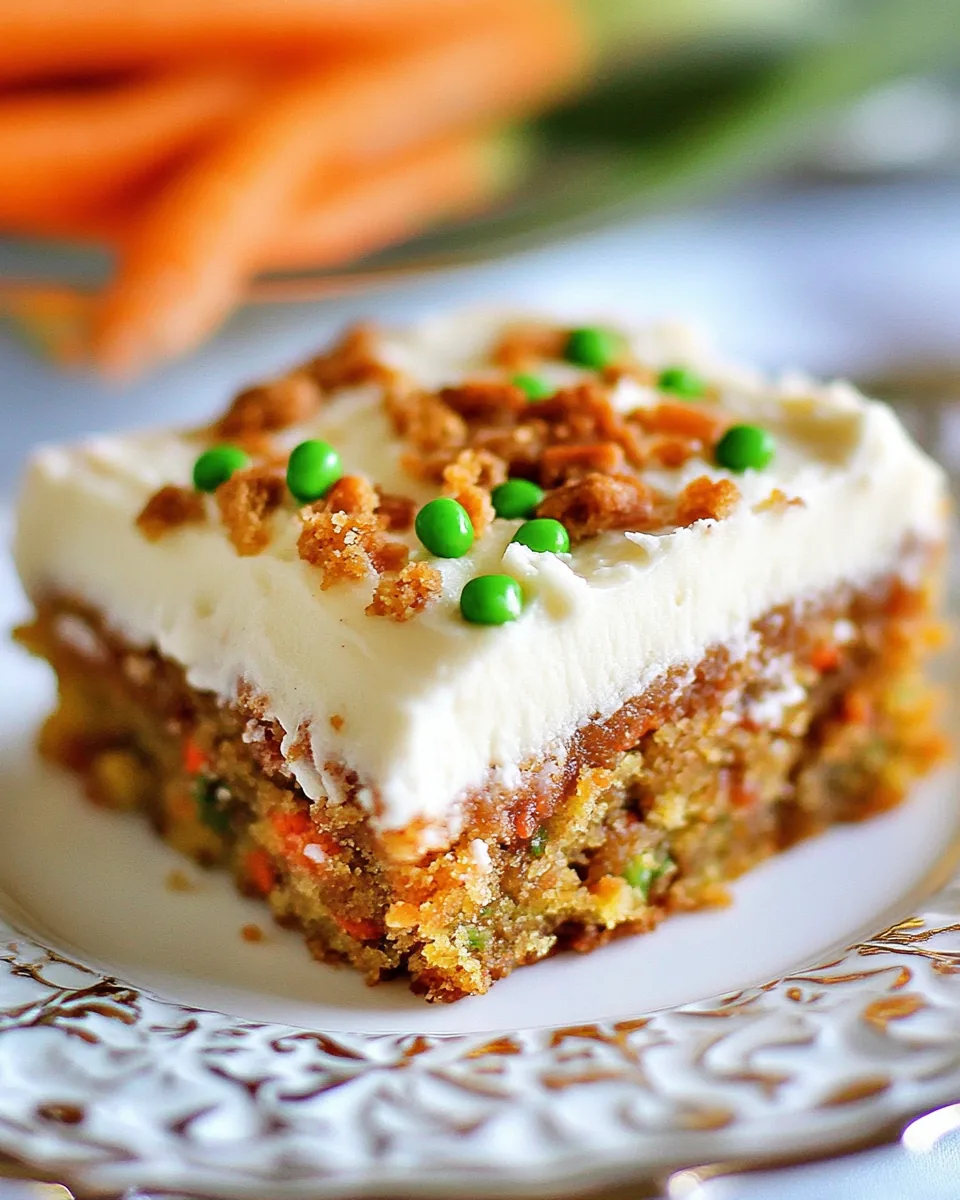
Carrot Cake Bars
The moment you take that first bite of Carrot Cake Bars, you’ll understand why this is one of my favorite desserts. I can still recall the first time I made these bars; it was during a family gathering, and everyone was buzzing with excitement. The sweet aroma of freshly baked carrots and warm spices filled the kitchen, drawing everyone in. As the bars baked, I couldn’t help but daydream about the luscious layers of cream cheese frosting waiting to be spread on top. There’s something exceptionally comforting about baking, especially when it results in a treat as delightful as this. These bars have a perfect balance of moistness and sweetness, making them the ideal dessert for any occasion.
Recipe Snapshot
35 mins
10 mins
25 mins
Medium
250 kcal
3 g
Gluten-Free, Low FODMAP
11 g
Wooden Spoon, Grater, Frying Pan, Chef’s Knife, Baking Sheet, Oven
Why This Carrot Cake Bars Is a Winner
Moist and Flavorful
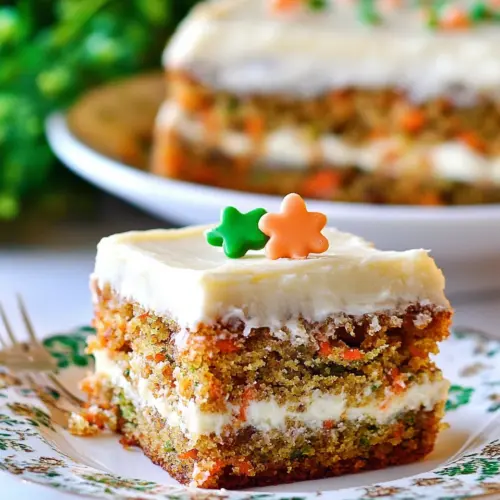
One of the standout features of my Carrot Cake Bars is their incredible moisture. The combination of grated carrots, applesauce, and butter ensures that these bars are soft and tender. You won’t find a dry bite here! This moistness allows the flavors to meld beautifully, resulting in a satisfying dessert that melts in your mouth.
Easy to Make
These bars are incredibly simple to whip up, making them a great choice for both novice and experienced bakers. The process is straightforward: mix your ingredients, pour the batter, and let the oven do the work. You’ll have a delightful dessert in no time, perfect for those last-minute gatherings or when a sweet craving strikes.
Versatile for Any Occasion
What I love about Carrot Cake Bars is their versatility. Whether it’s a casual afternoon snack or a fancy dessert for a holiday gathering, these bars fit the bill. Their charming appearance and delicious taste make them a crowd-pleaser, ensuring that they disappear quickly at parties.
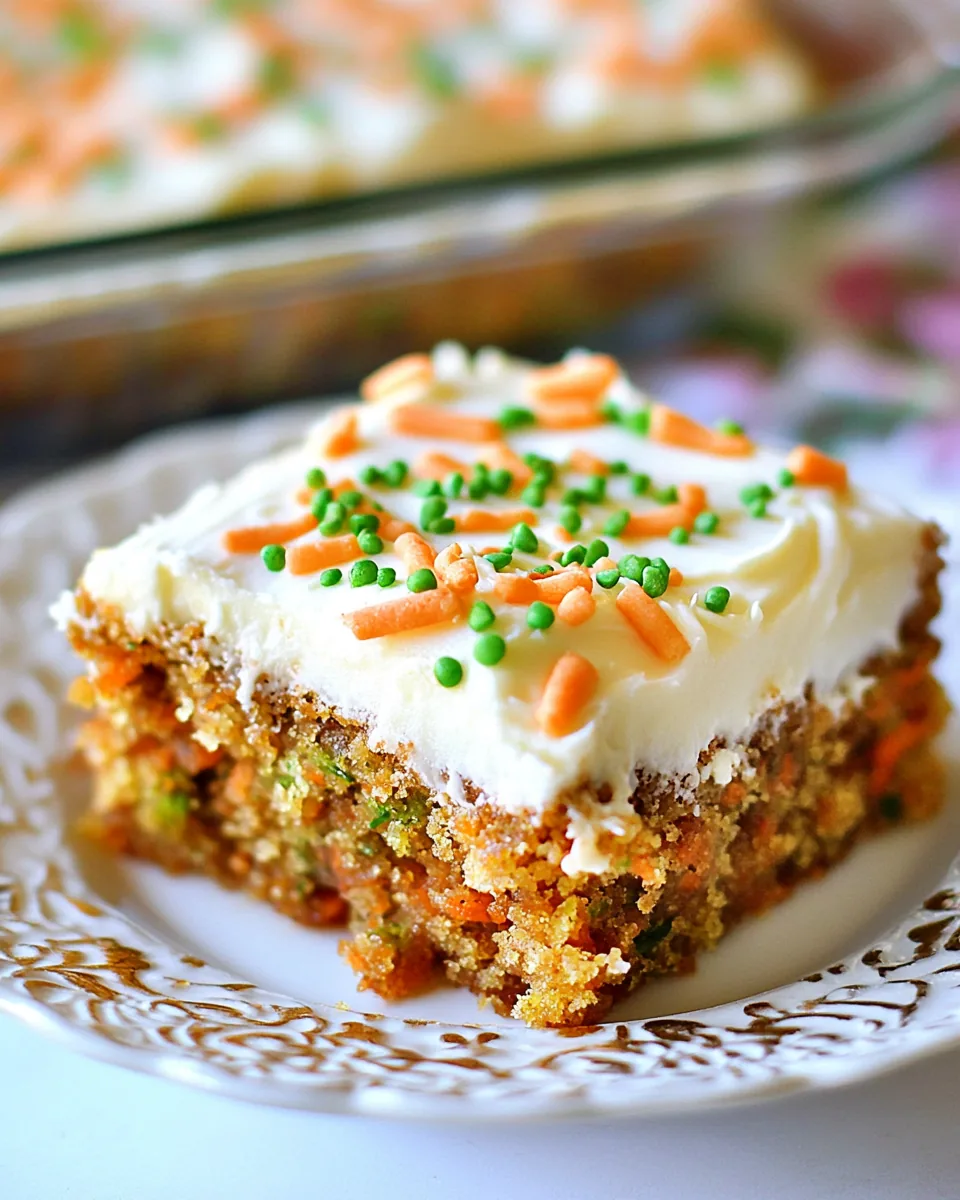
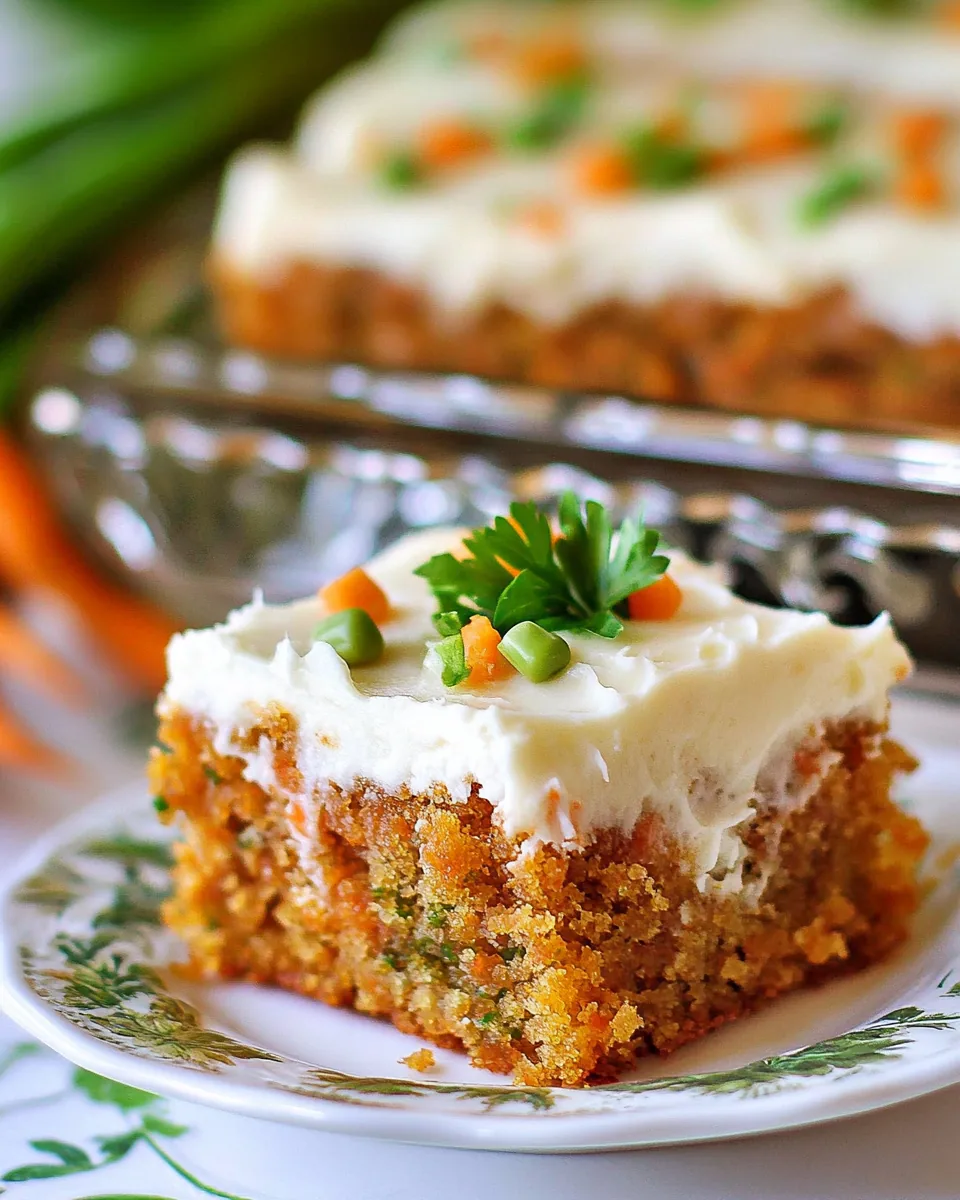
Deliciously Topped with Cream Cheese Frosting
The addition of cream cheese frosting elevates these bars to another level. The rich, creamy topping perfectly complements the spiced flavor of the bars, creating a harmonious blend that’s hard to resist. I often find myself sneaking a spoonful of frosting while I prepare the bars—it’s just that good!
Family Tradition
Every time I bake these Carrot Cake Bars, I’m reminded of my Nana’s kitchen, where she used to whip up the most delightful desserts. This recipe has been passed down through generations, and it brings back fond memories of family gatherings and celebrations. Each bite is a tribute to those cherished moments, making these bars even more special.
Ingredients for Carrot Cake Bars
When it comes to the ingredients for Carrot Cake Bars, each one plays a vital role in creating that perfect blend of flavor and texture. The key players—grated carrots, sugar, and spices—work together to create a delightful treat. The blend of sweet and spiced flavors, combined with the creamy topping, makes these bars irresistible.
- 1¼ cups unsweetened applesauce or oil, this is what my Nana used
- 2 cups sugar
- 3 eggs
- 2 cups flour
- 1 tsp baking soda
- 1½ tsp baking powder
- ½ tsp salt
- 1 tsp cinnamon
- 2 cups grated carrots
- 1 cup shredded sweetened coconut
- 1 cup chopped nuts (optional)
- 1 tsp vanilla
- 1 cup crushed pineapple (not drained—use the pineapple in juice, not syrup)
- ½ cup butter, softened
- 8 oz cream cheese, softened
- 1 tsp vanilla
- 1 lb powdered sugar
How to Prepare Carrot Cake Bars
Preparing Carrot Cake Bars is a breeze. With just a few simple steps, you’ll have a delicious treat that everyone will love. Here’s how to create your own batch of these delightful bars.
- Preheat your oven to 350 degrees. This step is crucial as it ensures even baking and helps to achieve that perfect golden brown top.
- In a large bowl, combine your applesauce (or oil) and sugar together. Mix them well until fully incorporated. This will add moisture and sweetness to your bars.
- Next, crack in the eggs one at a time. Be sure to blend them thoroughly with the mixture, resulting in a smooth batter.
- In another bowl, sift together your dry ingredients: flour, baking soda, baking powder, salt, and cinnamon. This helps to aerate the flour, ensuring a lighter texture.
- Slowly add your dry mixture to the wet ingredients, stirring gently. You want to combine them without overmixing to maintain that tender crumb.
- Gently fold in the grated carrots, shredded coconut, and optional chopped nuts. This adds texture and flavor to the bars.
- Lastly, stir in the crushed pineapple and vanilla. This will add an additional layer of sweetness and moisture to your bars. Make sure everything is well combined.
- Pour the batter into a lightly greased or parchment-lined 10×15-inch jelly roll pan. Ensure it’s spread evenly for consistent baking.
- Bake for 25 to 30 minutes or until a toothpick inserted into the center comes out clean. Watch for that gorgeous golden color!
- Once done, let it cool completely in the pan. This is key for the bars to set properly.
- While cooling, beat the butter and cream cheese in a bowl until fluffy. Gradually mix in the vanilla and powdered sugar. This will create a smooth and creamy frosting.
- Once the bars are cool, spread the frosting generously on top. Cut them into squares and serve.
- Store any leftovers in an airtight container in the refrigerator for up to 3 days.
Things Worth Knowing
- Ingredient Quality: Always use fresh carrots and high-quality cream cheese for the best flavor.
- Testing for Doneness: Use a toothpick inserted into the center to check if the bars are baked through. If it comes out with moist crumbs, that’s perfect!
- Cooling Time: Let the bars cool completely before frosting to prevent the frosting from melting.
- Flavor Enhancements: For extra flavor, consider adding chopped walnuts or pecans into the batter.
Recipe Tips about Carrot Cake Bars
Creating the perfect Carrot Cake Bars is all about the details. Here are some handy tips to make your baking experience seamless and enjoyable.
- Storage: Store leftover Carrot Cake Bars in an airtight container in the refrigerator. They will stay fresh for up to 3 days.
- Freezing: To freeze, wrap individual bars in plastic wrap and then place them in a freezer-safe container. They can be frozen for up to 3 months.
- Pairing: These bars pair beautifully with a cup of coffee or tea, making them a perfect afternoon snack.
- Cutting: For clean cuts, use a sharp knife dipped in hot water, then dry it before slicing. This avoids the frosting sticking to the knife.
- Variations: Feel free to add in other mix-ins like dried fruits or spices to customize your Carrot Cake Bars.
What to Serve Alongside Carrot Cake Bars
When serving Carrot Cake Bars, there are numerous delightful options to consider. Here are some ideas to elevate your serving experience:
- Fresh Fruit: Serve with a side of fresh berries or sliced oranges to add a refreshing contrast to the sweetness.
- Coffee or Tea: Pair these bars with a warm beverage like coffee or herbal tea for a cozy dessert experience.
- Ice Cream: A scoop of vanilla or coconut ice cream on the side can take these bars to a new level of indulgence.
- Whipped Cream: A dollop of whipped cream on top can add a delightful creaminess that complements the flavors.
- Seasonal Flavors: For a festive touch, consider serving these bars during holidays with themed decorations or spices, like nutmeg or ginger.
FAQ
Conclusion
The Carrot Cake Bars recipe is truly special due to its delightful combination of flavors and textures. Each bite offers a moist, sweet experience that brings back fond memories of family gatherings. I encourage you to try making these bars at home; they are sure to become a new favorite in your dessert repertoire. Enjoy baking and sharing them with loved ones!
Carrot Cake Bars
Equipment
- Wooden Spoon
- Grater
- Frying Pan
- Chef's Knife
- Baking Sheet
- Oven
Ingredients
- 1¼ cups unsweetened applesauce or oil, this is what my Nana used
- 2 cups sugar
- 3 eggs
- 2 cups flour
- 1 tsp baking soda
- 1½ tsp baking powder
- ½ tsp salt
- 1 tsp cinnamon
- 2 cups grated carrots
- 1 cup shredded sweetened coconut
- 1 cup chopped nuts optional
- 1 tsp vanilla
- 1 cup crushed pineapple not drained! {use the pineapple in JUICE not syrup}
- ½ cup butter softened
- 8 oz cream cheese softened
- 1 tsp vanilla
- 1 lb powdered sugar
Instructions
- Preheat your oven to 350 degrees. This step is crucial as it ensures even baking and helps to achieve that perfect golden brown top.
- In a large bowl, combine your applesauce (or oil) and sugar together. Mix them well until fully incorporated. This will add moisture and sweetness to your bars.
- Next, crack in the eggs one at a time. Be sure to blend them thoroughly with the mixture, resulting in a smooth batter.
- In another bowl, sift together your dry ingredients: flour, baking soda, baking powder, salt, and cinnamon. This helps to aerate the flour, ensuring a lighter texture.
- Slowly add your dry mixture to the wet ingredients, stirring gently. You want to combine them without overmixing to maintain that tender crumb.
- Gently fold in the grated carrots, shredded coconut, and optional chopped nuts. This adds texture and flavor to the bars.
- Lastly, stir in the crushed pineapple and vanilla. This will add an additional layer of sweetness and moisture to your bars. Make sure everything is well combined.
- Pour the batter into a lightly greased or parchment-lined 10x15-inch jelly roll pan. Ensure it’s spread evenly for consistent baking.
- Bake for 25 to 30 minutes or until a toothpick inserted into the center comes out clean. Watch for that gorgeous golden color!
- Once done, let it cool completely in the pan. This is key for the bars to set properly.
- While cooling, beat the butter and cream cheese in a bowl until fluffy. Gradually mix in the vanilla and powdered sugar. This will create a smooth and creamy frosting.
- Once the bars are cool, spread the frosting generously on top. Cut them into squares and serve.
- Store any leftovers in an airtight container in the refrigerator for up to 3 days.
Notes
- Tip: If using different sizes of jelly roll pans, adjust the batter amount accordingly.
- Tip: If it looks like you have too much batter, save some for a few cupcakes!