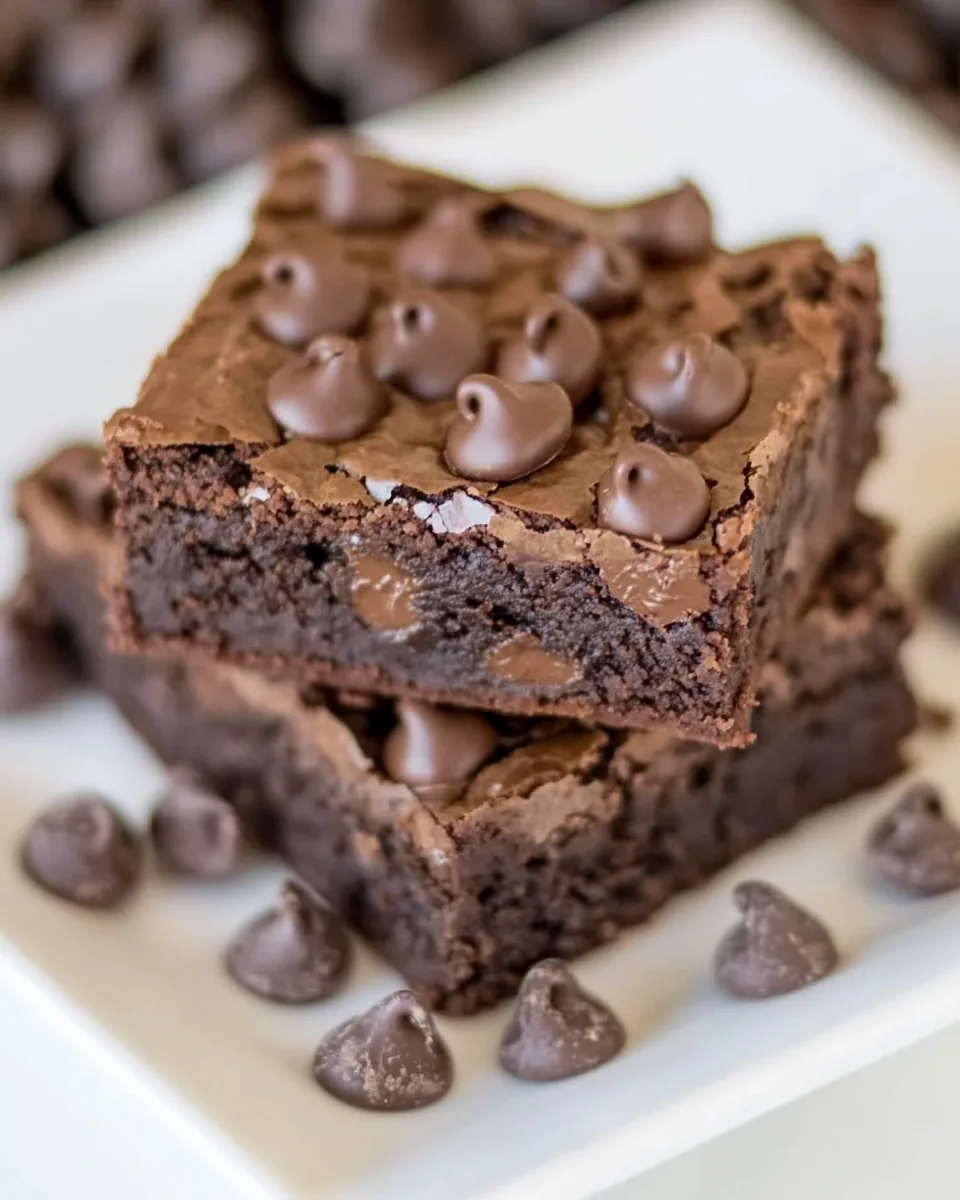
Caramel Chocolate Brownies
There’s nothing quite like the aroma of baking brownies wafting through the house, especially when those brownies are Caramel Chocolate Brownies. I remember the first time I made these delicious treats; it was a cozy Sunday afternoon, and the rain tapped gently against my kitchen window. With a handful of simple ingredients, I set out to create something extraordinary. The combination of rich chocolate and gooey caramel is not just indulgent; it’s a reminder of the joy that baking brings. Each bite melts in your mouth, leaving you with a sweet memory that lingers long after the last crumb is gone.
These Caramel Chocolate Brownies are perfect for any occasion, whether you’re hosting a gathering or simply satisfying a sweet tooth. I love serving them warm with a scoop of vanilla ice cream on the side, but they’re just as delightful on their own. Friends and family can’t resist coming back for seconds, and I’m never left with leftovers. So grab your ingredients, and let’s get baking something that will not only brighten your day but also bring smiles to the faces of those you love.
Recipe Snapshot
60 mins
0 mins
0 mins
Medium
350 kcal
3 g
Gluten-Free, Low FODMAP
19 g
Wooden Spoon, Frying Pan, Chef’s Knife, Whisk, Baking Sheet, Oven
What Sets This Caramel Chocolate Brownies Apart
There’s a lot to love about these brownies, and I can’t wait to share why they’ve become a staple in my baking repertoire. Here’s what makes Caramel Chocolate Brownies truly special:
Decadent Flavor Combination
The pairing of semi-sweet chocolate with rich caramel creates an unforgettable flavor experience. The chocolate is deep and indulgent, while the caramel adds a sweet, buttery contrast that makes each bite an adventure.
Simple Ingredients
You don’t need a long list of fancy ingredients to make these brownies. With just a few staples like butter, flour, and eggs, you can whip up a batch that feels gourmet without the fuss.
Versatile Treat
Whether it’s a birthday, holiday, or just a regular Tuesday, these brownies fit the bill. They’re perfect for any gathering or simply to enjoy with a cup of coffee. Their rich flavor and fudgy texture make them universally appealing.
Easy to Make
Even novice bakers will find success with this recipe. The straightforward steps ensure that anyone can achieve bakery-quality brownies with ease. Plus, the joy of watching them bake is incomparable!
Customizable
Feel free to get creative! You can mix in nuts, swap in different types of chocolate, or add a sprinkle of sea salt on top for a gourmet touch. The possibilities are endless!
Perfect for Sharing
Finally, there’s something about sharing baked goods that brings people together. Whether you’re bringing them to a potluck or serving them at home, these brownies are sure to create connections and joyful memories.
What to Buy for Caramel Chocolate Brownies

When it comes to making Caramel Chocolate Brownies, the quality of your ingredients can make all the difference. Each one plays a vital role in creating that perfect brownie. Let’s take a closer look at the key components of this delicious treat:
- 1 cup butter: The foundation of any good brownie, butter provides richness and moisture.
- 12 ounces semi-sweet chocolate, chopped: This is where the chocolatey goodness comes from, ensuring each bite is intensely chocolatey.
- 1 ½ cups sugar: The sweetness of sugar balances out the rich flavors and contributes to the gooey texture.
- 4 eggs: Essential for binding the ingredients together while adding moisture and richness.
- 1 tablespoon vanilla: A splash of vanilla enhances the overall flavor profile of the brownies.
- 1 ¼ cups flour: This provides the structure needed without making them too dry.
- ½ teaspoon salt: A pinch of salt enhances the sweetness and balances the flavors.
- 1 cup semi-sweet chocolate chips: These little morsels add extra chocolatey goodness and a delightful texture.
- 14-ounce bag of caramels, unwrapped: The star ingredient that creates the luscious caramel layer.
- ⅓ cup heavy cream: Adds creaminess to the caramel, making it ooze beautifully over the brownies.
Putting Together Caramel Chocolate Brownies

Making Caramel Chocolate Brownies is a delightful process that’s both fun and fulfilling. Let’s dive into the steps to create this indulgent treat:
- Begin by preheating your oven to 350ºF. This ensures even baking. Line a 9 x 13 inch baking pan with non-stick foil or regular foil sprayed with cooking spray, making it easy to remove the brownies later.
- In a microwave-safe bowl, melt the butter and chocolate together. Start with 30-second increments, stirring each time until smooth. This method helps prevent burning.
- Once melted, add in the sugar, eggs, and vanilla. Whisk until everything is well incorporated, ensuring no lumps remain.
- Next, stir in the flour and salt. Mix gently until just combined. Overmixing can lead to tough brownies.
- Spread half of this batter into the prepared pan, creating an even layer at the bottom. Bake for 20 minutes, letting it set slightly before adding the caramel.
- While that’s baking, melt the caramels and heavy cream together in another microwave-safe bowl. Again, use 30-second increments and stir until smooth. This creates a lovely gooey caramel layer.
- After the brownies have cooled for 20 minutes, pour the melted caramel over the top, spreading it evenly. If the caramel has cooled and thickened, gently reheat it in the microwave for a few seconds.
- Using the remaining brownie batter, drop tablespoons over the caramel. Gently spread it to cover the caramel and reach the edges of the pan.
- Sprinkle the top with chocolate chips, adding an extra touch of chocolate flavor. Bake for an additional 20 minutes, or until a toothpick inserted comes out with a few moist crumbs.
- Allow the brownies to cool completely in the pan. Once cool, use the foil to lift them out for easy cutting. Slice into squares and serve. Enjoy your delicious Caramel Chocolate Brownies!
Things Worth Knowing
Things Worth Knowing
- Watch for the Texture: Brownies should be fudgy but not raw. When testing for doneness, aim for a few moist crumbs on the toothpick.
- Cooling Time Matters: Allowing the brownies to cool completely ensures they hold their shape when cut.
- Let the Caramel Set: If you want neat layers, let the caramel set a bit before adding the brownie top layer.
- Mixing Techniques: Be gentle when mixing to maintain the brownies’ fudgy texture. Overmixing can lead to denser brownies.
Recipe Notes about Caramel Chocolate Brownies

Making Caramel Chocolate Brownies is a treat in itself, but here are some extra tips to enhance your experience:
- Storage: Keep brownies in an airtight container at room temperature for up to five days. You can also refrigerate them to extend their shelf life.
- Freezing: Yes, you can freeze these brownies! Wrap individual servings tightly in plastic wrap and store in a freezer-safe bag. Thaw in the fridge before enjoying.
- Pairing: Serve with a scoop of vanilla ice cream or a dollop of whipped cream for an extra indulgent dessert.
- Custom Add-ins: Feel free to add nuts like pecans or walnuts for added crunch or even a sprinkle of sea salt on top for contrast.
- Cutting Tips: For clean cuts, use a sharp knife and wipe it between cuts.
Serving Options for Caramel Chocolate Brownies
When it comes to serving Caramel Chocolate Brownies, the options are as rich as the brownies themselves. Here are some ideas:
- At a Celebration: These brownies are a hit at birthday parties, potlucks, or family gatherings. Their decadent taste makes them a crowd-pleaser.
- With Coffee: Serve alongside a hot cup of coffee or a chilled glass of milk, accentuating the rich chocolate flavor.
- Special Occasions: Perfect for holidays or festive occasions, these brownies add a sweet touch to any dessert table.
- Storage Tips: Leftover brownies can be stored in an airtight container; they stay delicious for several days.
- Warm and Gooey: For a delightful treat, warm up individual squares in the microwave for a few seconds before serving.
FAQ
Conclusion
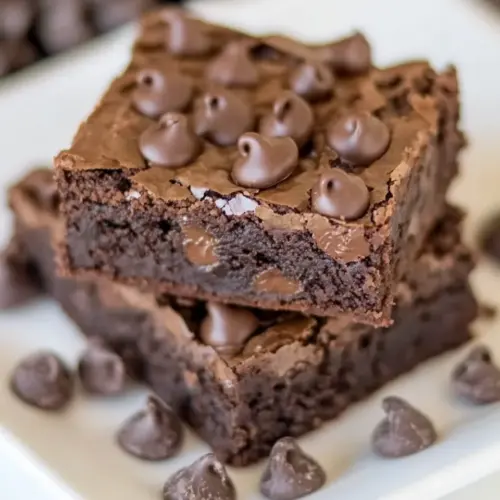
Caramel Chocolate Brownies are truly a slice of heaven, merging rich chocolate with gooey caramel for an irresistible treat. I encourage you to make these brownies not just for special occasions, but for any day that could use a little sweetness. You’ll find that they bring joy to your kitchen and smiles to those you share them with!
Caramel Chocolate Brownies
Equipment
- Wooden Spoon
- Frying Pan
- Chef's Knife
- Whisk
- Baking Sheet
- Oven
Ingredients
- 1 cup Butter
- 12 ounces Semi-sweet chocolate, chopped
- 1.5 cups Sugar
- 4 Eggs
- 1 tablespoon Vanilla
- 1.25 cups Flour
- 0.5 teaspoon Salt
- 1 cup Semi-sweet chocolate chips
- 14 ounces Caramels, unwrapped
- 0.33 cup Heavy cream
Instructions
- Preheat oven to 350º. Line 9 x 13 pan with non-stick foil or regular foil sprayed with cooking spray.
- Melt butter and chocolate in a microwave-safe bowl, using 30-second increments, stirring each time till smooth.
- Add sugar, eggs, and vanilla and whisk till well incorporated. Stir in flour and salt.
- Spread half the batter over the bottom of the prepared pan. Bake for 20 minutes and allow to cool for 20 minutes.
- Melt caramels and cream in a microwave-safe bowl, using 30-second increments, checking and stirring each time till smooth.
- While still warm, pour caramel over the top of the brownies and spread to cover. If the caramel has cooled, gently reheat it in the microwave.
- Top with remaining brownie batter by dropping tablespoons of batter across the caramel then spread to the edges. If the batter has become stiff, very gently reheat it in the microwave.
- Sprinkle the top of the brownies with chocolate chips and bake for an additional 20 minutes.
- Allow to cool completely, then use foil to remove the brownies from the pan. Cut and serve.
Notes
- Tip 1: Store brownies in an airtight container at room temperature for up to five days.
- Tip 2: You can freeze these brownies! Wrap individual servings tightly and store in a freezer-safe bag.
- Tip 3: Serve with a scoop of vanilla ice cream for extra indulgence.
- Tip 4: Feel free to add nuts for a crunchy texture.
- Tip 5: For clean cuts, use a sharp knife and wipe it between cuts.