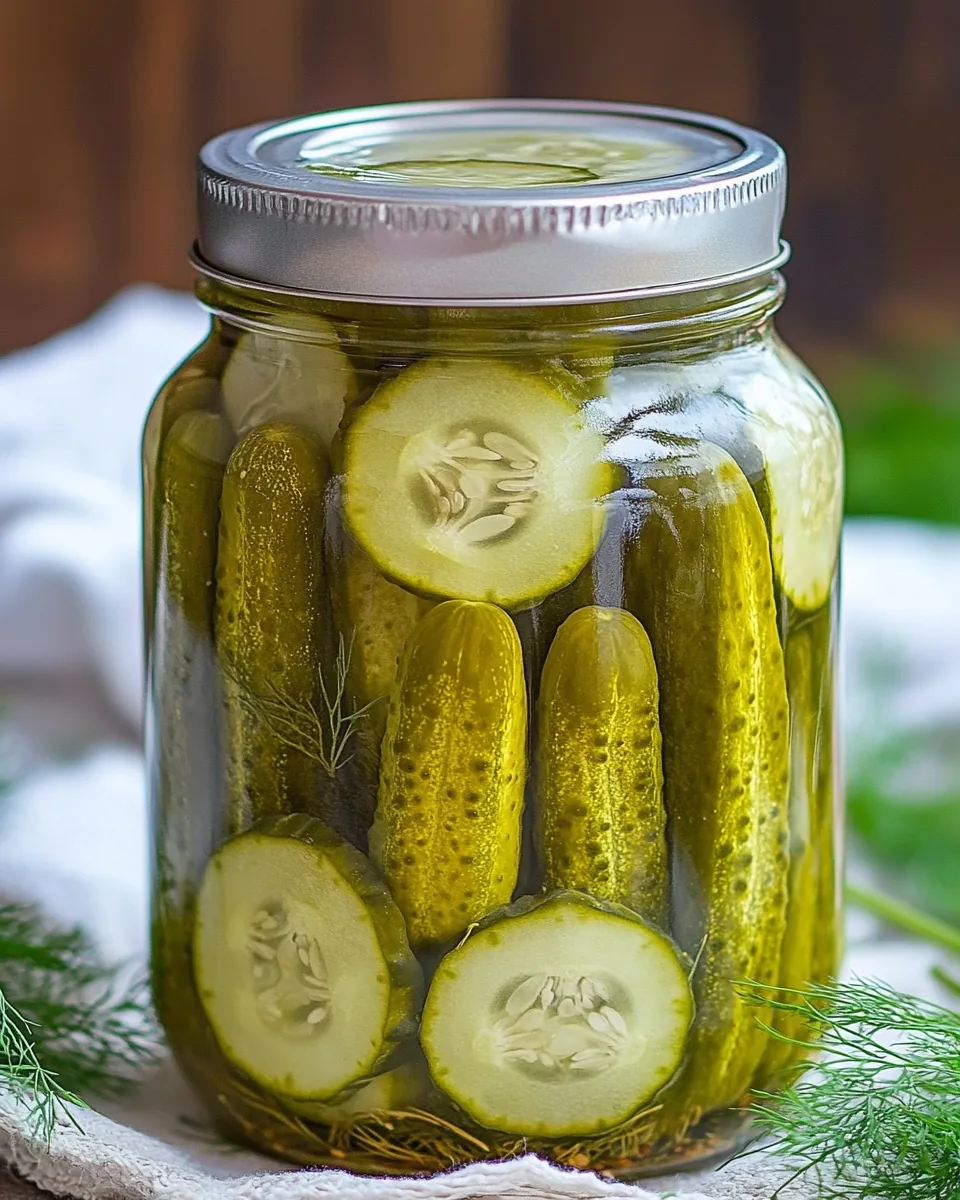
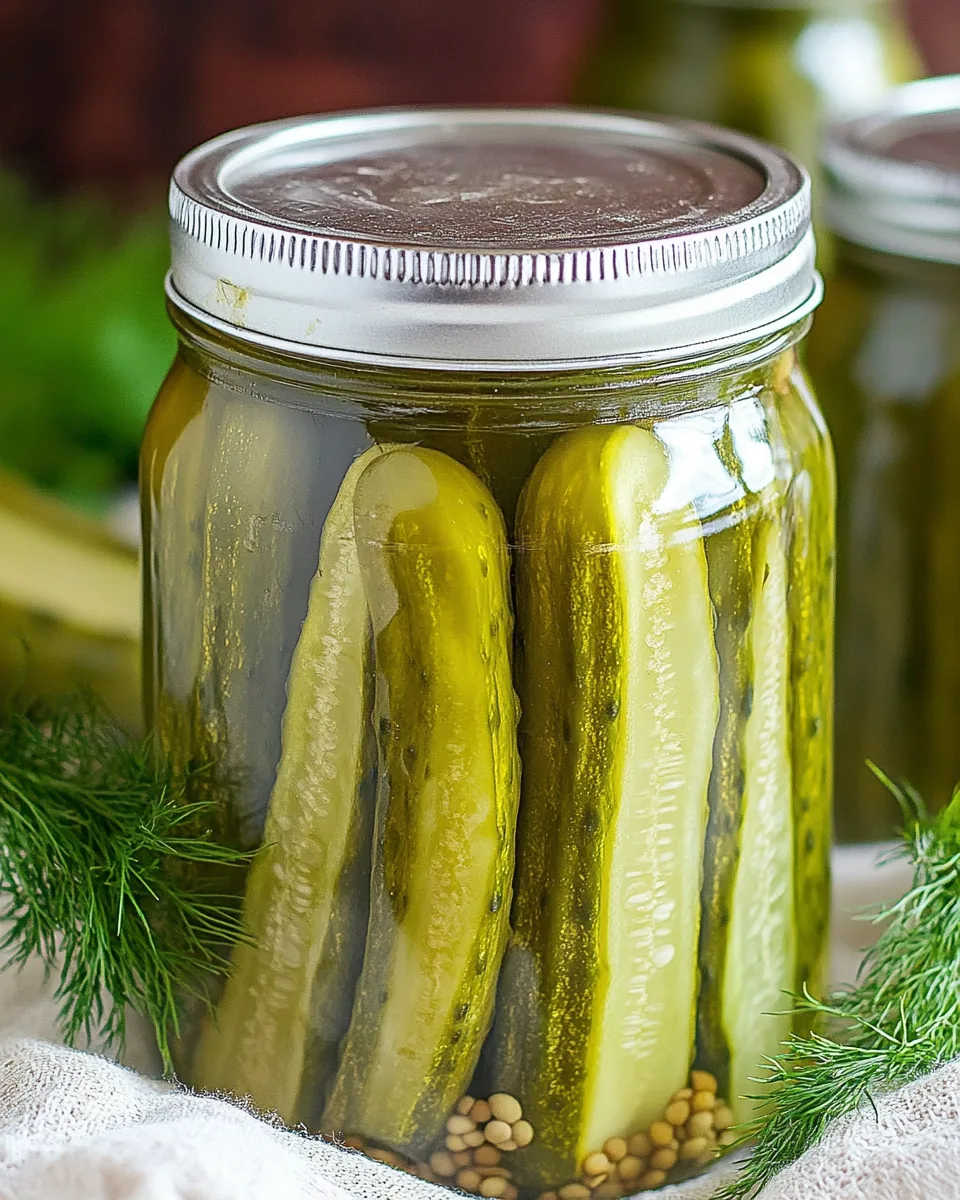
Canned Dill Pickle Recipe
There’s nothing quite like the feeling of opening a jar of homemade pickles, and with this Canned Dill Pickle Recipe, you can create your own delightful crunch right at home. I remember the first time I discovered the joy of pickling; I was amazed at how simple it was to transform fresh cucumbers into zesty, flavorful bites. From the moment I tasted my first homemade dill pickle, I knew I had to make it a regular part of my kitchen adventures. The vibrant, tangy flavor and the satisfying crunch make these pickles a staple in any meal, from sandwiches to salads.
Every summer, I find myself in a race against time to use the bounty of cucumbers from my garden. The crunch of fresh veggies and the aromatic spices come together in harmony, creating a dish that doesn’t just complement meals but elevates them. There’s something so fulfilling about the canning process, too. It’s not just about preserving food; it’s about crafting a delicious treat that can be enjoyed long after the harvest season fades.
With the Canned Dill Pickle Recipe, I want to share my love for this timeless preservation method. Whether you’re a seasoned canner or a novice in the kitchen, this recipe is straightforward and approachable. The vibrant dill, peppercorns, and garlic infuse each jar with flavor, creating a perfect balance of tang and crunch. I promise you, once you make your own canned dill pickles, you’ll never want to go back to store-bought again!
Recipe Snapshot
1 hr 15 mins
60 mins
15 mins
Medium
15 kcal
0 g
Whole30, Vegan, Gluten-Free
0 g
Large Pot, Food Processor, Chef’s Knife, Saucepan
Why This Canned Dill Pickle Recipe Shines
Preserving Tradition
This Canned Dill Pickle Recipe is more than just a method; it’s a beautiful tradition that has been passed down through generations. The art of canning speaks to the heart of home cooking, allowing you to preserve the flavors of the season and enjoy them all year long.
Flavor Explosion
Each jar bursts with flavors! With ingredients like dill, garlic, and vinegar, your taste buds are in for a treat. The combination of spices and crunch from the cucumbers creates a flavor profile that is both refreshing and addictive.
Healthier Option
Making your own pickles means you control what goes in. No preservatives or unnecessary additives—just fresh ingredients that pack a punch. This means your canned dill pickles can be a healthier snack option compared to store-bought varieties.
Perfect for Gifting
These pickles make wonderful gifts! Share your homemade creations with friends and family. They’ll appreciate the time and effort that went into making something so special, and you’ll be sharing a piece of your culinary passion.
Endless Pairing Possibilities
These pickles are versatile! Whether you’re topping a sandwich, snacking on them straight from the jar, or adding them to a charcuterie board, they can enhance a variety of dishes. Their unique flavor complements everything!
A Satisfying Hobby
Canning is not just about the end product; it’s a fulfilling hobby. The process of preparing and preserving food can be incredibly rewarding. You’ll find joy in watching those jars seal and knowing that you’ve created something delicious.
What You’ll Need for Canned Dill Pickle Recipe
Creating the perfect canned dill pickles starts with selecting high-quality ingredients. Each component plays a vital role in not only enhancing the flavor but also ensuring the pickles are preserved properly. From the fresh cucumbers to the aromatic spices, each ingredient is crucial for achieving that iconic dill pickle taste.
- 6 bay leaves (1 per jar)
- 1/2 Tbsp peppercorn (5 per jar)
- 6 dill stems with flowers, cut into 3″ pieces (1 full stem per jar)
- 12 garlic cloves, halved (2 cloves per jar)
- 2 inch horseradish root, chopped and divided, optional but nice
- 6 lbs small cucumbers, well rinsed with ends trimmed
- 8 cups water
- 1/3 cup granulated sugar
- 6 Tbsp pickling salt (or 1/3 cup)
- 6 cups distilled white vinegar (5% acidity)
- 6 Quart-sized wide-mouth mason jars with rings and new lids
- 1 large stock pot (20 Qt+) with rack (or a canner)
- 1 jar lifter to safely transfer the jars
Canned Dill Pickle Recipe Instructions
Making pickles may seem daunting, but I assure you it’s quite simple. Let’s walk through each step together, ensuring you achieve that perfect jar of Canned Dill Pickle Recipe. Follow these detailed instructions, and soon you’ll have jars ready to enjoy!
- First things first, wash your jars and lids with soap and water. This ensures they are clean and ready for the pickling process. It’s essential to start with sanitized equipment to keep your pickles safe.
- Next, place the jars and lids in a pot filled with water. Bring it to a boil, then reduce the heat and let it simmer for about 10 minutes. This step sterilizes your jars, making them ready to hold your delicious pickles.
- Once done, carefully drain the water and let the jars cool. Now, it’s time to prepare the flavor base for your pickles! Take your sterilized jars and divide the bay leaves, peppercorns, dill stems, garlic, and horseradish (if using) into the bottoms of each jar, packing them into the jars snugly.
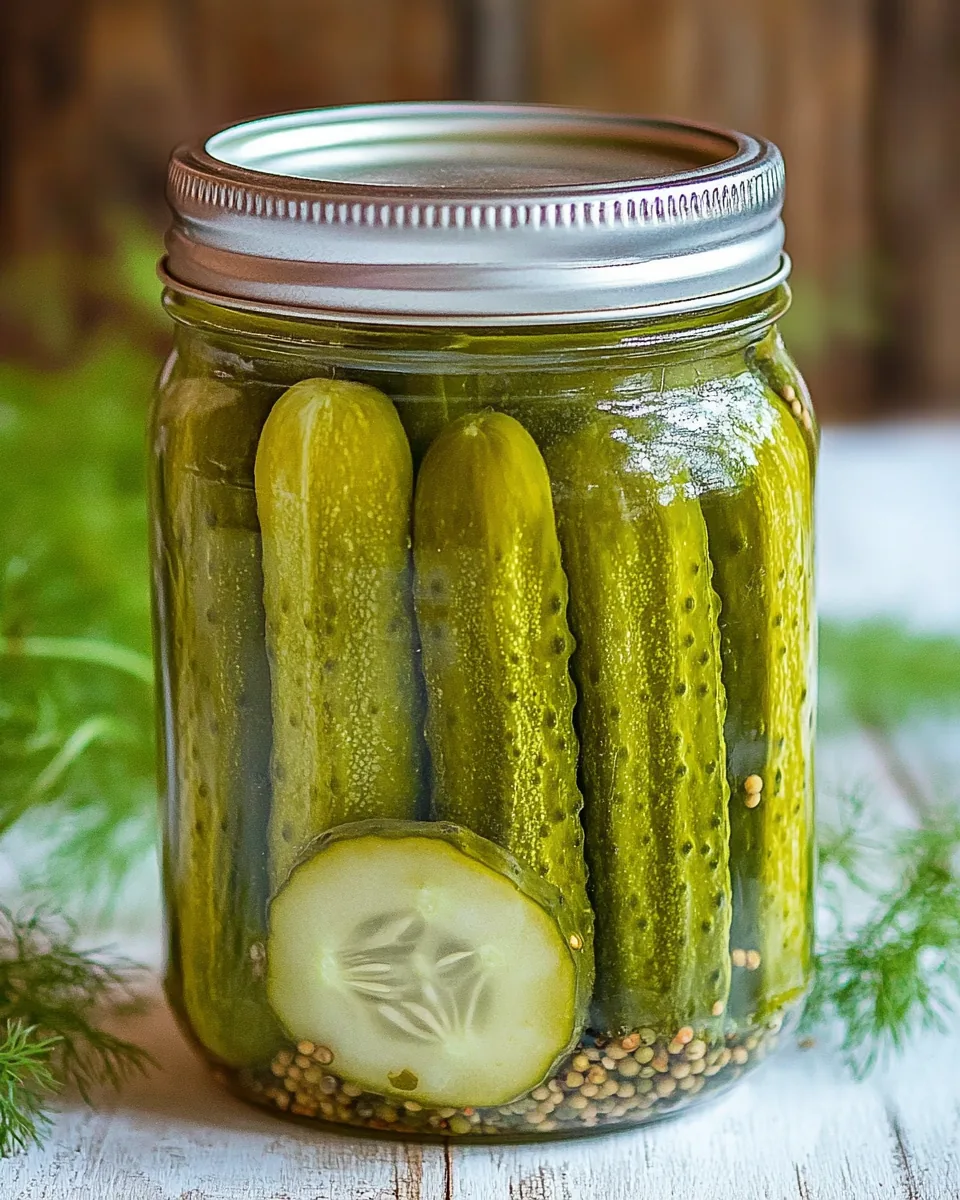
- Now for the main attraction! Pack the cucumbers tightly into the jars, ensuring they fit well but don’t crush them. You want them to be snug but still have a bit of breathing room.
- In a separate medium pot, combine 8 cups of water, 1/3 cup sugar, 6 Tbsp salt, and 6 cups vinegar. Heat this mixture until it comes to a boil. This pickling brine is the heart of your recipe!
- Once boiling, carefully pour the pickling juice over the packed cucumbers in the jars, leaving about half an inch of space at the top. This space is important as it allows for expansion as the pickles process.
- Secure the lids onto the jars, making sure they’re tight but not overly so—air bubbles need to escape, and you don’t want to risk breaking the seal.
- Next, place the jars in a canner or a large pot lined with a wire rack. Add boiling water to cover the jars by one to two inches. This step is vital for the canning process to create that perfect seal.
- Process or boil the jars for 15 minutes. This cooking time is what ensures your pickles are safely preserved.
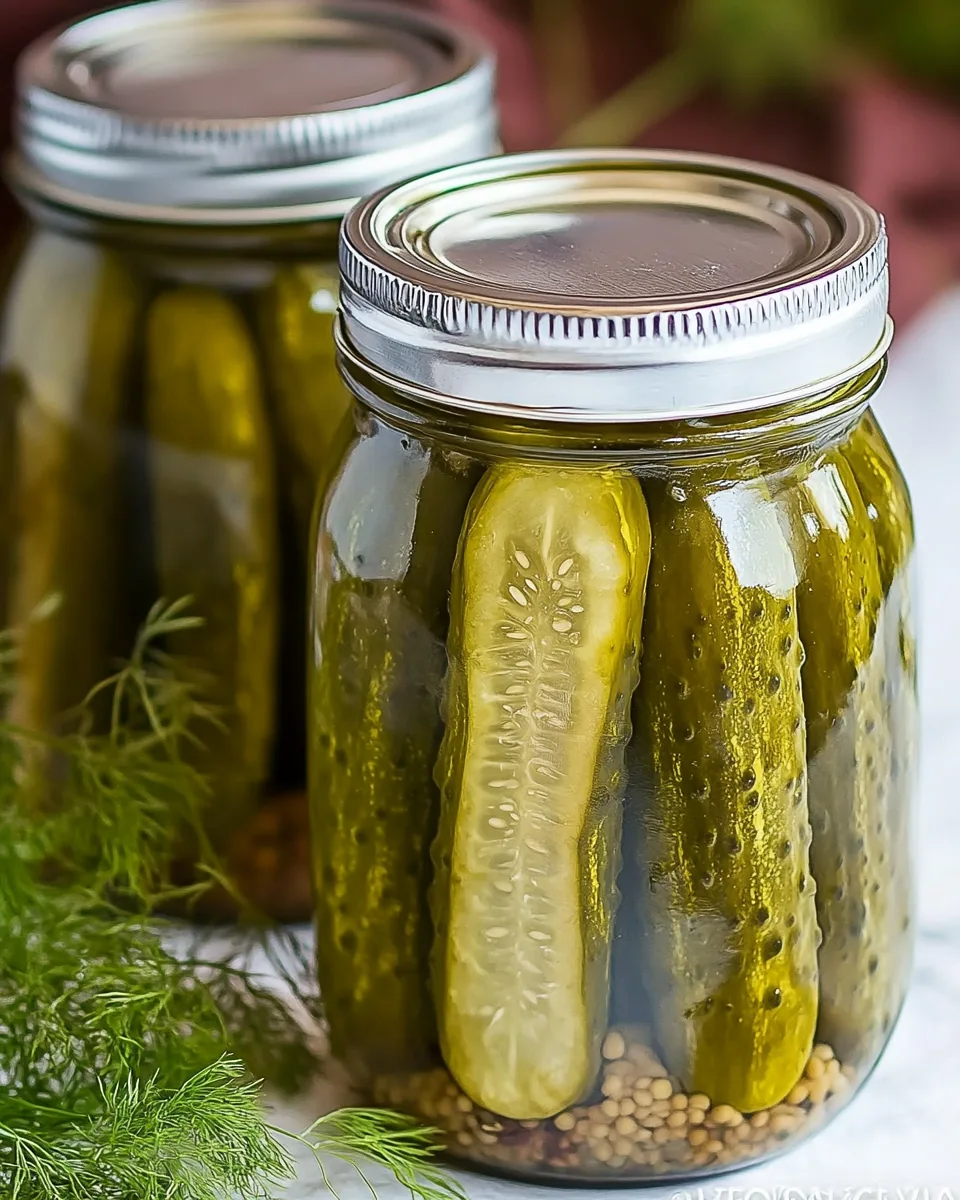
- After processing, carefully remove the jars from the hot water using a jar lifter. Let them sit undisturbed at room temperature for 12 to 24 hours. You may hear a satisfying pop as the jars seal—this is music to a canner’s ears!
- After 24 hours, check the seals by pressing down in the center of each lid. If it doesn’t pop back, your seal is good. If it does pop, refrigerate the pickles and enjoy them within three months. And just like that, you’ve made your very own canned dill pickles!
Things Worth Knowing
- Don’t rush the sterilization: Properly sterilizing your jars is crucial to ensure your pickles last longer without spoiling.
- Check seals carefully: Always verify that your jars are sealed properly before storing. This prevents spoilage and lets you enjoy your pickles worry-free.
- Experiment with spices: Feel free to tweak the spices based on your taste preferences. Add chili flakes for a spicy kick or mustard seeds for extra flavor.
- Store in a cool place: Keep your jars in a dark, cool spot to prolong their shelf life and maintain taste.
Pro Tips and Tweaks
When it comes to canning, having a few pro tips can make all the difference and elevate your Canned Dill Pickle Recipe experience. Here are some helpful insights to ensure your pickling adventure is a success!
- Storage: Store your jars in a cool, dark place. This helps preserve the flavors and extends their shelf life. Proper storage can keep your pickles tasting fresh for longer.
- Freezing: While canning is great for long-term storage, freezing is not recommended for pickles as it alters their texture and crunch. Stick to canning for best results!
- Pairing: Try serving your pickles with sandwiches, burgers, or as part of a charcuterie board. Their tangy flavor pairs well with rich foods, adding a refreshing contrast.
- Variations: Don’t hesitate to experiment with different herbs and spices. Adding dill seed or mustard seed can create unique flavors that suit your palate.
- Label and date: Make sure to label your jars with the date you canned them. This way, you’ll know when to enjoy them at their best!
- Enjoy within 12 months: For the best flavor and texture, consume your pickles within a year. After that, they may lose their crunch.
Pairing Suggestions for Canned Dill Pickle Recipe
When it comes to serving your Canned Dill Pickle Recipe, the possibilities are endless! Here are some detailed pairing suggestions that will complement your pickles beautifully:
- Barbecue Dishes: These pickles add a refreshing crunch to grilled meats and barbecue dishes. Whether you’re enjoying burgers, hot dogs, or ribs, a side of pickles will elevate your meal.
- Sandwiches: Layer your pickles on sandwiches for that perfect tangy bite. They pair excellently with deli meats, giving an added zest to a classic lunch.
- Salads: Incorporate your pickles into salads for an unexpected flavor twist. Chopped pickles can add crunch to potato salad, coleslaw, or even a green salad.
- Charcuterie Boards: Include your pickles on a charcuterie board. Their sharp flavors contrast beautifully with creamy cheeses and cured meats, making for an impressive appetizer.
- Snacking: Sometimes, the simplest way to enjoy your pickles is out of the jar! They make a fantastic snack on their own, providing a satisfying crunch and burst of flavor.
- Gifts: Jars of pickles make thoughtful gifts! Bring a jar to gatherings, housewarmings, or as a homemade gift during the holidays. People love receiving handmade goodies!
FAQ
Conclusion
The Canned Dill Pickle Recipe not only preserves the taste of summer but allows you to savor the crunch of fresh cucumbers all year long. With the right ingredients and a bit of love, you can create a delightful addition to any meal. I encourage you to give this recipe a try; you won’t be disappointed with the tangy flavors and satisfying crunch that these pickles bring!
Canned Dill Pickle Recipe
Equipment
- Large Pot
- Food Processor
- Chef's Knife
- Saucepan
Ingredients
- 6 bay leaves bay leaves (1 per jar)
- 1/2 Tbsp peppercorn (5 per jar)
- 6 stems dill stems with flowers cut into 3" pieces (1 full stem per jar)
- 12 cloves garlic cloves halved (2 cloves per jar)
- 2 inch horseradish root chopped and divided, optional but nice
- 6 lbs small cucumbers well rinsed with ends trimmed
- 8 cups water
- 1/3 cup granulated sugar
- 6 Tbsp pickling salt (or 1/3 cup)
- 6 cups distilled white vinegar (5% acidity)
- 6 jars Quart-sized wide-mouth mason jars with rings and new lids
- 1 large Stock Pot large stock pot (20Qt+) with rack (or a canner)
- 1 jar lifter jar lifter to safely transfer the jars
Instructions
- Wash jars and lids with soap and water.
- Place jars and lids in a pot of water, bring to a boil then reduce heat, cover and simmer for 10 minutes. Drain the water carefully then your jars and lids are ready to use.
- Divide bay leaves, peppercorns, dill stems, garlic, and horseradish (optional) into the bottoms of 6 Quart-sized jars. Pack cucumbers tightly into jars.
- In a medium pot, combine 8 cups water, 1/3 cup sugar, 6 Tbsp salt, and 6 cups vinegar. Bring pickling juice to a boil then pour over cucumbers leaving 1/2” of space at the top.
- Screw the lids on enough to keep a tight seal in place but don't over-tighten them since air bubbles need to be able to escape.
- Place jars in a canner or large pot lined with a wire rack at the bottom. Once all of the jars are in the pot, add boiling hot water, to cover jars with 1-2 inches of water. Process/boil for 15 minutes.
- Carefully remove jars from the water using a jar lifter and leave at room temperature undisturbed for 12-24 hours. You may hear a pop when the jars fully seal.
- After 24 hours, check that the seal has formed by pushing down on the center of the lid - it should not move at all. If the seal does not form, refrigerate pickles and enjoy within 3 months.
Notes
- Storage: Store your jars in a cool, dark place. This helps preserve the flavors and extends their shelf life.
- Freezing: While canning is great for long-term storage, freezing is not recommended for pickles as it alters their texture and crunch.
- Pairing: Try serving your pickles with sandwiches, burgers, or as part of a charcuterie board.
- Variations: Don’t hesitate to experiment with different herbs and spices.
- Label and date: Make sure to label your jars with the date you canned them.
- Enjoy within 12 months: For the best flavor and texture, consume your pickles within a year.