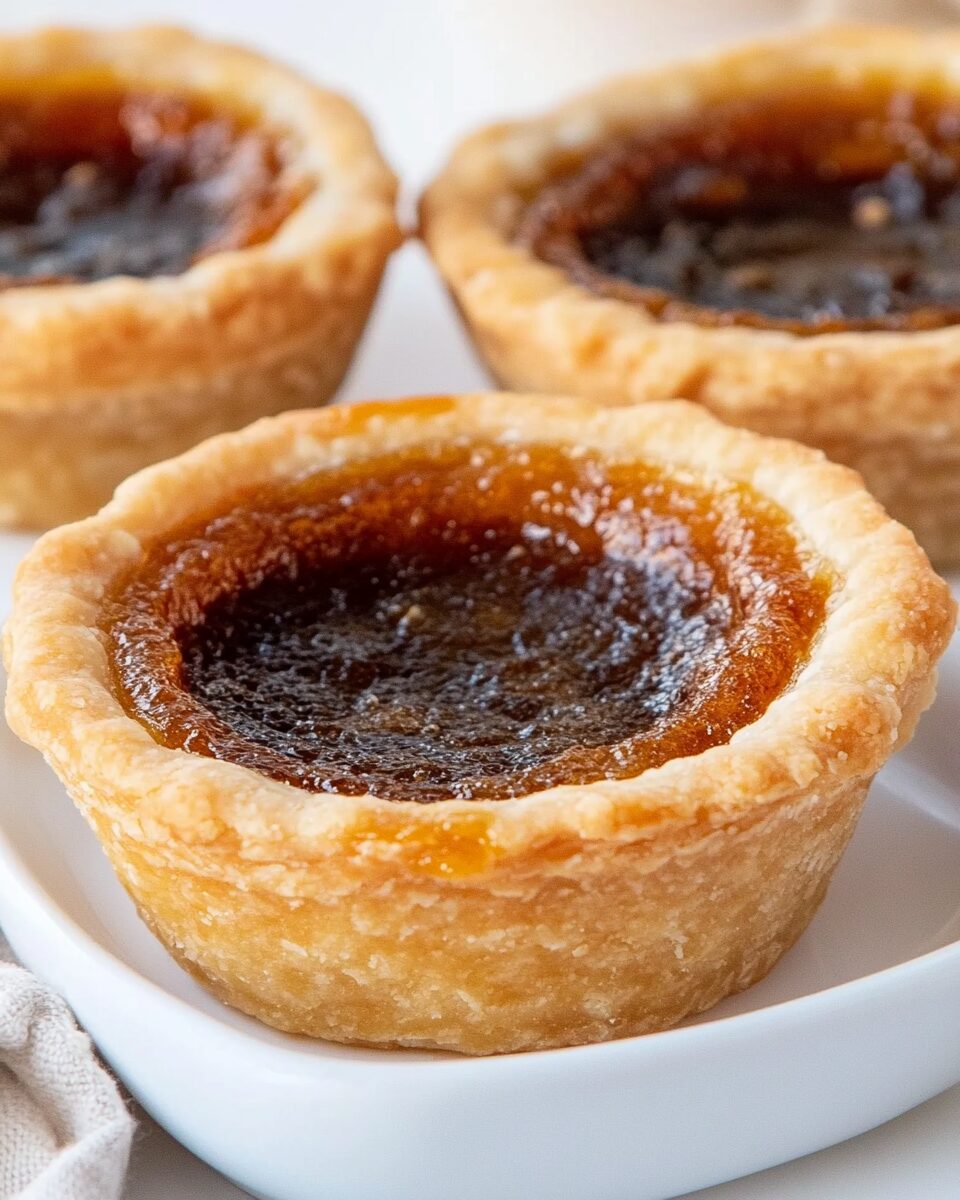
Canadian Butter Tarts Recipe
Canadian butter tarts are more than just a dessert; they embody the sweet spirit of Canadian culinary tradition. These delightful treats, with their flaky pastry shells and gooey, caramelized filling, have captured the hearts and taste buds of many, both in Canada and around the world. Originating from Ontario, butter tarts are a staple at family gatherings, holiday celebrations, and bake sales, often stirring up fond memories of home-baked goodness. The beauty of butter tarts lies not only in their rich flavor but also in their simplicity, making them an accessible dessert for bakers of all skill levels. Whether you prefer them with or without raisins, the allure of the buttery, sugary filling is hard to resist. Picture biting into a warm tart, the filling oozing slightly as you savor the buttery flavor, perfectly complemented by the crispness of the pastry. This recipe will guide you through creating your own perfect batch of Canadian butter tarts, ensuring that you can enjoy this beloved treat any time you desire.
Why You’ll Love This Recipe?
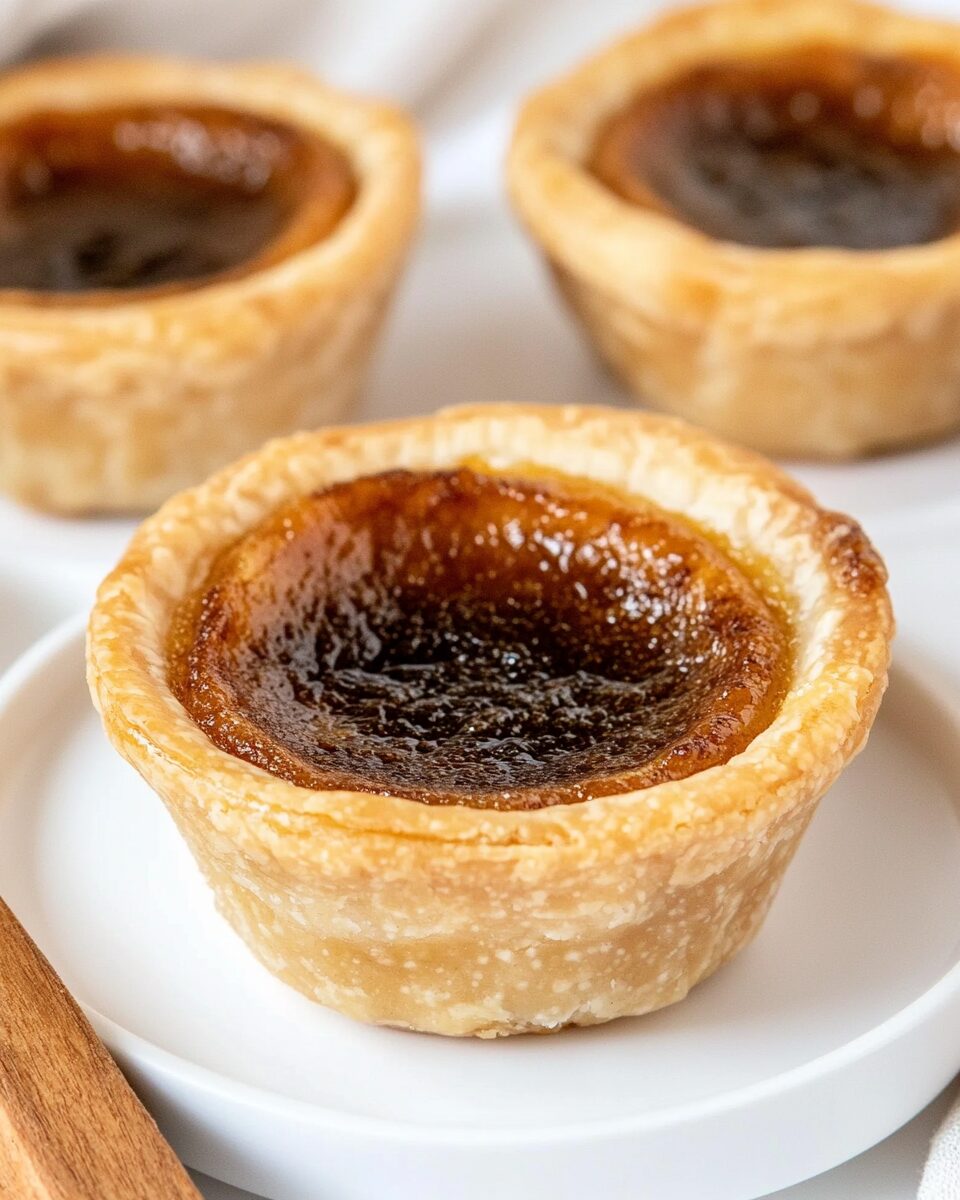
There are countless reasons to adore this Canadian butter tarts recipe, each one adding to its charm and delight. Firstly, the taste is simply divine; the combination of buttery sweetness and the hint of caramel creates a flavor profile that is both comforting and indulgent. Each bite promises a melt-in-your-mouth experience that is hard to resist. Secondly, the preparation is remarkably easy. With straightforward steps and minimal ingredients, even novice bakers can achieve impressive results without feeling overwhelmed. You’ll find that the process is not only manageable but also enjoyable as you watch your tarts transform from simple ingredients into a delicious dessert. Lastly, the appearance of these tarts is undeniably appealing. Their golden-brown crust and glossy filling make for a striking presentation, perfect for impressing guests at gatherings or elevating your personal dessert collection. The rustic charm and homemade quality of butter tarts lend themselves beautifully to any occasion, making them not just a treat but a centerpiece of your dessert table.
Ingredients:

To create the perfect Canadian butter tarts, you will need the following ingredients, each contributing to the delectable end result:
- 1 ½ cups all-purpose flour – This is the base for your pastry, providing the necessary structure and flakiness.
- ½ cup unsalted butter, cold and cubed – The key to a tender pastry, this butter will help create that perfect flaky texture.
- ¼ teaspoon salt – A pinch of salt enhances the flavor of the pastry and balances the sweetness of the filling.
- 3-4 tablespoons ice water – This helps bind the dough together without melting the butter, ensuring a tender crust.
- 1 cup brown sugar, packed – Brown sugar adds a rich depth of flavor to the filling, contributing to its caramel-like notes.
- ½ cup corn syrup – This ingredient adds sweetness and helps create the gooey texture that butter tarts are famous for.
- 2 large eggs – Eggs help to thicken the filling while providing structure, ensuring your tarts hold their shape.
- 2 tablespoons unsalted butter, melted – This adds richness and enhances the buttery flavor of the filling.
- 1 teaspoon vanilla extract – A touch of vanilla adds a lovely aroma and depth to the filling.
- ½ cup raisins or pecans (optional) – For those who like to add a bit of texture, these can be mixed into the filling.
With these simple ingredients, you can create a batch of butter tarts that are sure to impress. The combination of sweet, creamy filling encased in a buttery crust is a classic that never goes out of style. Make sure all your ingredients are measured and prepared before you start for a smooth baking process.
How To Make Canadian Butter Tarts Recipe?
Now that you have your ingredients ready, let’s dive into the step-by-step process of making these delicious Canadian butter tarts. Follow these instructions closely to ensure your tarts turn out perfectly:
- Prepare the Pastry: In a large mixing bowl, combine the all-purpose flour and salt. Add the cold, cubed unsalted butter to the flour mixture. Using a pastry cutter or your fingertips, work the butter into the flour until the mixture resembles coarse crumbs. This step is crucial for achieving a flaky texture in your pastry.
- Add Water: Gradually add the ice water, one tablespoon at a time, mixing gently with a fork until the dough begins to come together. You may not need all the water, so add it slowly. Once the dough forms, divide it into two discs, wrap in plastic wrap, and refrigerate for about 30 minutes.
- Prepare the Filling: While the pastry is chilling, preheat your oven to 375°F (190°C). In a medium bowl, whisk together the brown sugar, corn syrup, eggs, melted butter, and vanilla extract until smooth. If you’re adding raisins or pecans, fold them into the filling at this stage.
- Roll Out the Pastry: Once the dough has chilled, take it out of the refrigerator and let it sit for a few minutes at room temperature. On a lightly floured surface, roll out one disc of dough to about 1/8-inch thickness. Use a round cookie cutter or a glass to cut out circles of dough, about 4 inches in diameter.
- Fit the Pastry into Tart Tins: Carefully fit each pastry circle into the wells of a muffin tin or tart pans, pressing gently to shape the pastry and leaving a small overhang. Trim any excess dough if necessary.
- Fill the Pastry Shells: Pour the filling mixture into each pastry shell, filling them about three-quarters full. Be careful not to overfill, as the filling will expand while baking.
- Bake the Tarts: Place the muffin tin in the preheated oven and bake for 20-25 minutes, or until the filling is set and the pastry is golden brown. The tops of the tarts should be slightly puffed and bubbling around the edges.
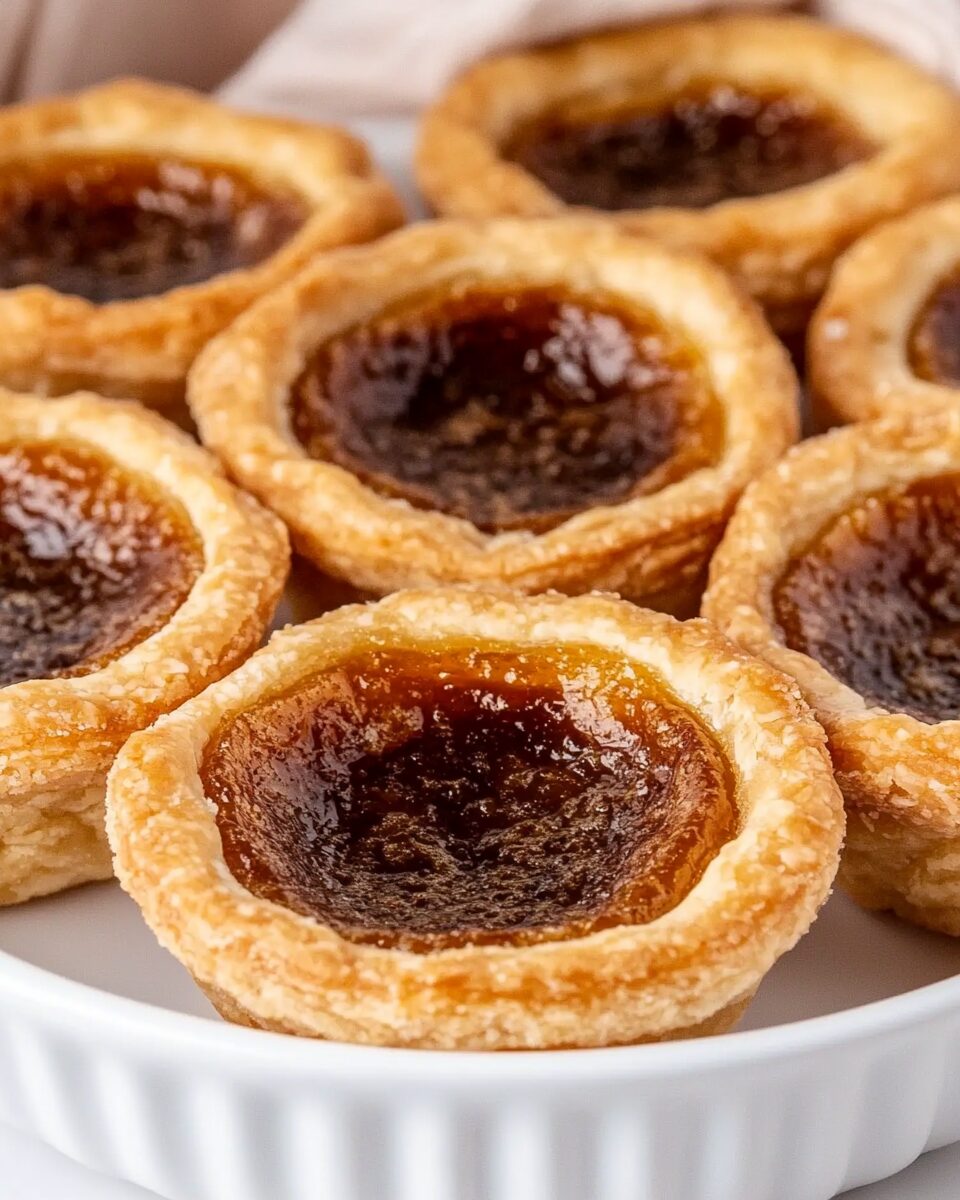
- Cool and Serve: Remove the tarts from the oven and let them cool in the tin for about 10 minutes before transferring them to a wire rack to cool completely. This cooling period will allow the filling to firm up a bit more, making them easier to handle.
Once cooled, your Canadian butter tarts are ready to be enjoyed! The combination of the rich, sweet filling and the buttery crust is sure to be a hit at any gathering or as a delightful treat for yourself.
Tips For Variations:
While the classic Canadian butter tarts recipe is delicious on its own, there are numerous ways to customize your tarts to suit different tastes or to experiment with new flavors. Here are some unique variation ideas:
- Chocolate Lovers: For a decadent twist, add a tablespoon of cocoa powder to the filling or mix in chocolate chips before baking. This will create a rich, chocolatey version that chocolate lovers will adore.
- Coconut Delight: Incorporate shredded unsweetened coconut into the filling for a tropical flavor. This addition pairs wonderfully with the caramel notes of the tarts.
- Spiced Tarts: Add spices such as cinnamon, nutmeg, or ginger to the filling for a warm, spiced version. Just a teaspoon of your chosen spice can elevate the flavor profile and add complexity.
- Nutty Variations: Instead of raisins or pecans, consider using walnuts or almonds. Toasting the nuts beforehand can enhance their flavor and add a delightful crunch to your tarts.
- Fruit Infusions: For a fruity twist, you can add a few pieces of chopped dried fruit, such as apricots or cranberries, to the filling. This will provide a chewy texture and a burst of flavor.
Feel free to mix and match these suggestions to create a personalized version of the classic butter tart that suits your palate. The beauty of this recipe is its versatility, allowing you to experiment with flavors while maintaining that quintessential buttery goodness.
Serving Suggestions:
- Warm with Ice Cream: Serve your butter tarts slightly warmed alongside a scoop of vanilla ice cream. The creaminess of the ice cream complements the rich filling beautifully, creating a satisfying contrast.
- With Fresh Berries: Arrange fresh berries, such as raspberries or strawberries, on the plate next to the tarts. The tartness of the berries balances the sweetness of the tarts, adding a refreshing element.
- Drizzle with Caramel Sauce: For an indulgent touch, drizzle homemade or store-bought caramel sauce over the top of the tarts before serving. This adds an extra layer of sweetness and a lovely presentation.
- Accompanied by Coffee or Tea: These tarts pair wonderfully with a cup of coffee or tea. The warm beverage enhances the flavors of the tarts and creates a comforting dessert experience.
- Garnished with Whipped Cream: Top each butter tart with a dollop of freshly whipped cream for a light and airy finish. This adds a touch of elegance and creaminess to every bite.
Consider these serving ideas to make your butter tarts not just a dessert but a memorable culinary experience. Whether you’re hosting a gathering or enjoying them as a personal treat, these suggestions will enhance the enjoyment of your delicious creations.
FAQ:
Can I make the dough ahead of time?
Absolutely! You can prepare the pastry dough ahead of time and refrigerate it for up to 2 days. This makes it convenient to bake fresh tarts whenever you want.
How do I store leftover butter tarts?
Store any leftover butter tarts in an airtight container at room temperature for up to 3 days. For longer storage, refrigerate them for up to a week.
Can I freeze butter tarts?
Yes, you can freeze butter tarts. Allow them to cool completely, then wrap them individually in plastic wrap and place them in a freezer-safe container. They can be frozen for up to 3 months.
What can I use if I don’t have tart pans?
If you don’t have tart pans, a muffin tin works perfectly to create individual butter tarts. Just ensure to adjust the baking time slightly if necessary.
Can I use a store-bought pie crust instead of making my own?
Yes, using a store-bought pie crust can save time. Just be sure to follow the package instructions for blind baking if necessary before adding the filling.
Canadian Butter Tarts
Equipment
- Mixing Bowl
- Muffin Tin
- Rolling Pin
- Pastry Cutter
Ingredients
Pastry Ingredients
- 1.5 cups all-purpose flour Base for the pastry, providing structure and flakiness.
- 0.5 cup unsalted butter Cold and cubed, key for a tender pastry.
- 0.25 teaspoon salt Enhances flavor and balances sweetness.
- 3-4 tablespoons ice water Helps bind the dough without melting the butter.
Filling Ingredients
- 1 cup brown sugar Packed, adds rich depth to the filling.
- 0.5 cup corn syrup Adds sweetness and gooey texture.
- 2 large eggs Thicken the filling and provide structure.
- 2 tablespoons unsalted butter Melted, adds richness to the filling.
- 1 teaspoon vanilla extract Adds aroma and depth to the filling.
- 0.5 cup raisins or pecans Optional, for added texture.
Instructions
- In a large mixing bowl, combine the all-purpose flour and salt. Add the cold, cubed unsalted butter and work it into the flour until it resembles coarse crumbs.
- Gradually add ice water, mixing gently until the dough comes together. Divide into two discs, wrap in plastic, and refrigerate for 30 minutes.
- Preheat oven to 375°F (190°C). In a medium bowl, whisk together brown sugar, corn syrup, eggs, melted butter, and vanilla until smooth. Fold in raisins or pecans if using.
- Roll out one disc of dough to 1/8-inch thickness and cut out circles about 4 inches in diameter.
- Fit each pastry circle into the wells of a muffin tin, pressing gently and trimming excess dough.
- Pour the filling mixture into each pastry shell, filling them about three-quarters full.
- Bake for 20-25 minutes until the filling is set and the pastry is golden brown.
- Cool in the tin for 10 minutes before transferring to a wire rack to cool completely.