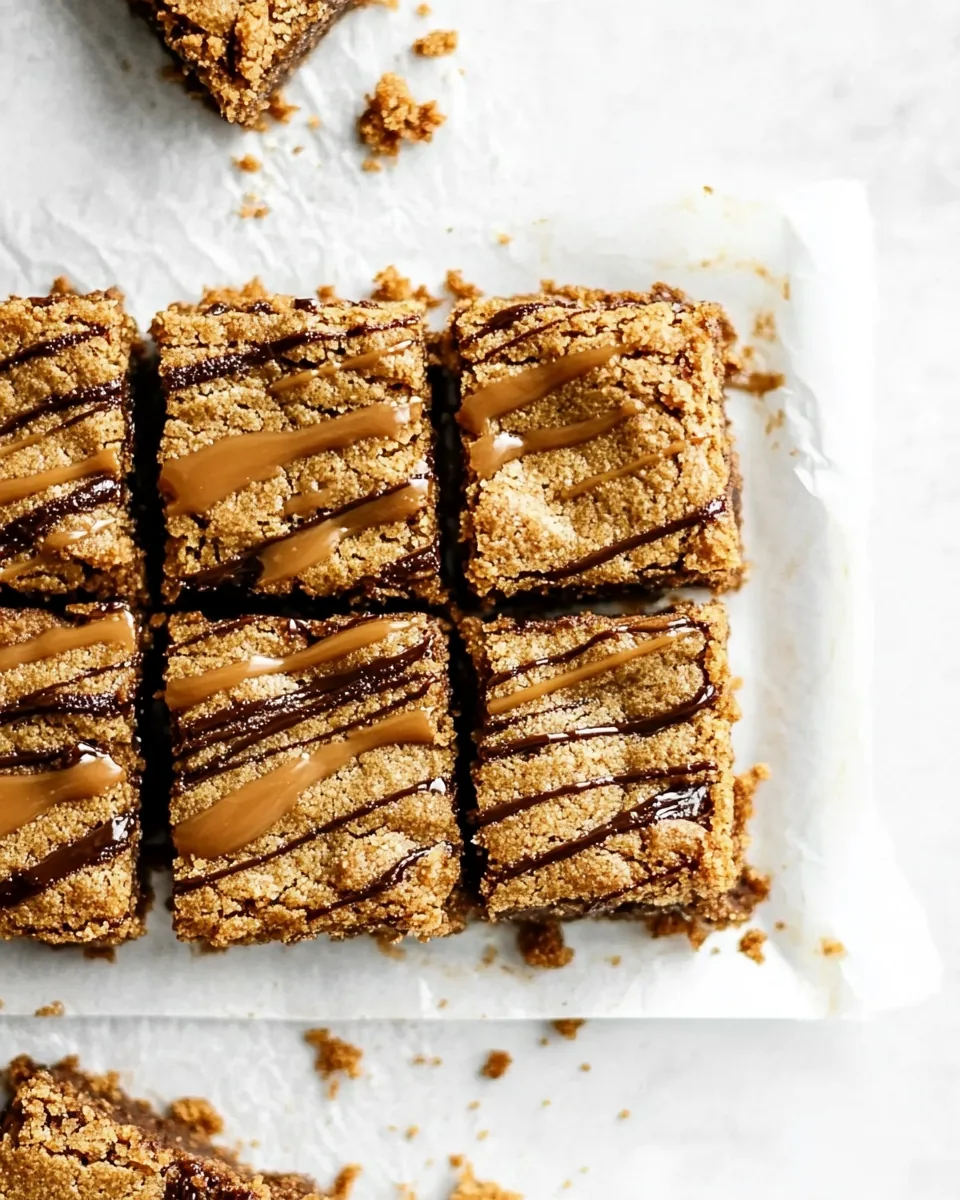
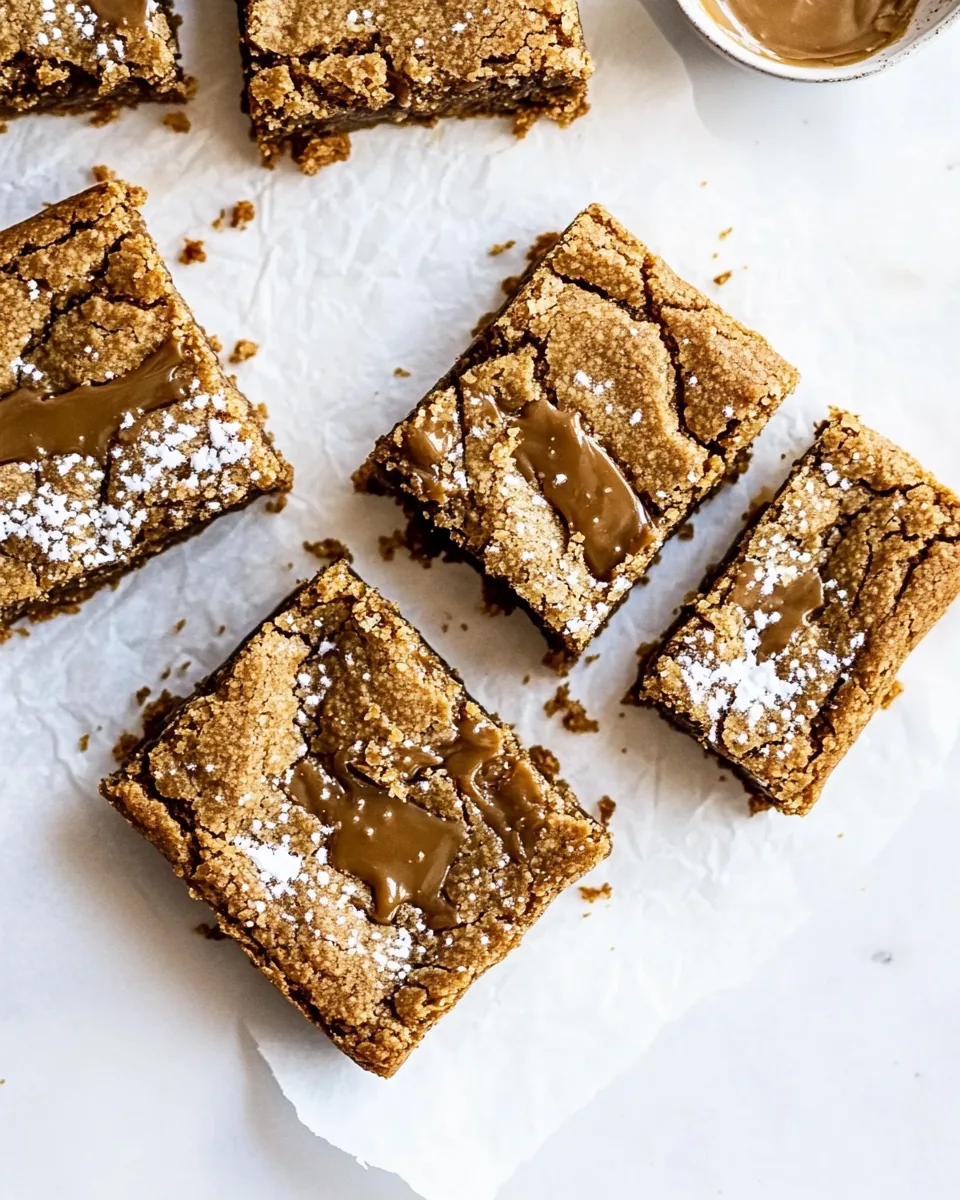
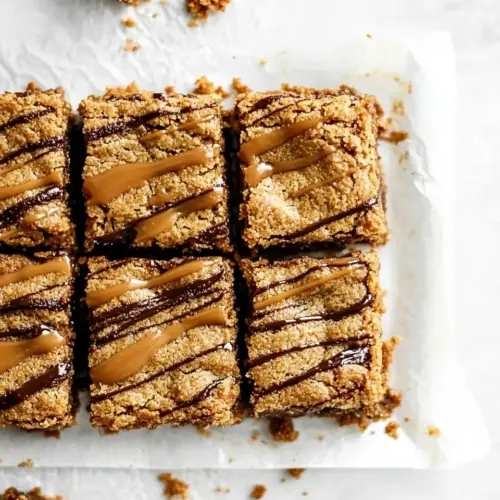
Biscoff Caramel Cookie Bars
There’s something truly magical about the combination of Biscoff cookie butter and caramel, especially when they come together in the form of Biscoff Caramel Cookie Bars. I remember the first time I made these bars—my kitchen filled with the warm, inviting aroma of baking cookies. As the bars baked, I couldn’t help but sneak spoonfuls of the cookie butter and caramel sauce. It was an indulgent moment that set the stage for what was to come. These bars have since become my go-to treat for gatherings, and they never fail to impress. Their rich, buttery texture combined with the sweet, gooey caramel creates a delightful contrast that leaves everyone wanting more. Plus, they’re incredibly easy to make, which means more time to spend with friends and family enjoying them.
Recipe Snapshot
47 mins
10 mins
37 mins
Medium
250 kcal
3 g
Gluten-Free, Low FODMAP
12 g
Mixing Bowl, Frying Pan, Whisk, Baking Sheet, Oven
Why Try This Biscoff Caramel Cookie Bars
Unique Flavor Combination
The pairing of Biscoff cookie butter and caramel is what truly sets these bars apart. The deep, spiced flavor of the cookie butter complements the sweetness of the caramel perfectly, creating a taste that’s both comforting and indulgent.
Easy to Make
With just a handful of ingredients and straightforward steps, making Biscoff Caramel Cookie Bars is a breeze. Even if you’re not an experienced baker, you’ll find this recipe easy to follow, making it a perfect choice for baking with kids.
Perfect for Any Occasion
Whether it’s a casual get-together or a special celebration, these bars are a hit. They’re great for dessert tables, potlucks, or simply as a sweet treat to brighten your day. I love bringing them to work—they always disappear quickly!
Texture Matters
The chewy, gooey texture of these bars is another reason they’re so beloved. The base is perfectly chewy while the caramel adds that delightful stickiness, making each bite a blissful experience.
Make Ahead Convenience
You can make these bars ahead of time and store them for later. This is particularly helpful when you have a busy schedule. Just make sure they’re kept in an airtight container to maintain their freshness!
Customizable Treat
Feel free to get creative! You can add nuts, chocolate chips, or even a sprinkle of sea salt to give these bars a little extra flair. It’s all about making them your own.
Ingredients Required for Biscoff Caramel Cookie Bars
These ingredients come together to create a rich and delightful treat. The magic lies in the combination of Biscoff cookie butter and unsalted butter, which provides a rich base for our bars. The addition of oats not only adds texture but also gives a wholesome touch to this indulgent dessert.
- 2 cups all-purpose flour: The foundation of our bars, creating a sturdy yet soft texture.
- 2 cups old fashioned oats: These add a wonderful chewiness that balances out the sweetness.
- 1 teaspoon baking soda: This helps the bars rise and gives them a nice lift.
- 1 teaspoon ground cinnamon: A touch of warmth and spice that enhances the flavor profile.
- 1/2 teaspoon sea salt: To balance the sweetness and bring out all the flavors.
- 1 cup unsalted butter, at room temperature: Provides richness and helps achieve that perfect chewy texture.
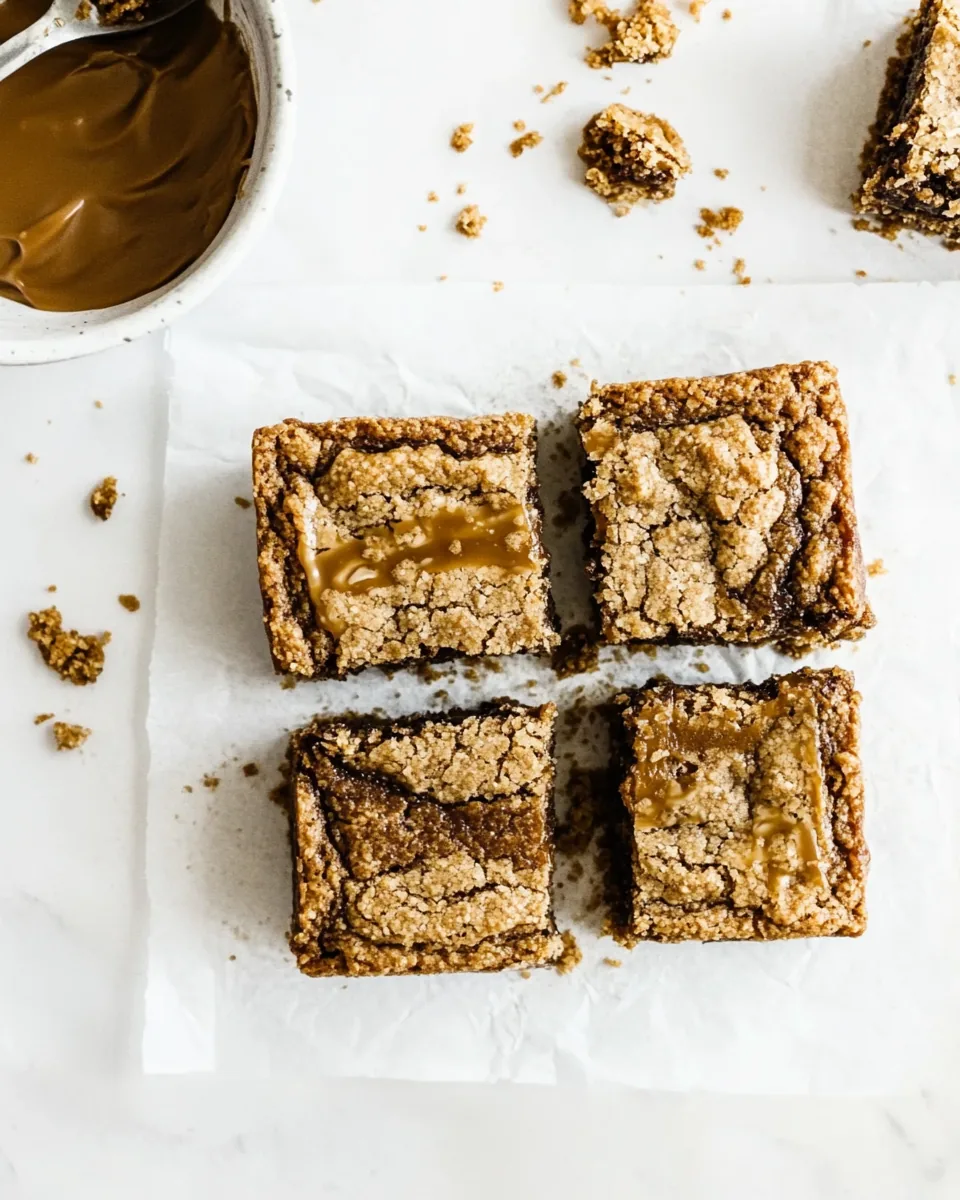
- 1 cup Biscoff cookie butter: The star of the show, delivering that delicious spiced flavor.
- 1 1/3 cups packed light brown sugar: Adds moisture and a lovely caramel-like flavor.
- 1/3 cup granulated sugar: For sweetness and crispness on the top.
- 2 large eggs: They help bind everything together.
- 1 tablespoon vanilla extract: A key ingredient that rounds out the flavors.
- 1 cup salted caramel sauce, can use store-bought: Adds gooey sweetness and depth.
- Flaky sea salt, for sprinkling on bars: A final touch to enhance the flavors.
Directions for Biscoff Caramel Cookie Bars
Making Biscoff Caramel Cookie Bars is a delightful experience, filled with the sweet aroma of baking. Follow these simple steps to create your own delicious treat. Don’t worry, I’ll guide you through it!
-
Preheat your oven to 350 degrees F (175 degrees C). Grease a 9×13-inch pan generously with nonstick cooking spray. This step is crucial to ensure your bars come out perfectly.
In a large bowl, whisk together the all-purpose flour, old fashioned oats, baking soda, ground cinnamon, and sea salt. Make sure everything is evenly mixed to avoid clumps of flour.
Using a stand mixer, cream together the unsalted butter, Biscoff cookie butter, light brown sugar, and granulated sugar until smooth, which should take about 2 minutes. Scrape down the sides of the bowl with a spatula to ensure everything is well combined.
-
Add the eggs and vanilla extract to the mixture and mix until fully incorporated. The batter should be creamy and slightly fluffy.
Gradually add the dry ingredients to the wet mixture. Mix on low speed until just combined. Be careful not to overmix, as this can affect the texture.
Divide the dough in half. Press half of the dough evenly into the bottom of the prepared pan. This will be the base for your bars.
-
Bake the base for 12 minutes. You want it to be set but not overly browned at this stage.
After 12 minutes, remove the pan from the oven and drizzle the salted caramel sauce evenly over the cookie crust. Make sure to spread it out so every bite gets some caramel goodness.
Top with the remaining dough. You can use a spatula to spread it a little. For easier handling, lightly spray your hands with nonstick cooking spray or dampen them slightly. Gently press the dough down on top of the caramel, ensuring it’s evenly distributed.
-
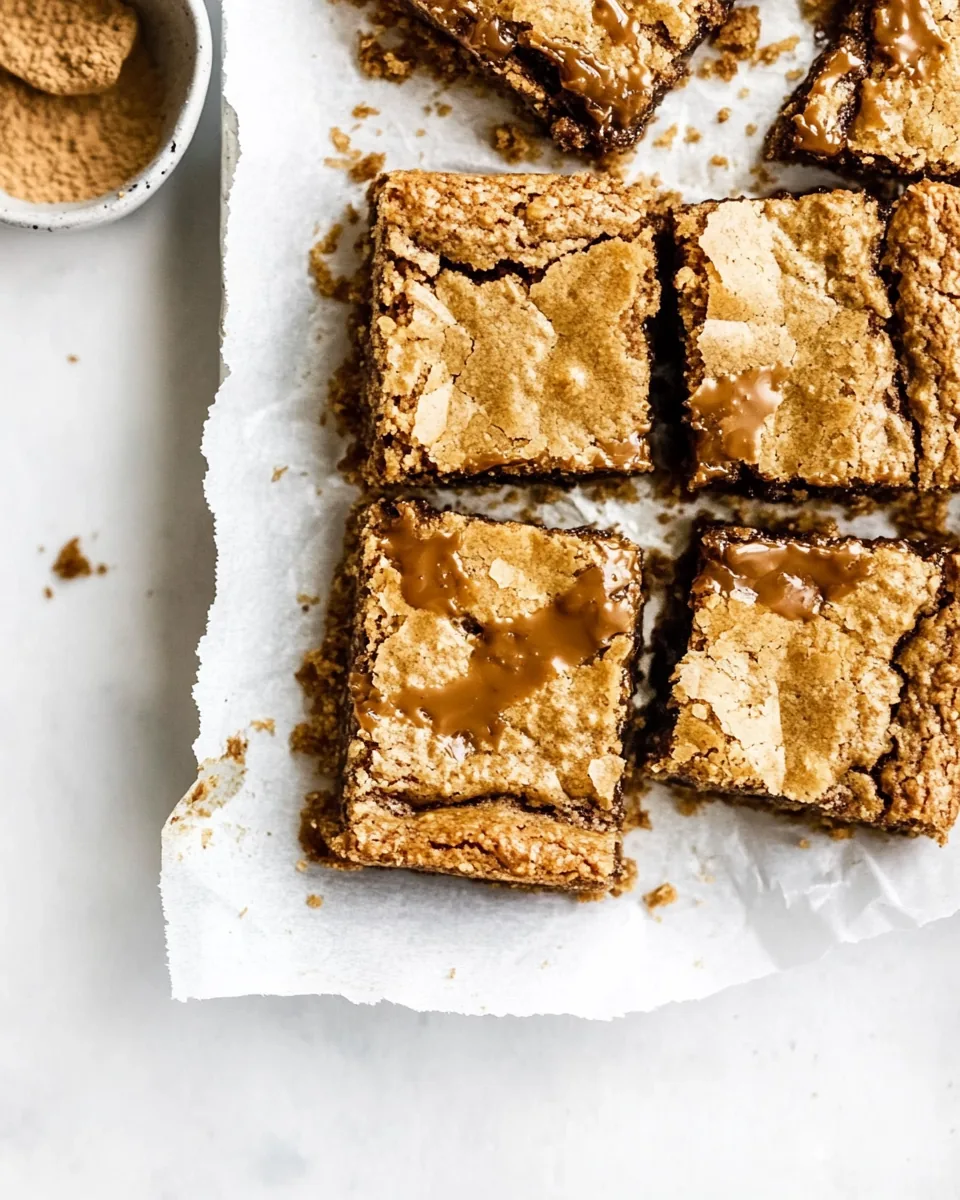
Place the pan back in the oven and bake for 24 to 30 minutes, or until the bars are golden brown on top. The edges should look firm and a little crisp.
Once baked, remove from the oven and let the bars cool completely in the pan. This step is important to allow the caramel to set up before cutting into them.
Things Worth Knowing
- Watch the Color: During baking, keep an eye on the edges. They should become a lovely golden brown, while the center may remain a bit softer.
- Cooling is Key: Patience is crucial here. Allow the bars to cool completely so that the caramel sets properly; otherwise, they’ll be too gooey to cut.
- Use Quality Ingredients: Opt for high-quality Biscoff cookie butter and caramel sauce. The better the ingredients, the better the flavor!
- Don’t Overmix: When combining wet and dry ingredients, mix just until combined to ensure your bars remain chewy rather than tough.
- Experiment with Toppings: Feel free to add toppings like chopped nuts or chocolate chips to elevate the flavor and texture of the bars.
Helpful Notes about Biscoff Caramel Cookie Bars
If you’re considering making Biscoff Caramel Cookie Bars, here are some tips to ensure your baking experience is smooth and successful.
- Storage: Store the bars in an airtight container at room temperature for up to five days. They can also be refrigerated for a longer shelf life.
- Freezing: Yes, you can freeze these bars! Wrap them tightly in plastic wrap and place them in a freezer-safe bag for up to three months. Thaw in the fridge overnight before serving.
- Pairing: These bars pair wonderfully with a scoop of vanilla ice cream or a drizzle of hot fudge. They make for an indulgent dessert experience!
- Serving Suggestions: Serve them warm with a sprinkle of flaky sea salt on top for added texture and flavor.
- Variations: Feel free to add chocolate chips, nuts, or even a layer of fudge for a twist!
What to Serve Alongside Biscoff Caramel Cookie Bars
- Ice Cream: Serve with a scoop of vanilla or caramel ice cream for a delightful dessert.
- Fresh Fruit: Pair with fresh strawberries or bananas to balance the sweetness of the bars.
- Hot Drinks: These bars make an excellent companion to a cup of coffee or hot chocolate, perfect for cozy evenings.
- Picnics: They’re great for outdoor gatherings or picnics since they hold up well and are easy to transport.
- Parties: Offer them as a dessert option at parties or gatherings. They’re sure to impress guests!
- Seasonal Celebrations: Consider making them for special occasions such as birthdays or holidays; they make a festive treat.
FAQ
Conclusion
These Biscoff Caramel Cookie Bars are a dreamy combination of flavors and textures that everyone will love. With their rich and buttery taste paired with the gooey caramel, they make for a truly indulgent dessert. I encourage you to try making these delightful bars; they’re sure to impress your family and friends and quickly become a favorite!
Biscoff Caramel Cookie Bars
Equipment
- Mixing Bowl
- Frying Pan
- Whisk
- Baking Sheet
- Oven
Ingredients
- 2 cups all-purpose flour
- 2 cups old fashioned oats
- 1 teaspoon baking soda
- 1 teaspoon ground cinnamon
- 1/2 teaspoon sea salt
- 1 cup unsalted butter, at room temperature
- 1 cup Biscoff cookie butter
- 1 1/3 cups packed light brown sugar
- 1/3 cup granulated sugar
- 2 large eggs
- 1 tablespoon vanilla extract
- 1 cup salted caramel sauce, can use store-bought
- Flaky sea salt, for sprinkling on bars
Instructions
- Preheat your oven to 350 degrees F (175 degrees C). Grease a 9×13-inch pan generously with nonstick cooking spray. This step is crucial to ensure your bars come out perfectly.
- In a large bowl, whisk together the all-purpose flour, old fashioned oats, baking soda, ground cinnamon, and sea salt. Make sure everything is evenly mixed to avoid clumps of flour.
- Using a stand mixer, cream together the unsalted butter, Biscoff cookie butter, light brown sugar, and granulated sugar until smooth, which should take about 2 minutes. Scrape down the sides of the bowl with a spatula to ensure everything is well combined.
- Add the eggs and vanilla extract to the mixture and mix until fully incorporated. The batter should be creamy and slightly fluffy.
- Gradually add the dry ingredients to the wet mixture. Mix on low speed until just combined. Be careful not to overmix, as this can affect the texture.
- Divide the dough in half. Press half of the dough evenly into the bottom of the prepared pan. This will be the base for your bars.
- Bake the base for 12 minutes. You want it to be set but not overly browned at this stage.
- After 12 minutes, remove the pan from the oven and drizzle the salted caramel sauce evenly over the cookie crust. Make sure to spread it out so every bite gets some caramel goodness.
- Top with the remaining dough. You can use a spatula to spread it a little. For easier handling, lightly spray your hands with nonstick cooking spray or dampen them slightly. Gently press the dough down on top of the caramel, ensuring it’s evenly distributed.
- Place the pan back in the oven and bake for 24 to 30 minutes, or until the bars are golden brown on top. The edges should look firm and a little crisp.
- Once baked, remove from the oven and let the bars cool completely in the pan. This step is important to allow the caramel to set up before cutting into them.
Notes
- Storage: Store the bars in an airtight container at room temperature for up to five days. They can also be refrigerated for a longer shelf life.
- Freezing: Yes, you can freeze these bars! Wrap them tightly in plastic wrap and place them in a freezer-safe bag for up to three months. Thaw in the fridge overnight before serving.
- Pairing: These bars pair wonderfully with a scoop of vanilla ice cream or a drizzle of hot fudge. They make for an indulgent dessert experience!
- Serving Suggestions: Serve them warm with a sprinkle of flaky sea salt on top for added texture and flavor.
- Variations: Feel free to add chocolate chips, nuts, or even a layer of fudge for a twist!