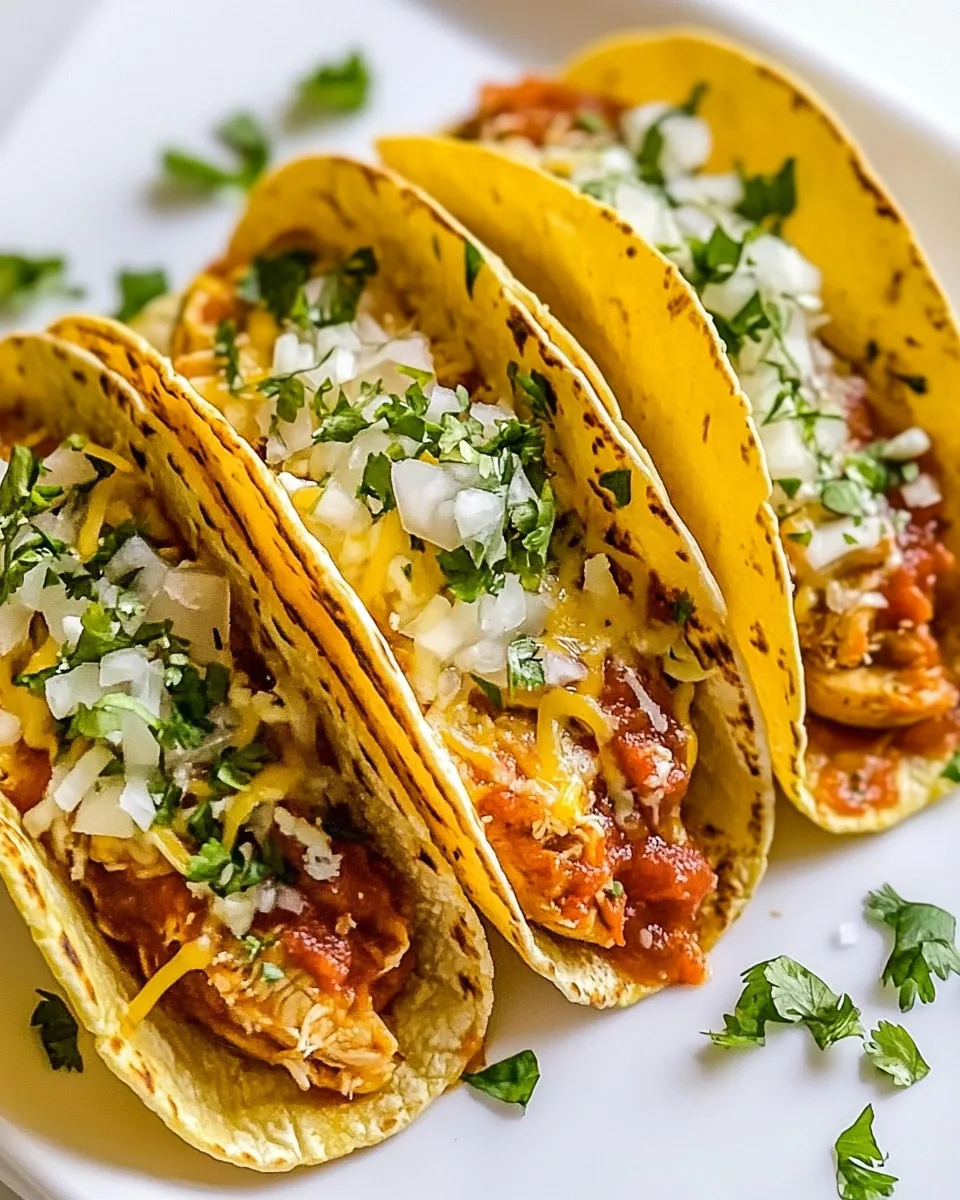
Baked Chicken Tacos
Oh, how I adore making Baked Chicken Tacos for my family! There’s something inherently joyful about gathering everyone around the table with a meal that feels like a celebration. I remember the first time I made these tacos. The kitchen was filled with the aroma of sautéed onions and spices mingling beautifully with the smell of baking taco shells. It was a busy weeknight, and these tacos turned a simple dinner into a taco night fiesta that everyone eagerly looked forward to. The crispy taco shells, loaded with savory chicken, cheese, and fresh toppings, create a symphony of flavors in every bite. It’s a dish that manages to bring smiles, laughter, and a sense of togetherness. Plus, what’s not to love about a meal you can build yourself? Everyone can customize their tacos with their favorite toppings, making it an interactive dining experience. Whether you’re celebrating a special occasion or just looking for a quick weeknight dinner, these Baked Chicken Tacos are sure to impress!
Recipe Snapshot
20 mins
5 mins
15 mins
Medium
350 kcal
25 g
Keto, Gluten-Free, Low FODMAP
15 g
Sheet pan (quarter sheet) or a 9×13″ baking dish
The Charm of This Baked Chicken Tacos
1. Family-Friendly Fun
One of the best things about Baked Chicken Tacos is how much fun they are for the whole family. Everyone loves building their own tacos just the way they like them. Kids especially enjoy the interactive aspect, choosing toppings and assembling their meals. It’s a great way to encourage them to eat healthier by letting them pick fresh ingredients.
2. Quick and Easy to Prepare
When life gets busy, having a quick and easy dinner recipe in your back pocket is invaluable. These Baked Chicken Tacos come together in no time, making them perfect for those hectic weeknights. With just a bit of prep, you’ll have a delicious meal on the table in less than thirty minutes!
3. Versatile and Customizable
These tacos are incredibly versatile. You can easily swap out the chicken for another protein like turkey or even a plant-based option. The toppings are limitless too! From fresh vegetables to different types of cheese, the options are endless. You get to decide how you want to enjoy them.
4. Perfect for Leftovers
What’s even better? Leftovers! If you have any filling left over, you can use it for burrito bowls, salads, or even quesadillas the next day. It’s a meal that keeps on giving, making it a smart choice for meal prepping or enjoying a second time around.
5. A Crowd-Pleasing Dish
Hosting a gathering? These Baked Chicken Tacos are guaranteed to please a crowd. Set up a taco bar with all the fixings, and let your guests have fun creating their own tacos. The combination of flavors and textures is sure to be a hit, and you’ll spend less time in the kitchen and more time enjoying your guests.
Recipe Ingredients for Baked Chicken Tacos
When it comes to making Baked Chicken Tacos, the ingredients are what truly make this dish shine. Each component plays a vital role in creating a harmonious blend of flavors. The combination of tender chicken, savory cheese, and fresh toppings creates a delightful experience that everyone will love.
- 12 taco shells: The crispy base for our tacos, they hold all the delicious fillings together.
- 1 tablespoon oil: Used to sauté the onion, adding richness to the filling.
- 1 onion, diced: Provides a sweet and savory flavor that enhances the overall taste.
- 2 cloves garlic, crushed: Adds depth and aroma; essential for a tasty filling.
- 4 cups shredded chicken: The star protein of our tacos, it’s juicy and satisfying.
- 2 tablespoons taco seasoning: A blend of spices that brings authenticity and flavor to the dish.
- 7 ounces (200g) salsa: Adds a fresh, tangy kick that elevates the filling.
- 1 cup refried beans: Helps hold the filling together and provides creaminess.
- 1 and ½ cups shredded Mexican cheese blend or mozzarella or cheddar: Melts beautifully on top for that gooey goodness.
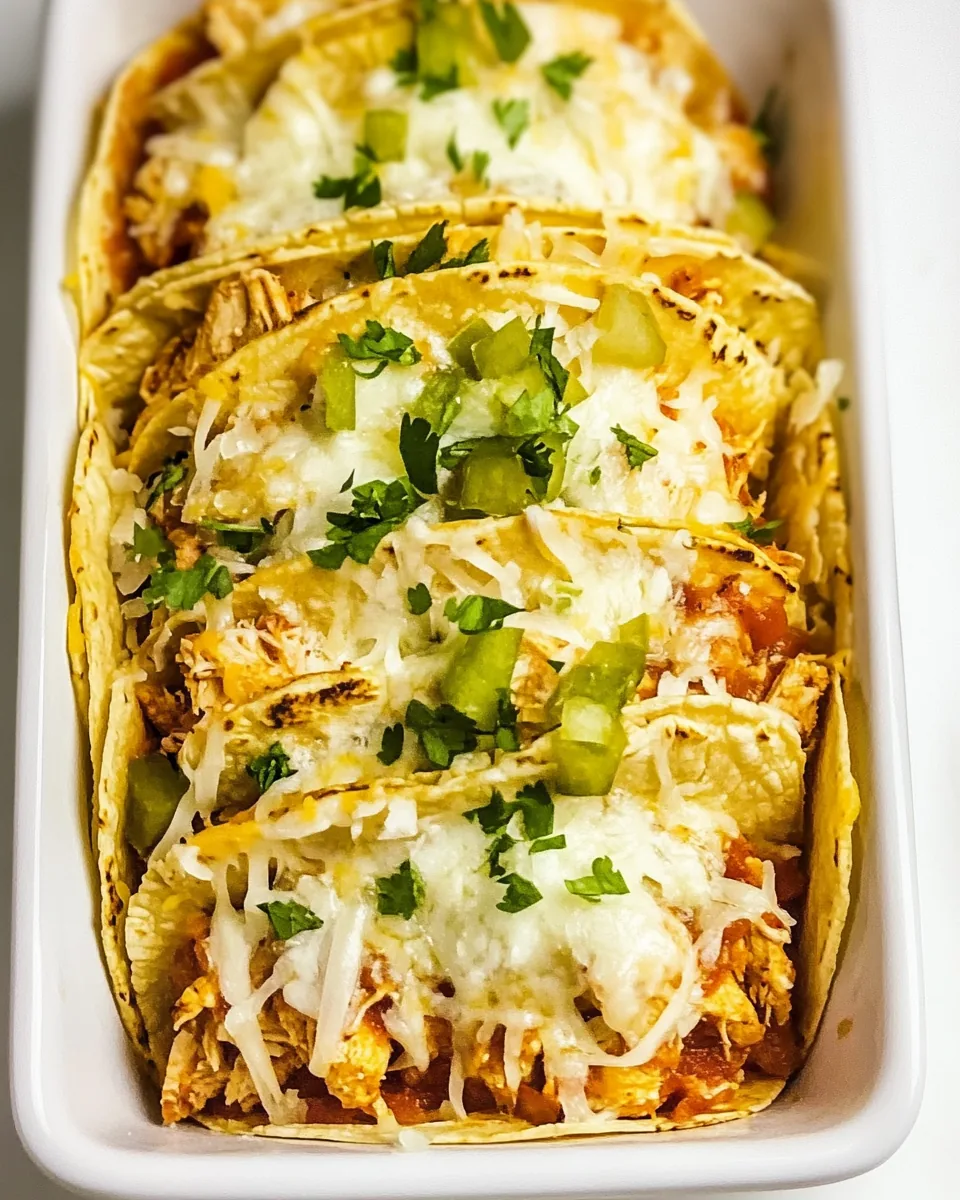
- ½ cup green chiles: For an extra layer of flavor and mild heat.
- Shredded lettuce: A fresh topping that adds crunch and color.
Putting Together Baked Chicken Tacos
Making Baked Chicken Tacos is a straightforward process that results in a mouthwatering meal. You’ll find that following these steps makes the cooking experience enjoyable and rewarding. Let’s dive into the delicious details!
- Start by preheating your oven to 350°F (180°C). Preparing your taco shells is the first step to achieving that perfect crunch. Arrange the taco shells in a baking tray, ensuring they’re spaced out evenly. Bake them for about 5 minutes until they are warm and slightly crispy. This initial baking helps prevent the shells from becoming soggy later on.
- While the taco shells are baking, heat a skillet over medium heat and add the oil. Once the oil is hot, add the diced onion. Sauté for about 3 to 5 minutes until the onion becomes soft and translucent. You want to achieve a delicate sweetness that will enhance your filling.
- Next, introduce the crushed garlic to the skillet. Stir it around for about a minute until it becomes fragrant. This step infuses the oil with a lovely garlicky aroma, which is irresistible.
- Once the onions and garlic are ready, add the shredded chicken into the skillet. Sprinkle in the taco seasoning and stir to combine. Let the mixture cook for about 3 to 5 minutes, allowing the spices to meld and the chicken to absorb all the flavors. You should notice a delightful aroma filling your kitchen.
- Now it’s time to add the salsa to the chicken mixture. Stir it in and let everything simmer for another 2 to 3 minutes. The salsa adds moisture and enhances the taste of the filling. Make sure to remove the skillet from heat once everything is well combined.
- Take the pre-baked taco shells out of the oven. Start assembling your tacos by adding a tablespoon of refried beans into each shell. This acts as a barrier to keep the shells crispy, separating them from the juicy filling.
- Next, scoop in about ½ cup of the chicken salsa mixture into each taco shell, filling them generously. You want to make sure they’re packed but not overflowing.
- Top with a generous amount of shredded cheese, allowing it to melt beautifully as it bakes.
- Return the loaded taco shells to the oven and bake for an additional 5 to 7 minutes, or until the cheese is melted and bubbly. You’ll know they’re ready when you see that delightful golden color.
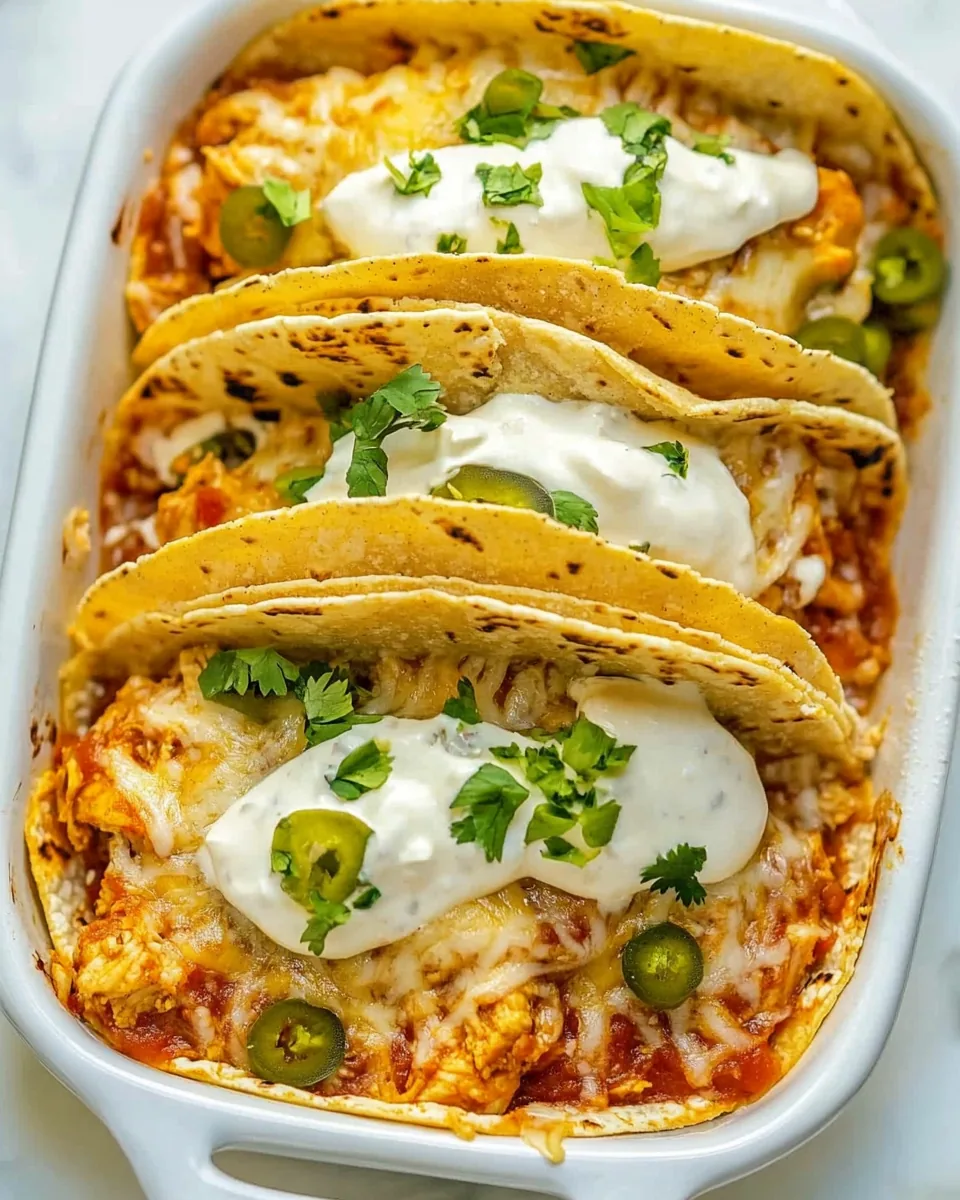
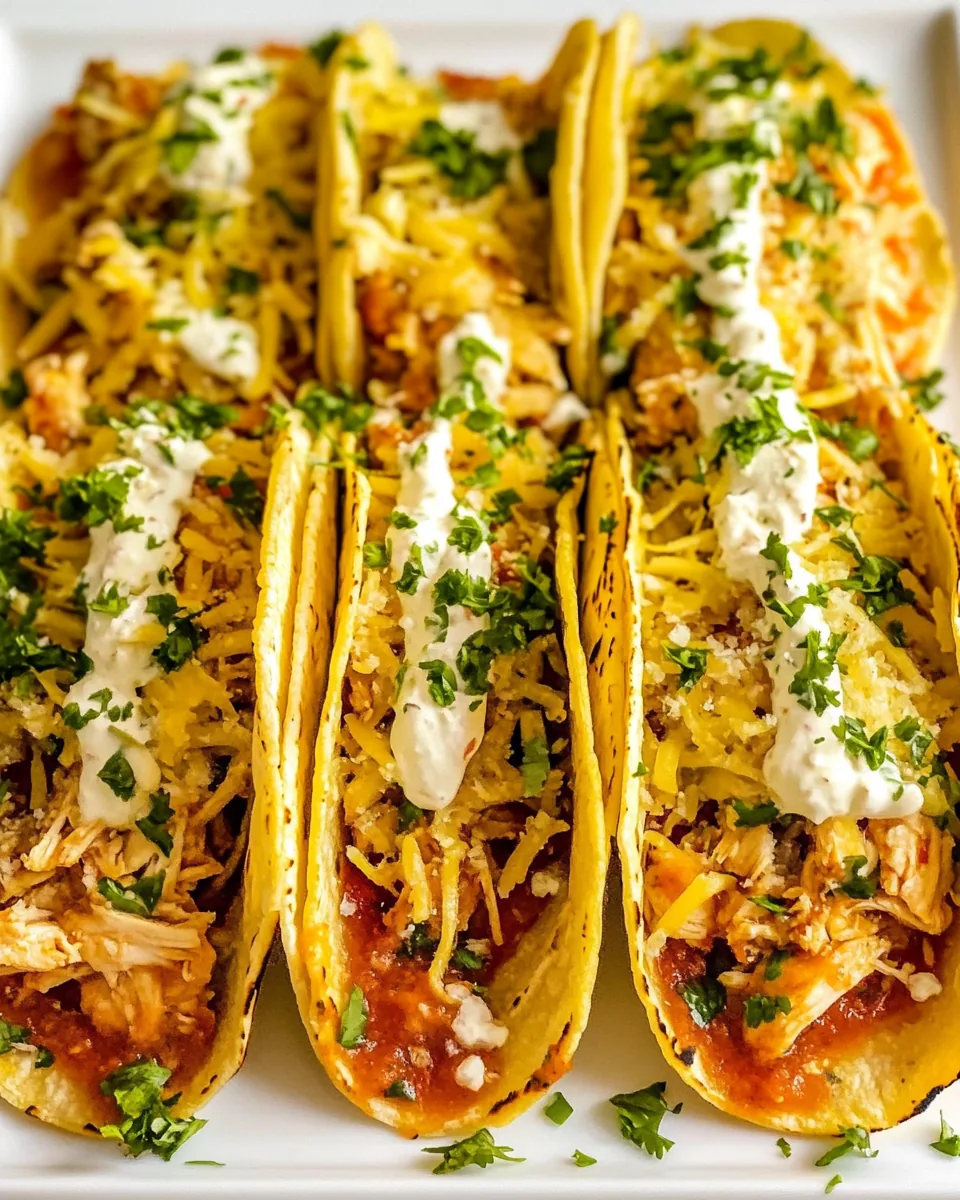
- Finally, remove the tacos from the oven. Top each taco with chopped green chiles and shredded lettuce. Feel free to add any extra toppings you love, like avocado or sour cream. Serve immediately and enjoy your delicious creation!
Things Worth Knowing
- Pre-baking the taco shells: This is key to achieving a crispy shell that won’t get soggy from the filling.
- Flavoring the chicken: Use a good taco seasoning that you enjoy. You can even make your own for a fresher taste.
- Layering ingredients: The order in which you fill your taco shells matters. Beans at the bottom help with moisture control, followed by the chicken and cheese.
- Keeping it warm: If you’re serving a crowd, keep the assembled tacos warm in the oven at a low temperature until they’re ready to eat.
How to Switch It Up
If you’re looking to add some variety to your Baked Chicken Tacos, you’re in luck! There are so many ways to customize this recipe and make it your own. Here are some fun ideas to switch things up:
- Storage: To store leftovers, place any uneaten tacos in an airtight container in the fridge. Reheat them gently in the oven to maintain their crispiness.
- Freezing: You can freeze the chicken mixture before assembling the tacos. Just thaw it overnight in the refrigerator before using.
- Pairing: Serve these tacos with a refreshing side salad or some homemade guacamole for a complete meal.
- Flavor variations: Experiment with different proteins such as ground turkey, or use lentils for a vegetarian version.
- Spicy kick: If you like it hot, consider adding jalapeños or a dash of hot sauce to your filling.
Perfect Pairings for Baked Chicken Tacos
- Fresh toppings: You can never go wrong with chopped tomatoes, diced avocados, and fresh cilantro to brighten up your tacos.
- Side dishes: Pair these tacos with a side of Mexican rice or a zesty corn salad for a festive spread.
- Occasions: Baked Chicken Tacos are perfect for casual family dinners, parties, or even game day gatherings.
- Storage tips: Leftovers can be stored in the fridge for up to three days. Just keep toppings separate to maintain freshness.
- Seasonal pairings: In summer, serve with a refreshing watermelon salad, while in winter, a warm chili can complement these tacos beautifully.
FAQ
Conclusion
Baked Chicken Tacos are a delightful dish that brings people together with their fun, customizable nature. Their delicious blend of flavors and textures makes them a perfect weeknight dinner or a crowd-pleaser for gatherings. So why not gather your loved ones and make these tacos for dinner? They’re sure to be a hit, and you’ll create wonderful memories around the table!
Baked Chicken Tacos
Equipment
- Sheet pan (quarter sheet) or a 9×13" baking dish
Ingredients
- 12 taco shells taco shells
- 1 tablespoon oil
- 1 onion diced
- 2 cloves garlic crushed
- 4 cups shredded chicken
- 2 tablespoons taco seasoning
- 7 ounces salsa (200g)
- 1 cup refried beans
- 1 and ½ cups shredded Mexican cheese blend or mozzarella or cheddar
- ½ cup green chiles
- shredded lettuce
Instructions
- Start by preheating your oven to 350°F (180°C). Preparing your taco shells is the first step to achieving that perfect crunch. Arrange the taco shells in a baking tray, ensuring they’re spaced out evenly. Bake them for about 5 minutes until they are warm and slightly crispy. This initial baking helps prevent the shells from becoming soggy later on.
- While the taco shells are baking, heat a skillet over medium heat and add the oil. Once the oil is hot, add the diced onion. Sauté for about 3 to 5 minutes until the onion becomes soft and translucent. You want to achieve a delicate sweetness that will enhance your filling.
- Next, introduce the crushed garlic to the skillet. Stir it around for about a minute until it becomes fragrant. This step infuses the oil with a lovely garlicky aroma, which is irresistible.
- Once the onions and garlic are ready, add the shredded chicken into the skillet. Sprinkle in the taco seasoning and stir to combine. Let the mixture cook for about 3 to 5 minutes, allowing the spices to meld and the chicken to absorb all the flavors. You should notice a delightful aroma filling your kitchen.
- Now it’s time to add the salsa to the chicken mixture. Stir it in and let everything simmer for another 2 to 3 minutes. The salsa adds moisture and enhances the taste of the filling. Make sure to remove the skillet from heat once everything is well combined.
- Take the pre-baked taco shells out of the oven. Start assembling your tacos by adding a tablespoon of refried beans into each shell. This acts as a barrier to keep the shells crispy, separating them from the juicy filling.
- Next, scoop in about ½ cup of the chicken salsa mixture into each taco shell, filling them generously. You want to make sure they’re packed but not overflowing.
- Top with a generous amount of shredded cheese, allowing it to melt beautifully as it bakes.
- Return the loaded taco shells to the oven and bake for an additional 5 to 7 minutes, or until the cheese is melted and bubbly. You’ll know they’re ready when you see that delightful golden color.
- Finally, remove the tacos from the oven. Top each taco with chopped green chiles and shredded lettuce. Feel free to add any extra toppings you love, like avocado or sour cream. Serve immediately and enjoy your delicious creation!
Notes
- Tip 1: To avoid the taco shells from getting soggy, it’s important to pre-bake the shells prior to filling them for 5 minutes.
- Tip 2: To separate the taco shells from the juicy chicken mixture, I add refried beans. This will help your taco shells stay crispy.
- Tip 3: If you would like to make these baked chicken tacos ahead of time, I don’t recommend assembling them until just before you’re ready to bake them and serve as the taco shells can get pretty soggy.